When I first started quilting I made the the mistake of telling my family & friends on Facebook that I was looking for projects so I could practice sewing and quilting. Â I had not done either in my life and thought having planned projects would be a good way to learn.
However, the last time I posted pictures of my quilt on Facebook another person said they wanted one. Â I currently have four (4) more free quilts to make for people. Â This after making six quilts already. So ~ after the four more free quilts I’m planning on charging for making quilts. Gotta pay for the fabric someway …
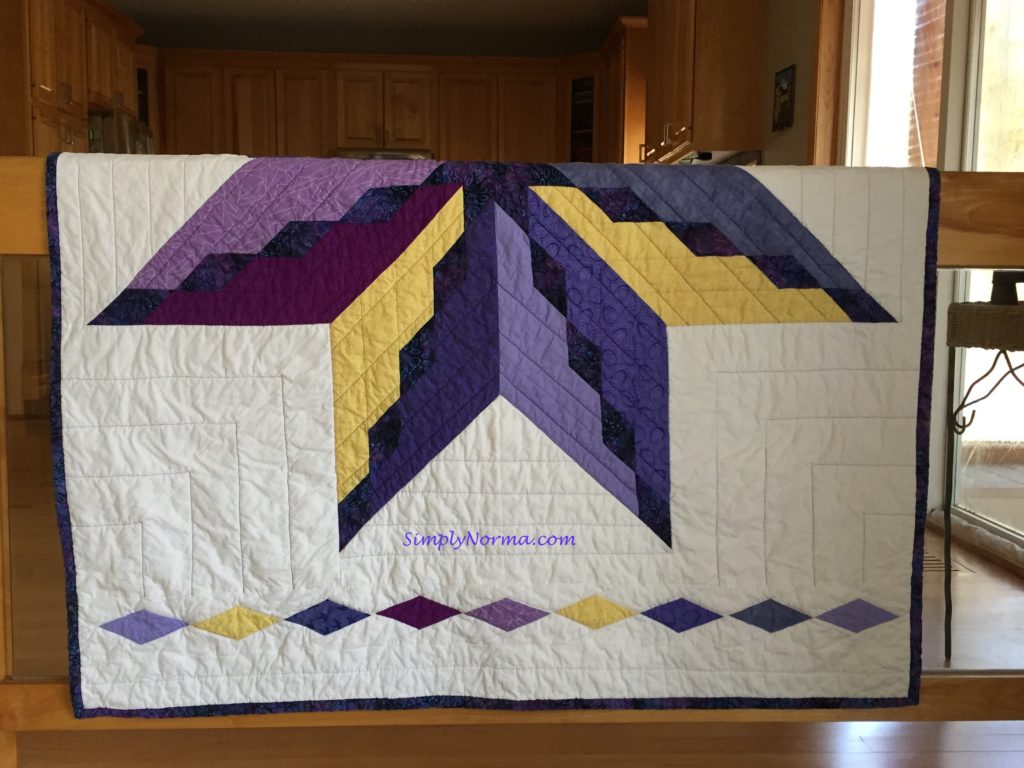
The star quilt I recently made was for an aunt who is Native American. Â She requested the colors of blue, lilac and yellow on a white background with a brushed baby blue back. Â She also wanted the size to be anything bigger than a crib but not larger than a full size.
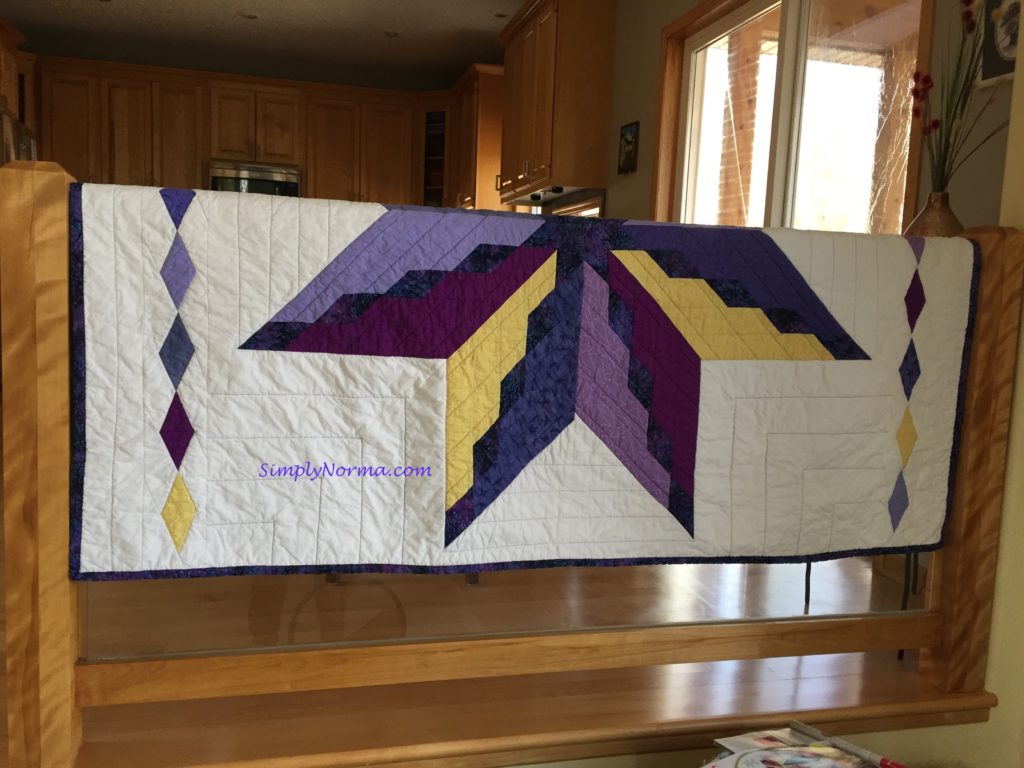
So I made a lap quilt. Â It was a little challenging for me since I had never cut in “degrees” before (mainly 45 degrees), had never quilted on flannel and had never sewn with invisible thread.
All these challenges were overcome quickly. Â A quilting ruler took care of the measuring and searching on Youtube and the internet gave me lots of ideas from other people’s failures and successes.
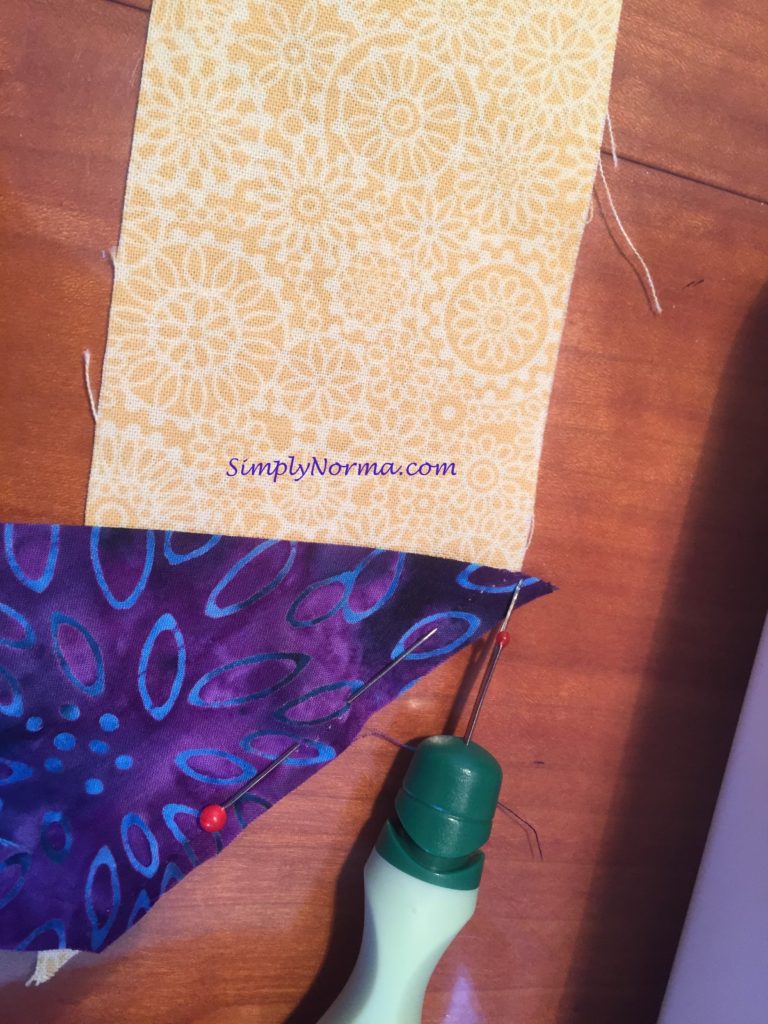
Over and over the same problem kept rearing it’s ugly head though ~ sewing the diamonds together. The corners must meet at the correct corners or else the connection is crooked.
MOST of the sewn triangles came out okay and those that didn’t I found I had to go back and re-do.
Since lilac was one of the colors that my aunt wanted in this quilt, I had a dilemma. Â I wanted the quilt to be a surprise but there are so many variations of lilac ~ from light to dark ~ that I decided to go with different variations ~ both light and dark. I chose darker blues and only one fabric in yellow.
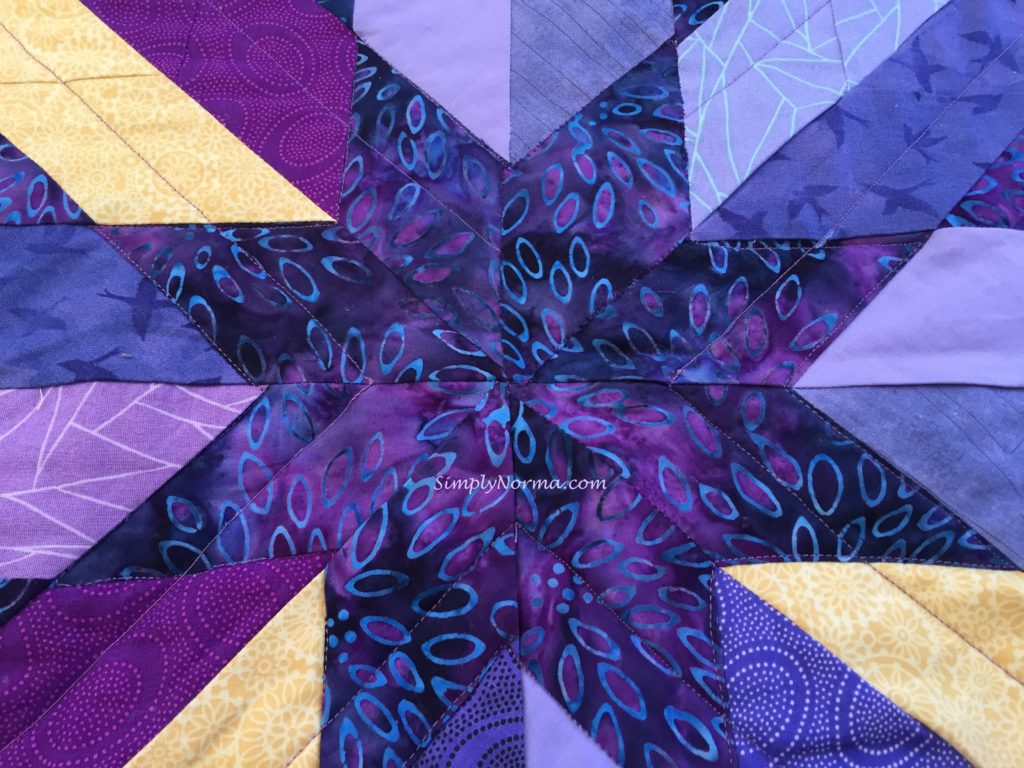
Do you see from the picture below why the diamond and other pieces must be cut and sewn very carefully? They have to fit together in order not to have a crooked large diamond.
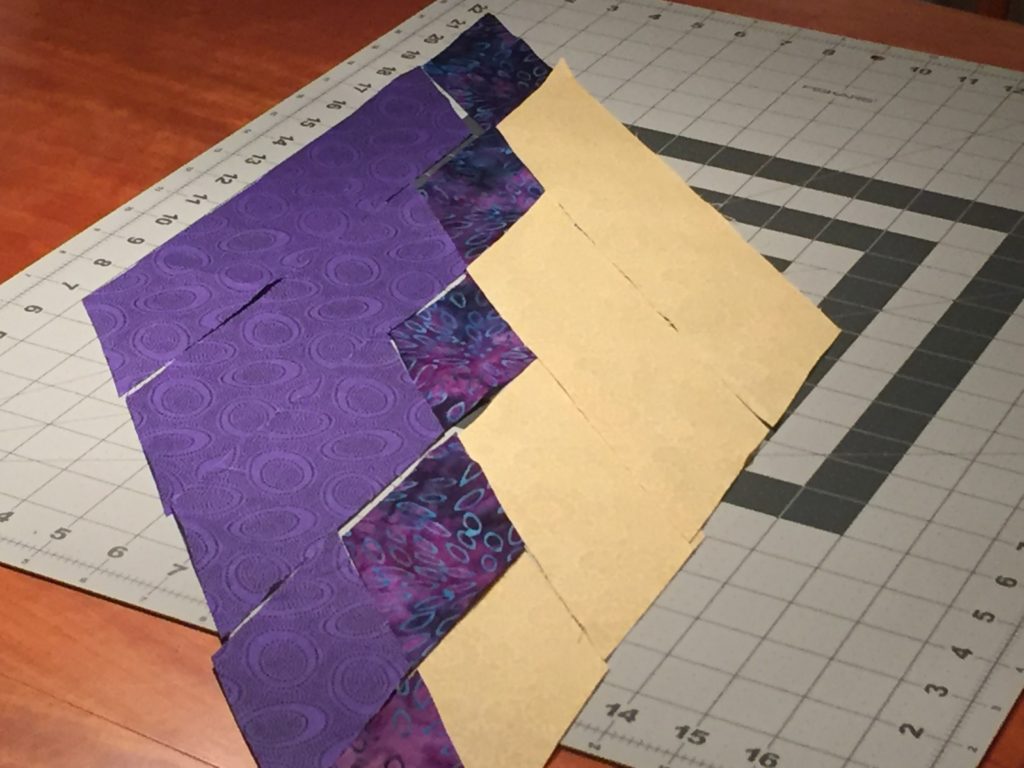
It was fun to put the colors together and make the diamonds. Â Once all the diamonds were completed I put them on the floor to see how they looked. Â I was then able to move them around to see which design I liked the best. Â I did make a mistake although one wouldn’t know it was a mistake. Â In the picture below, I had the two “plum-ish” looking colors across from each other which I really liked.
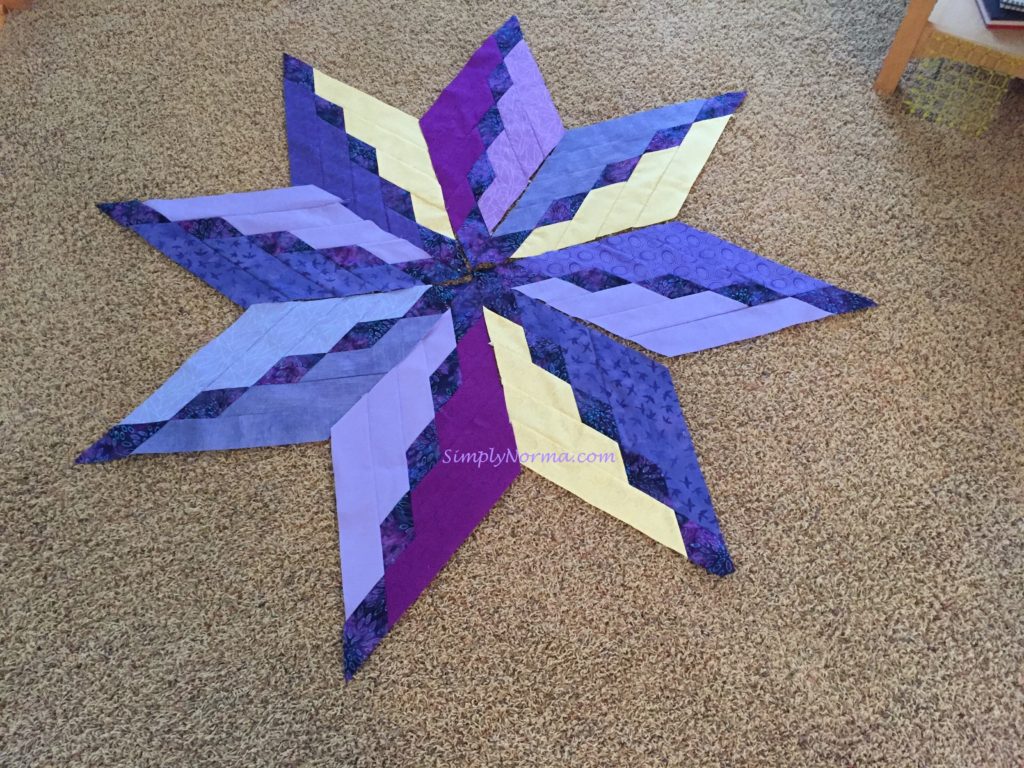
Unfortunately when I finally sewed the diamonds together I made the mistake of sewing them in a different location. No problem though ~ just a different look.
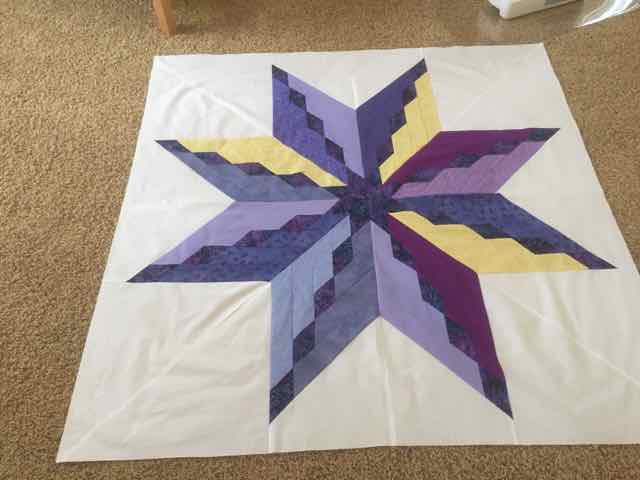
I’m not sure why the designer didn’t have us applique the large star on a white piece of fabric. Instead, the white background fabric is cut into triangles and squares and are set into the corners between the diamonds.
I believe appliqueing would have been much easier but I’m one to stick to a design ~ at least the first time.
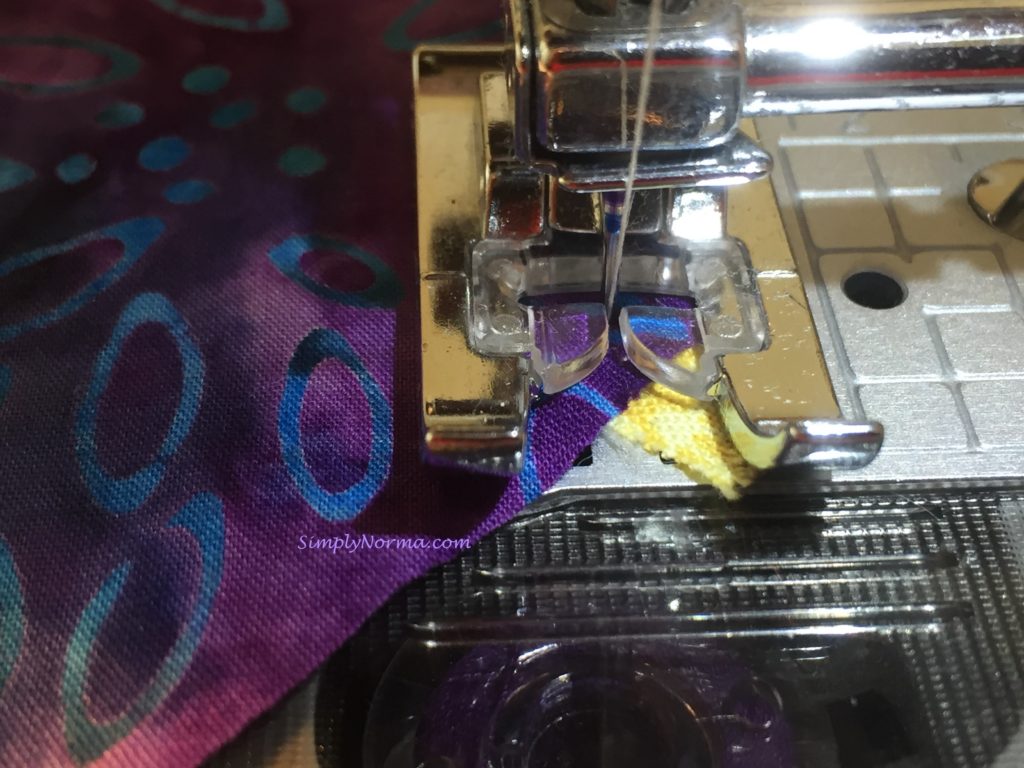
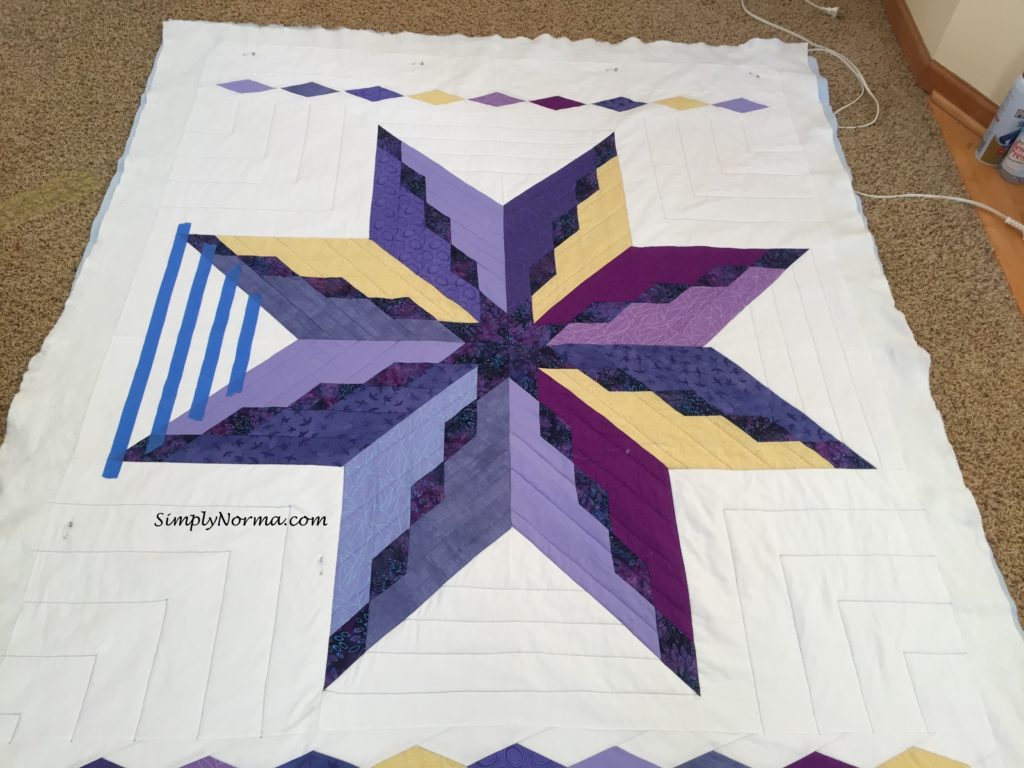
After I basted the top, back and batting together, I had to decide how to quilt it. Â Since I have a small sewing machine I decided on a very simple “line” design. Â Normally I would make a quilt in two or three pieces, quilt it and then sew those pieces together. Â This design didn’t allow for that.
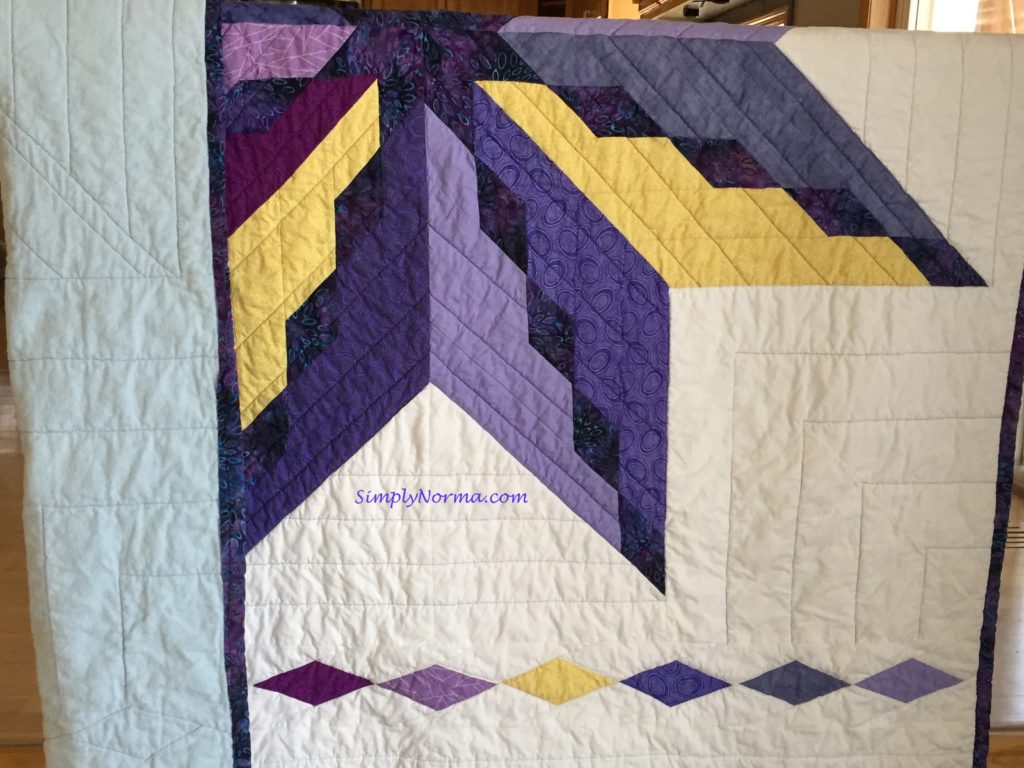
I’ve learned from a quilting teacher that most of us veer when we sew so she recommends using blue painting tape to help you stay on track.
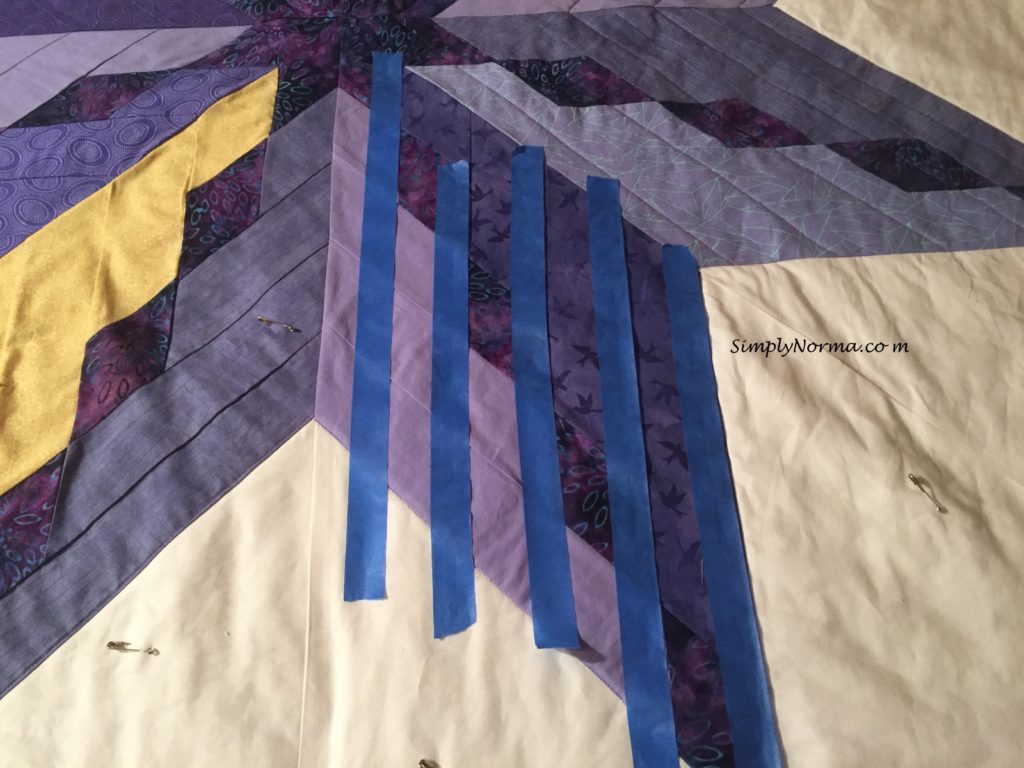
Once the quilting on the diamonds was completed, I used the masking tape to mark the lines for the rest of my design.
A major problem I had with this quilt was when one of the middle star pieces was too “short” to meet the other pieces in the middle. Â Instead of taking care of it initially, I thought I’d take care of it by hand quilting it in the end. Â That was a major mistake as I wound up having to cut another small diamond piece, lay it over the “mistake,” hand quilt it on and also use fabric glue underneath as a “just in case.”
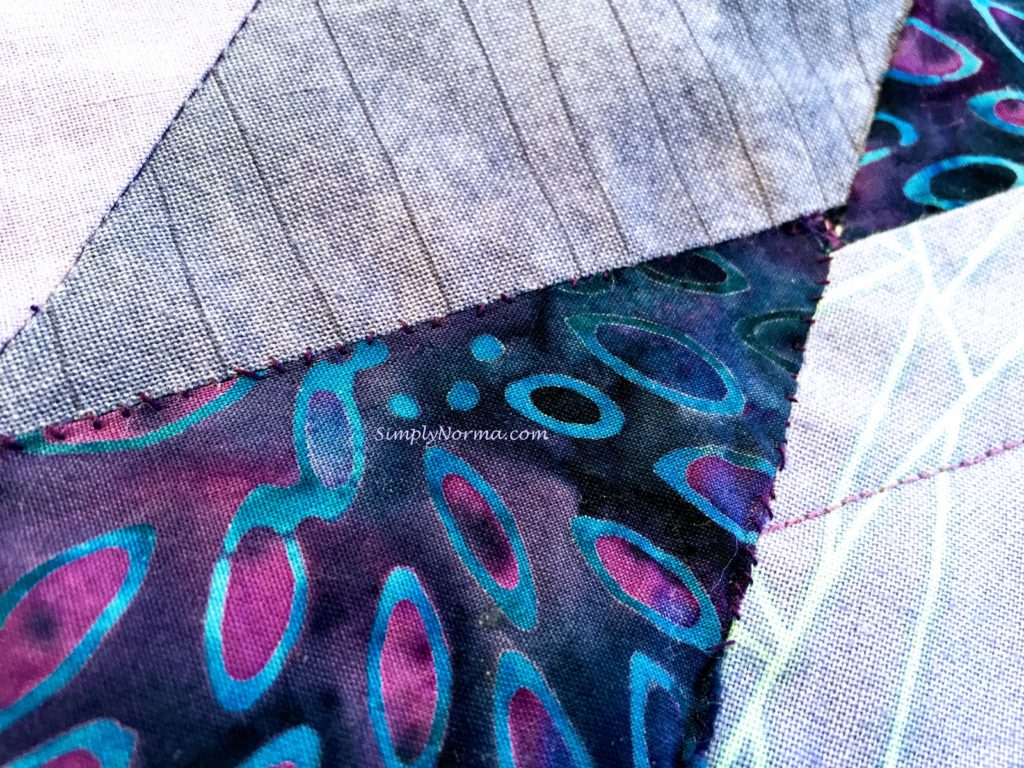
Fortunately for me, you can’t see this small hand quilting from afar ~ you have to get really really close. Â See how it looks below?
The quilt came out quite beautifully. Â I used a technique that modern quilters use and washed the fabric for the back and the top before cutting. Â The batting was not washed initially. Â Once the quilt was finished, I washed it all and the batting then shrunk which gives the quilt a nice wrinkled look.
And here’s the quilt with a section of the baby blue flannel showing.
It didn’t take very long to make this quilt. I purchased the pattern on the Craftsy website ~ it’s by Sam Hunter of Hunter’s Design Studio.

