Master Bathroom Remodel Day 9

Today was an exciting day!!!  Our contractor had taken a couple of days “off” from working at our house so he could build our maple vanity and today was the day he would install it along with the onyx counter top and faucets.  Woohoo!!!
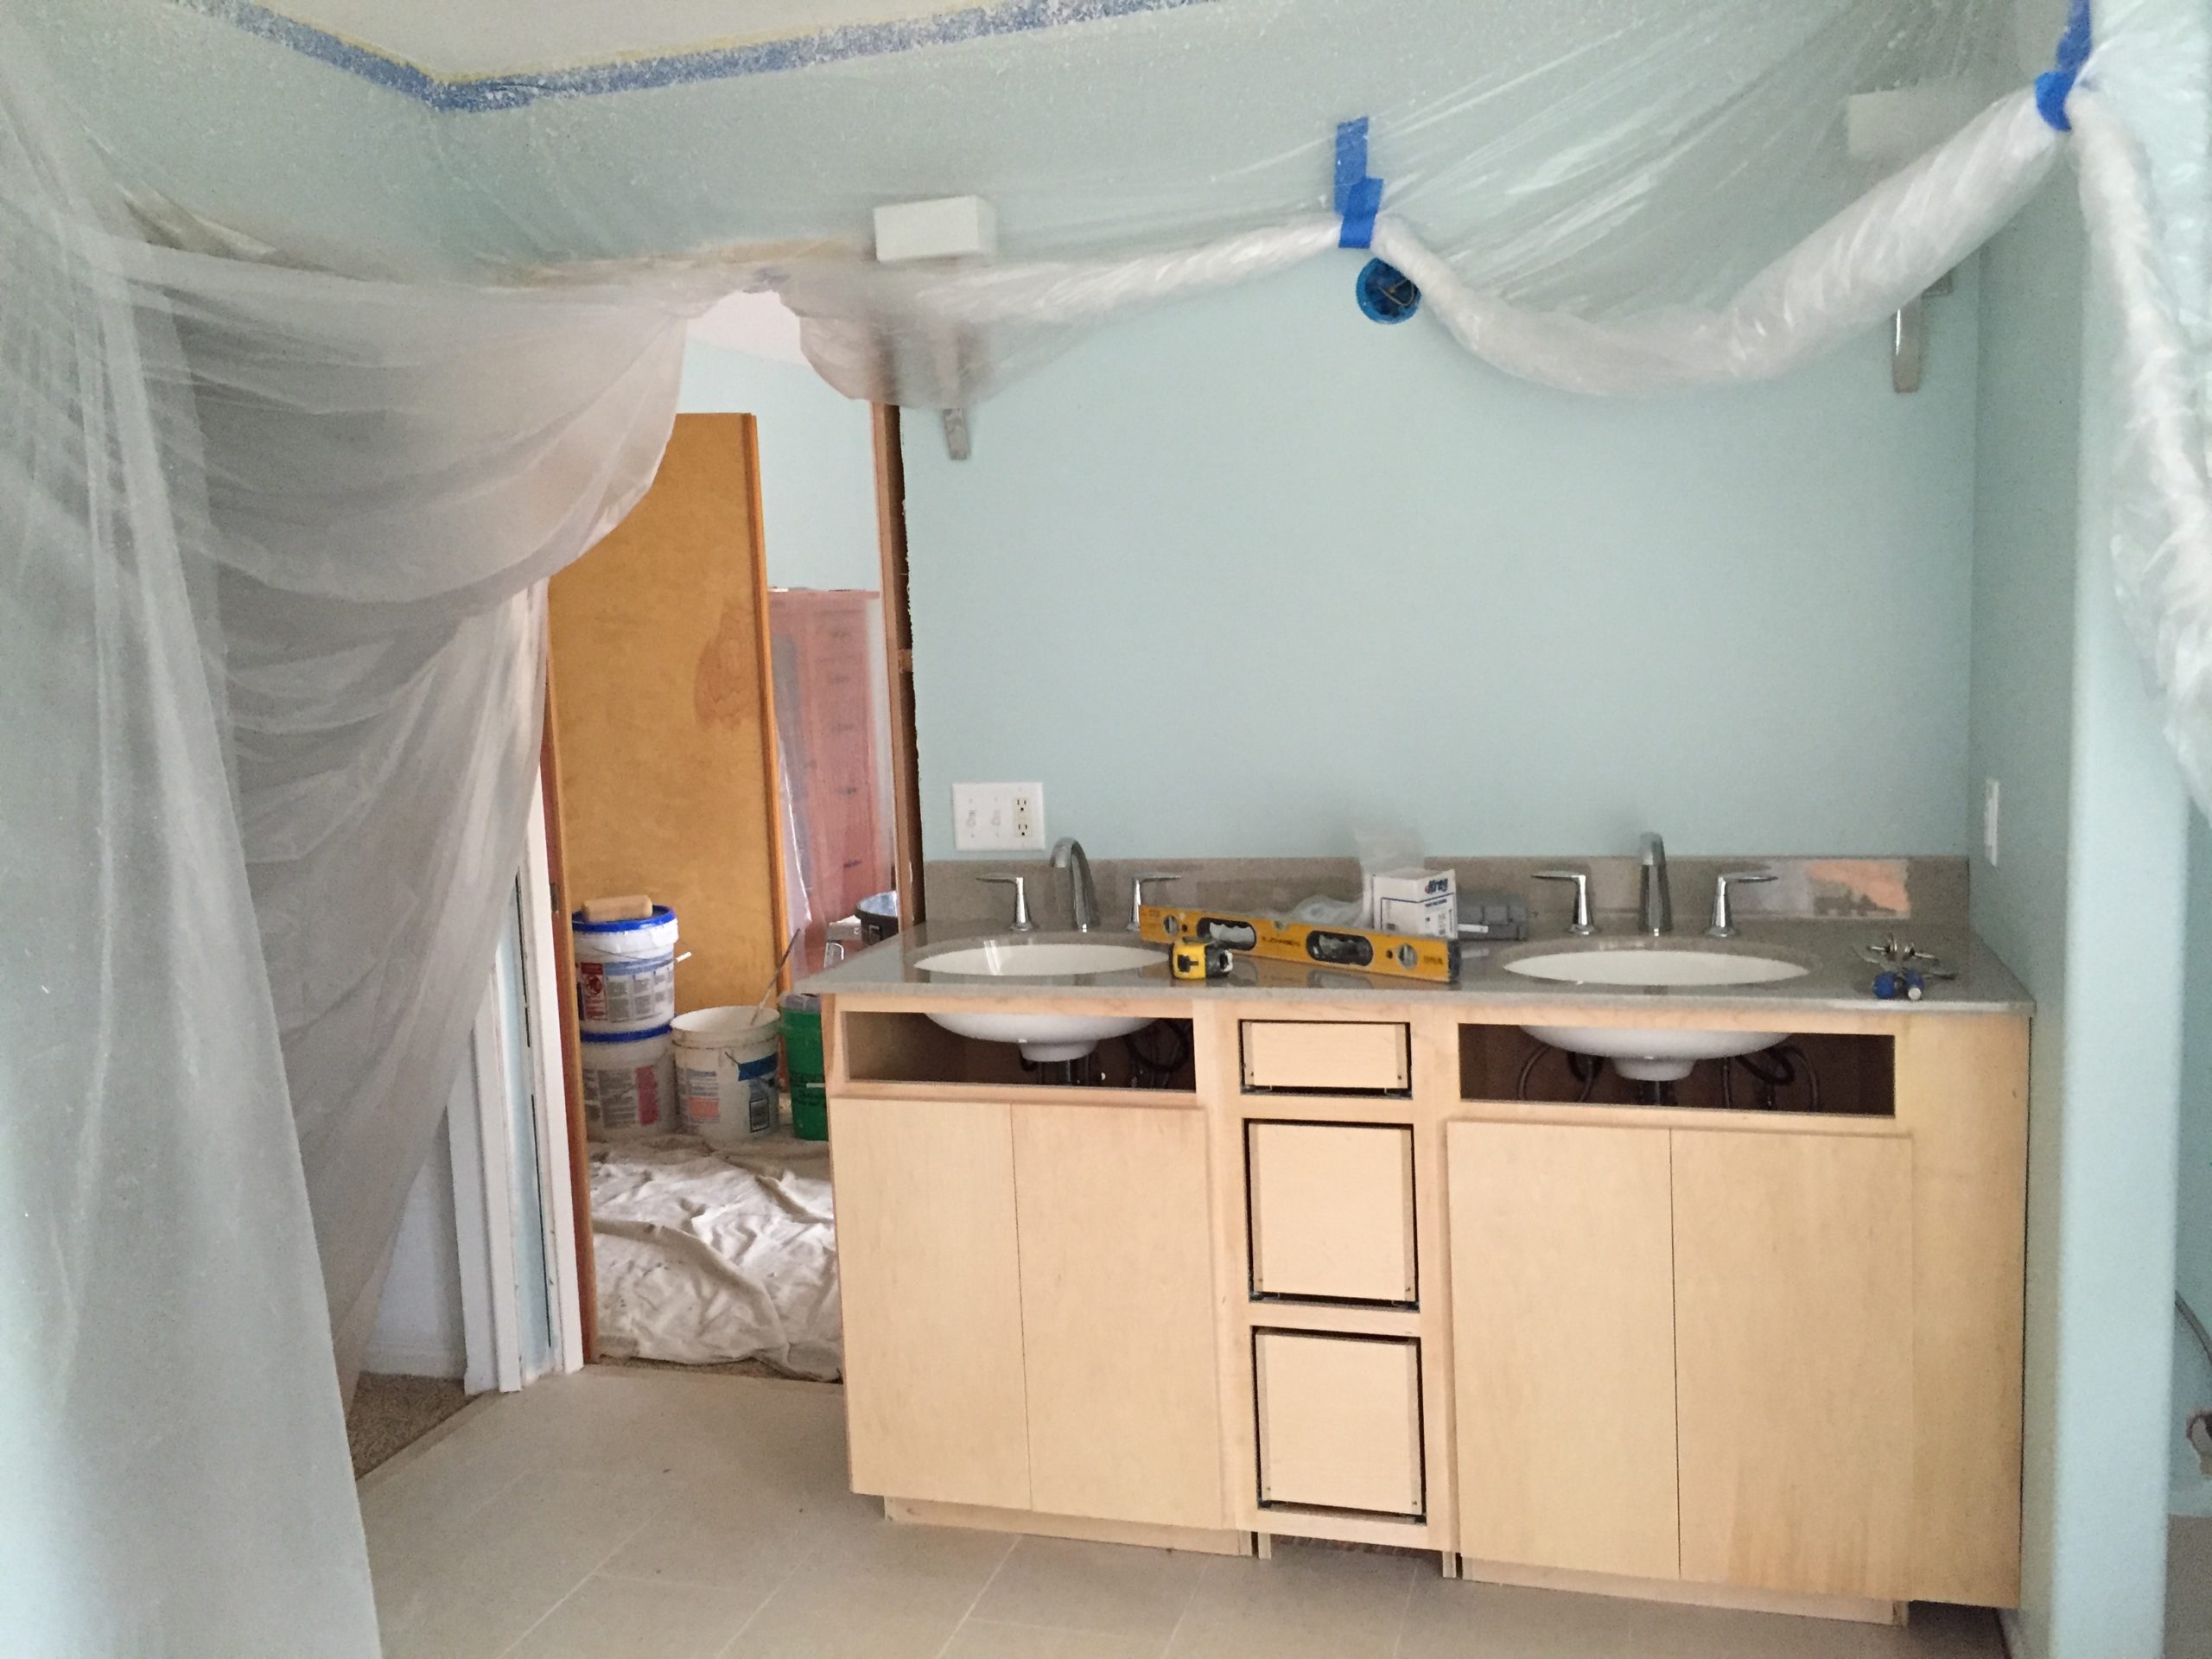
Custom Maple Vanity
Custom Maple Vanity

Are you wondering why there is a tarp over the walls, tile and vanity?

Well, the last time the contractor was here he sanded and re-textured the knockdown ceiling so that it could all match since we removed the soffit. Unfortunately, it was the ABSOLUTE UGLIEST texture I had ever seen.  I thought that once the texture dried perhaps (one could only wish) it would look nicer, but that was not to be.
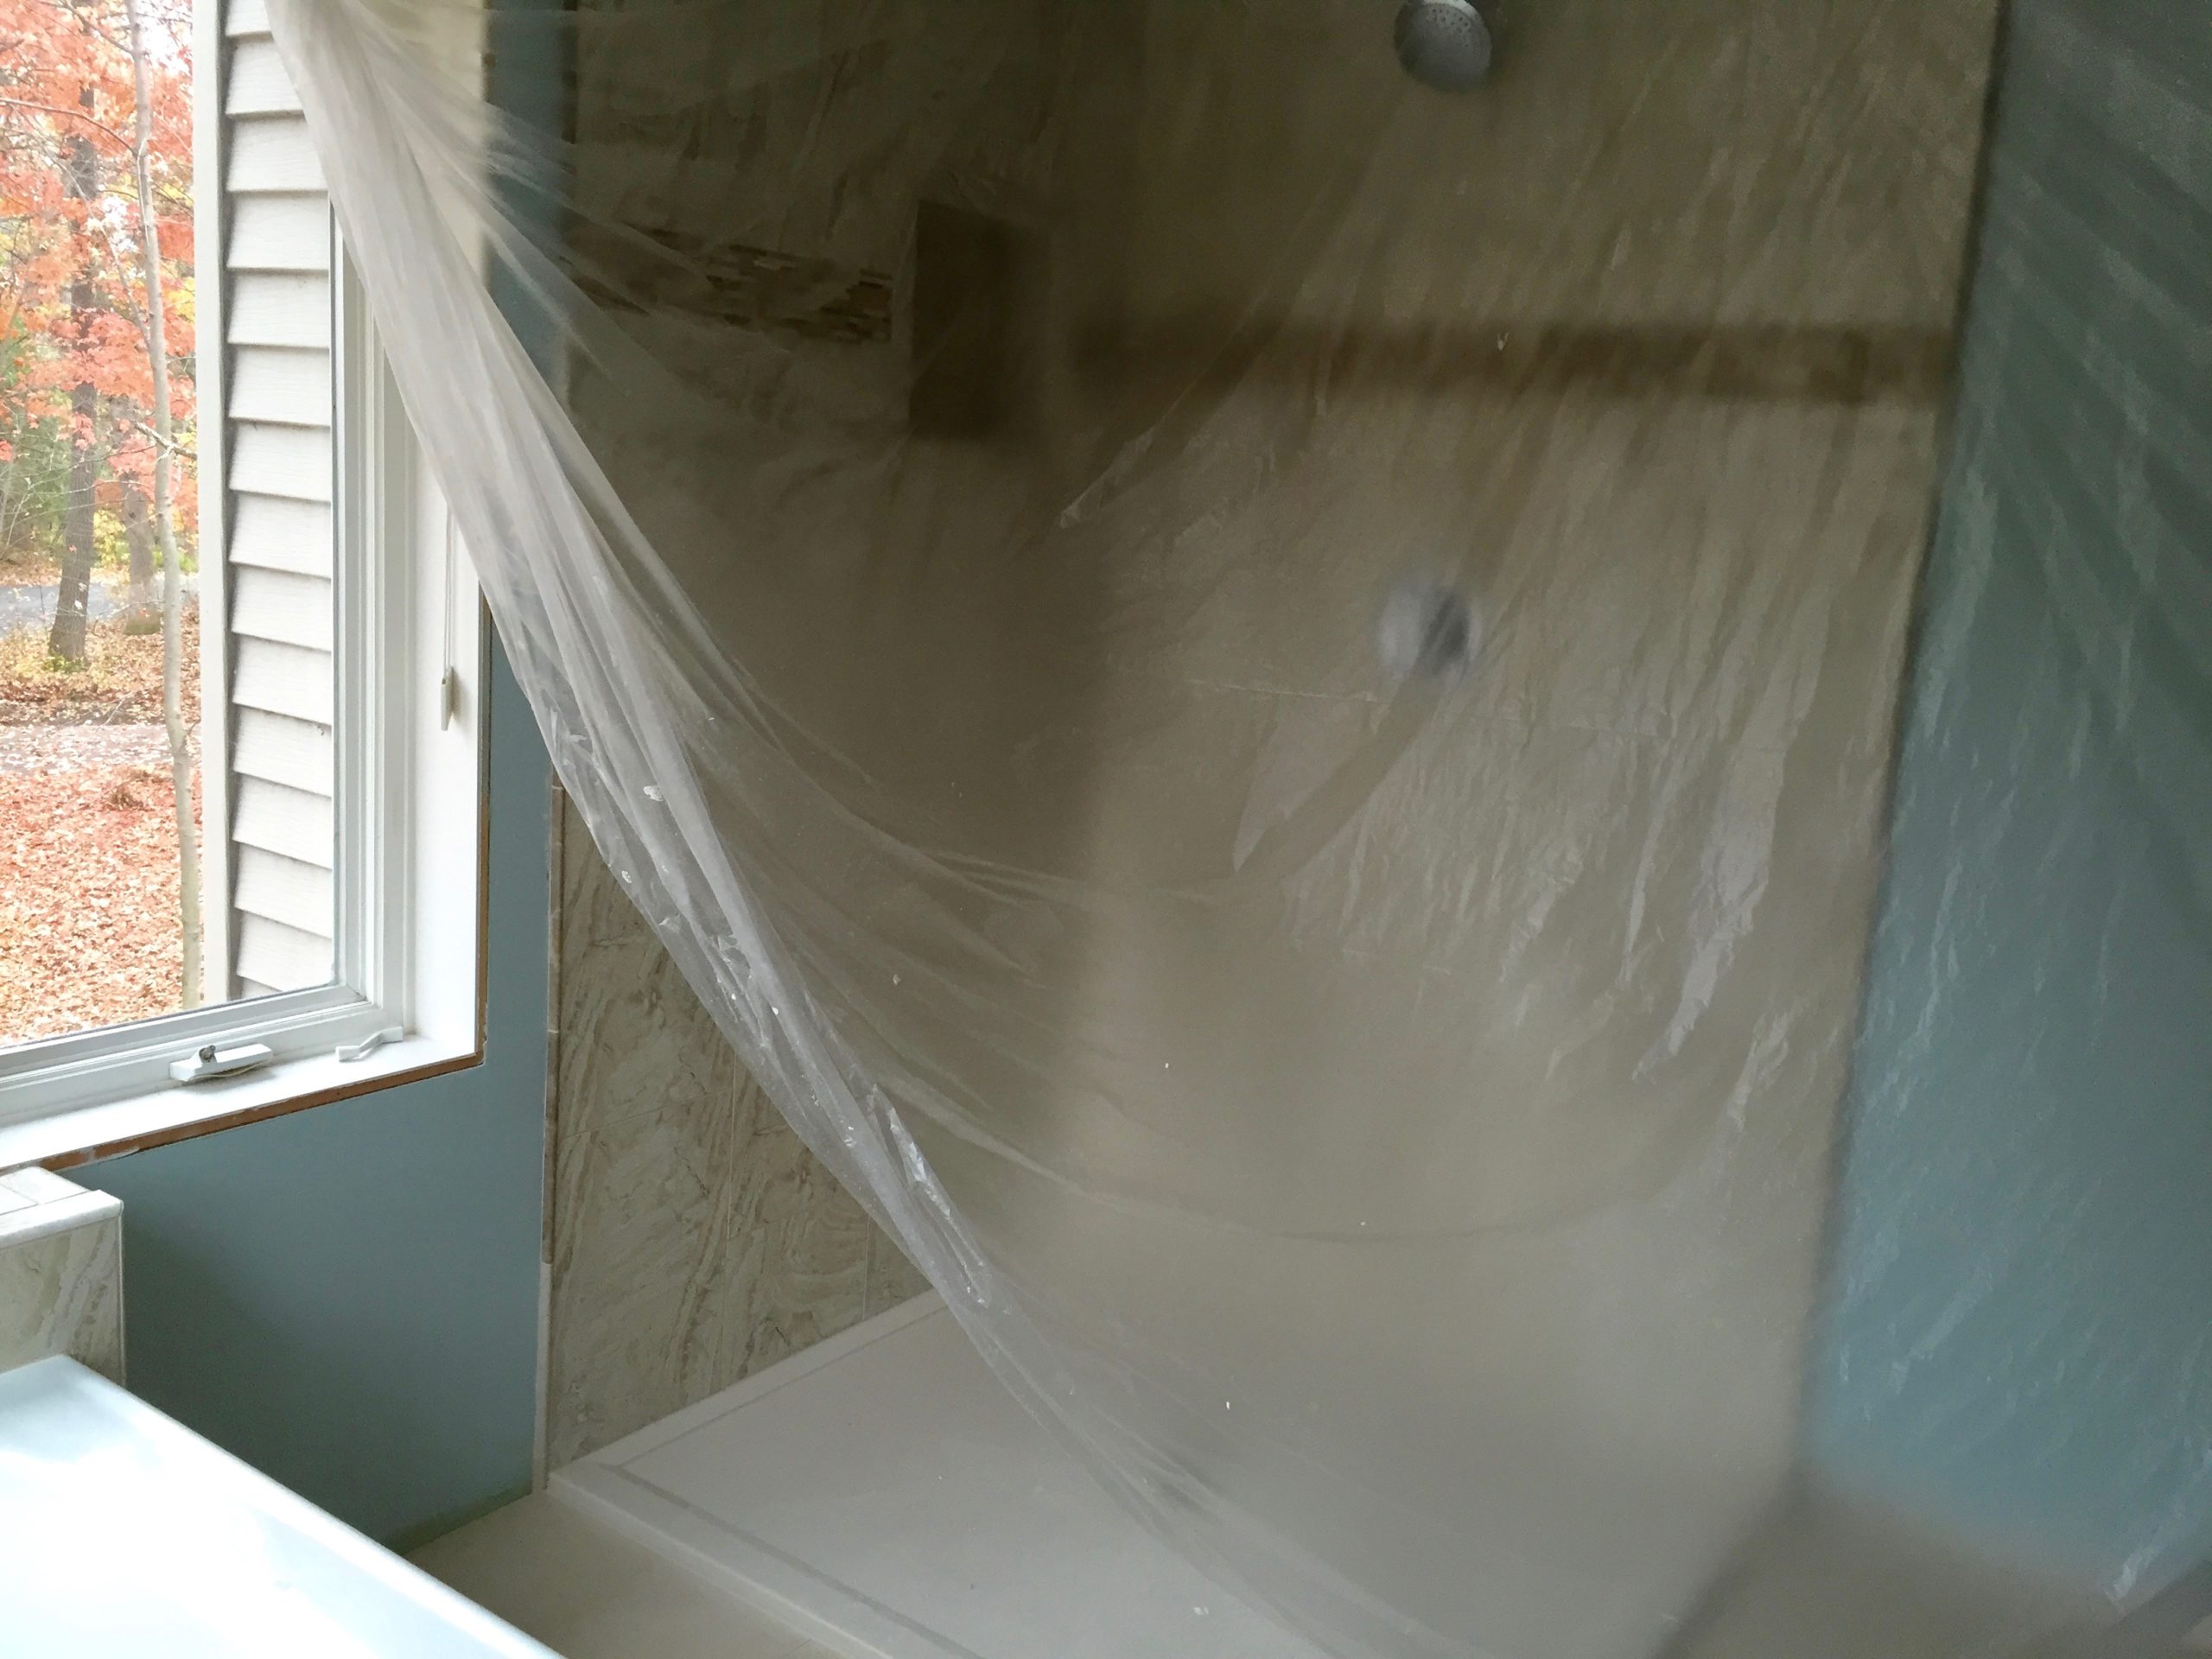
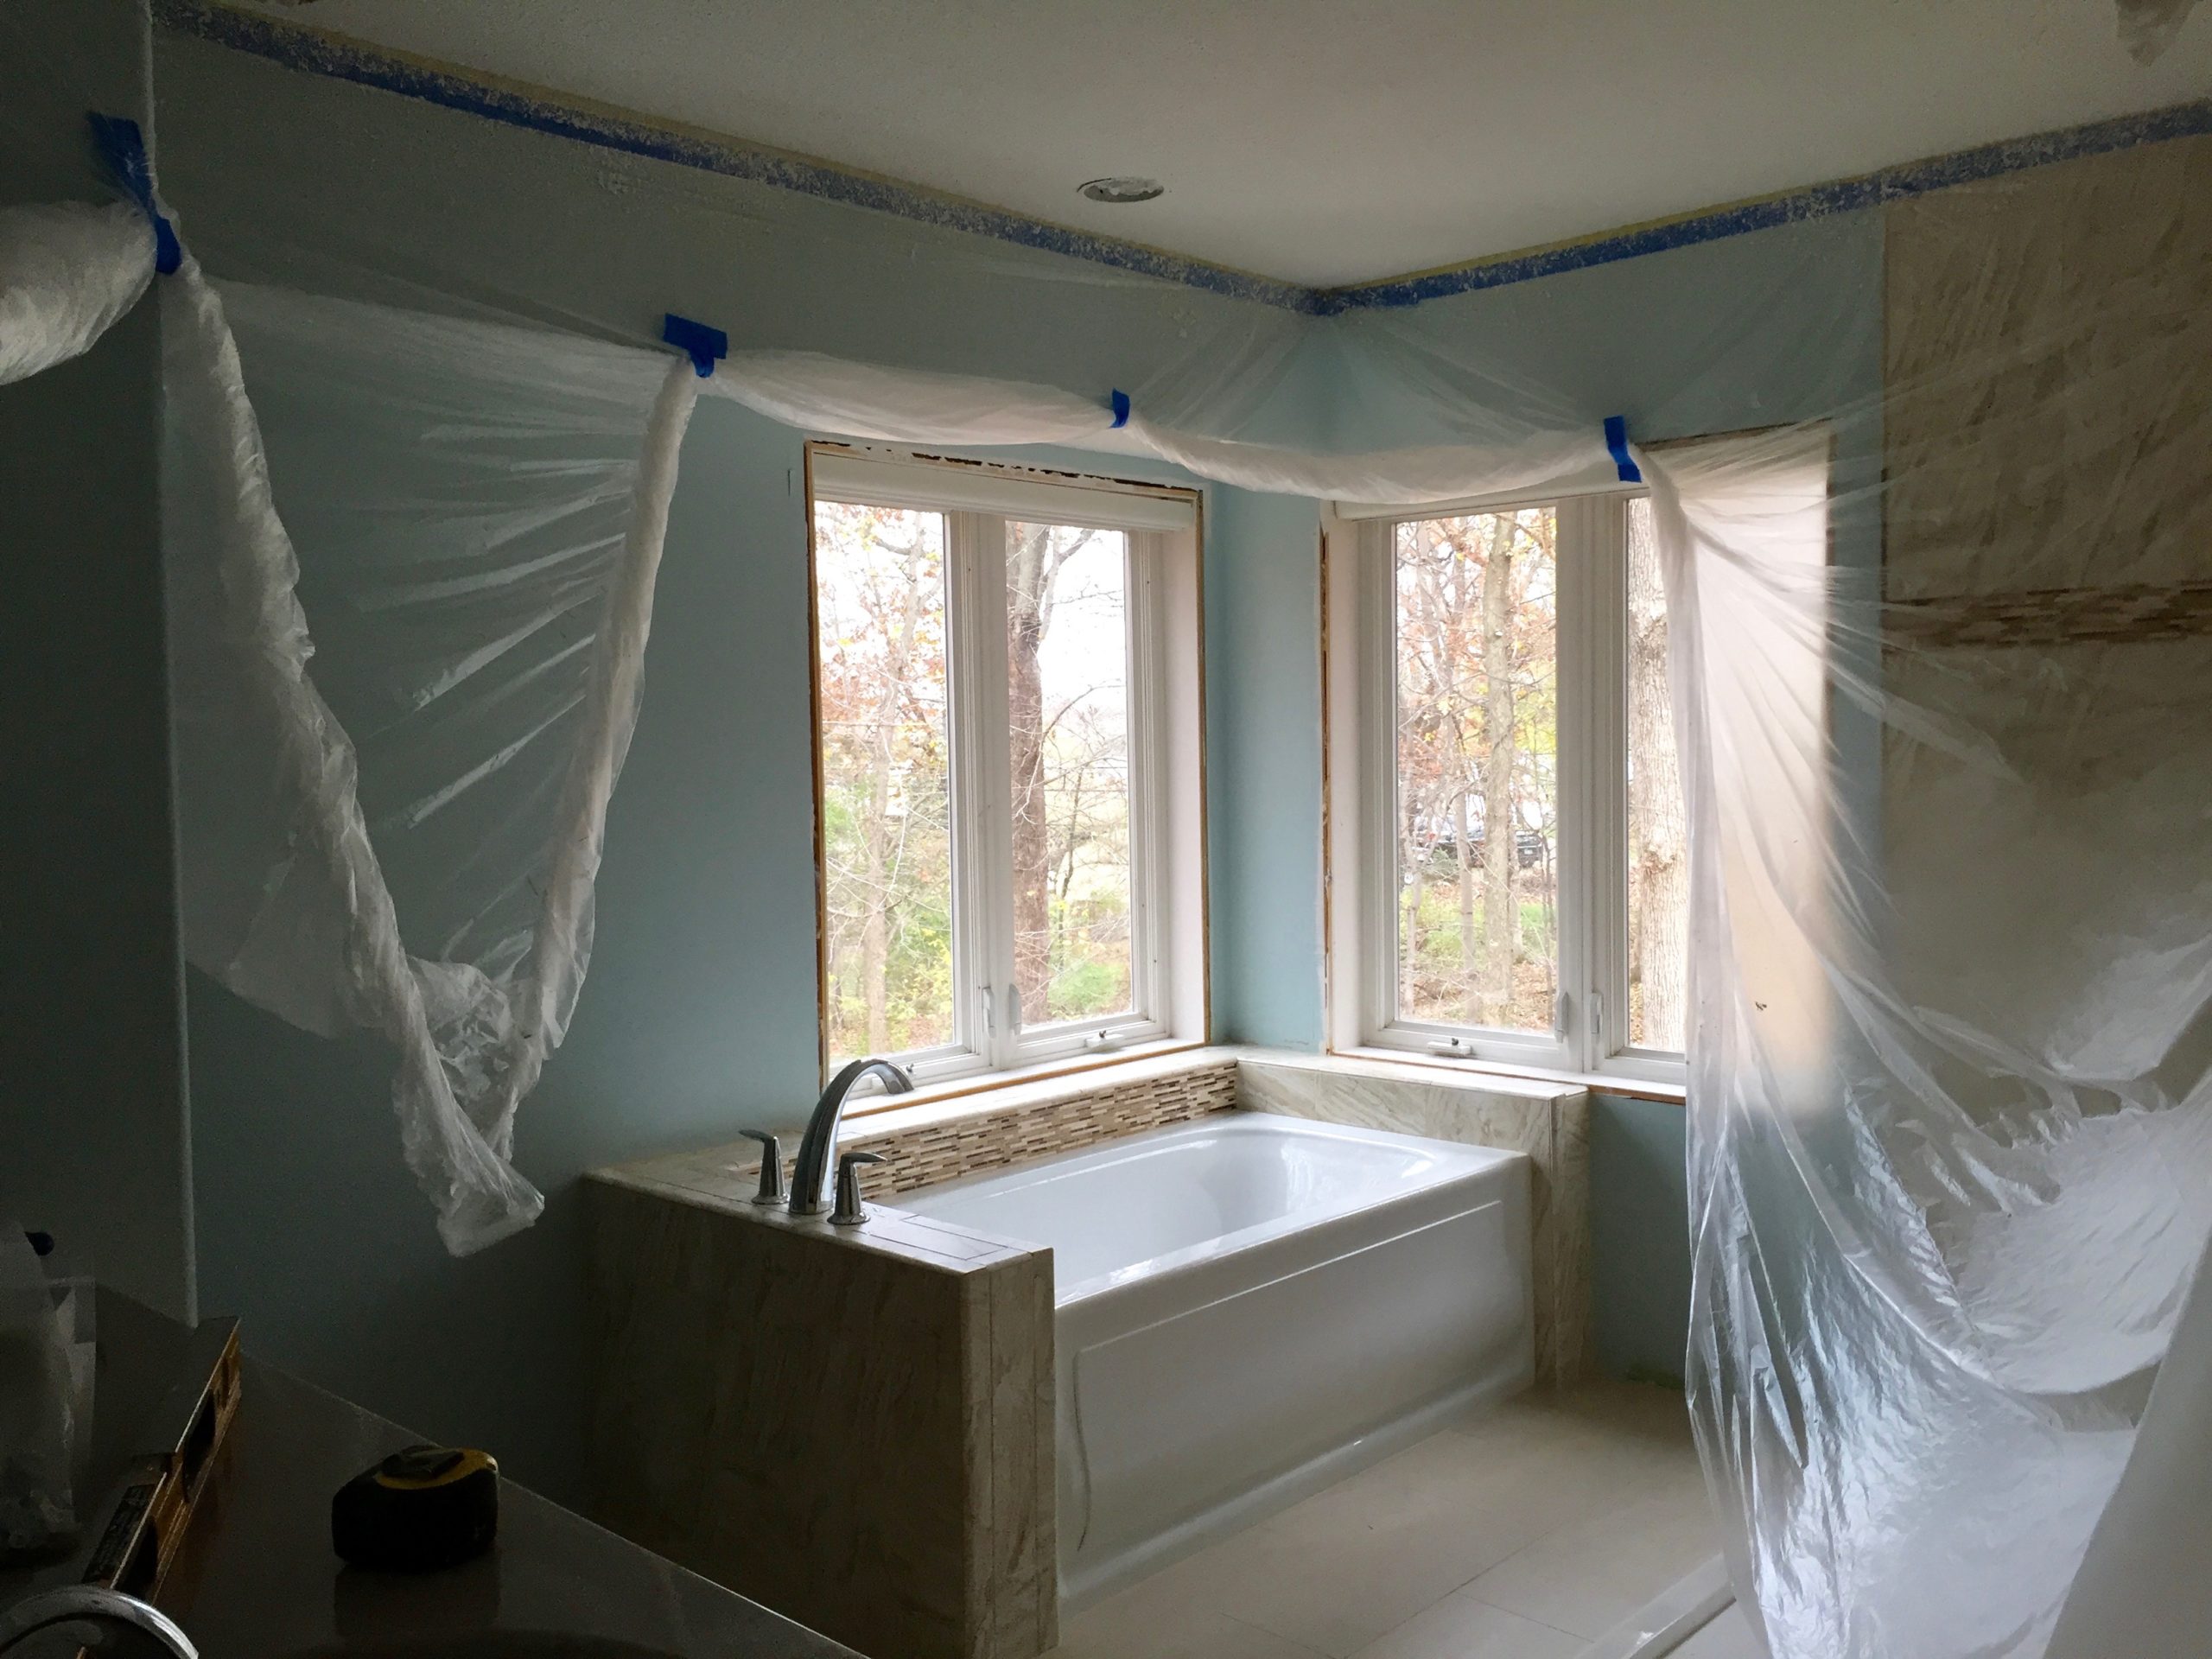
Re-texturing a knockdown ceiling

So, because our contractor is “almost” a perfectionist, when he saw it he came downstairs and said “Norma, I’m not happy with the ceiling texture and we’re going to re-do it.”  I breathed a sigh of relief when he told me that.

Fortunately when he re-did the ceiling it came out perfect.

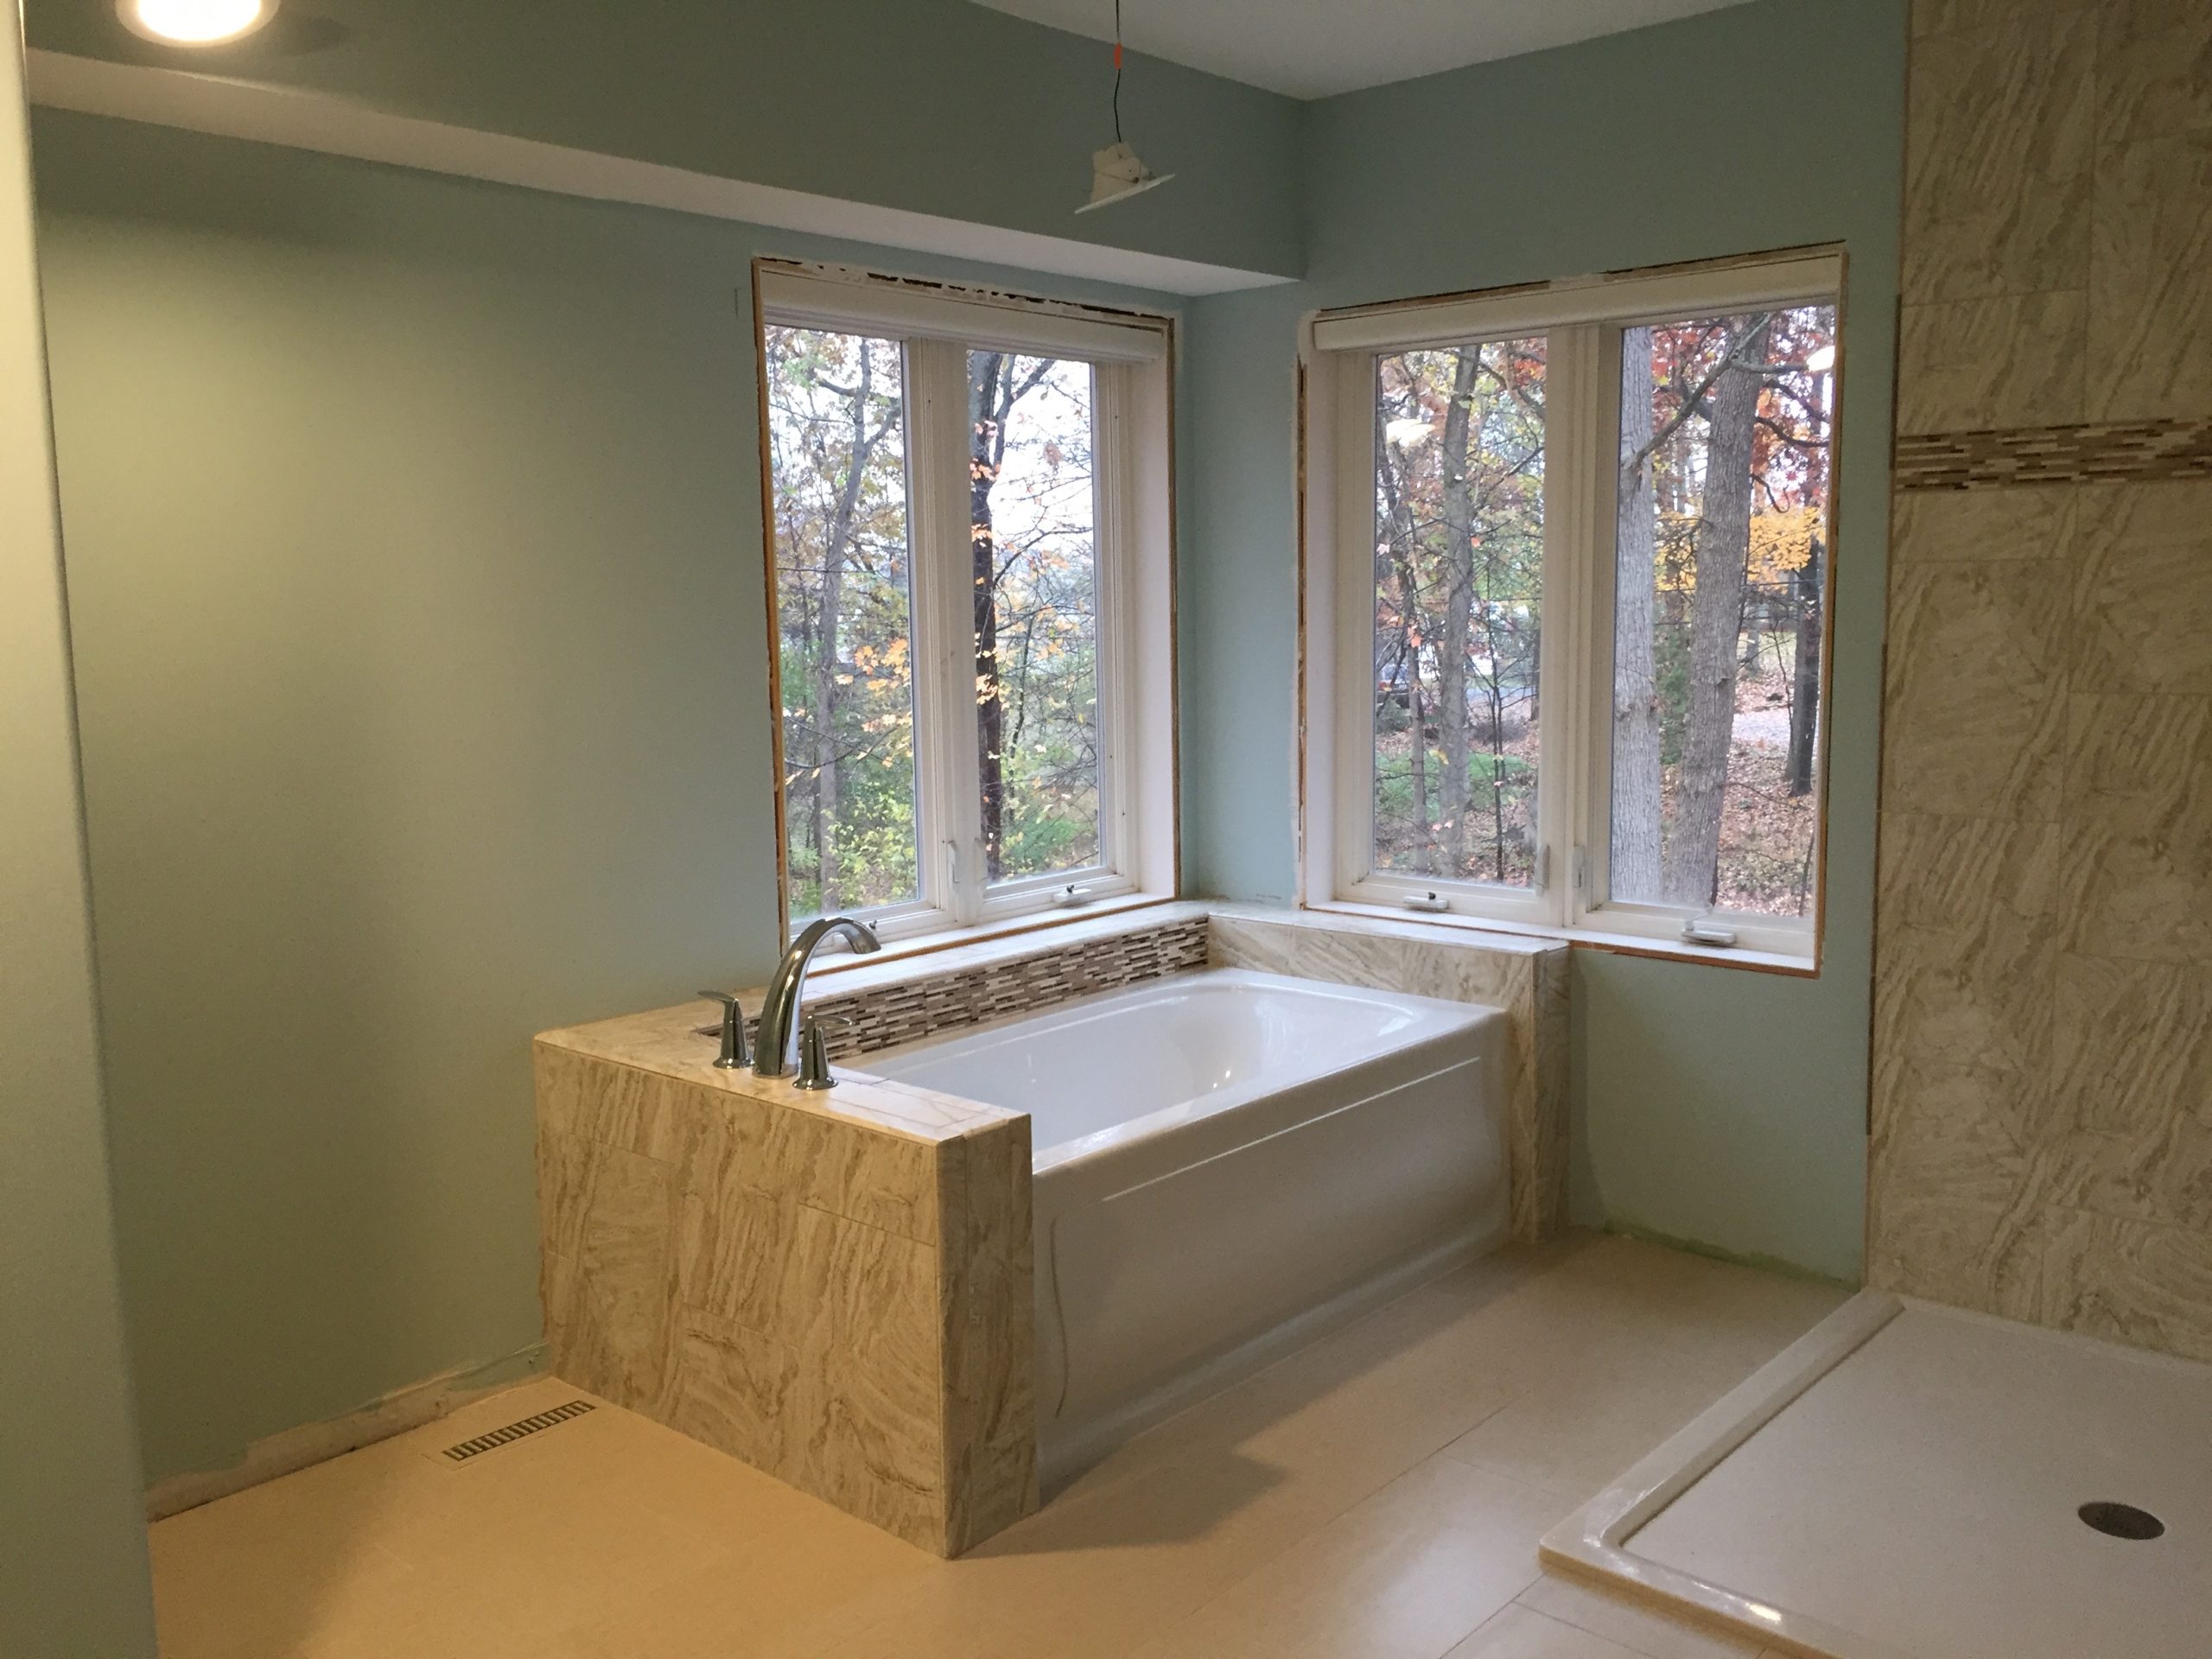
By now we’re at the end of week three including days off for medical, drying time, vanity building, etc.  There are paint touch-ups, mirrors and sconce decisions to be made but mostly the bathroom is finished.

My next post will show the completed project with before and after pictures.  The bathroom looks totally different ~ light an airy now.!
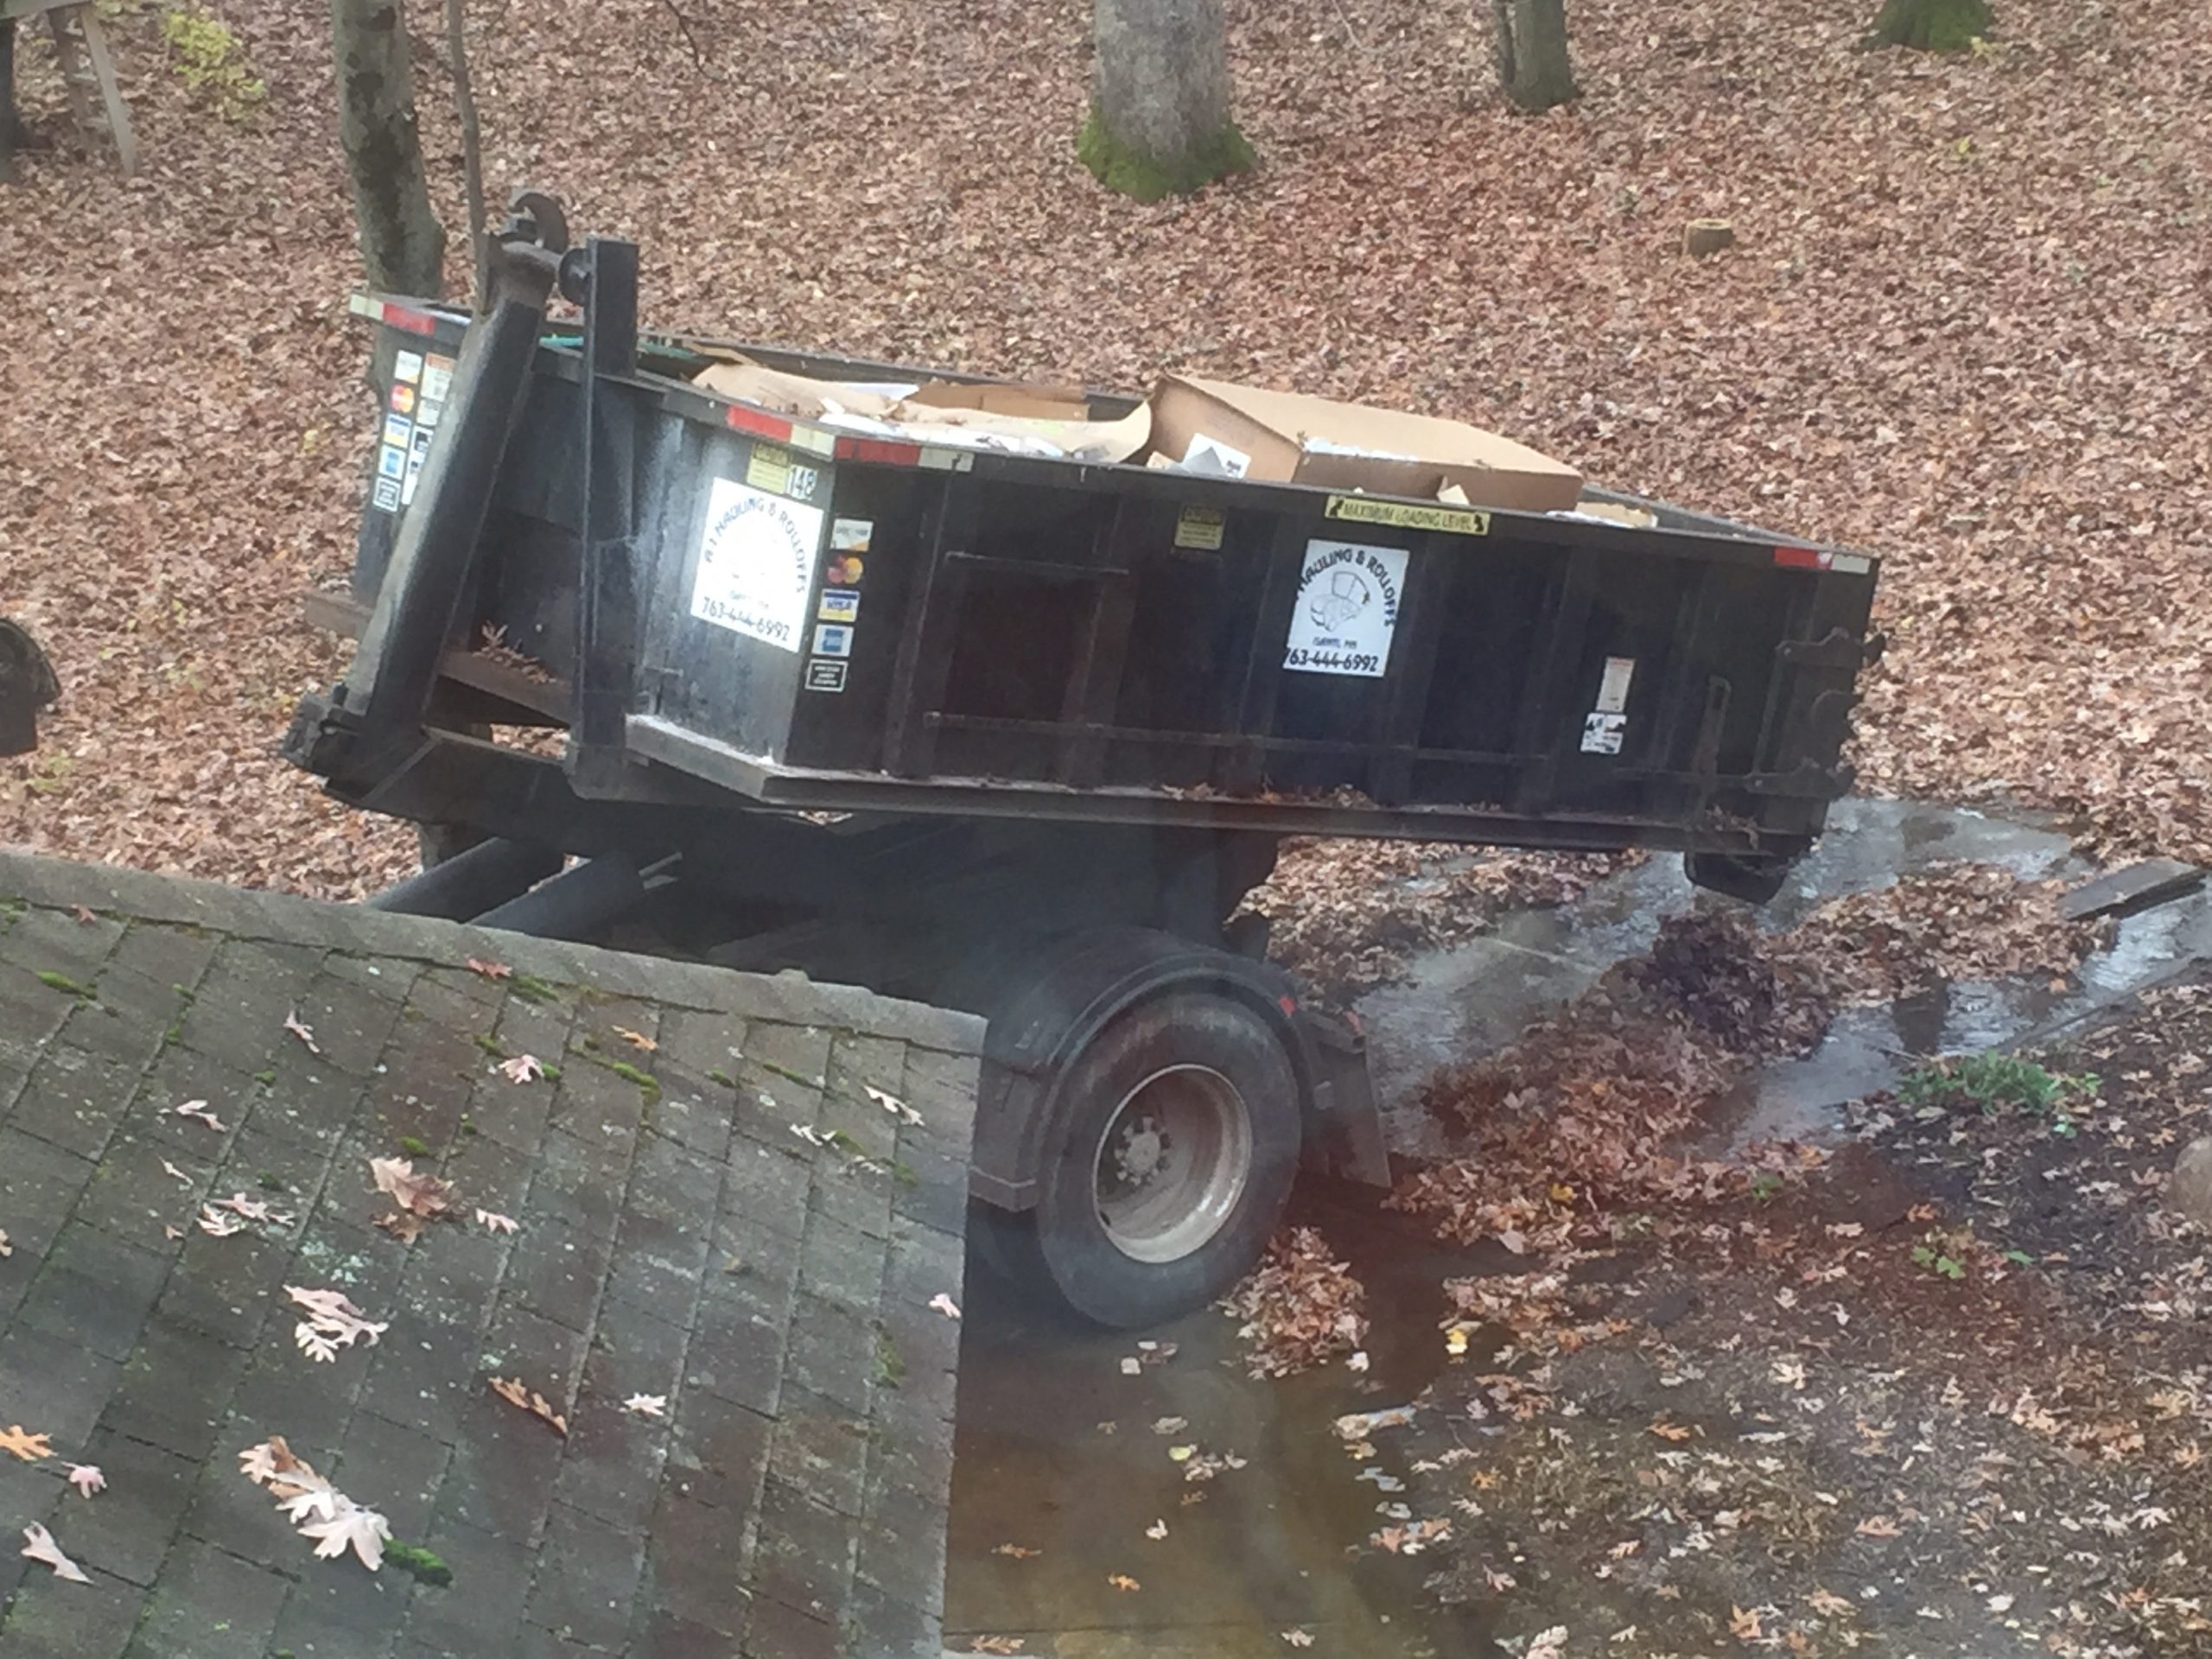
Dumpster
Dumpster

Master Bathroom Remodel Day 8

By the end of day 8 things are looking as if the bathroom will be completed tomorrow but that is not the case as there are quite a few “little” things that need to be done.

Today our contractor brought along, not only his one worker but his wife also.  She is a professional cleaner and helped with cleaning as the grout was being added to the tiles.

Master Bathroom Remodel

We still hadn’t made up our minds on what we wanted to do regarding the sconce “problem.”

Master Bathroom Remodel

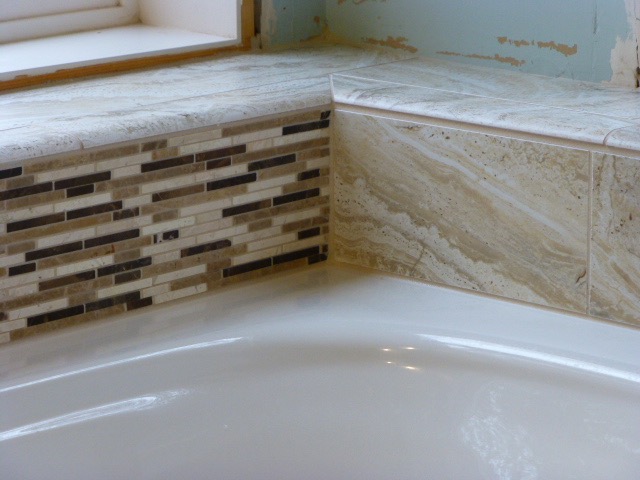
We were very pleased with the way the mosaic tile looked around the tub.

Tub Tile Surround
Tub Mosaic Tile Surround

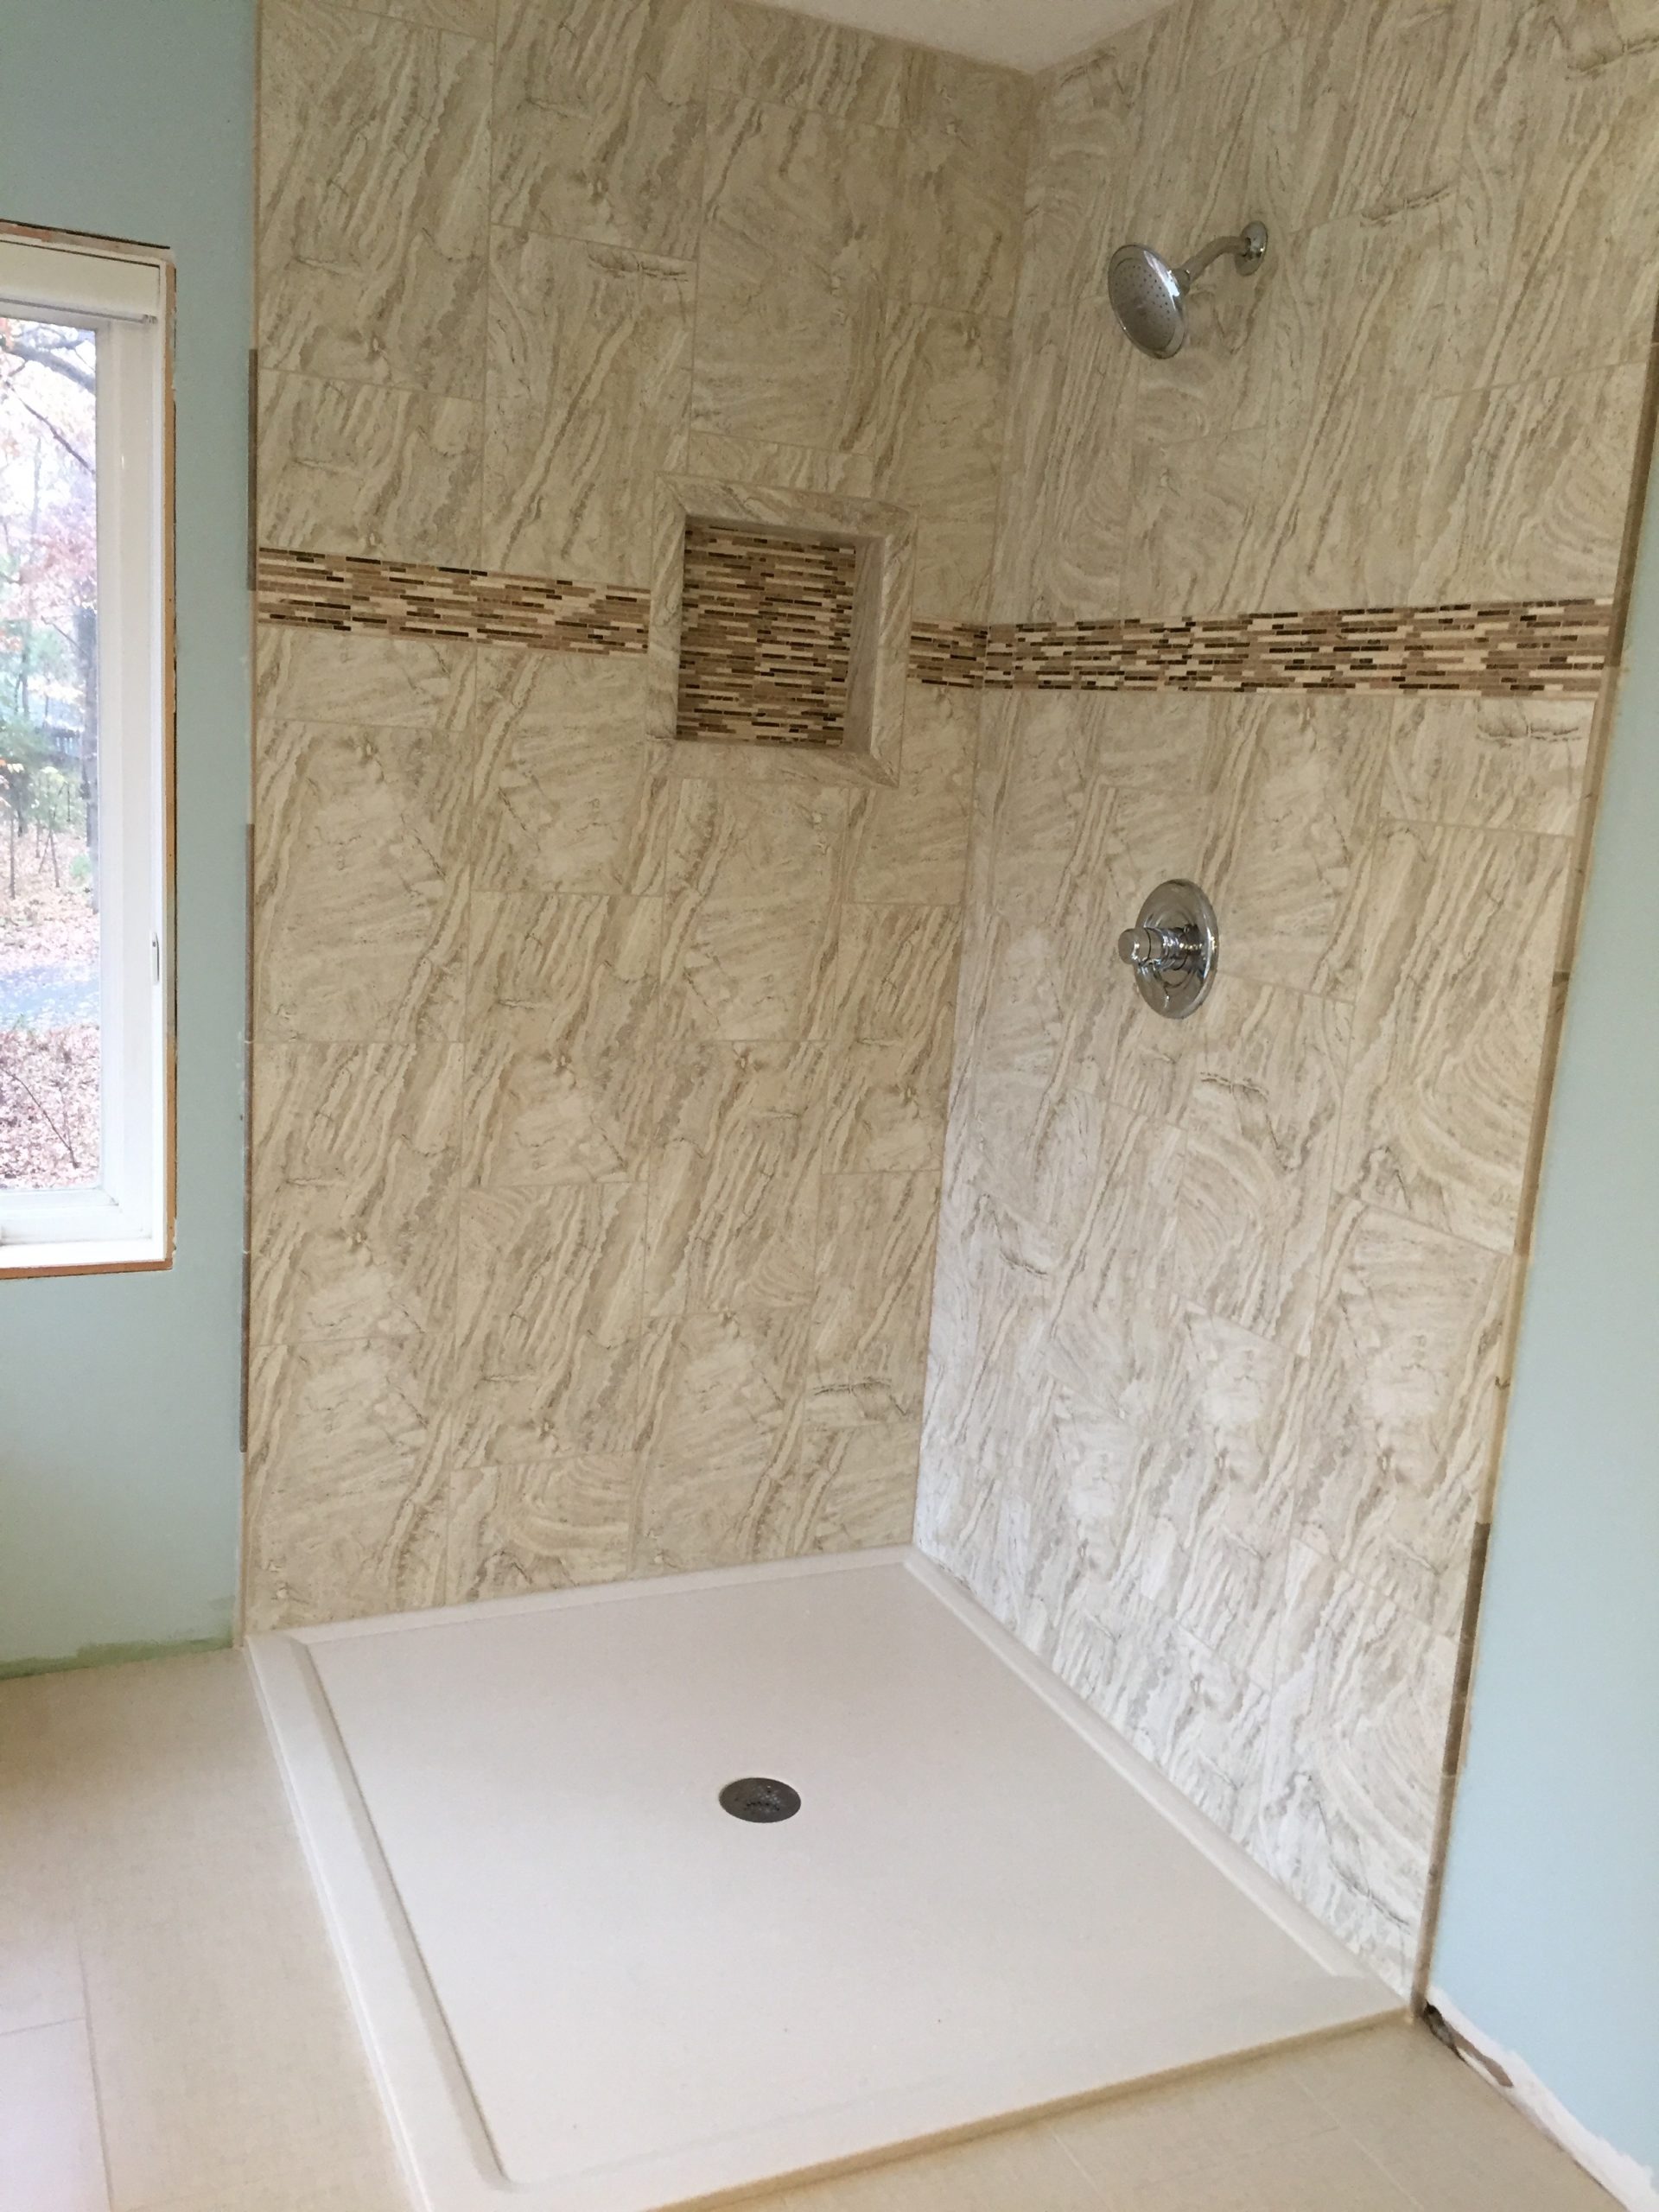
We used the same tile for the tub wall that we used on the shower wall.

Tub Wall Tile
Tub Wall Tile

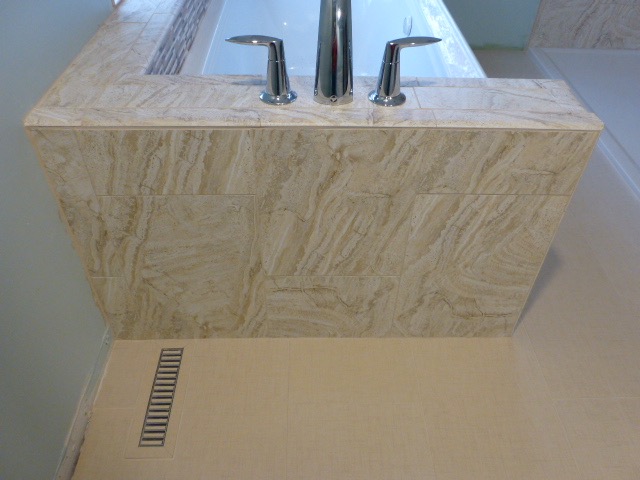
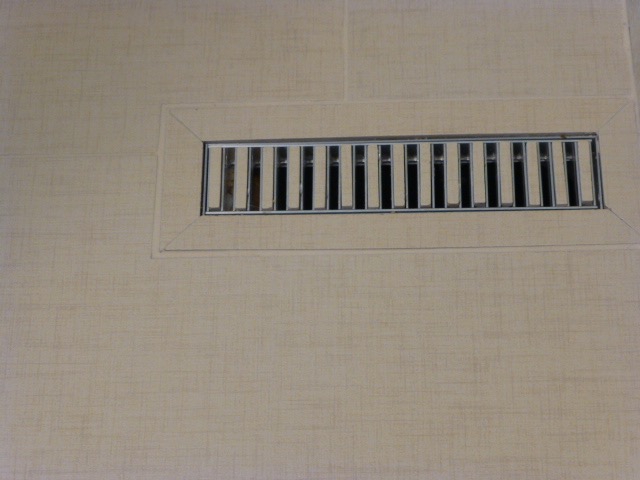
Our contractor suggested tiling the heat register.  What a great idea!  It matches perfectly.

Tiled Heat Register
Tiled Heat Register

With day 8 completed, we had a few more decisions to make.

Master Bathroom Remodel Day 6 & 7

So by now, we’ve had a weekend go by along with one day when our contractor couldn’t work due to health reasons.

I really like my contractor.  He comes up with creative ideas to help save us money without the project looking “dumbed down.”  He also takes much pride in his work.

Day 6 was a continuation of preparing the walls so they could be painted.  We decided to use the same color that we have on the bedroom walls and purchased the paint at Sherwin Williams.

Sherwin Williams paint is EXPENSIVE. But, the paint rolls on so smoothly and covers a lot better than other paint I’ve purchased so it normally needs only one coat ~ even over a dark color.

Painting the Master Bathroom
Niche Installation
Niche Installation

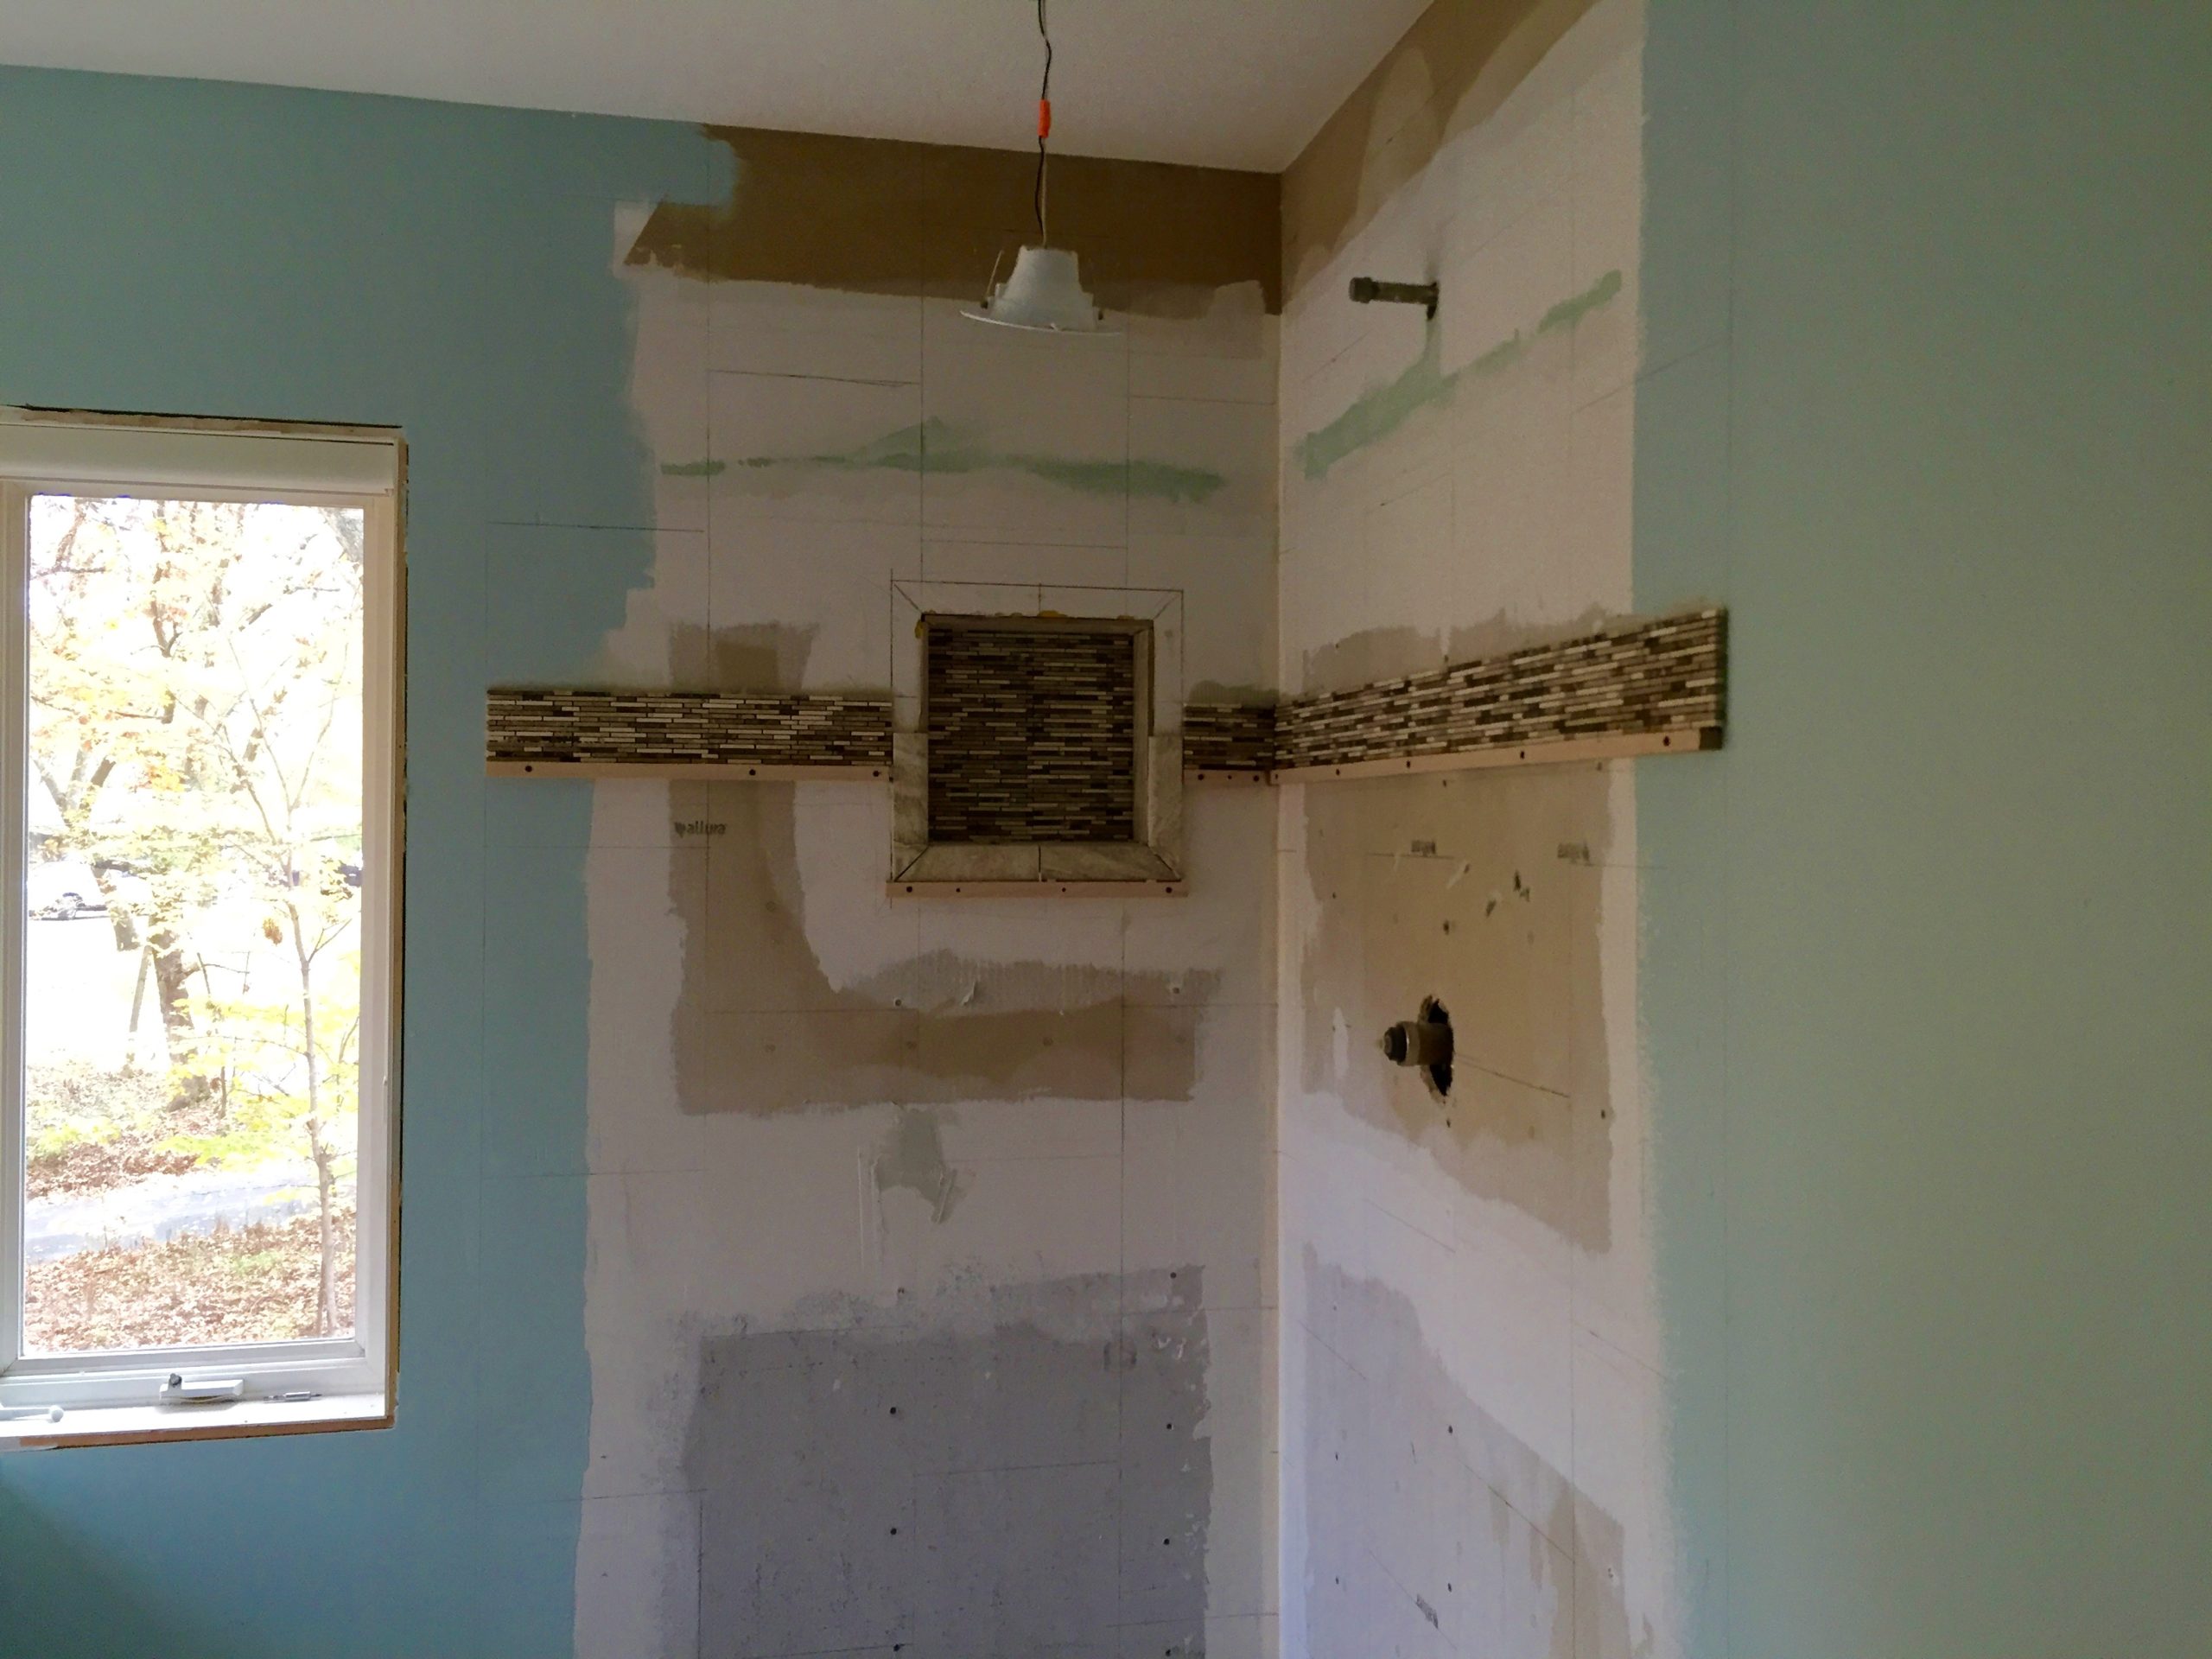
Besides painting today, tiling began.

Niche Tile
Niche Tile
Master Bathroom Painting

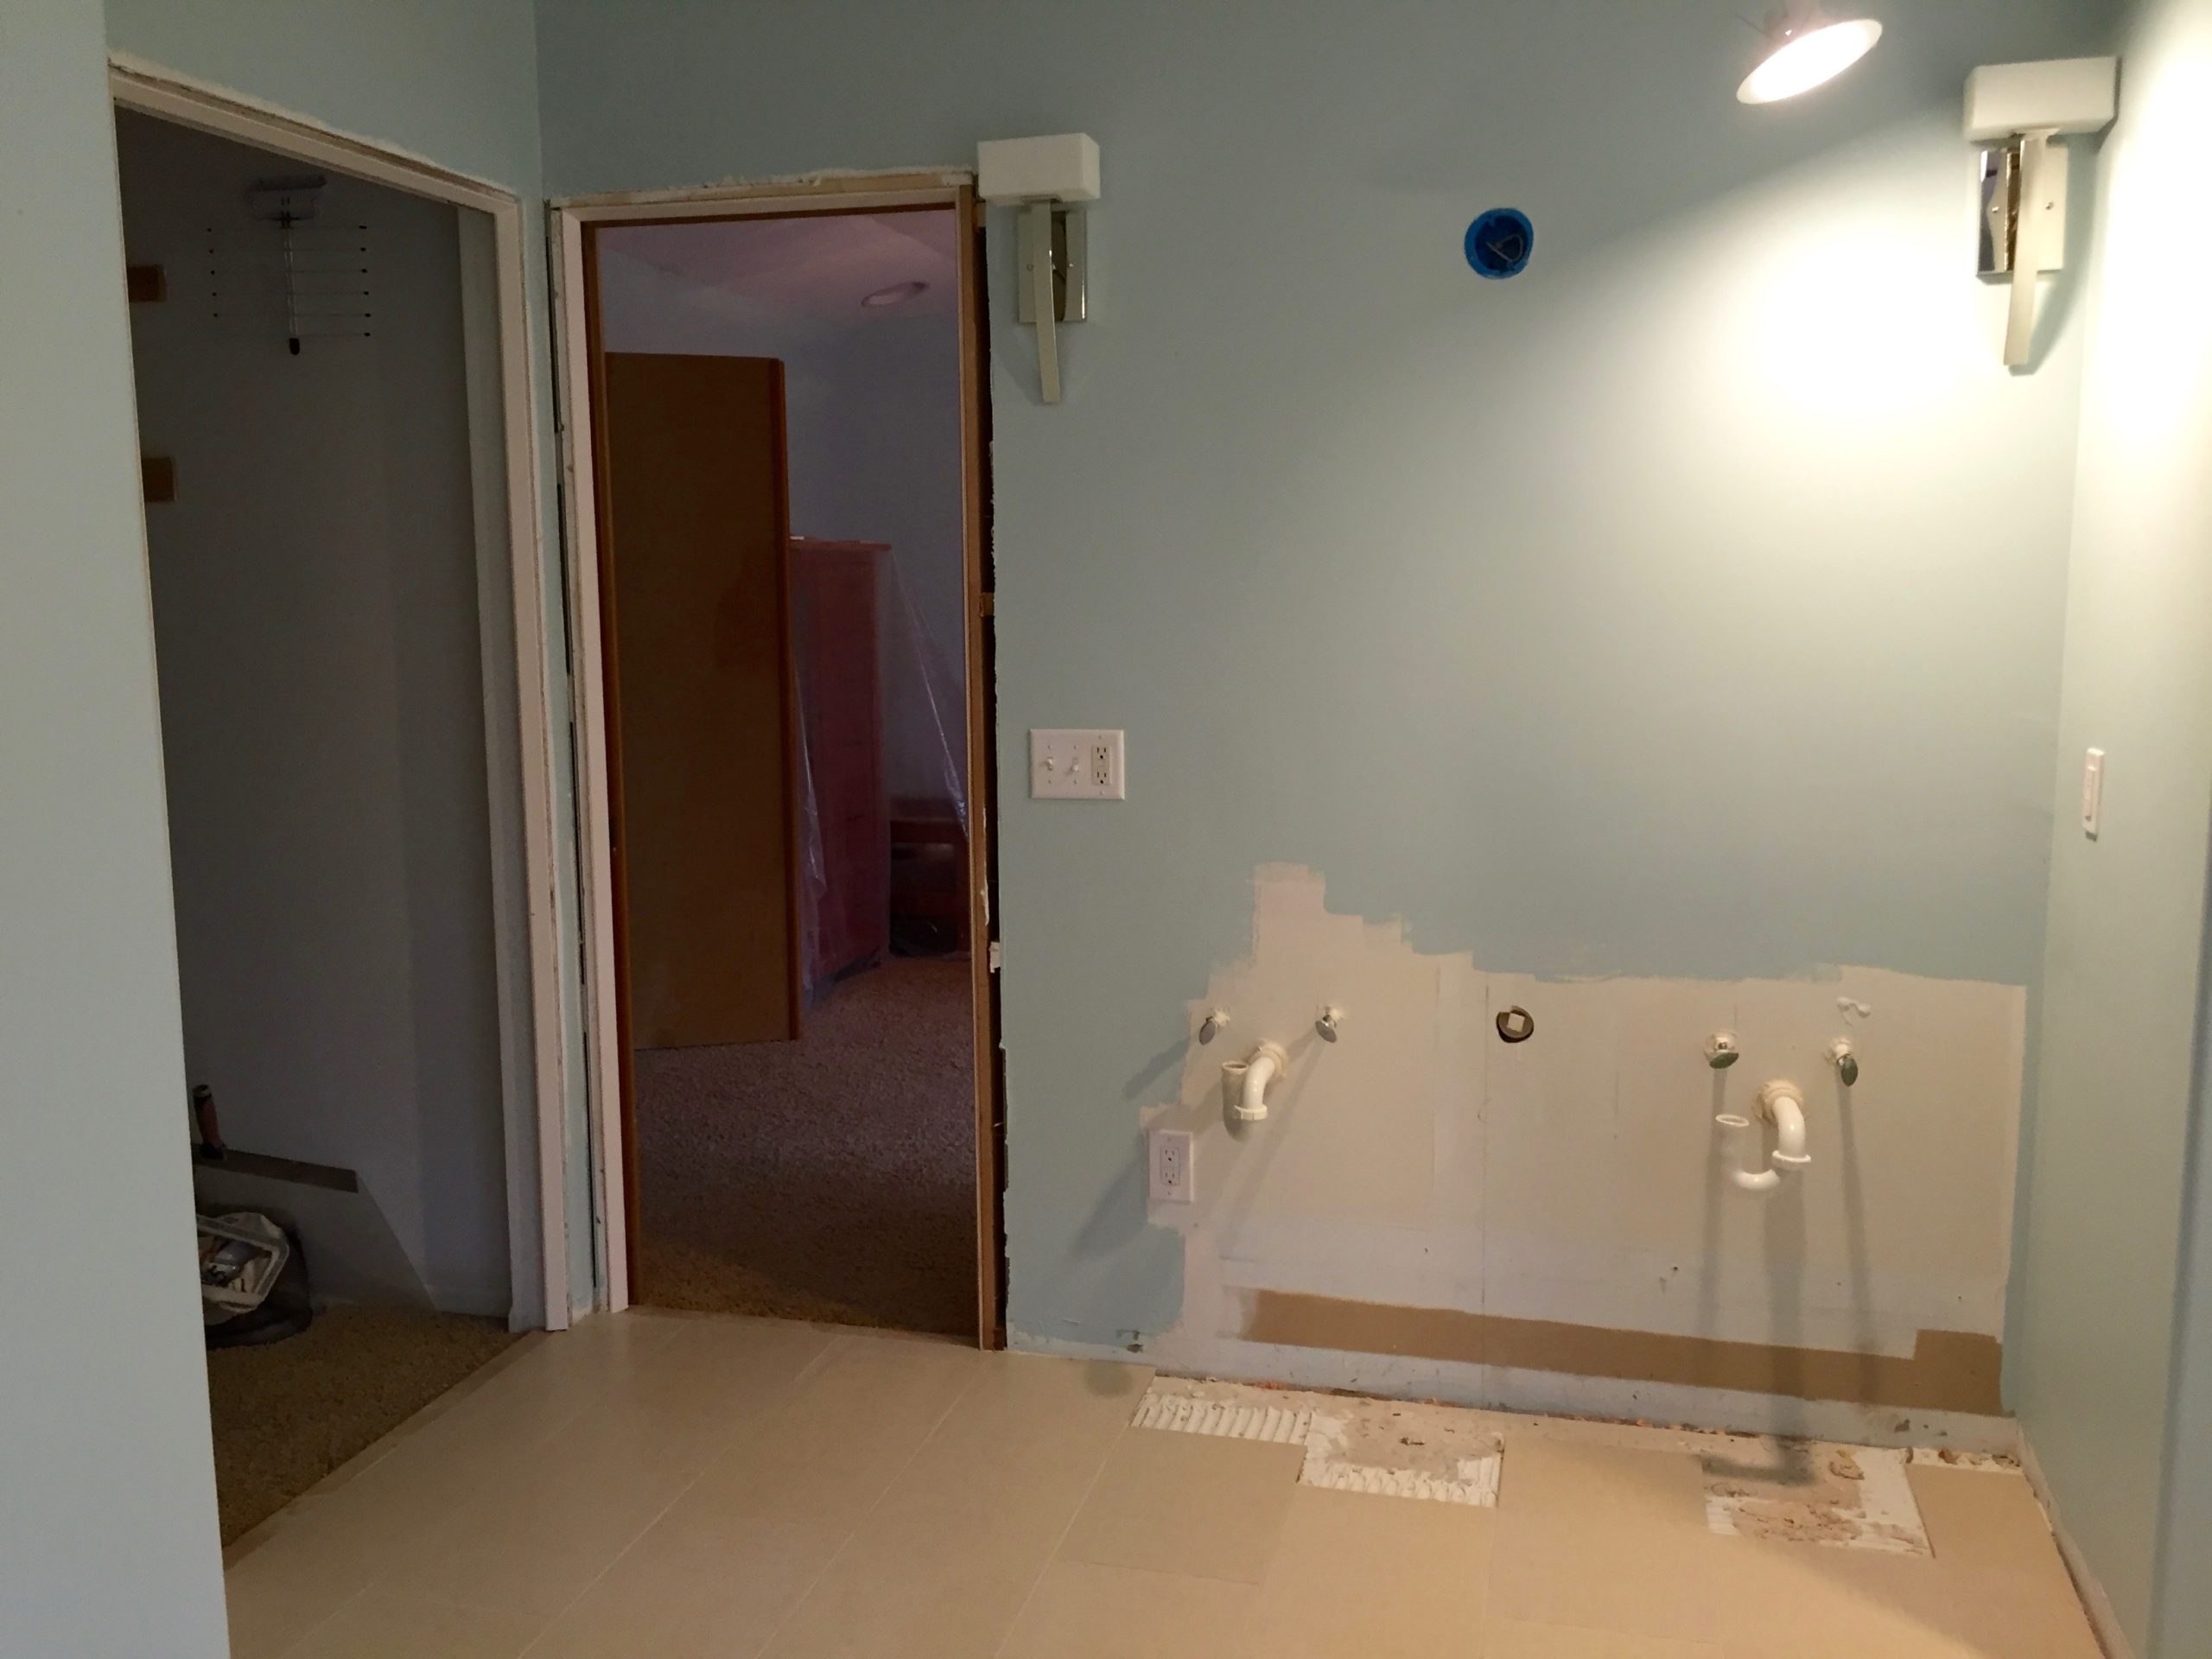
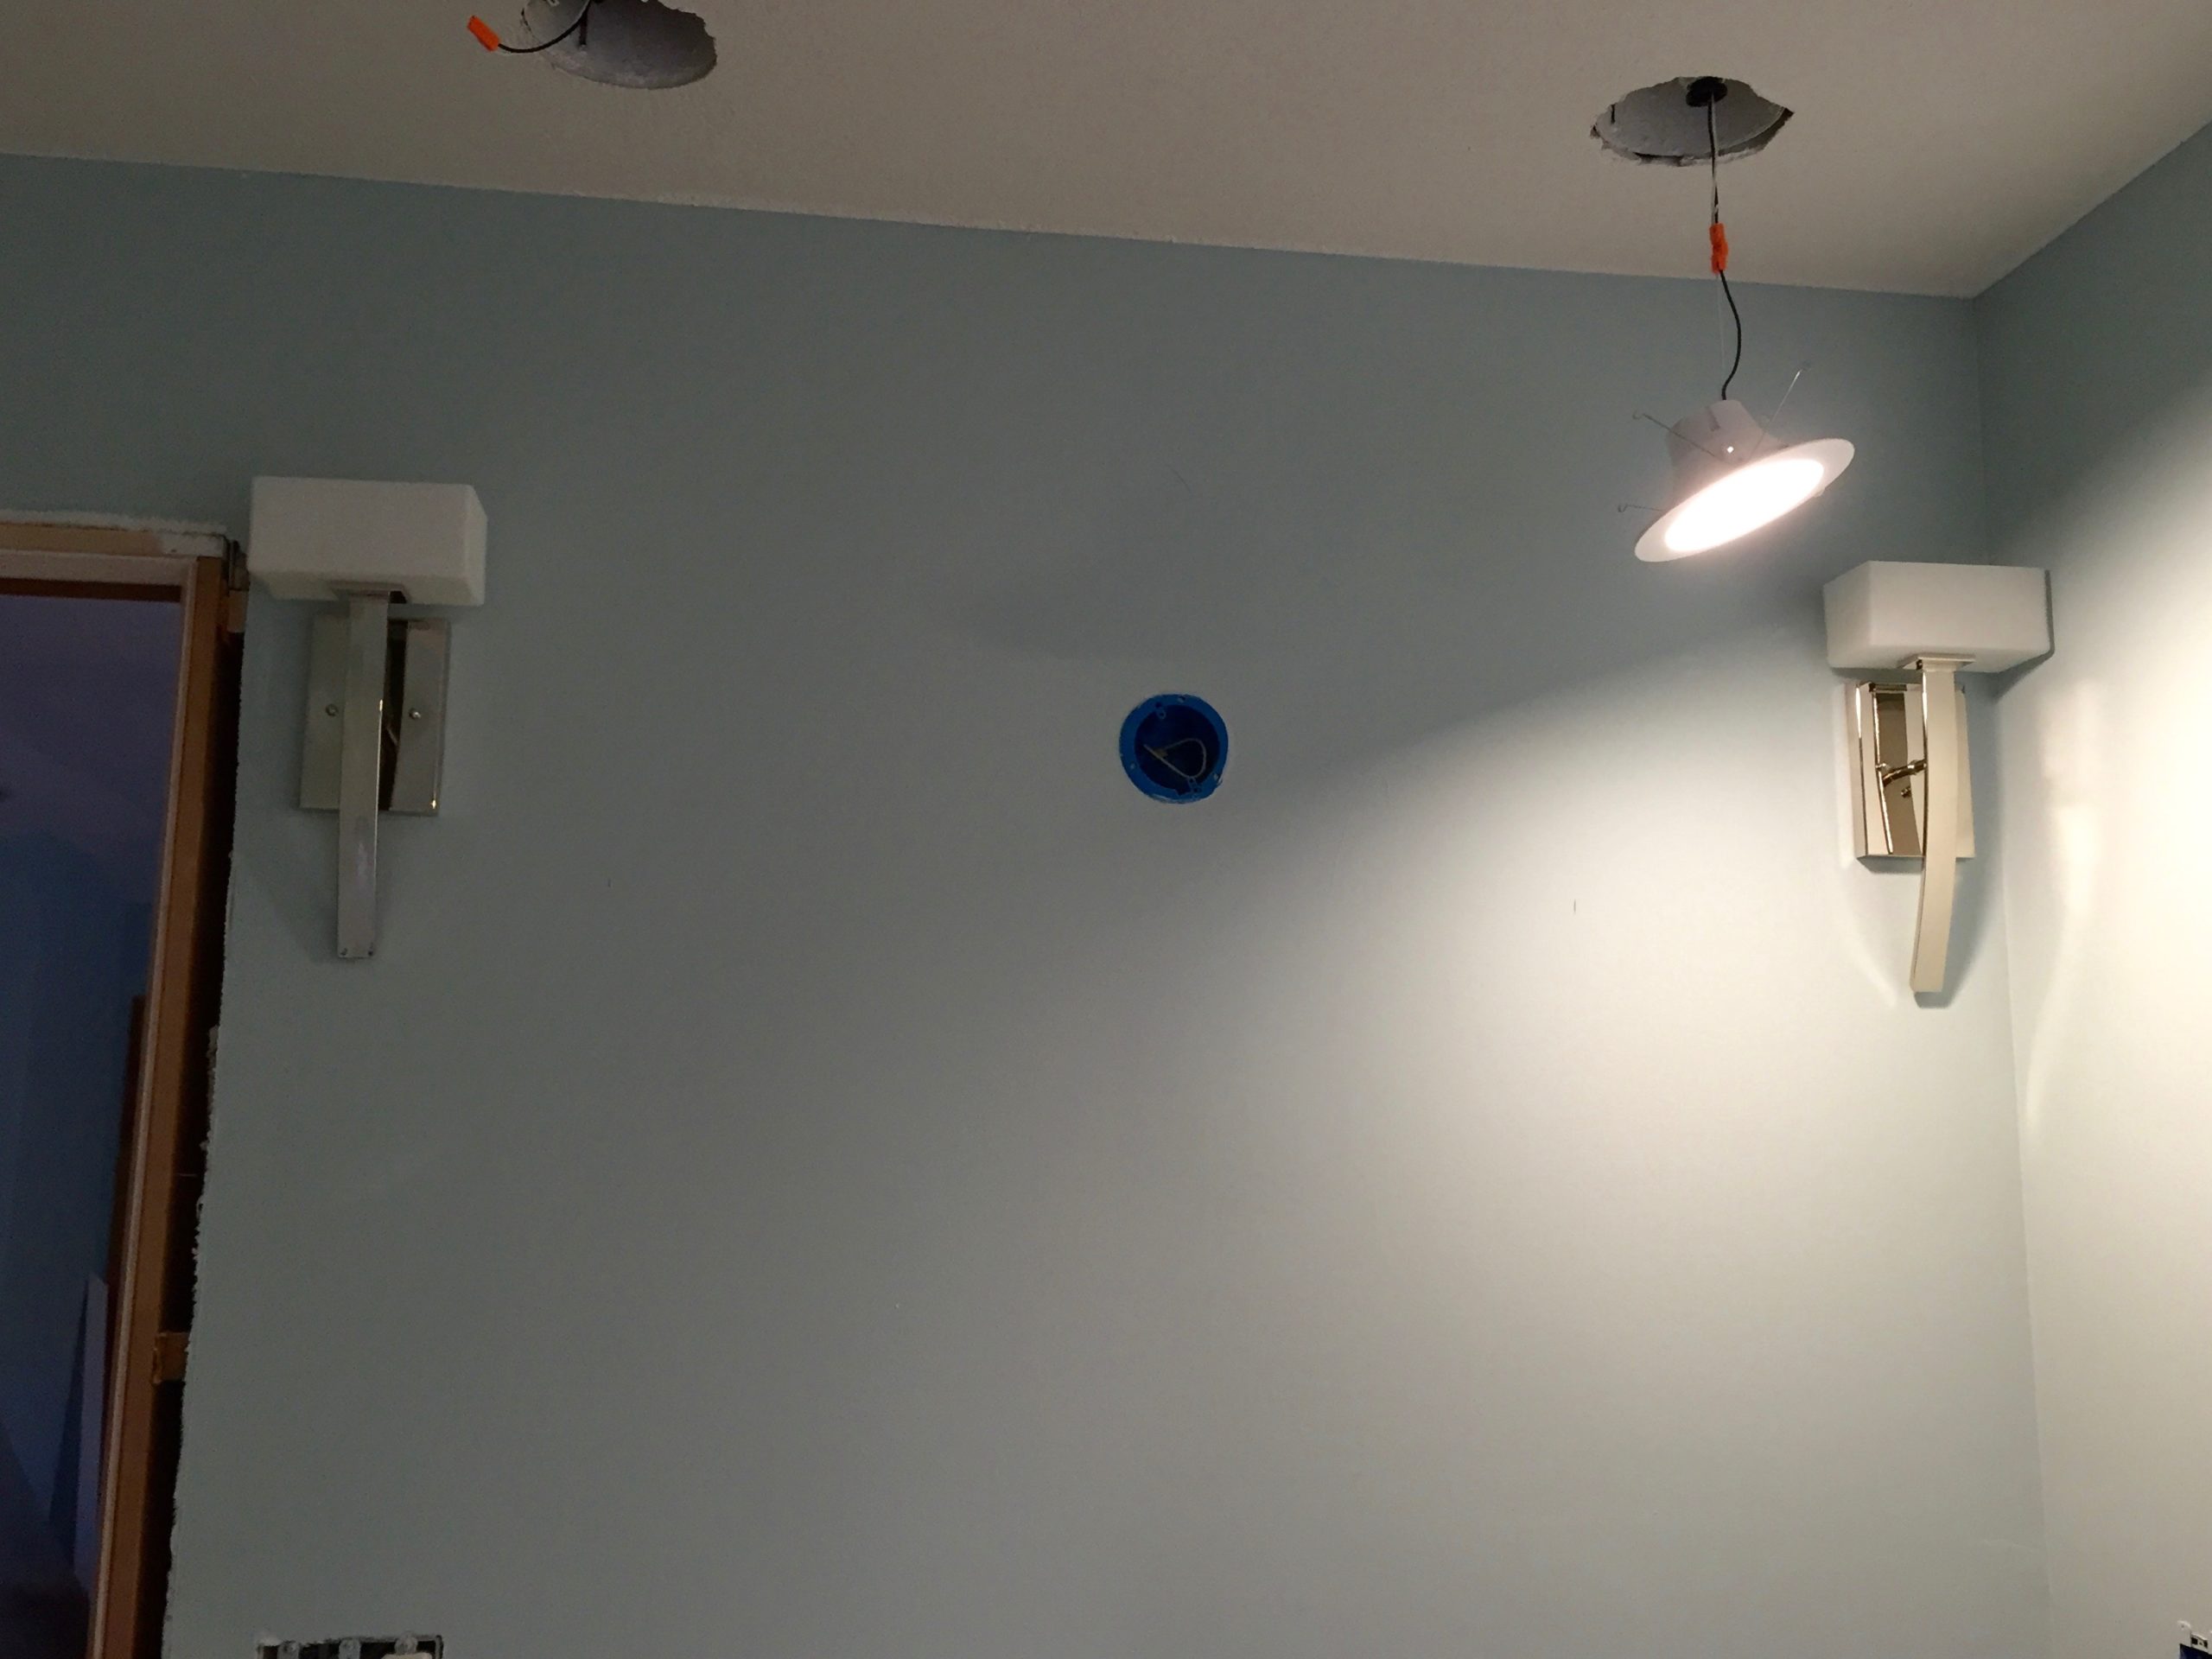
And, two of the sconces were installed which is when I noticed the problem we were going to have.

Sconces
Sconces

There was simply not enough room for two mirrors to go between the middle scone and the other two sconces.  It would have been quite a tight fit for sure.

This all came about because our contractor wanted to give me an additional 5 inches of space on right of the lavatory which made sense to me.  However, we didn’t realize the problems it would create as the mirrors can’t be centered over the lavatories now.  So, we decided to give ourselves time to think about this problem.

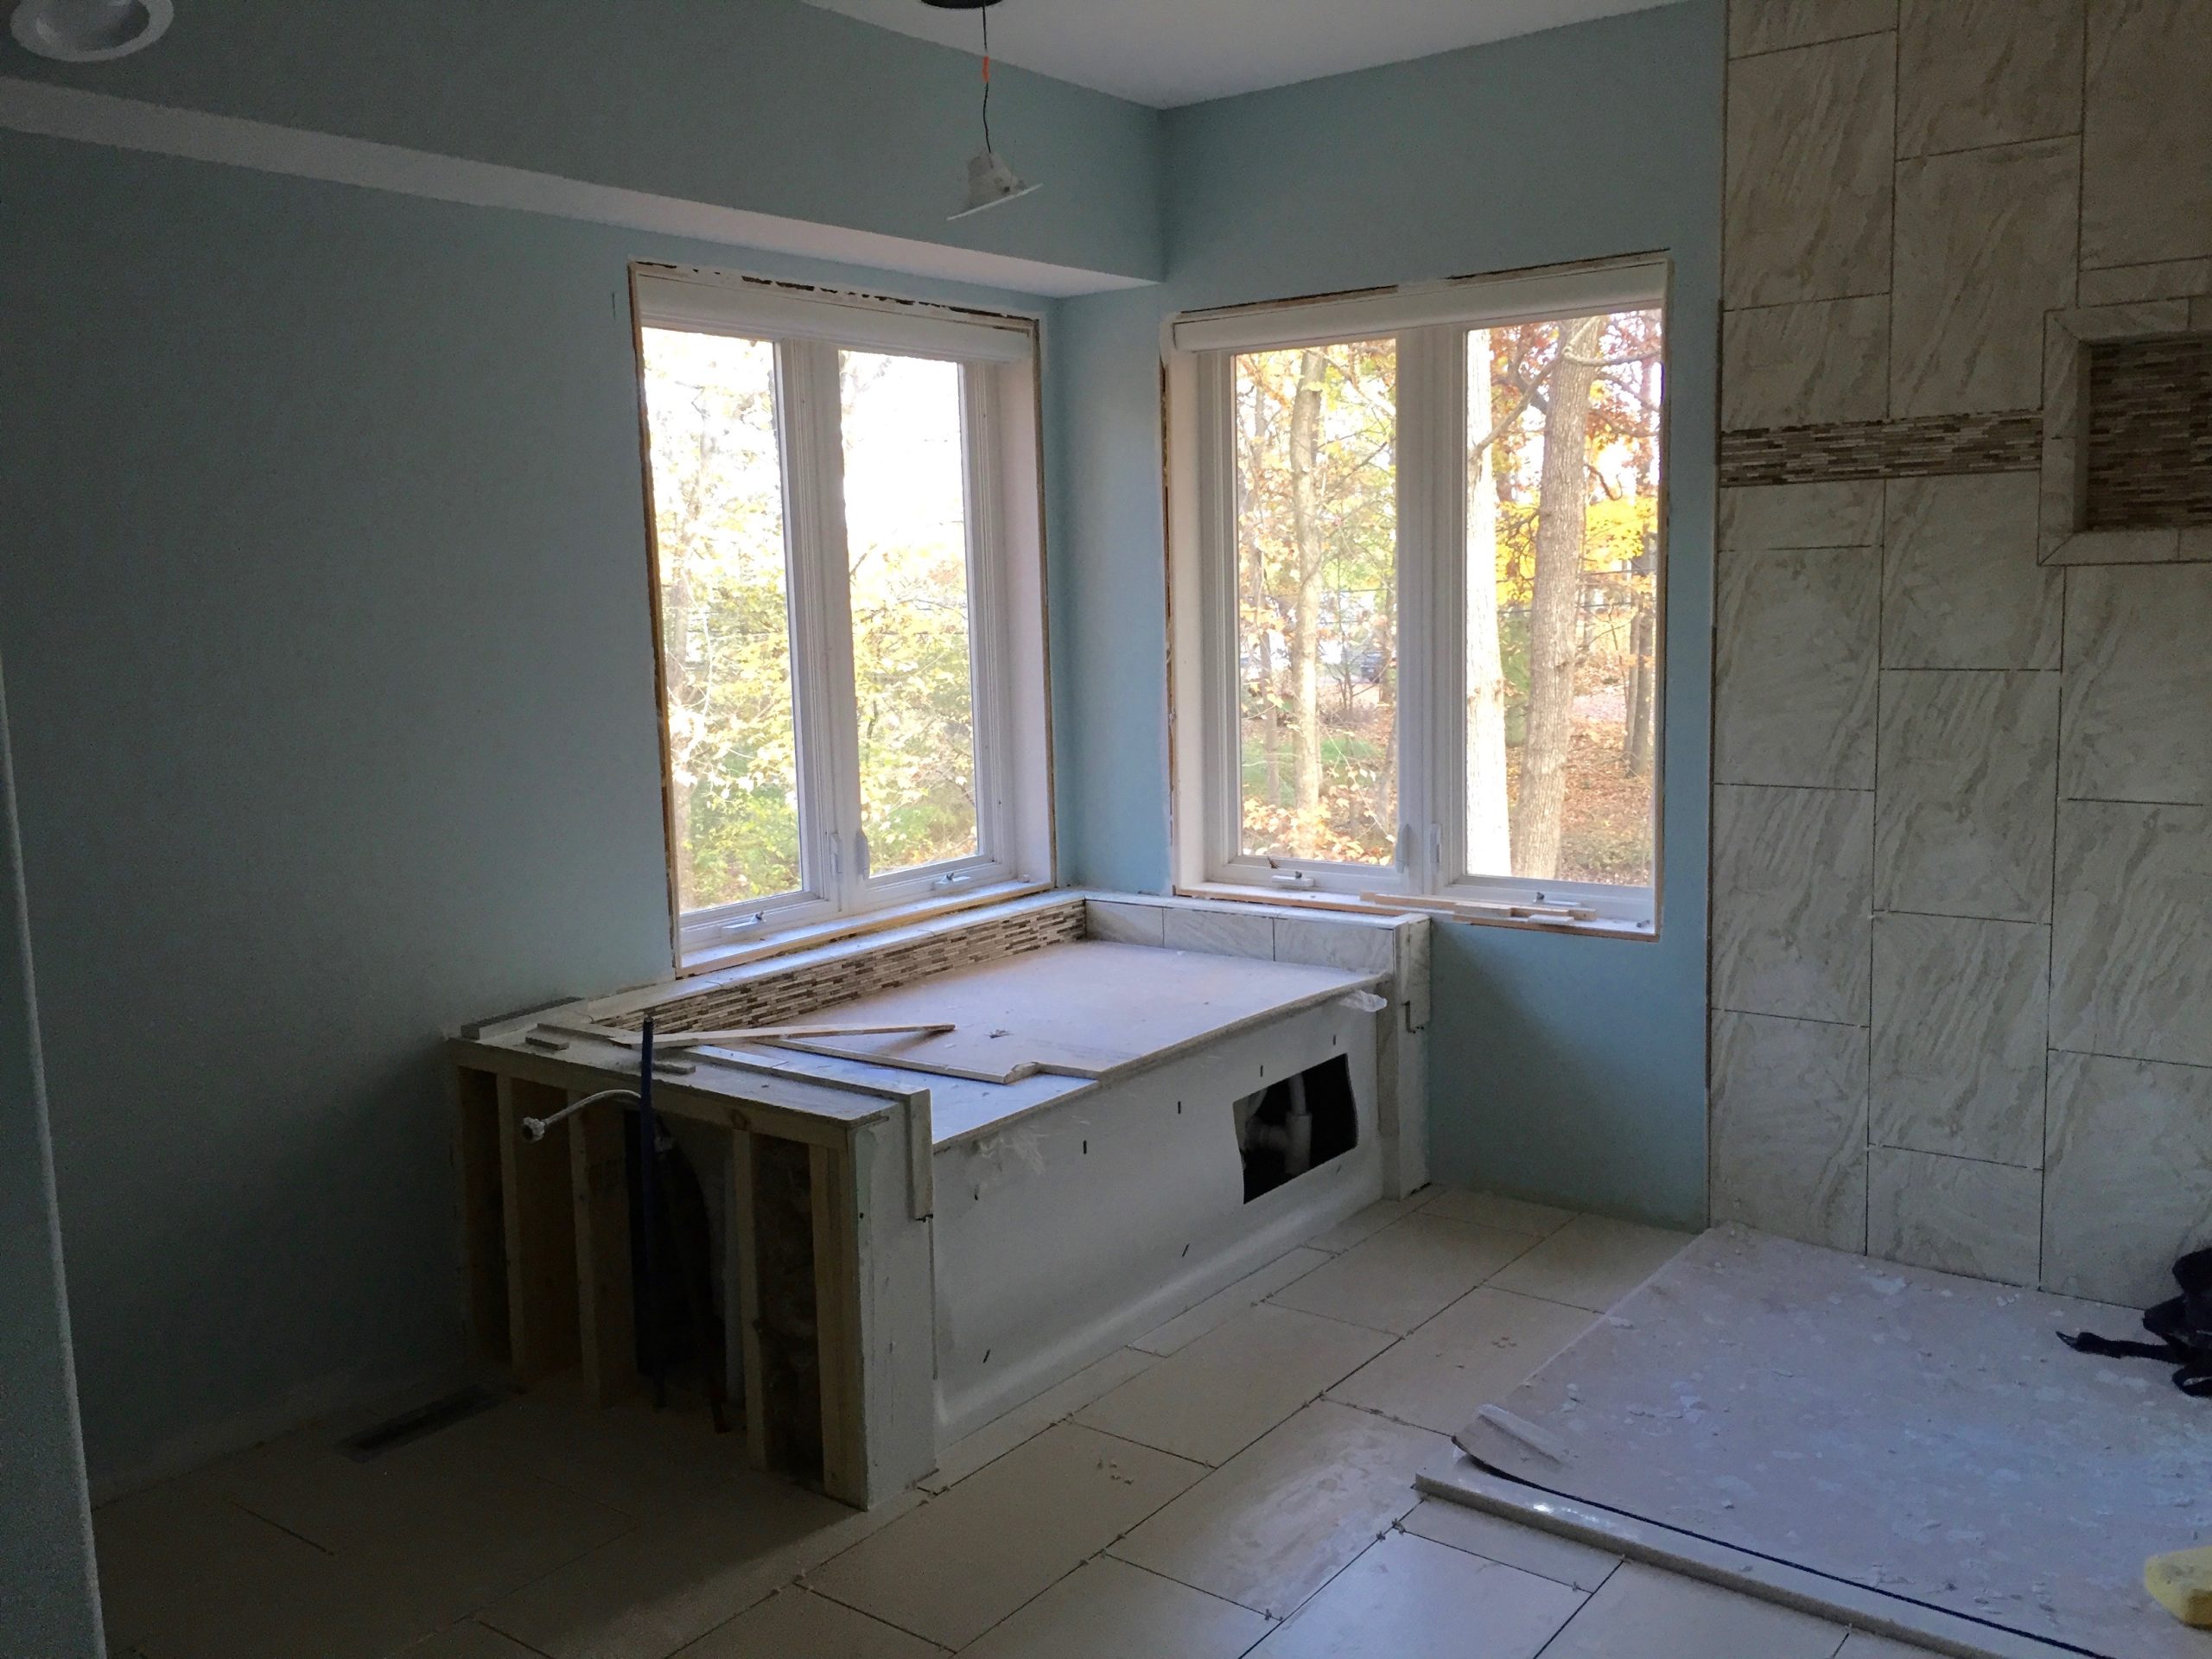
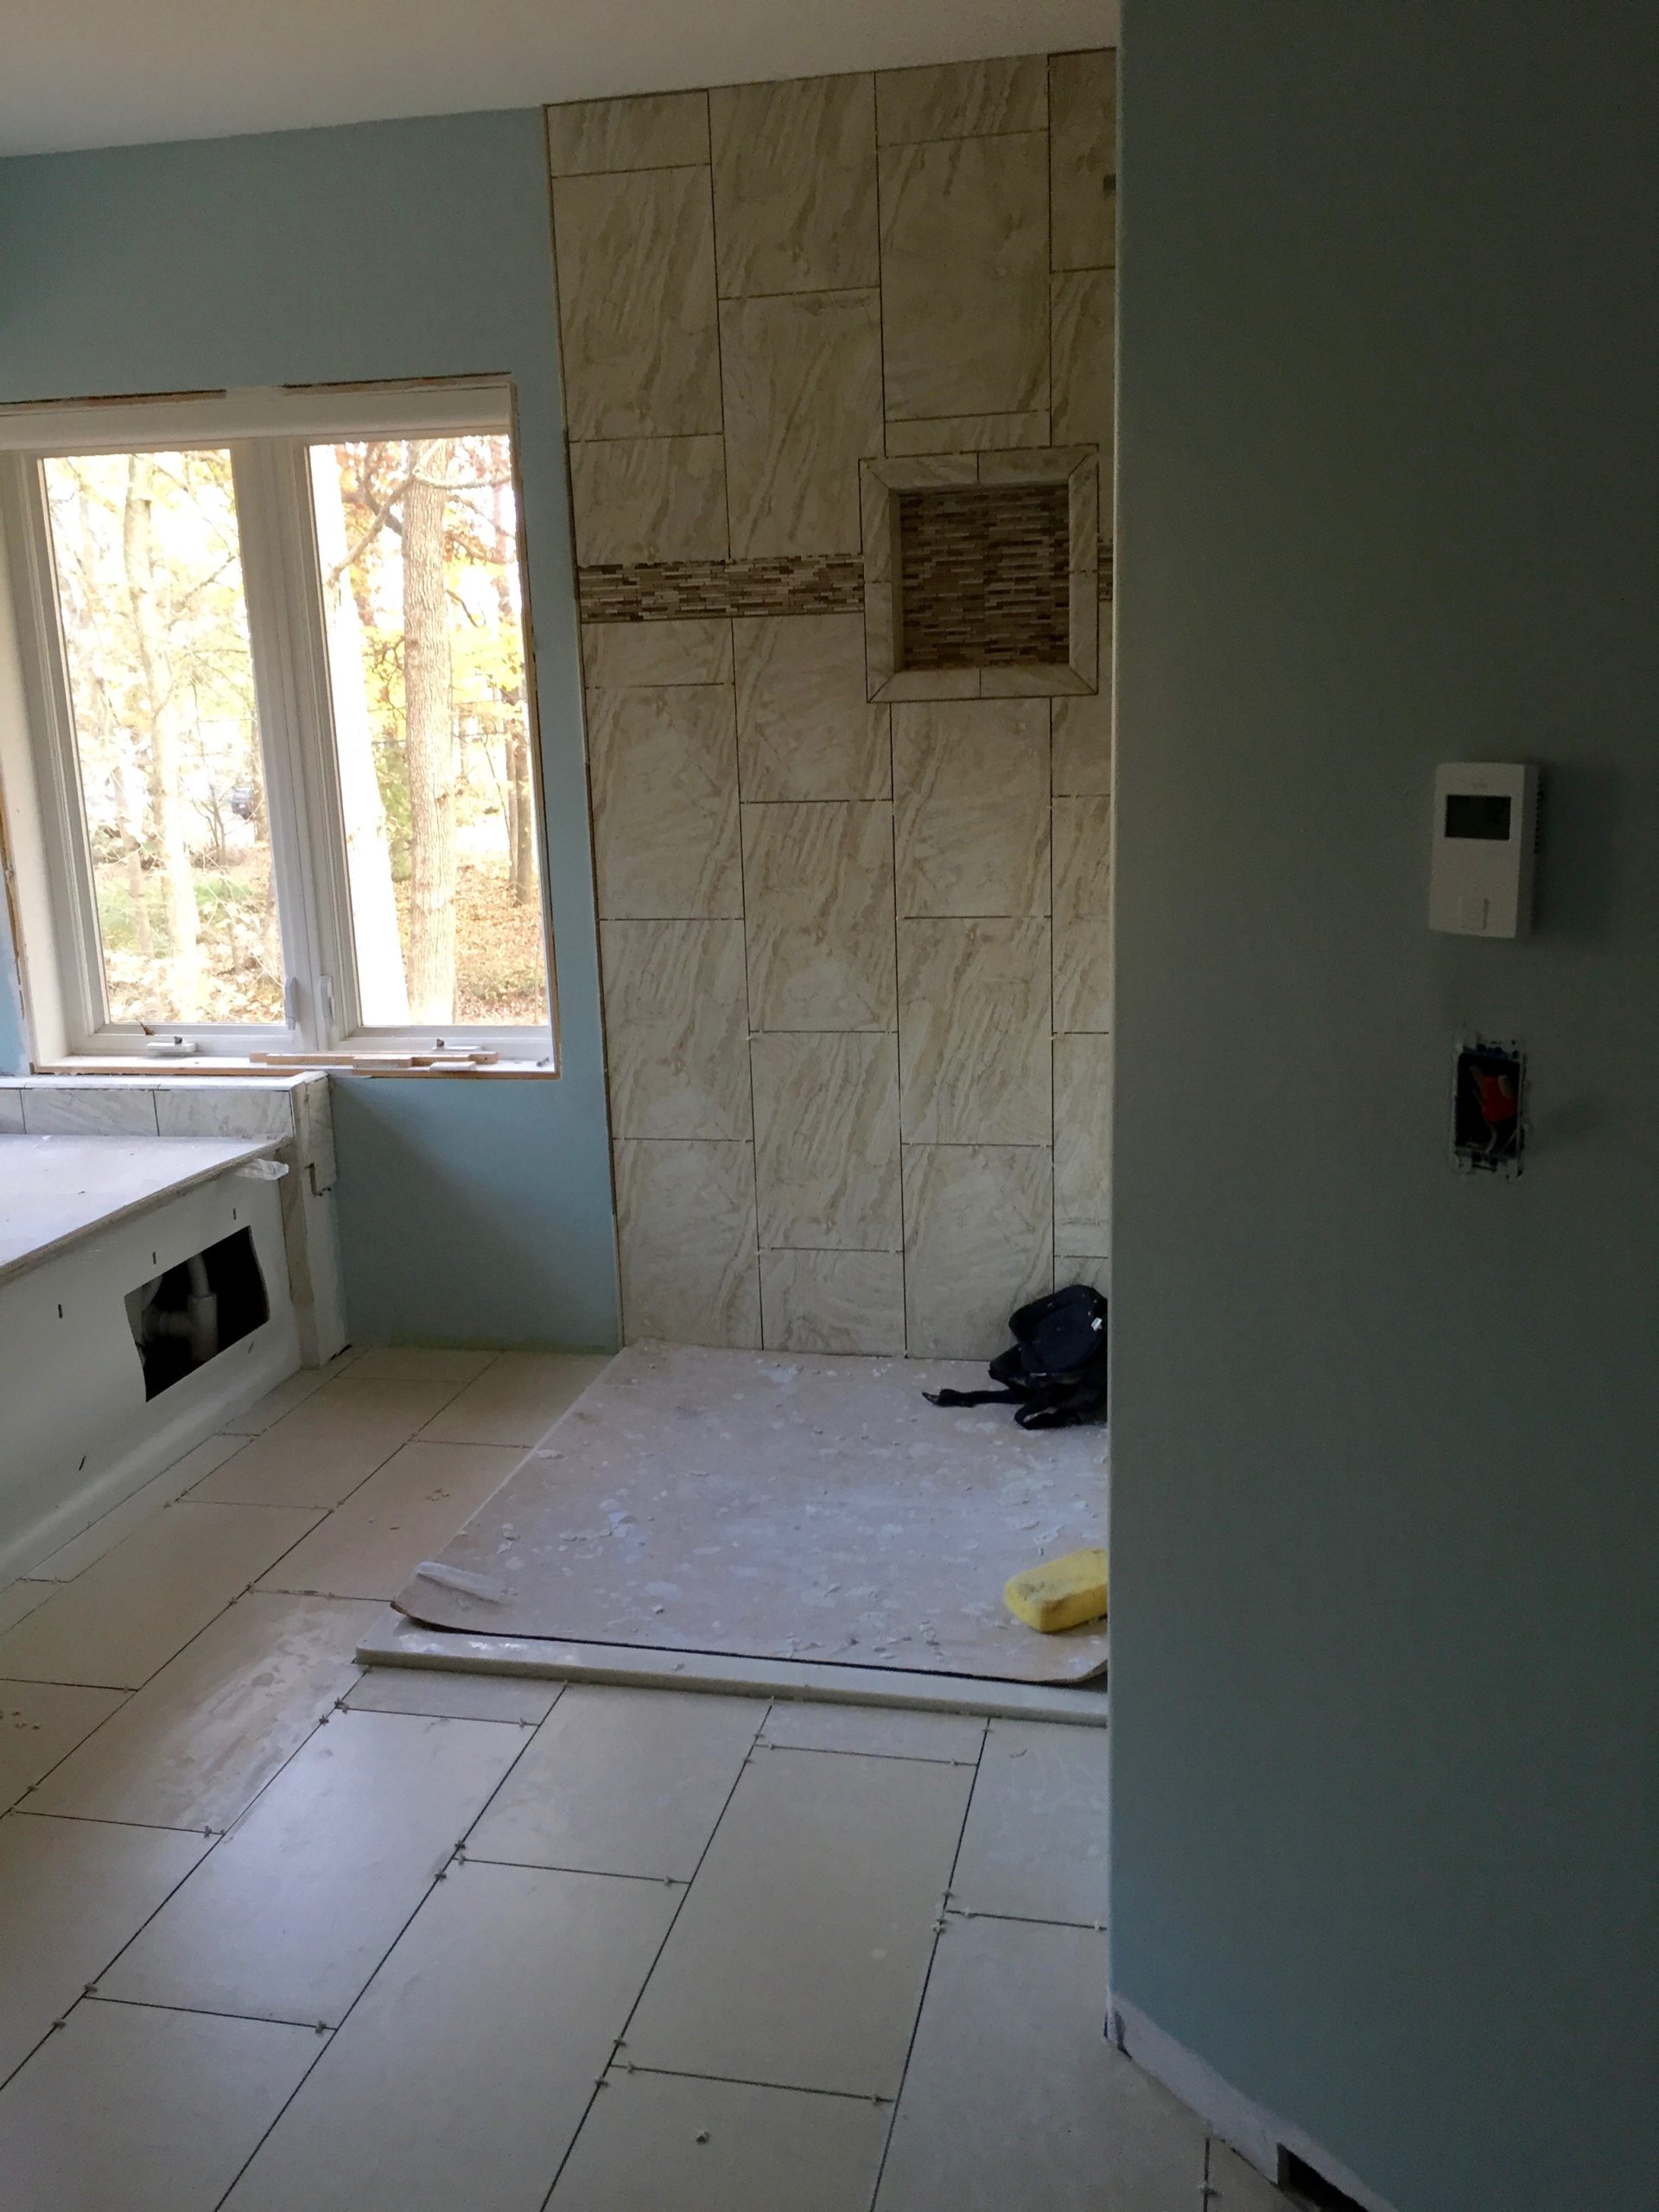
On day 7 all of the tile, with the exception of the tub surround, was installed.

Installed Bathroom Floor Tile

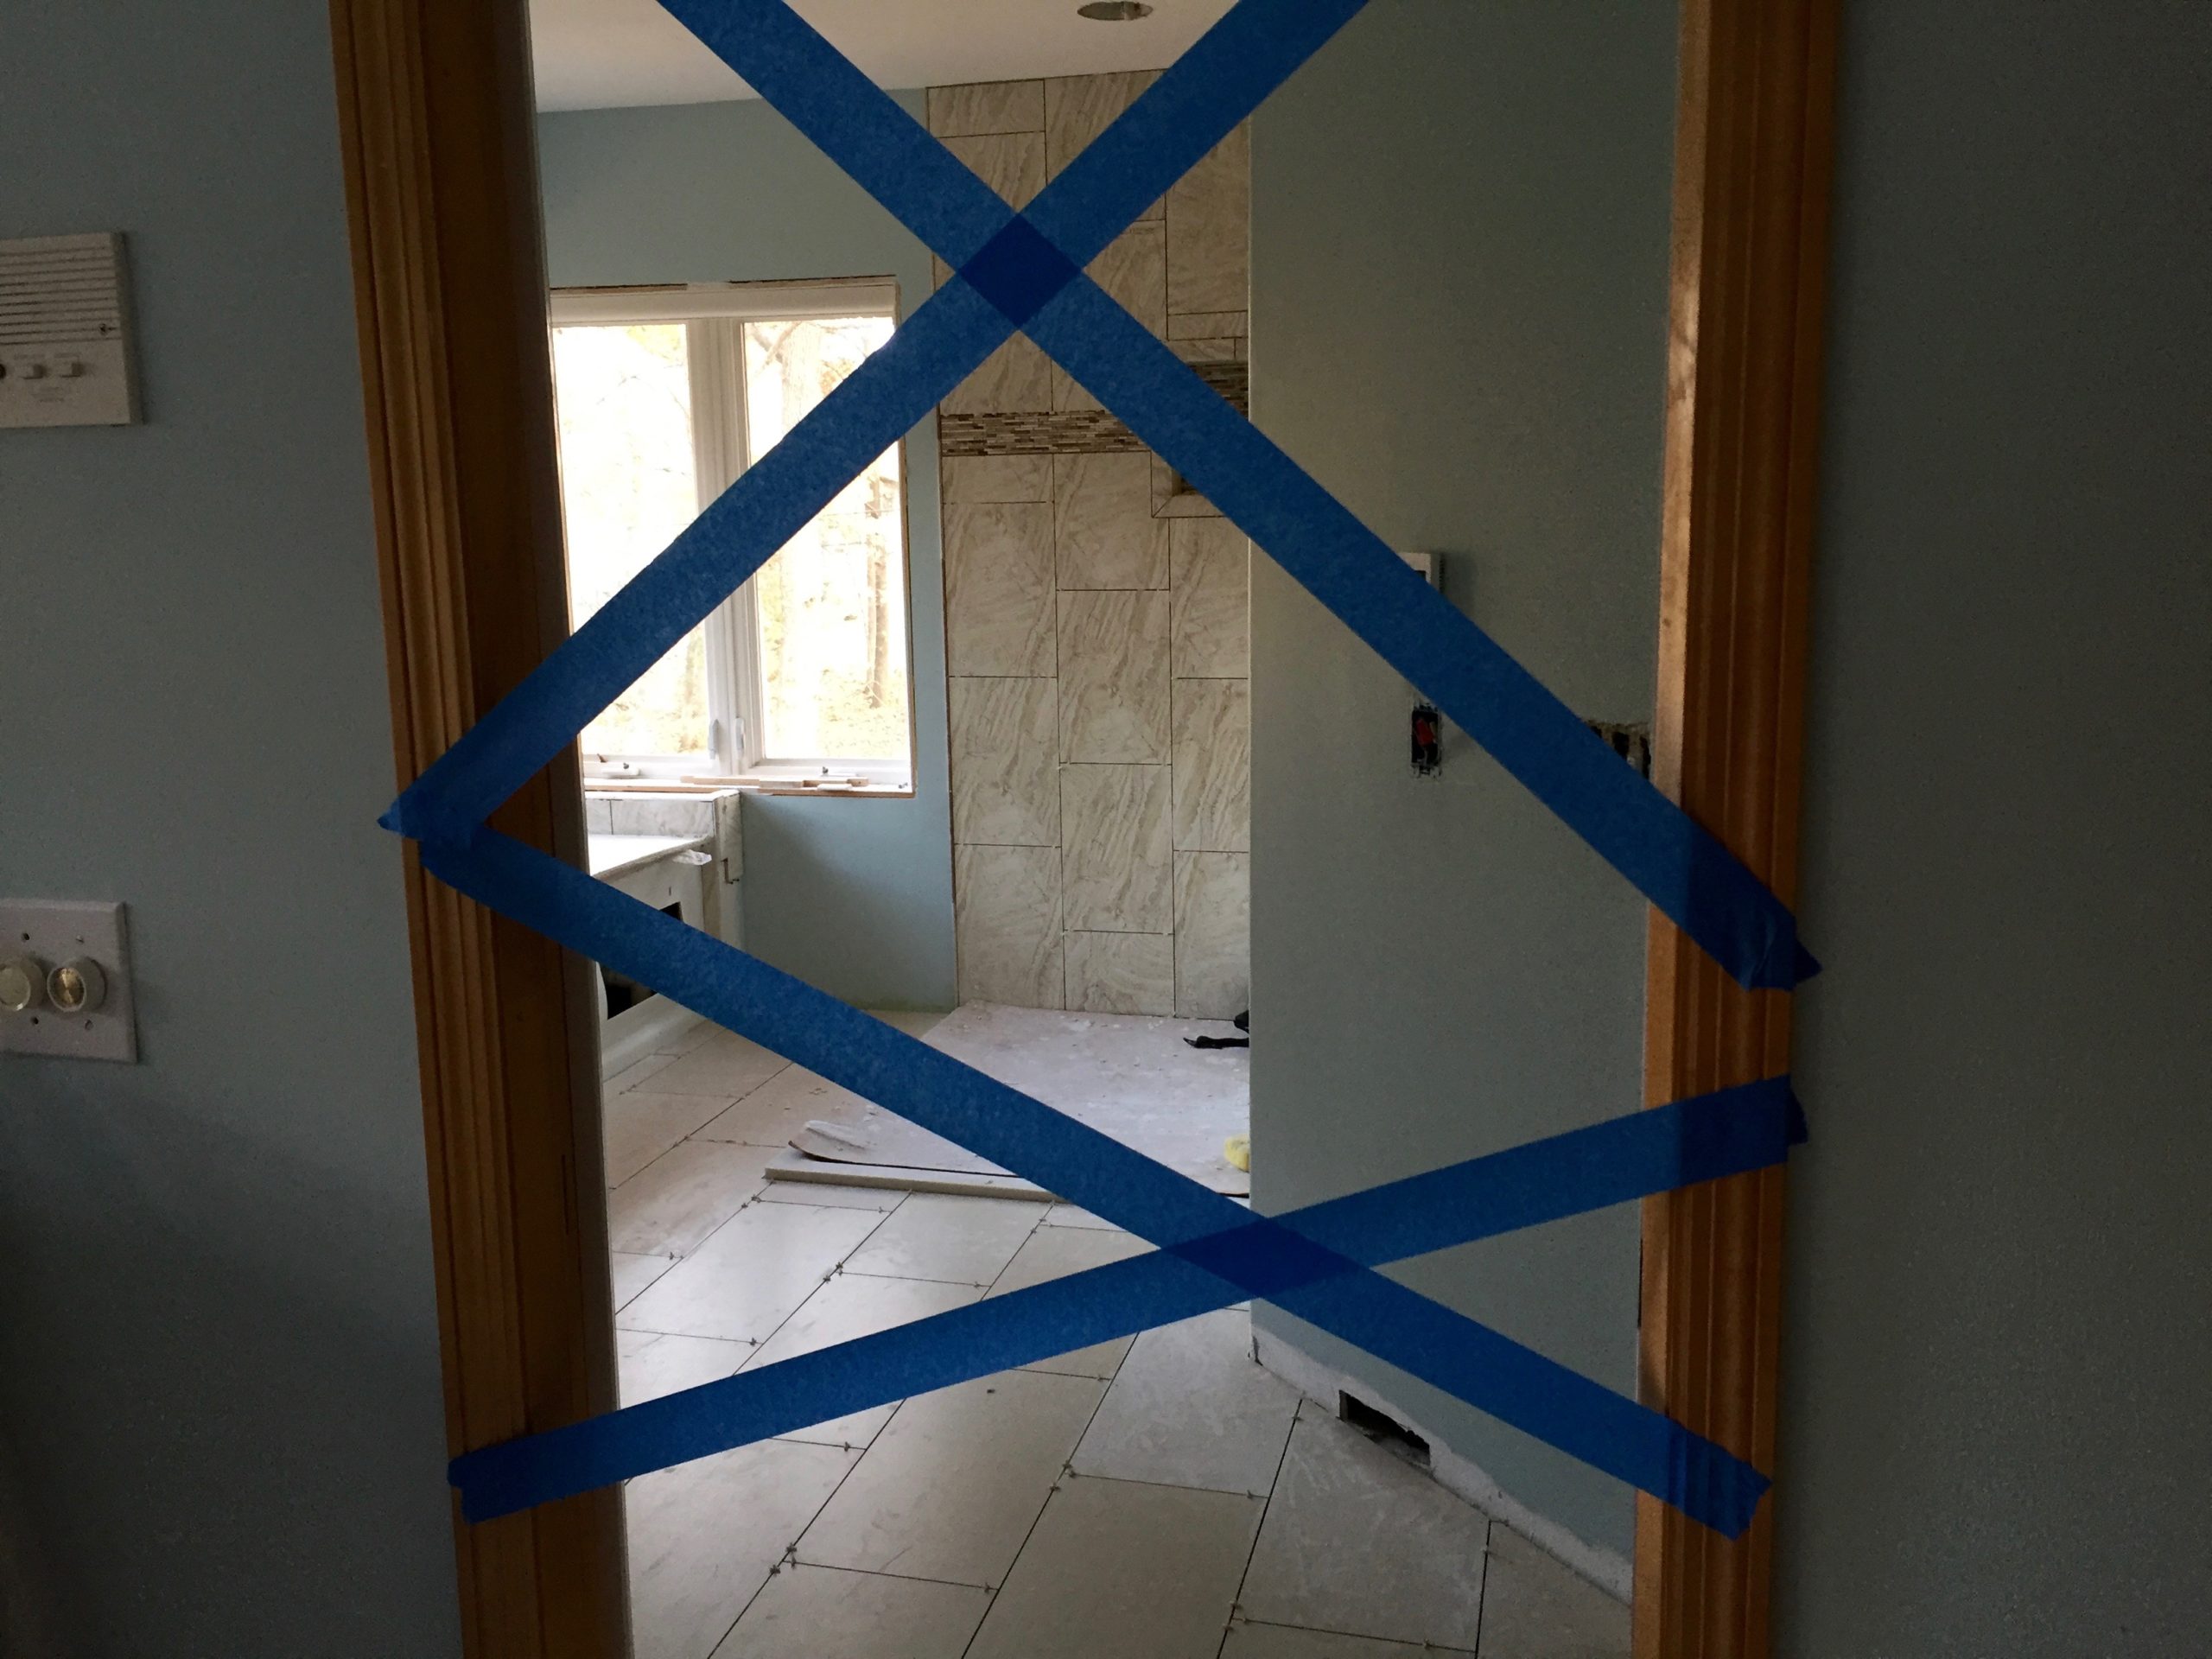
We were given strict instructions NOT to enter the bathroom to allow the tiles to set.  Seems the contractor meant business!

Installed Bathroom Floor Tile

Things are going quite smoothly.

The Master Bathroom Remodel – Day 5

When I peeked into the bathroom this morning, the liquid cement that was poured last night has finally dried.

Prepration of Nuheat Heating Cable System
Preparation of Nuheat Heating Cable System
Prepration of Nuheat Heating Cable System
Preparation of Nuheat Heating Cable System
Prepration of Nuheat Heating Cable System
Preparation of Nuheat Heating Cable System

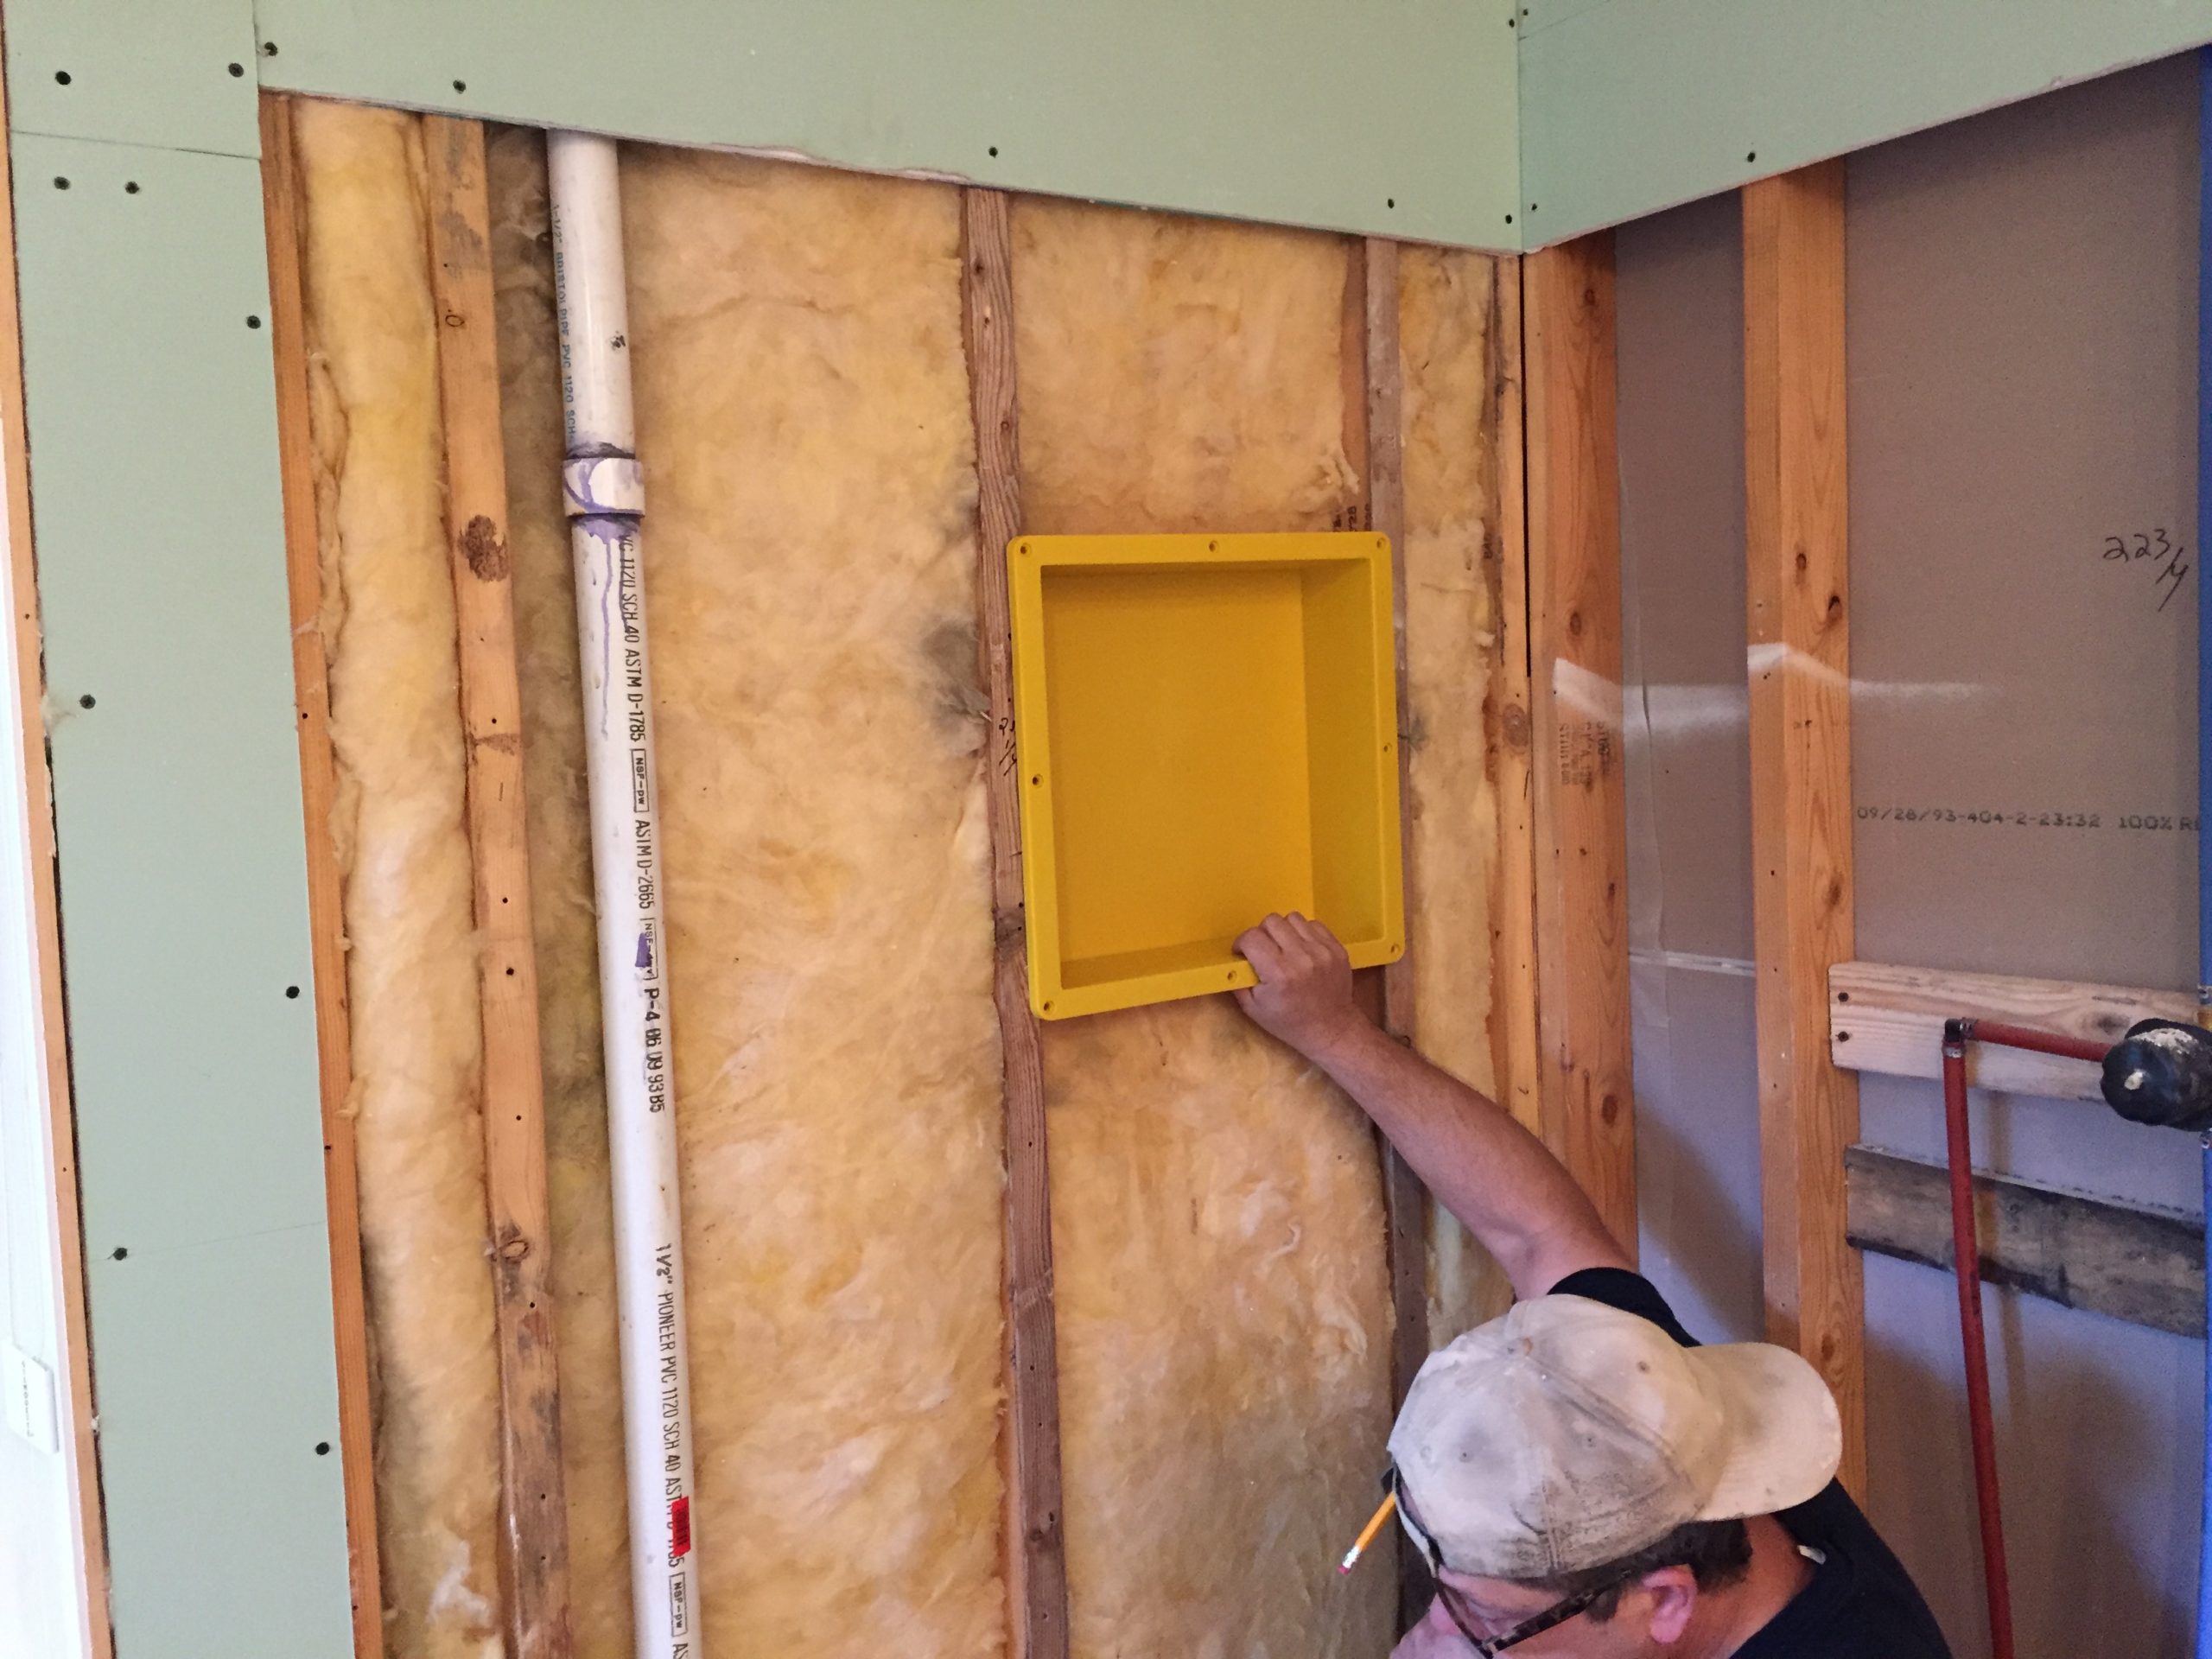
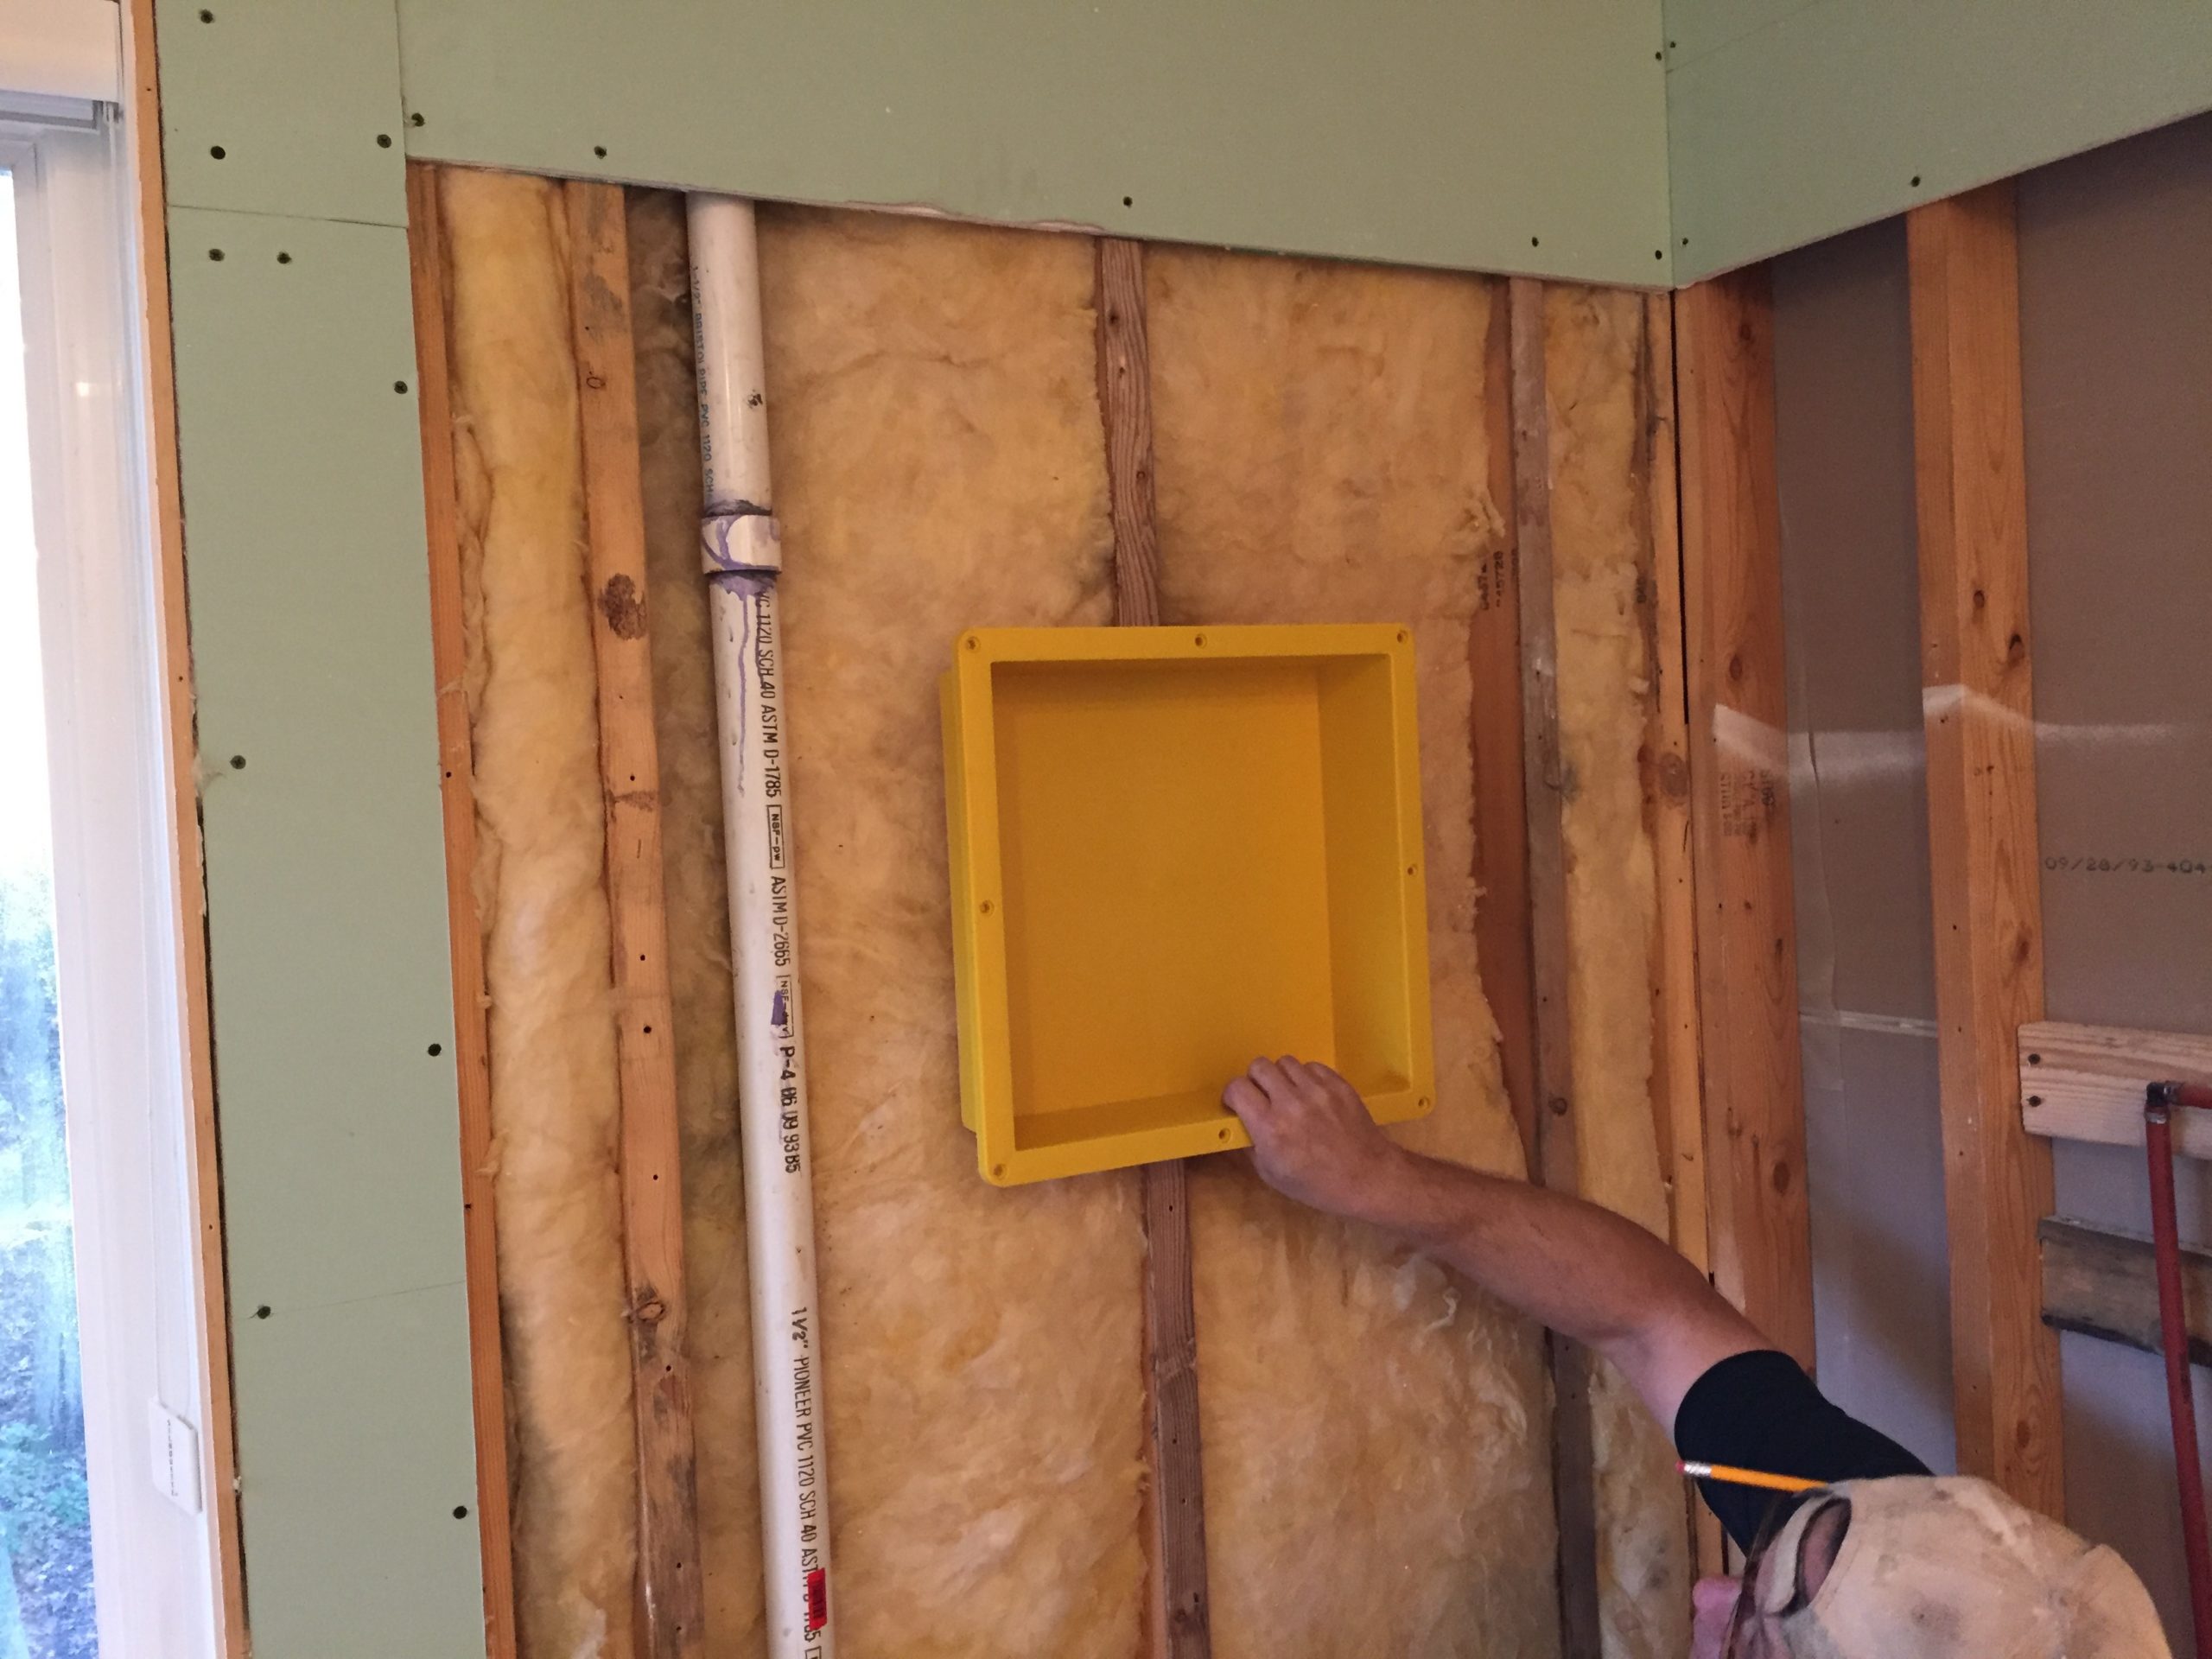
When the contractor arrived he took me upstairs to the bathroom and said “Now you have to make a decision on where you want your shower niche to go.” My two choices were in the middle of the shower wall or offset to the right which would put it between two studs.

Shower Niche
Shower Niche
Shower Niche
Shower Niche

Which do you think I chose?

If you said offset to the right then you are right!!!

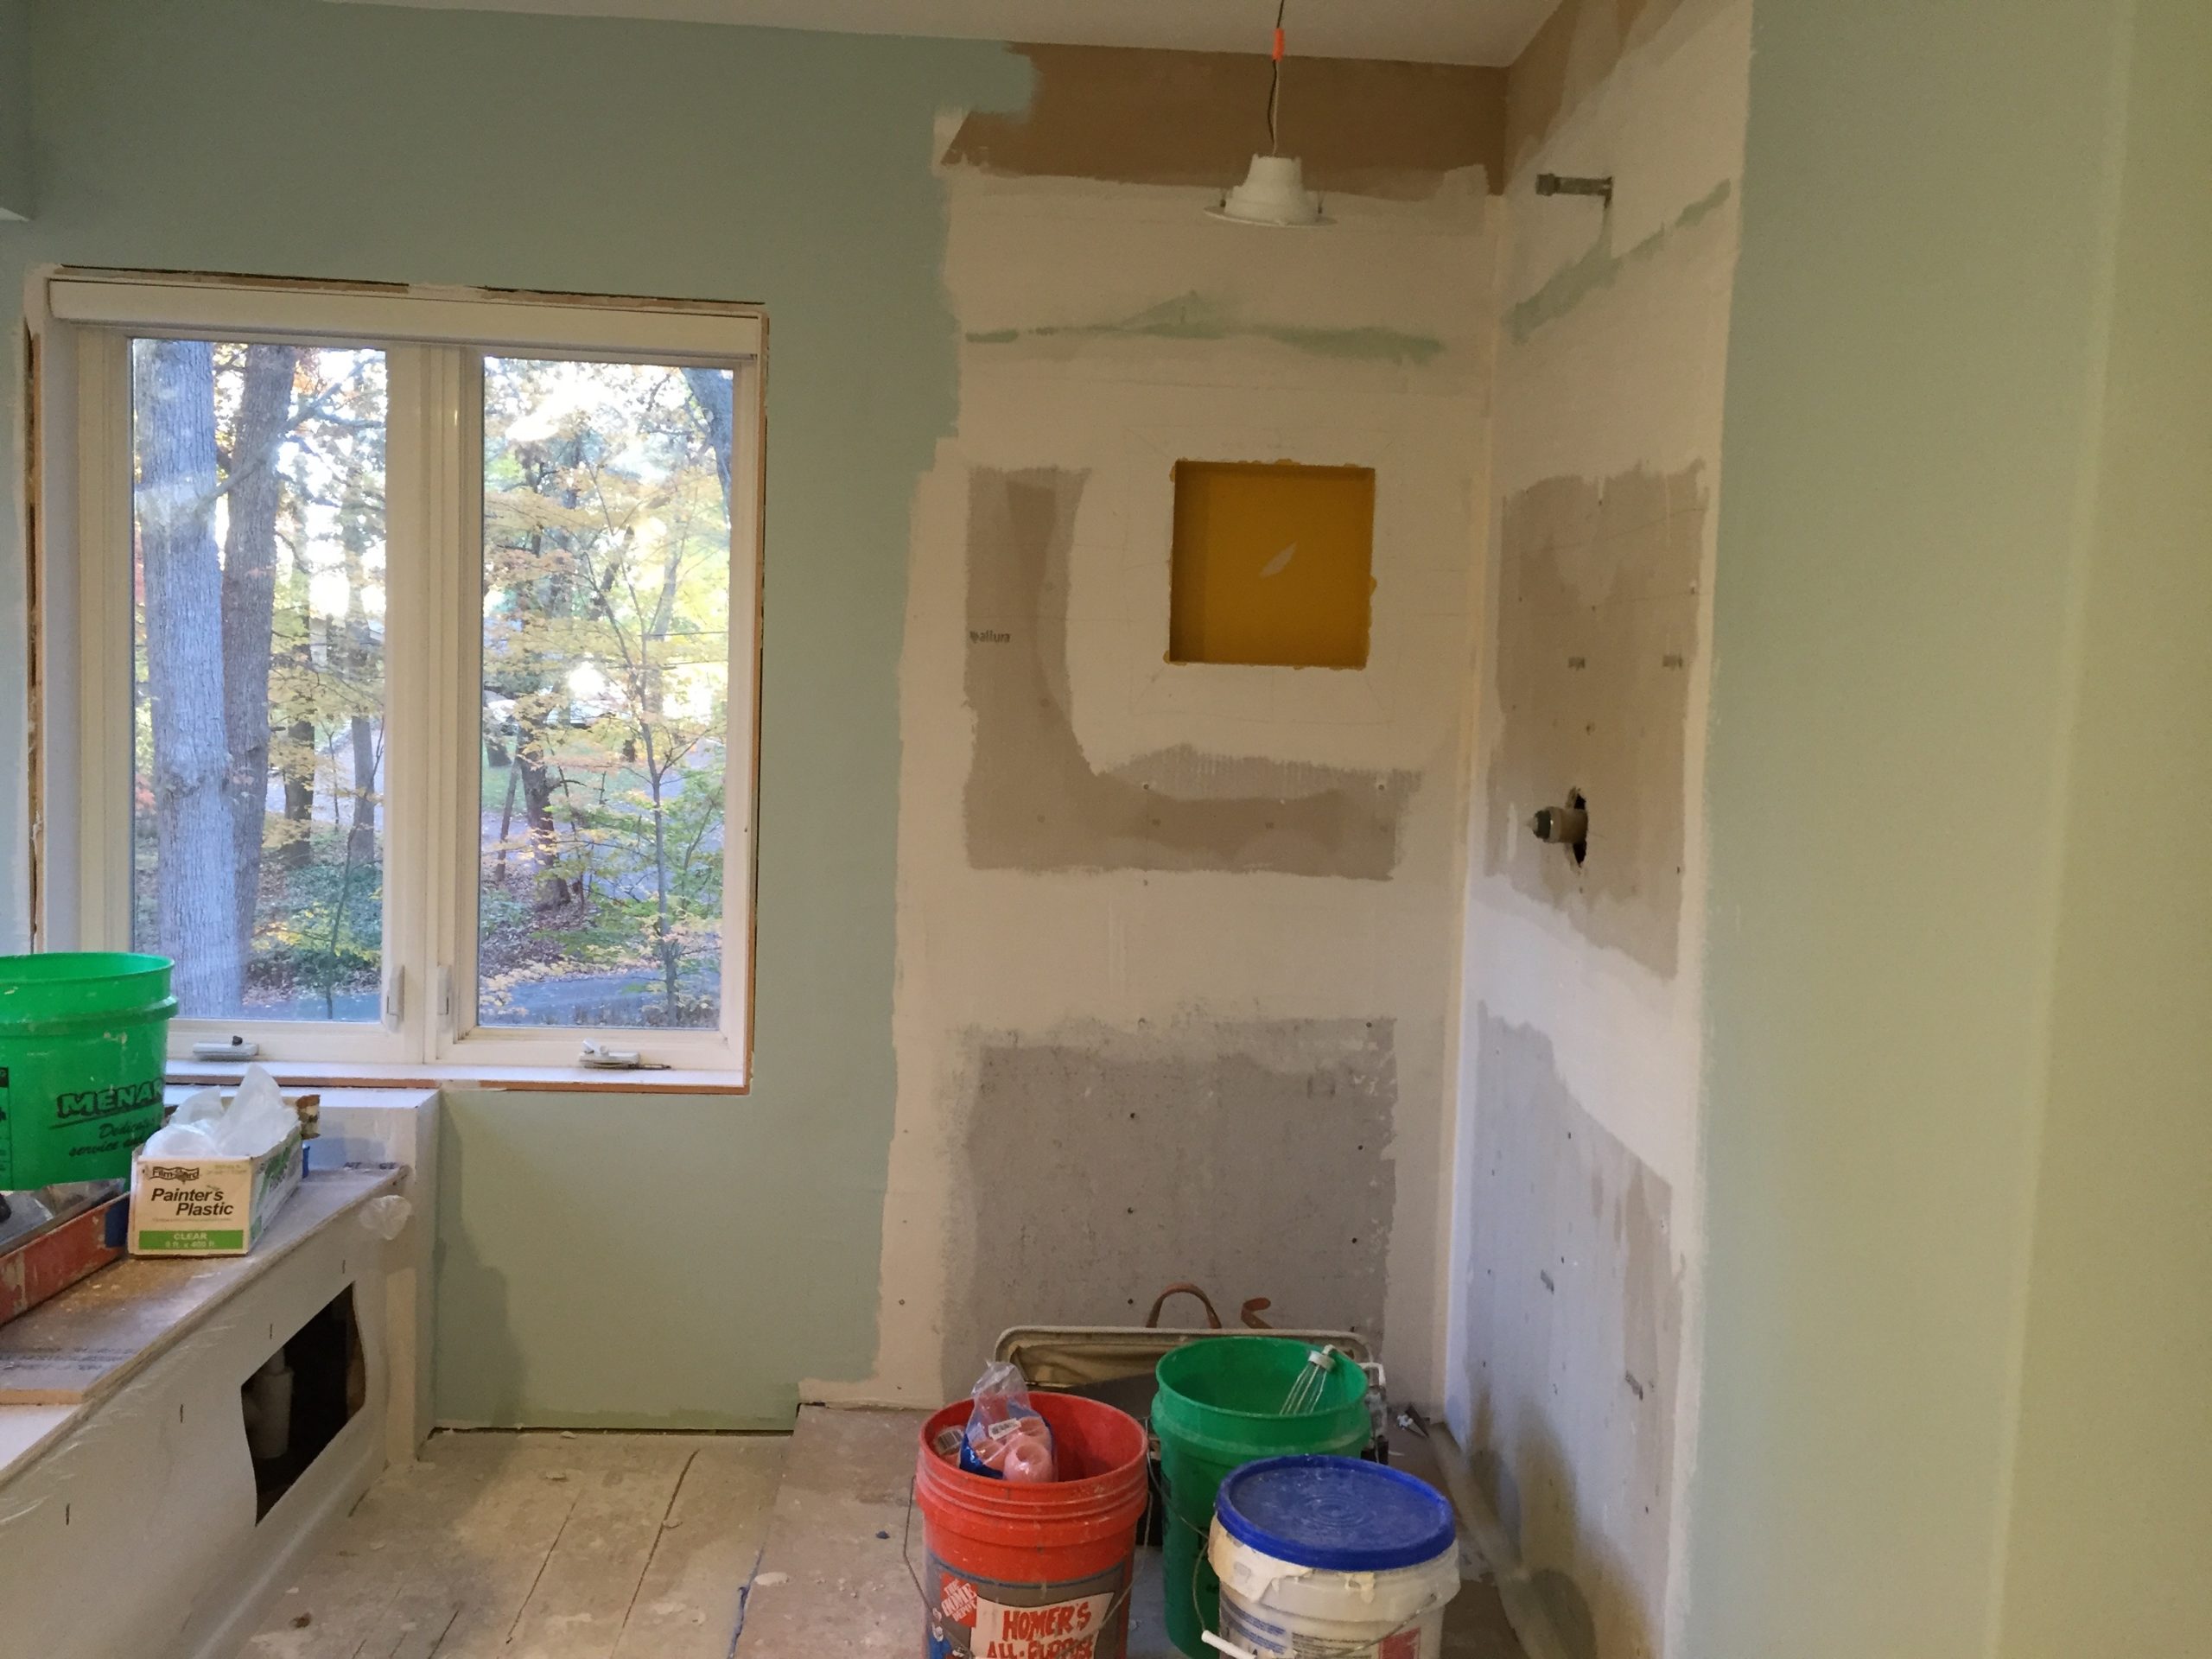
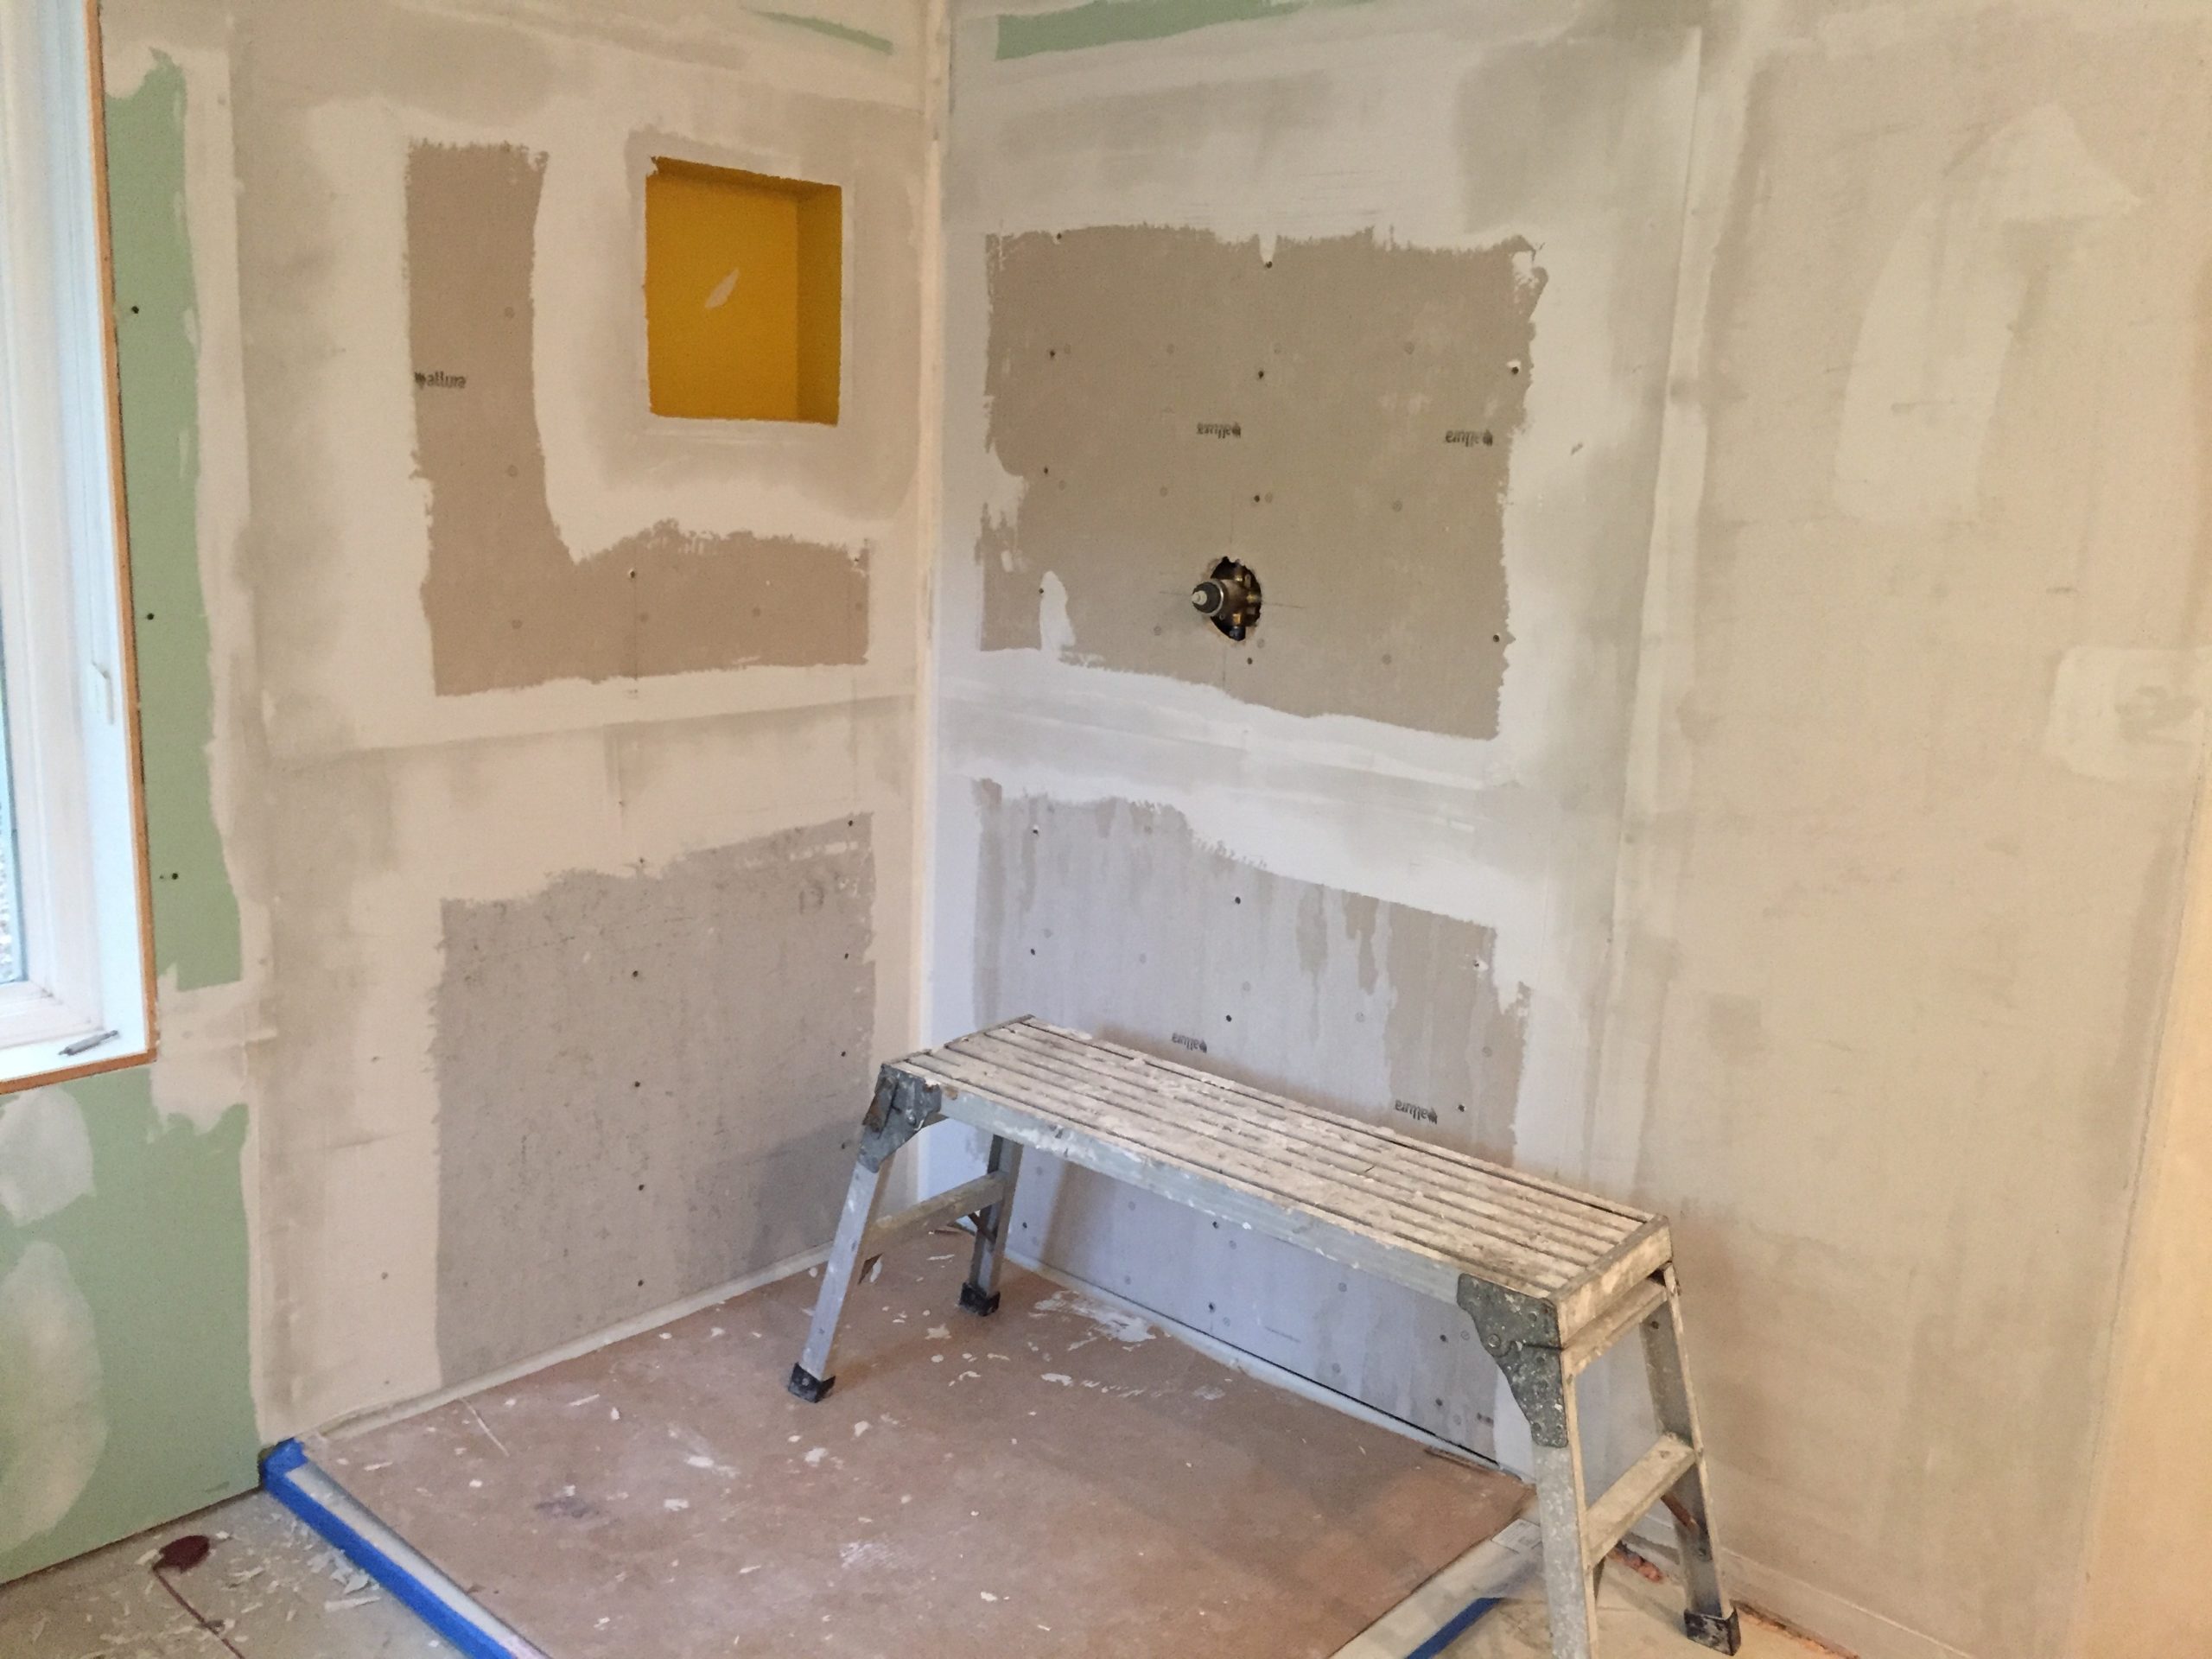
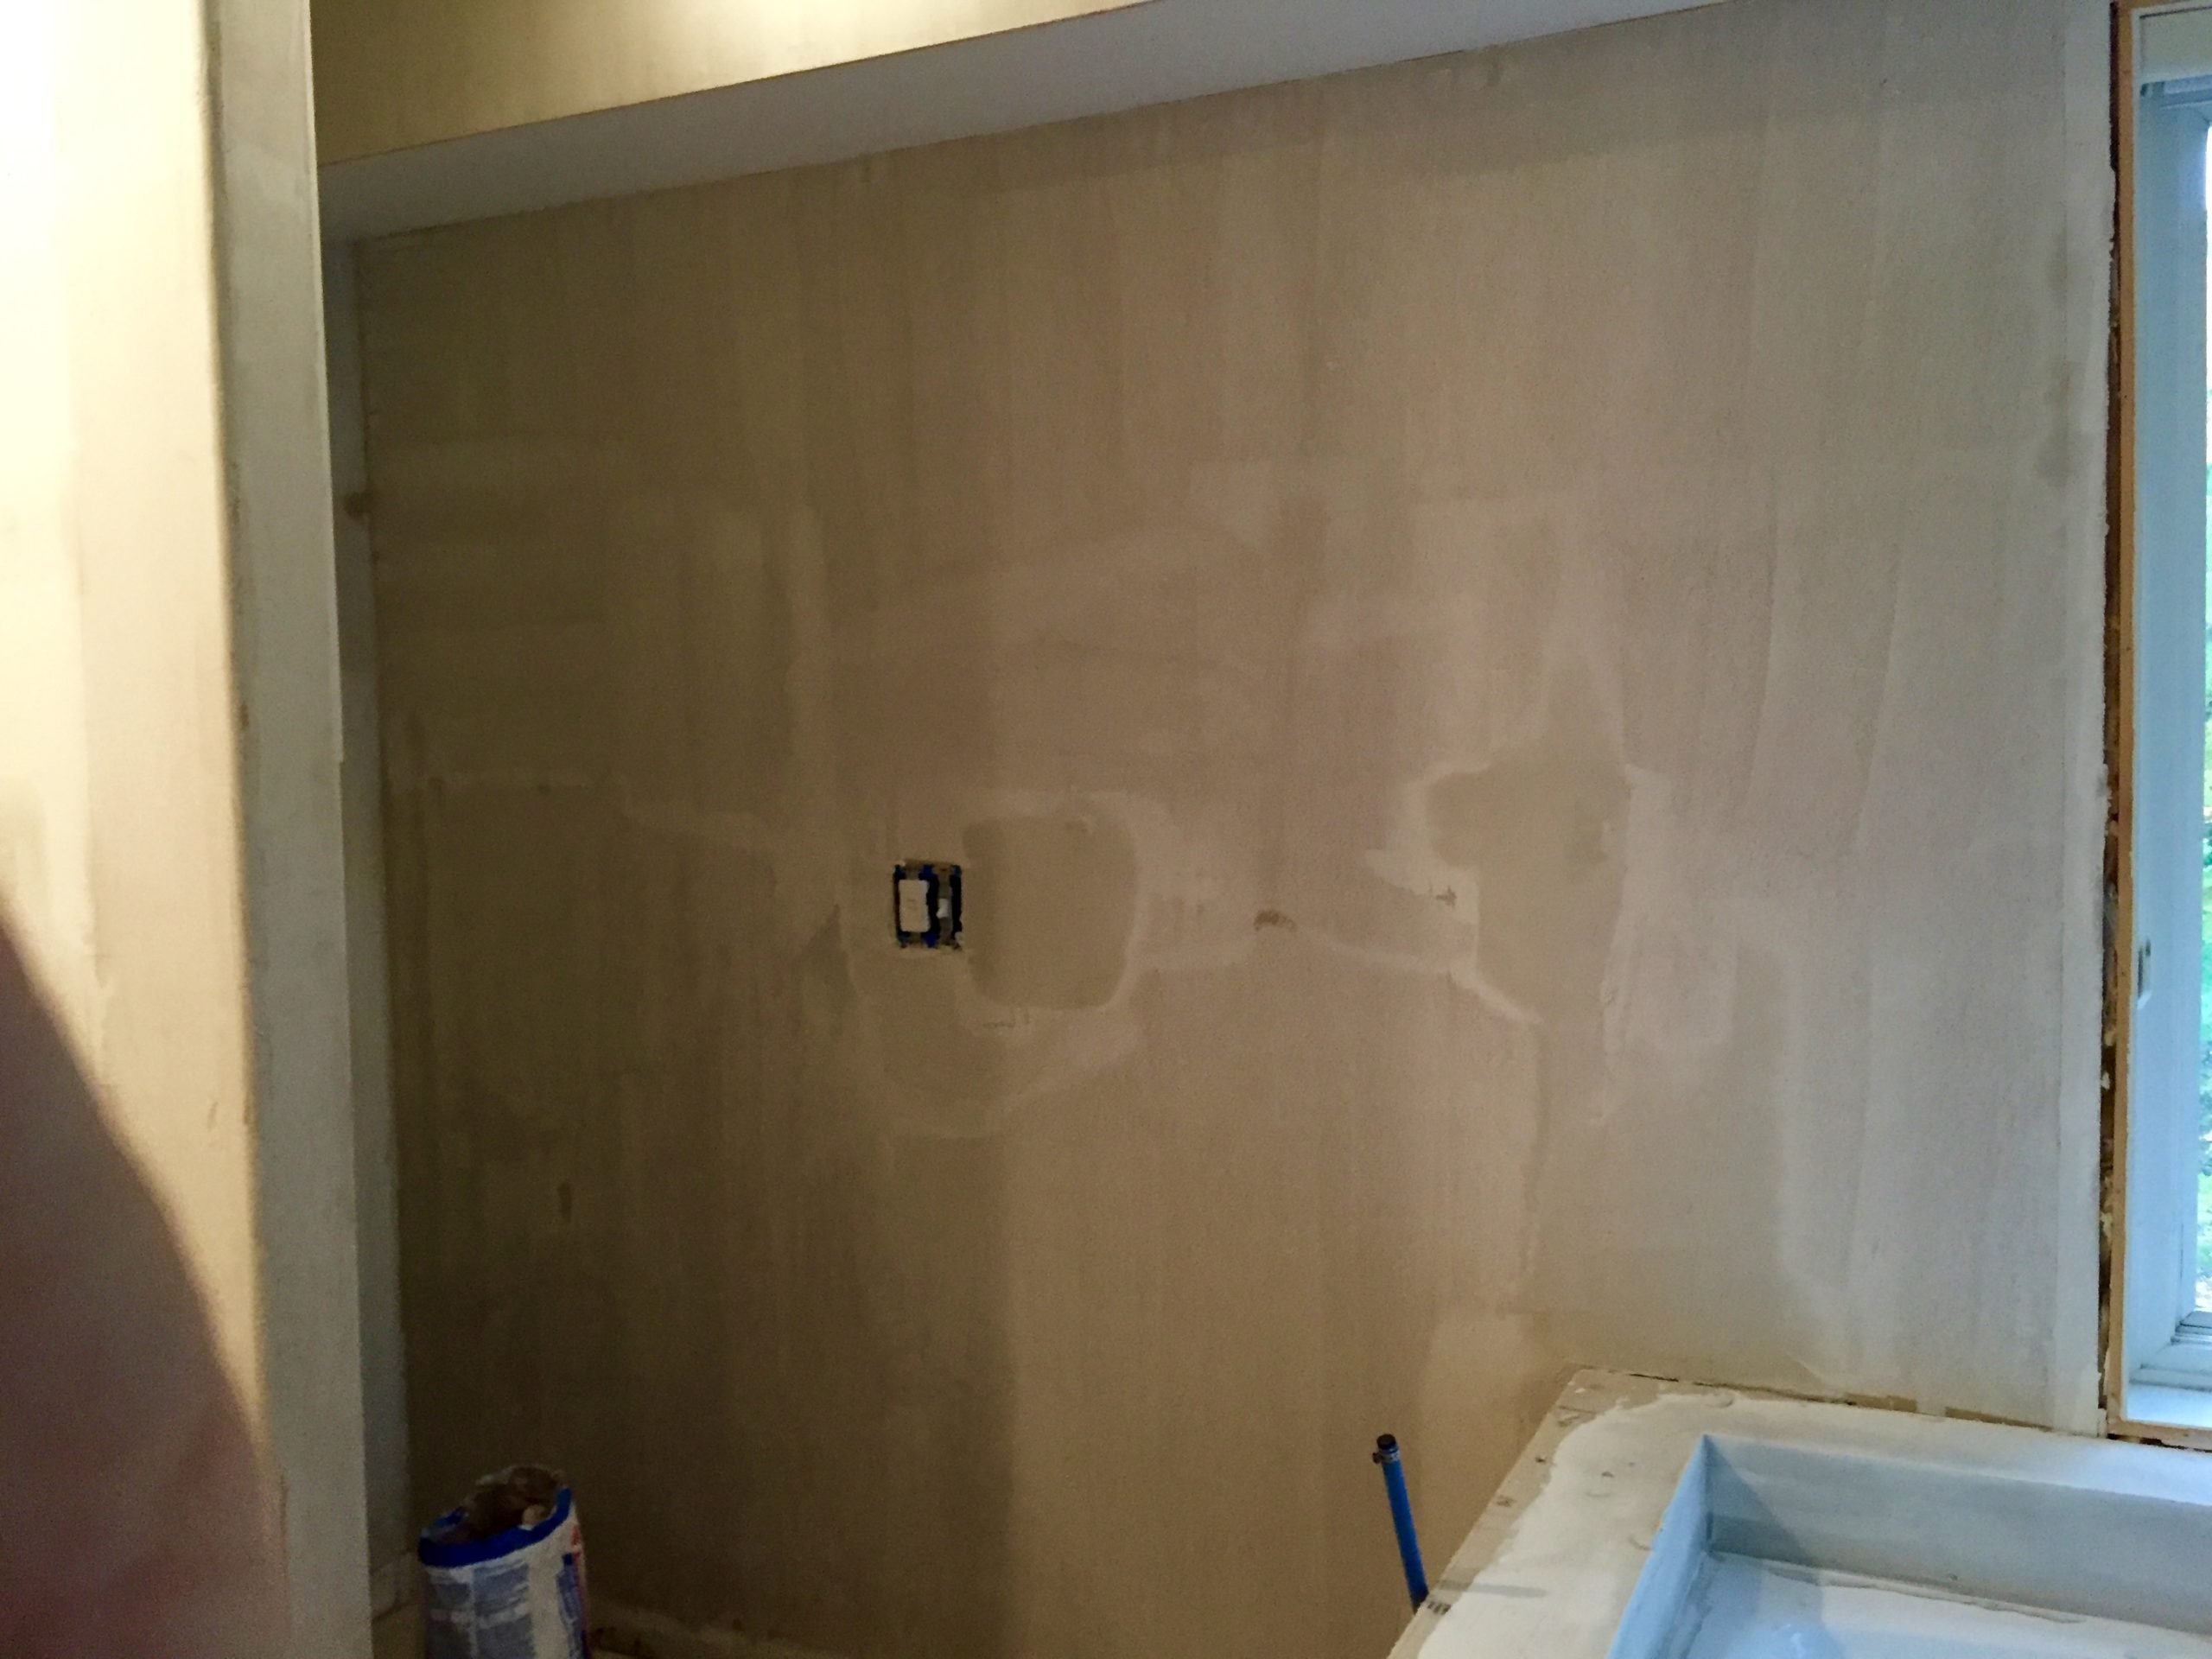
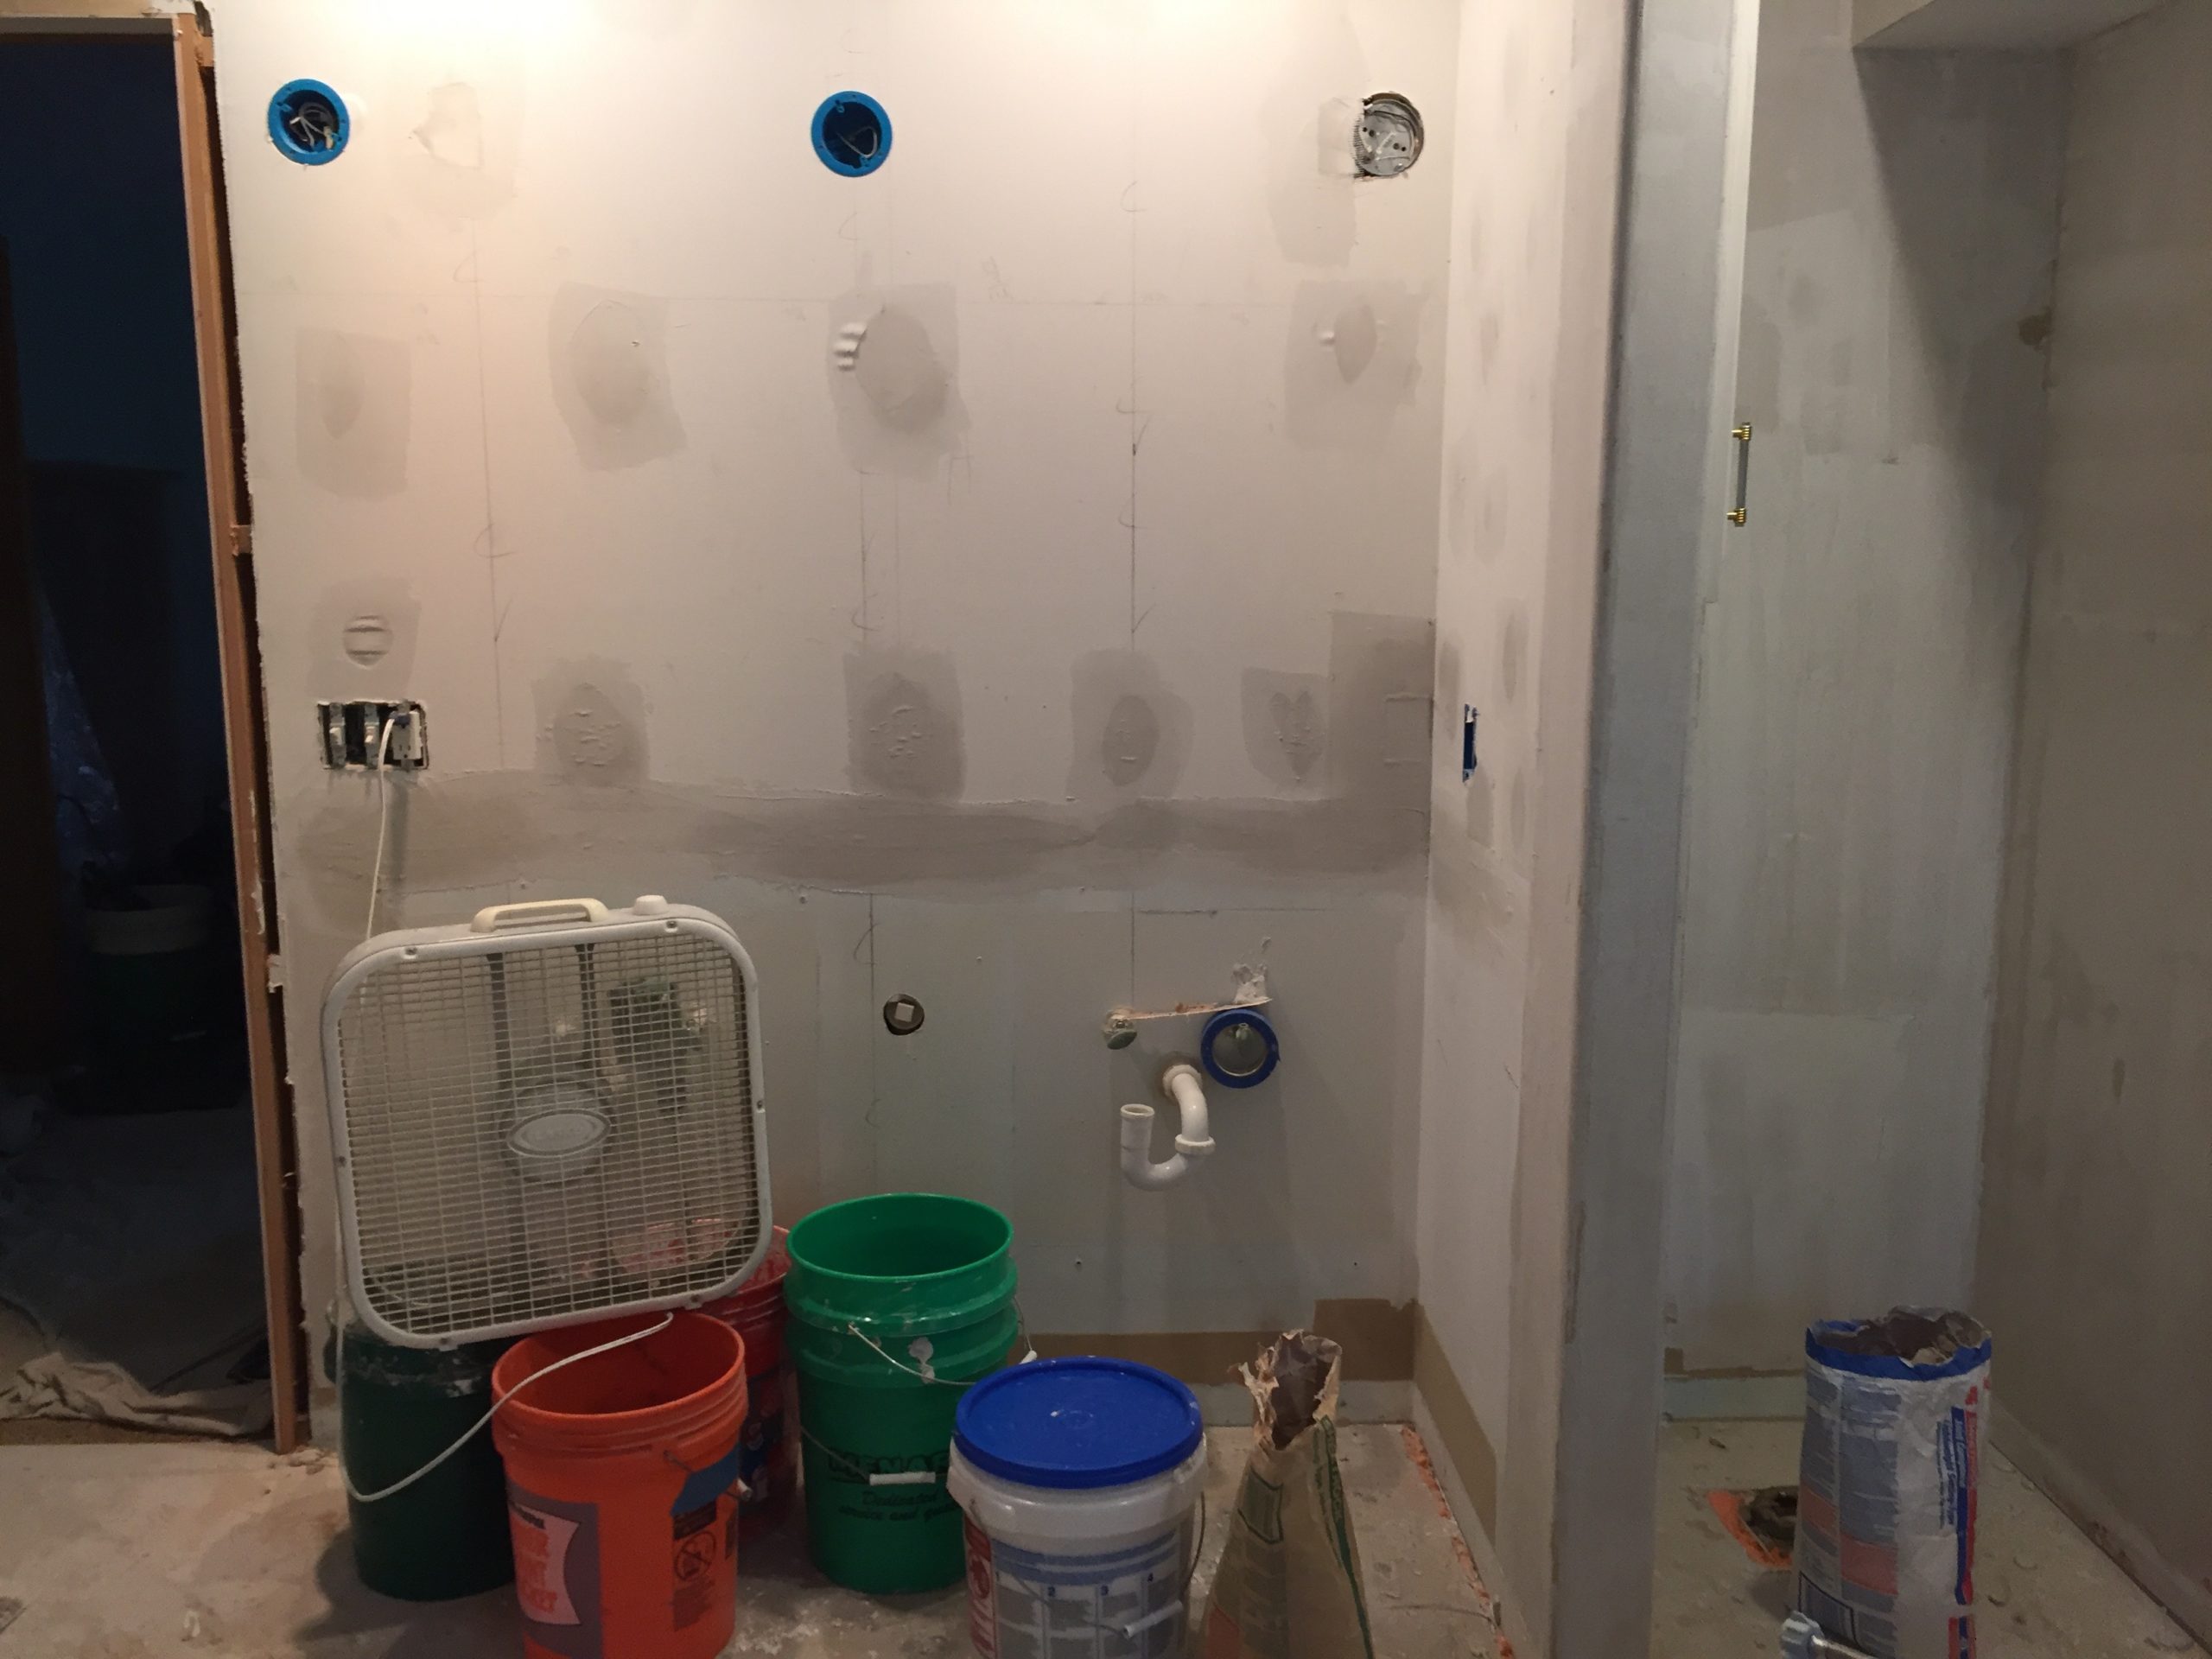
Today was also prep day for the walls with new sheet rock being installed and the bathroom walls being skim coated for painting.  The previous owner of our house put some kind of a texture on the wall which looked and felt quite ugly.

Notice that the shower plumbing is already installed also.

Prepping a master bathroom wall

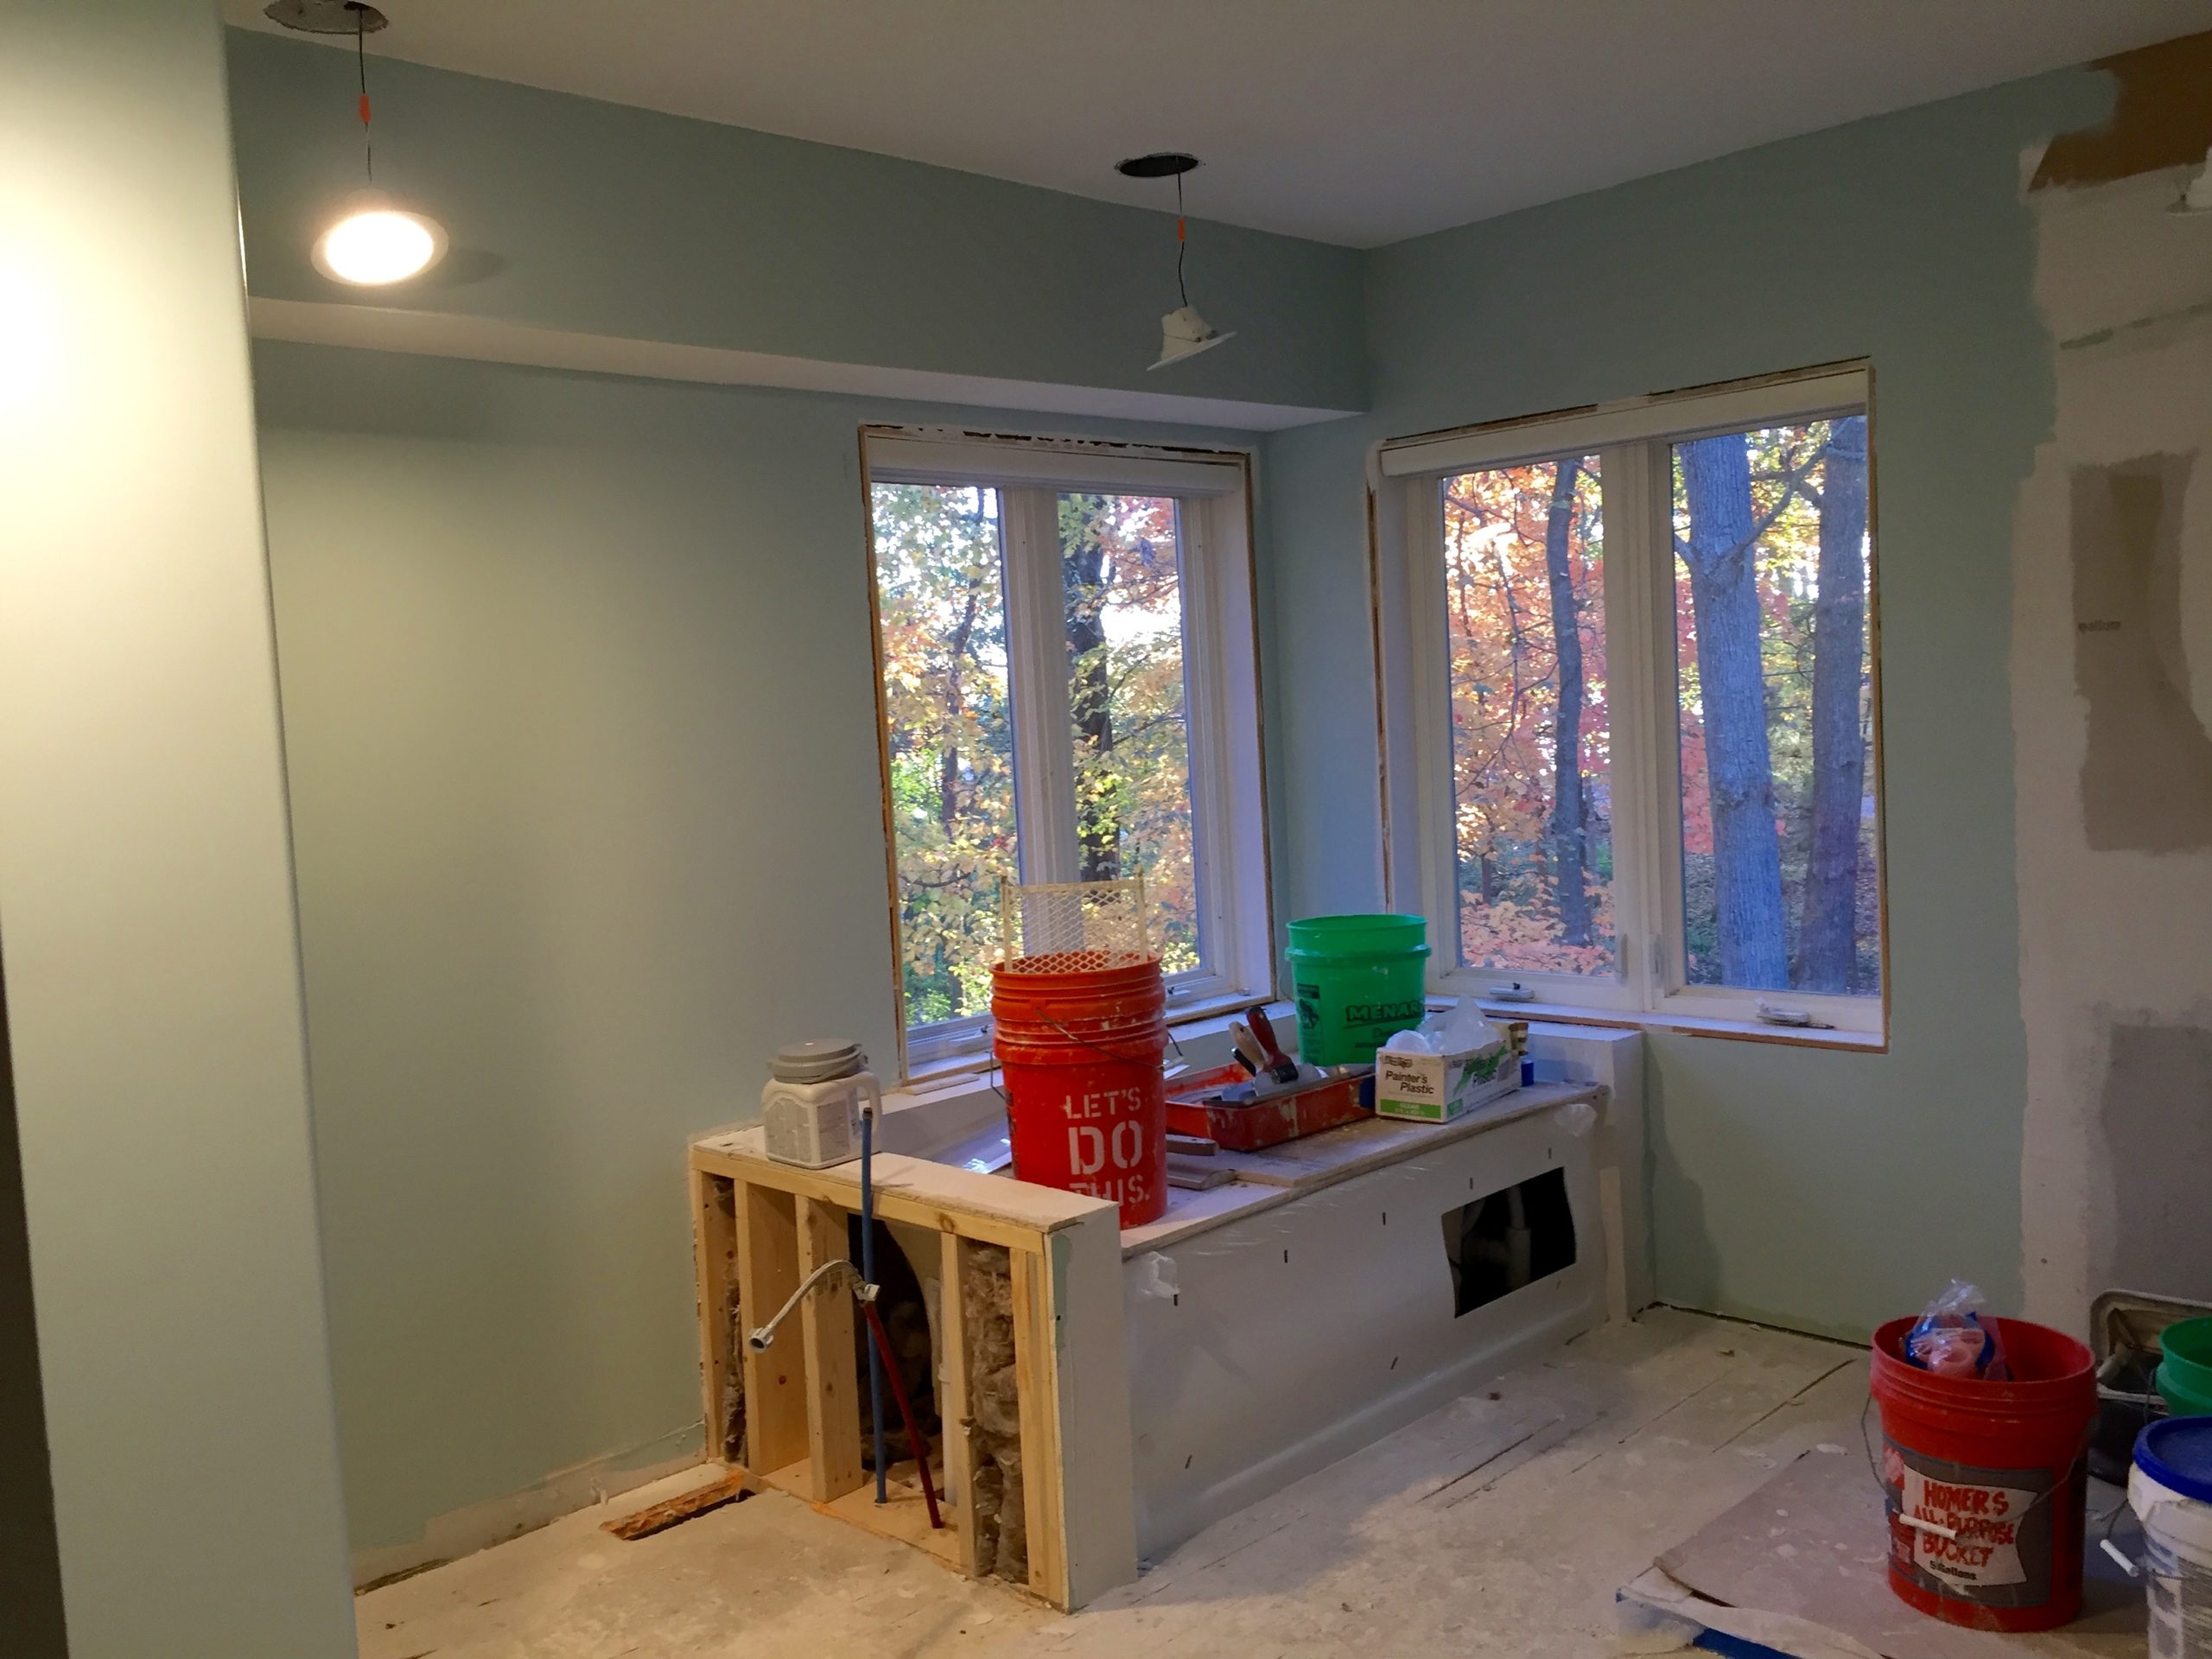
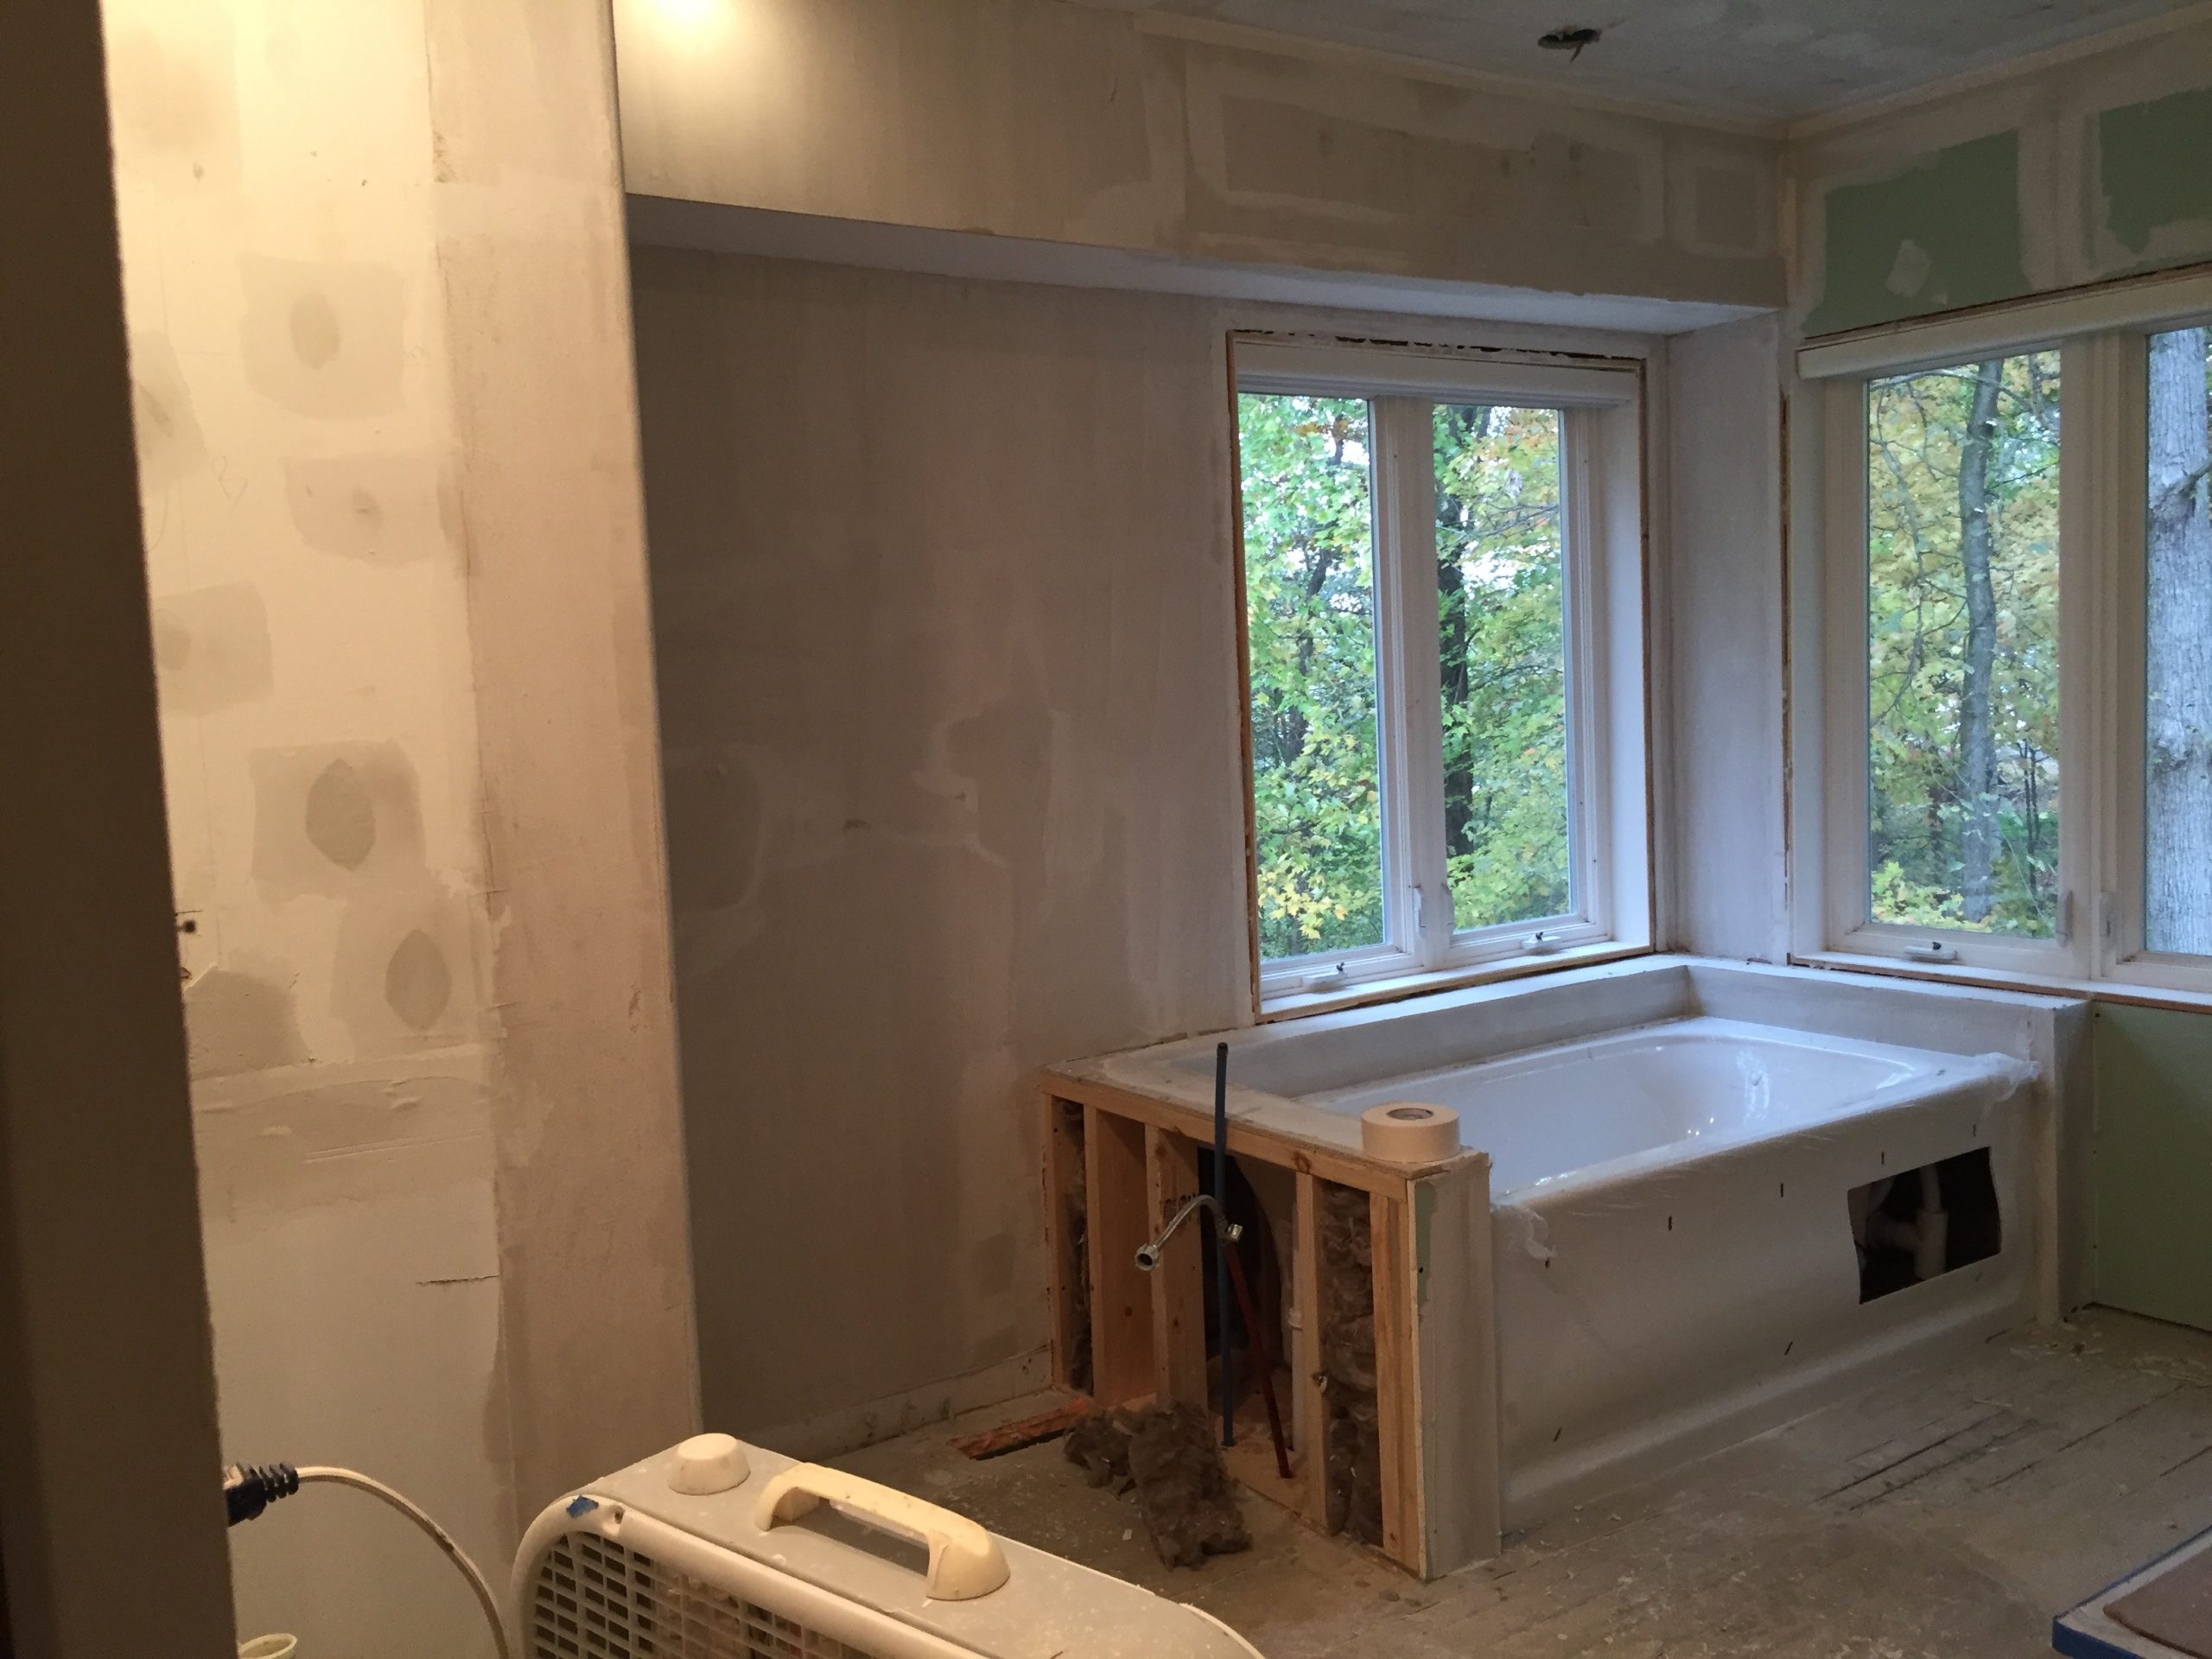
We made a very good decision to remove the soffit over the now-removed corner jetted tub.  This looks so much better ~ as if this is the way it should have always been.

Prepping a master bathroom wall

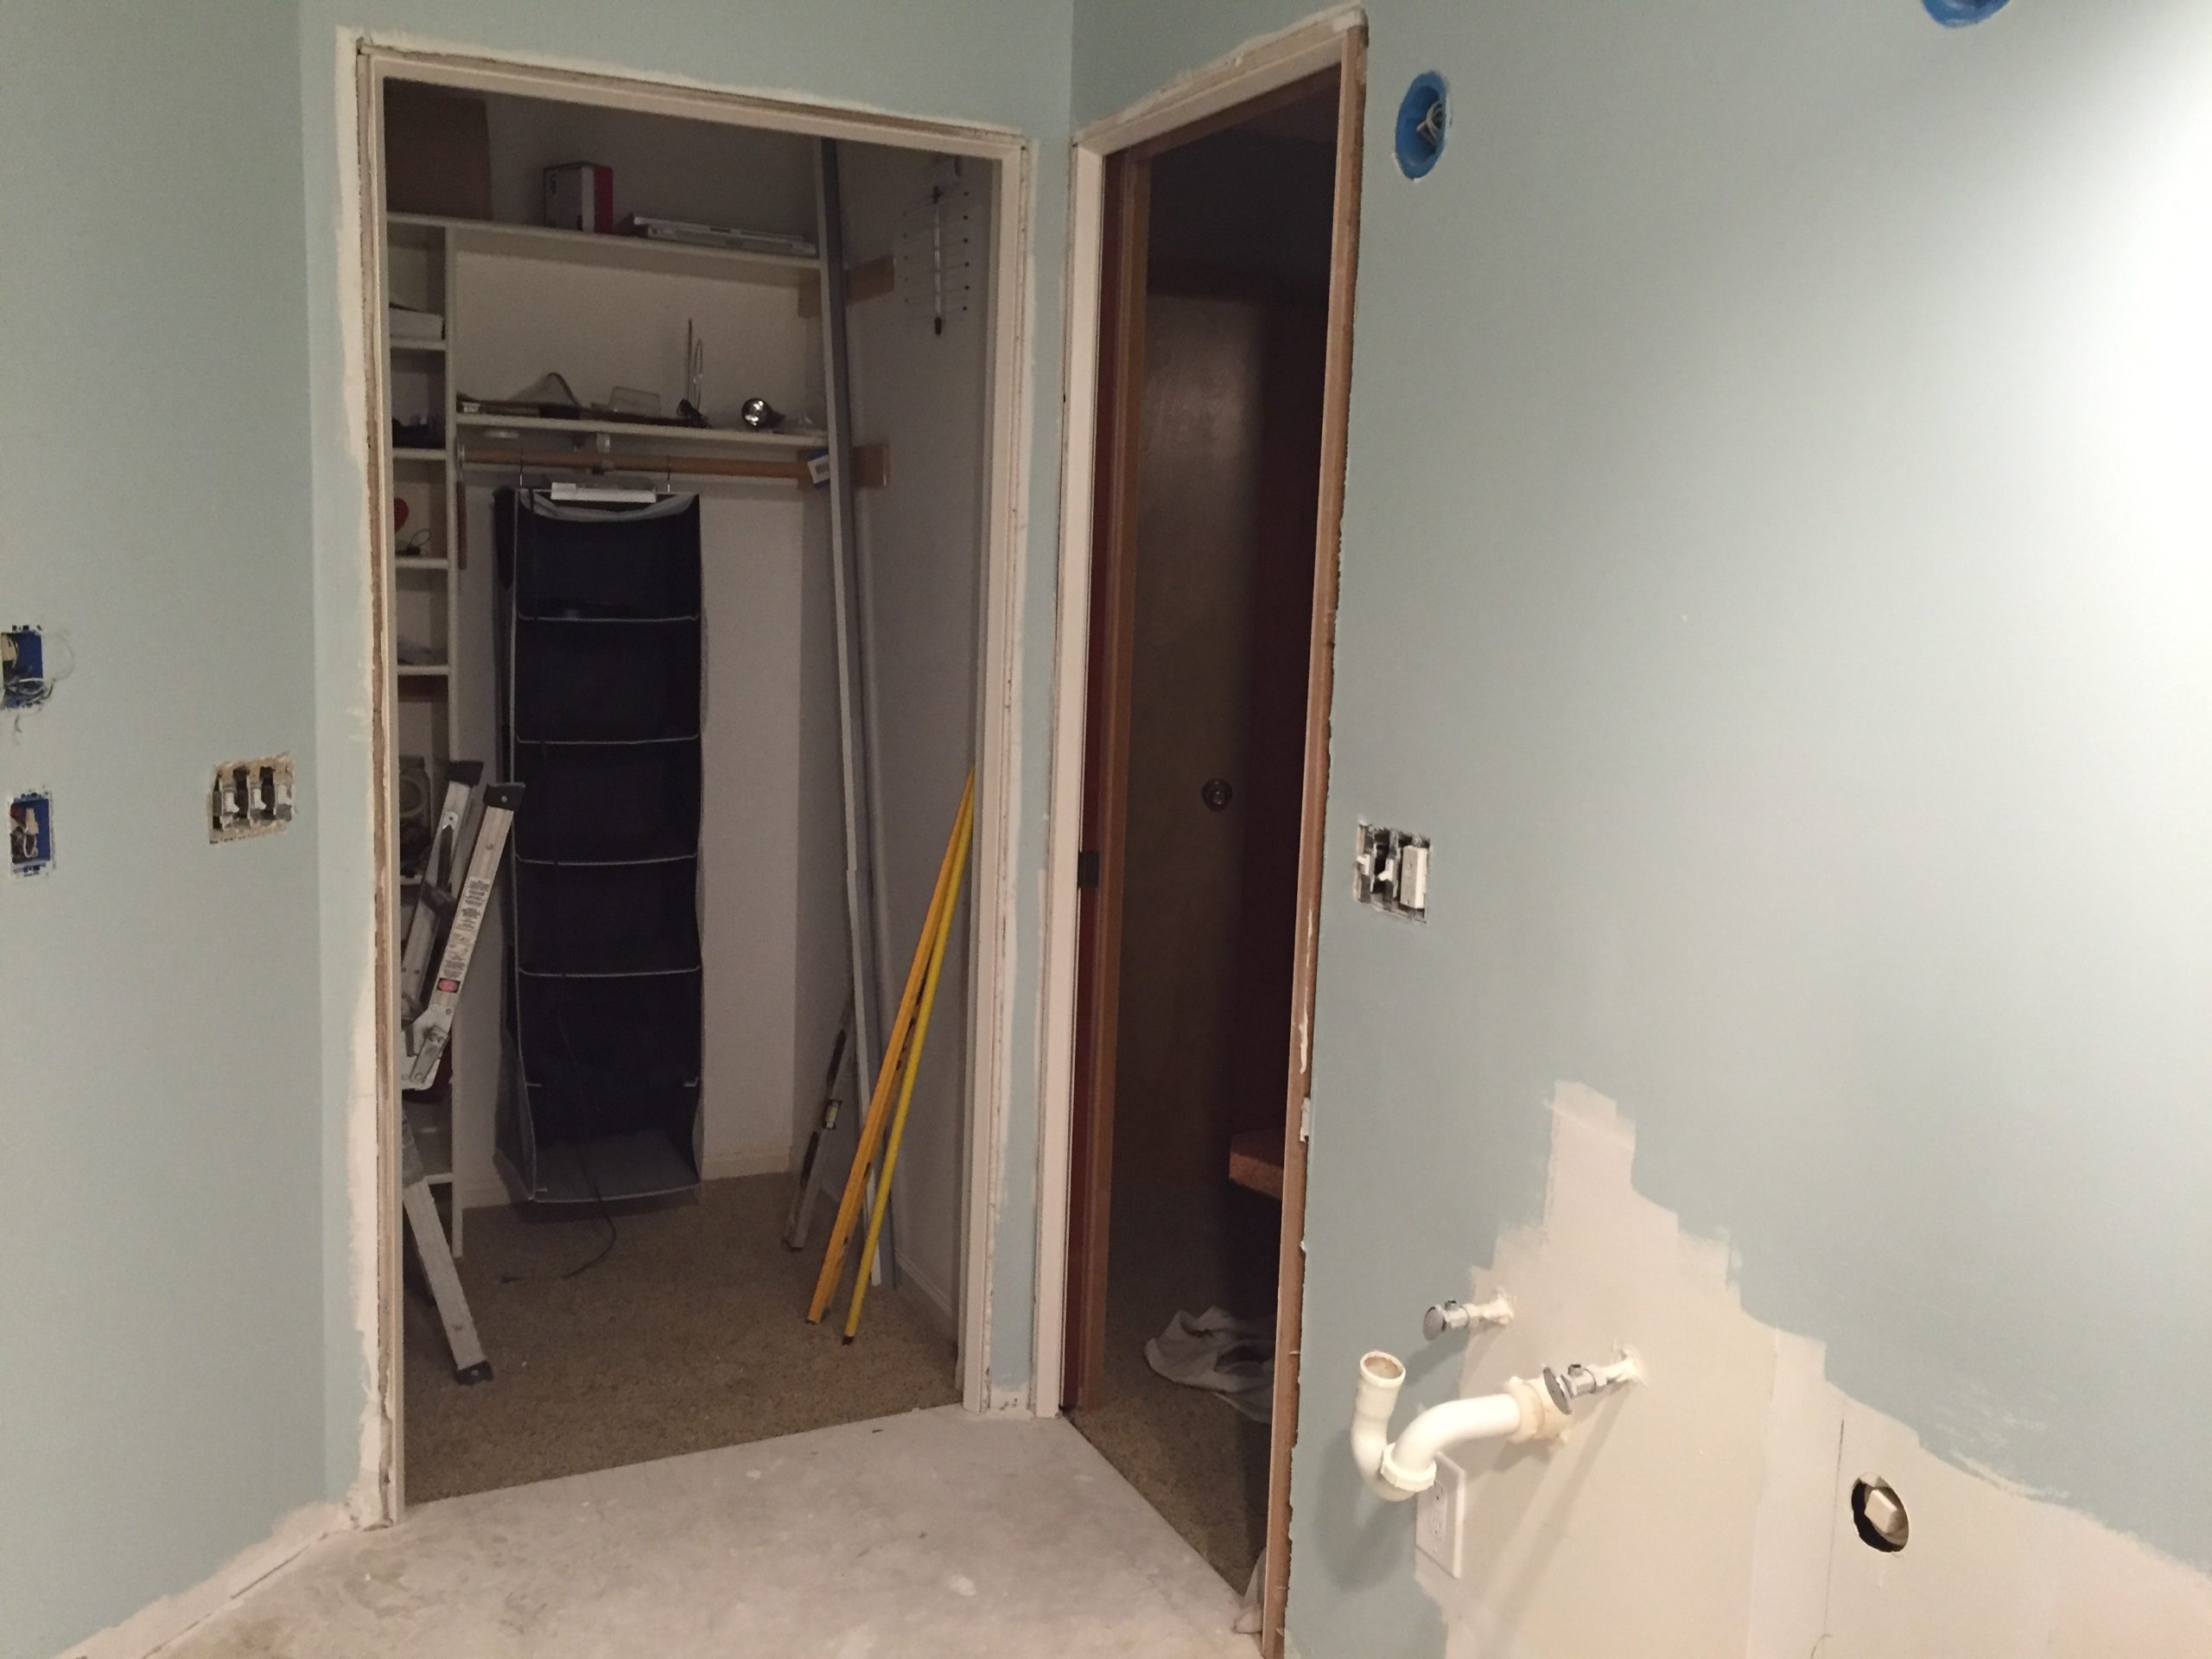
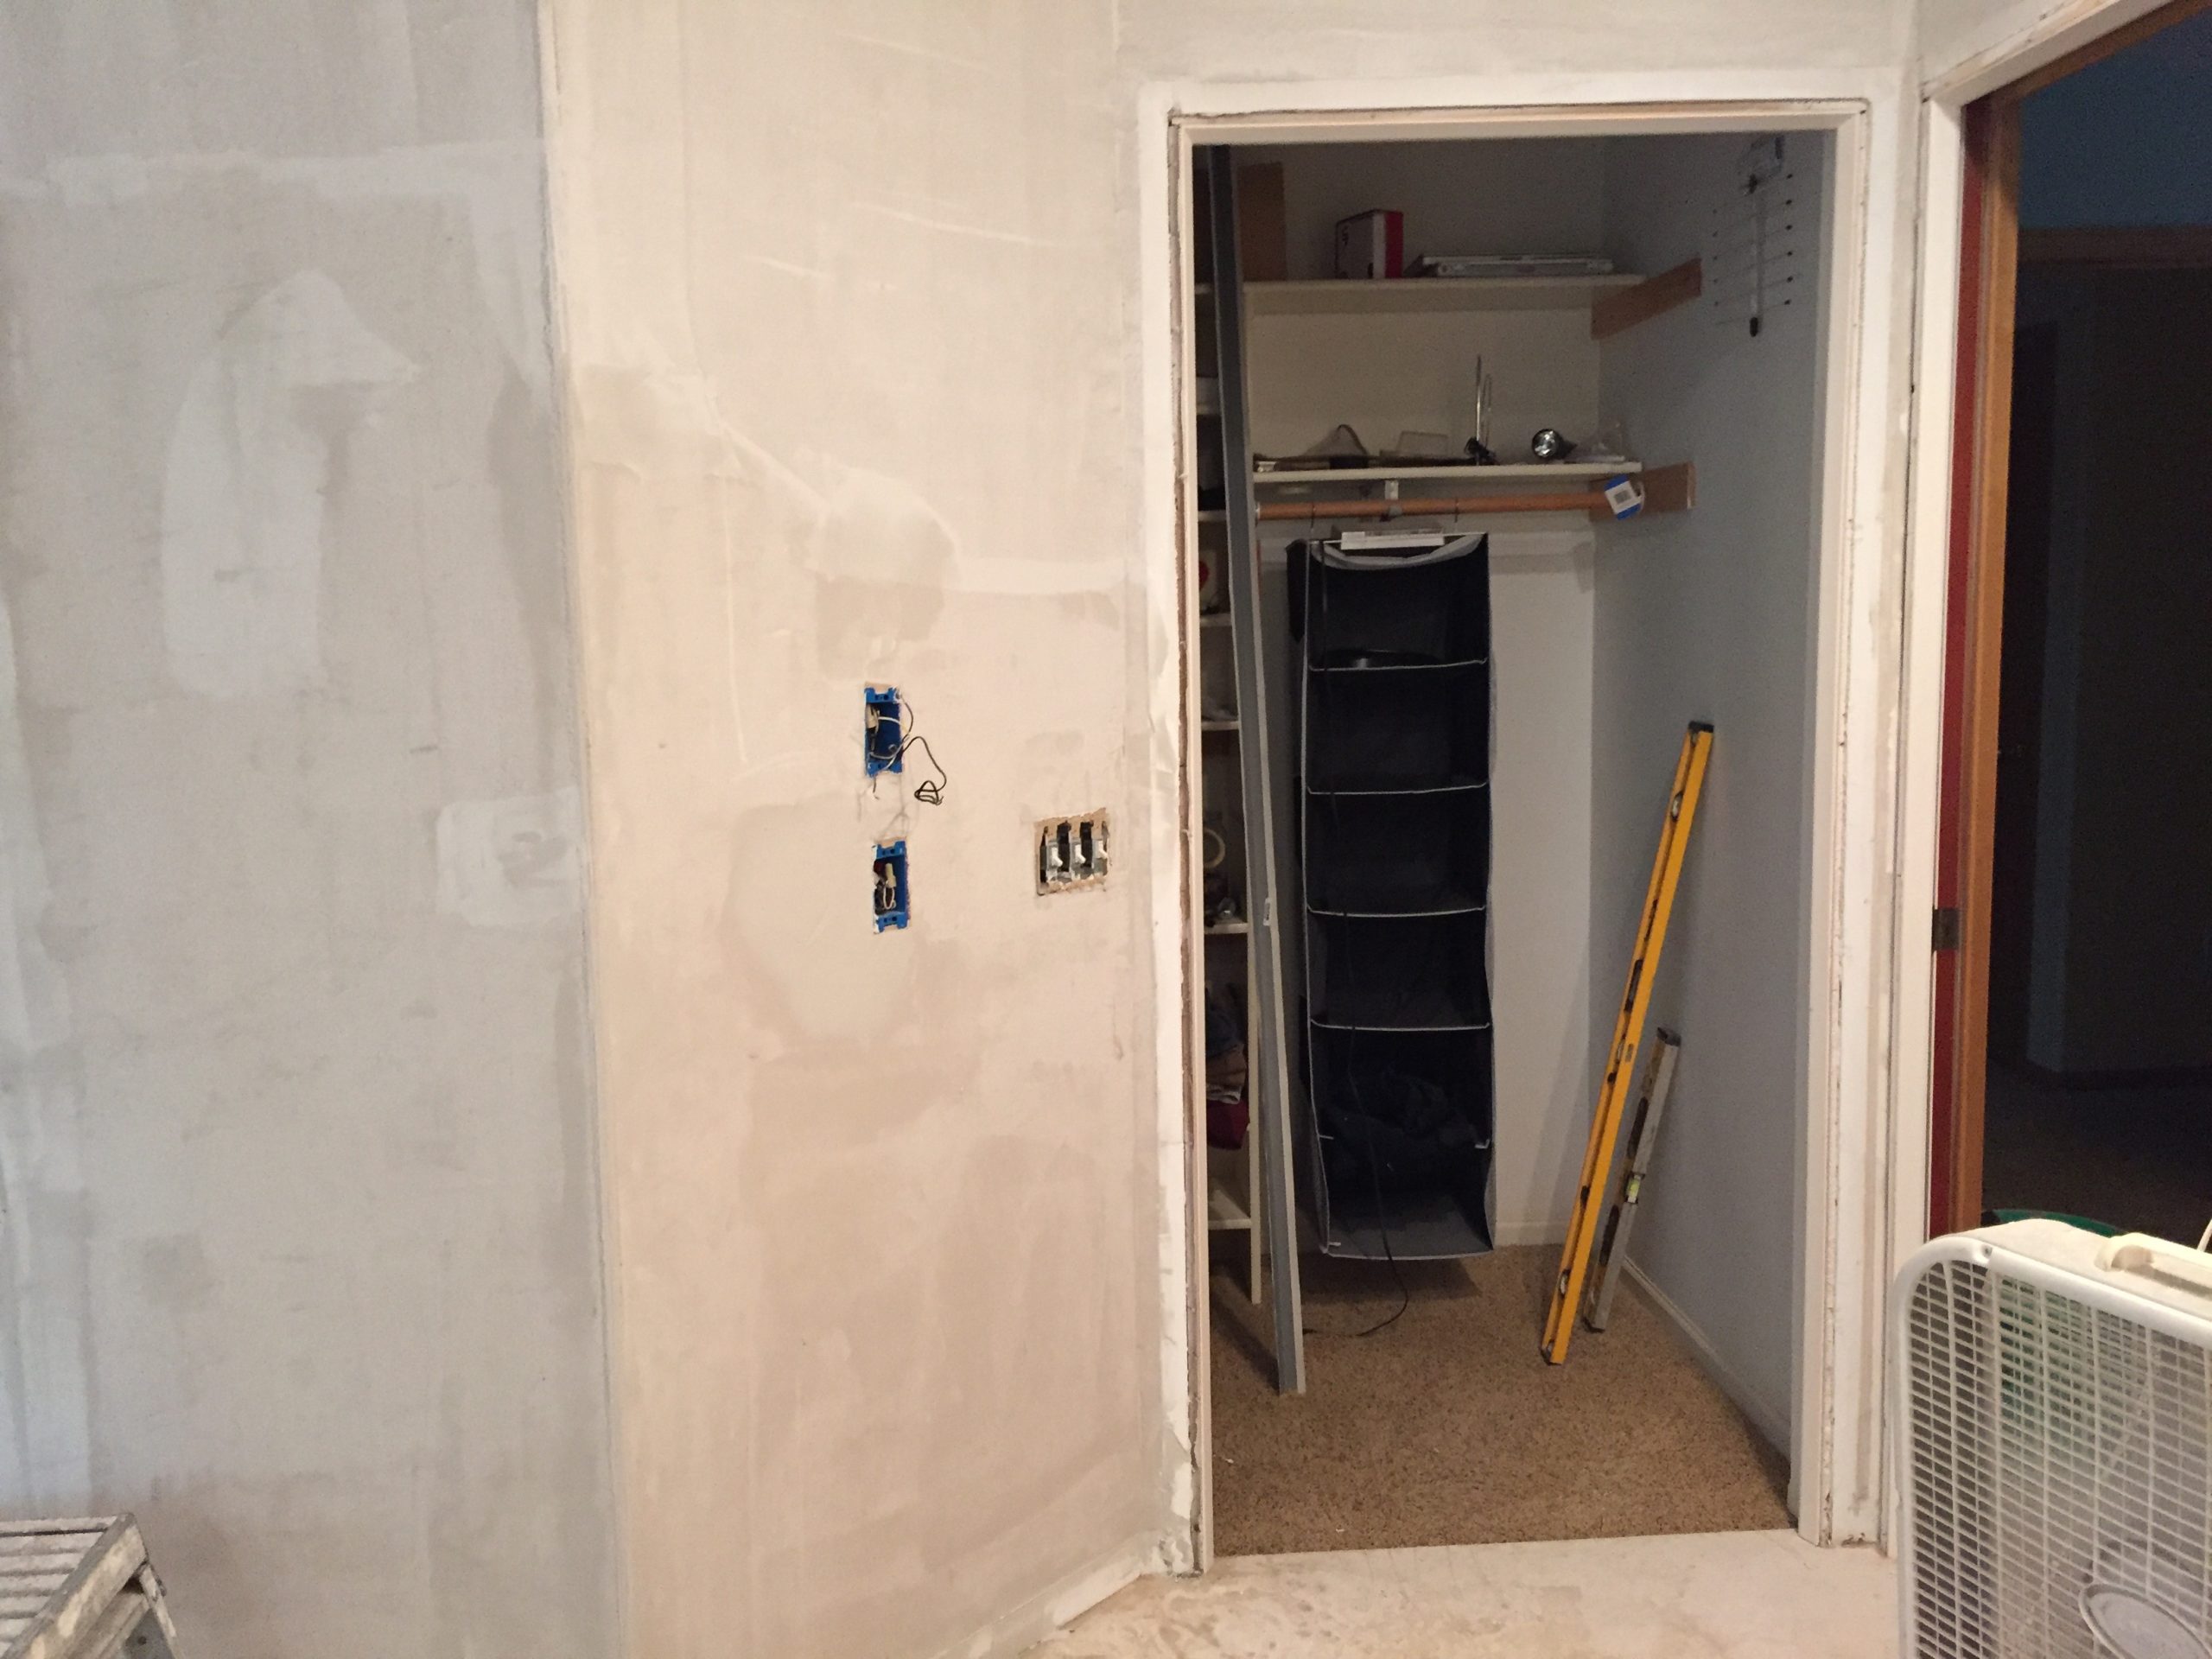
The closet door was removed as we’re having a new maple bi-fold door to match the vanity.

Prepping a master bathroom wall

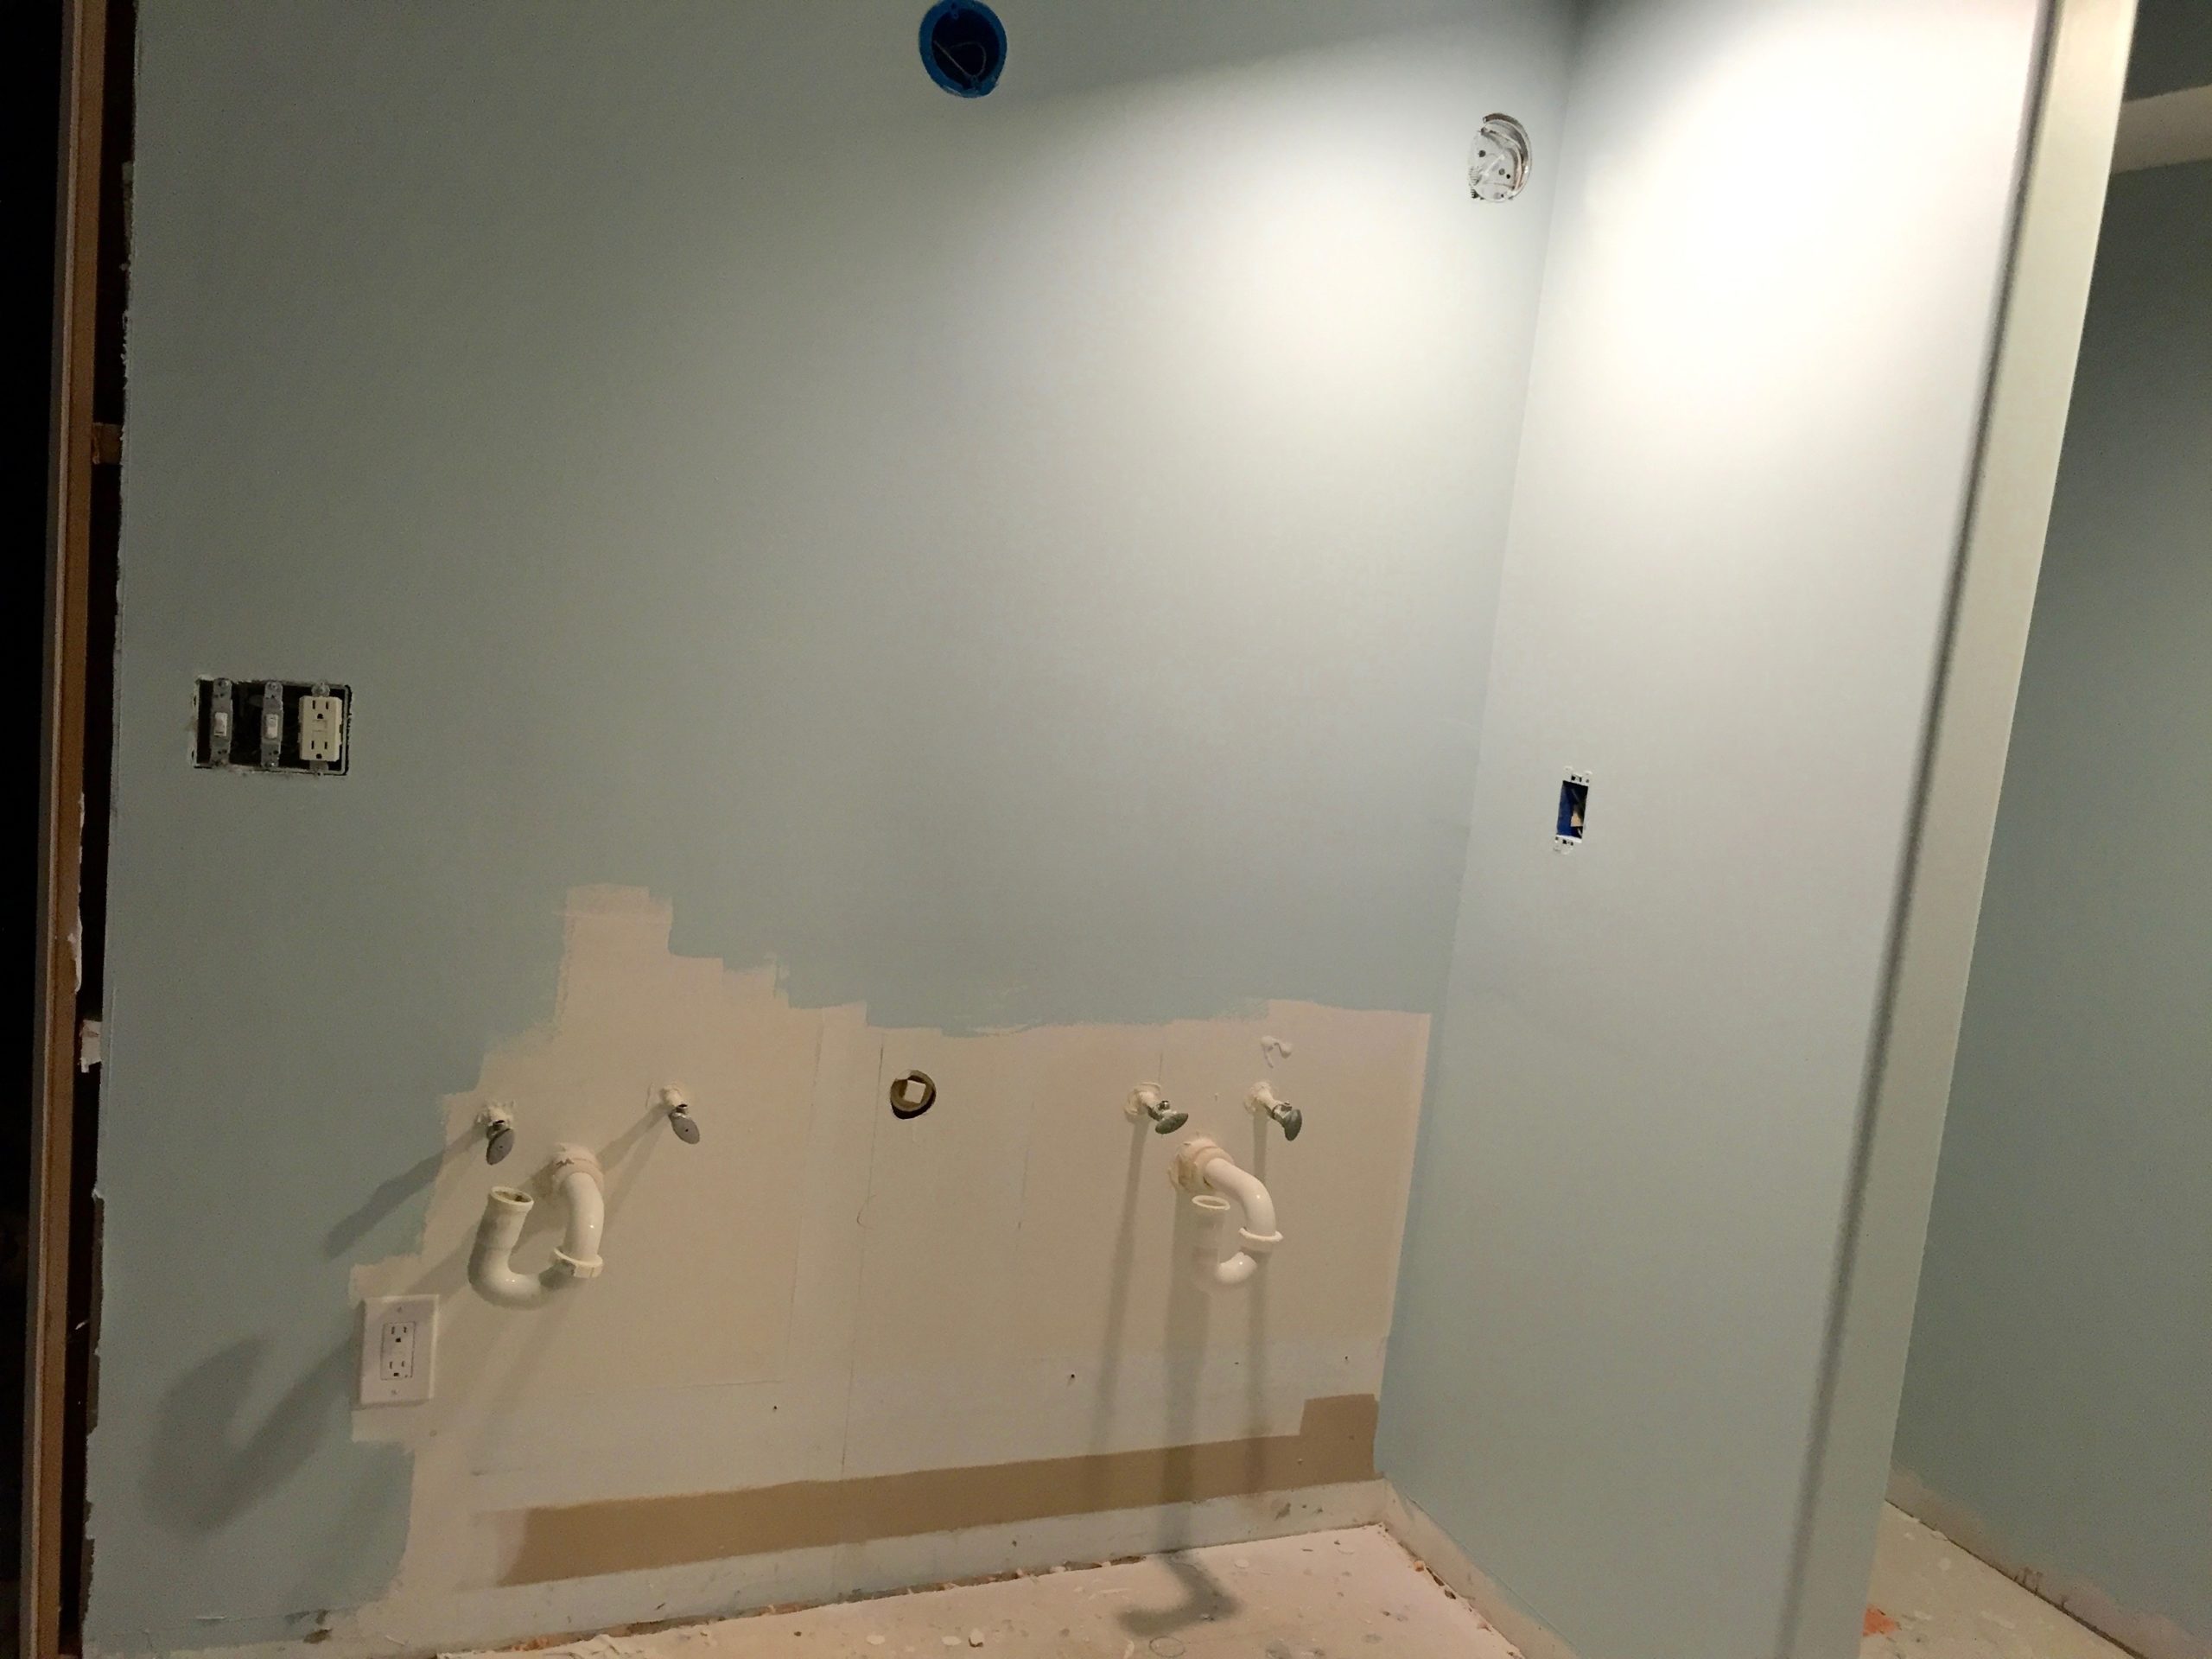
We’re prepared to install three sconces although, spoiler alert, we eventually took two of them out and only stayed with the middle one as otherwise the mirrors would not fit squarely over the lavatories.

Prepping a master bathroom wall

Now all this has to dry.  Seems like we spend a lot of time waiting for things to dry.

And the weekend arrived … it was a very pretty autumn in Minnesota.

Minnesota Autumn
Minnesota Autumn
Minnesota Autumn
Minnesota Autumn


Master Bathroom Remodel – Day 4

I’m a little behind in posting the master bathroom remodel project that we’ve had as I was sidetracked with 1) painting the basement which took me 5 days and 2) problems with Chrome loading my pictures.  I finally decided to use Firefox and so far, cross my fingers, things are going smoothly.

So …

It was a little unnerving to have our contractor tell us, at the end of Day 3, that his blood pressure was 180/120 so he would have to take the day off to go to the doctor to figure out what was wrong.  My response to him was “What are you doing here?”

Come to find out he’s one of those people who don’t have medical insurance and doesn’t like to go to the doctor.

When he returned after his day off he told us the doctor gave him blood pressure medication and advised him to find a primary care doctor and go for a follow-up in 30 days.

For now, all is well and we continue with the remodel.

On day 3, the Nuheat heating system was installed.  I’ve also heard this called radiant heat.

NuHeat Cable Floor Heating System
Nuheat Cable Floor Heating System

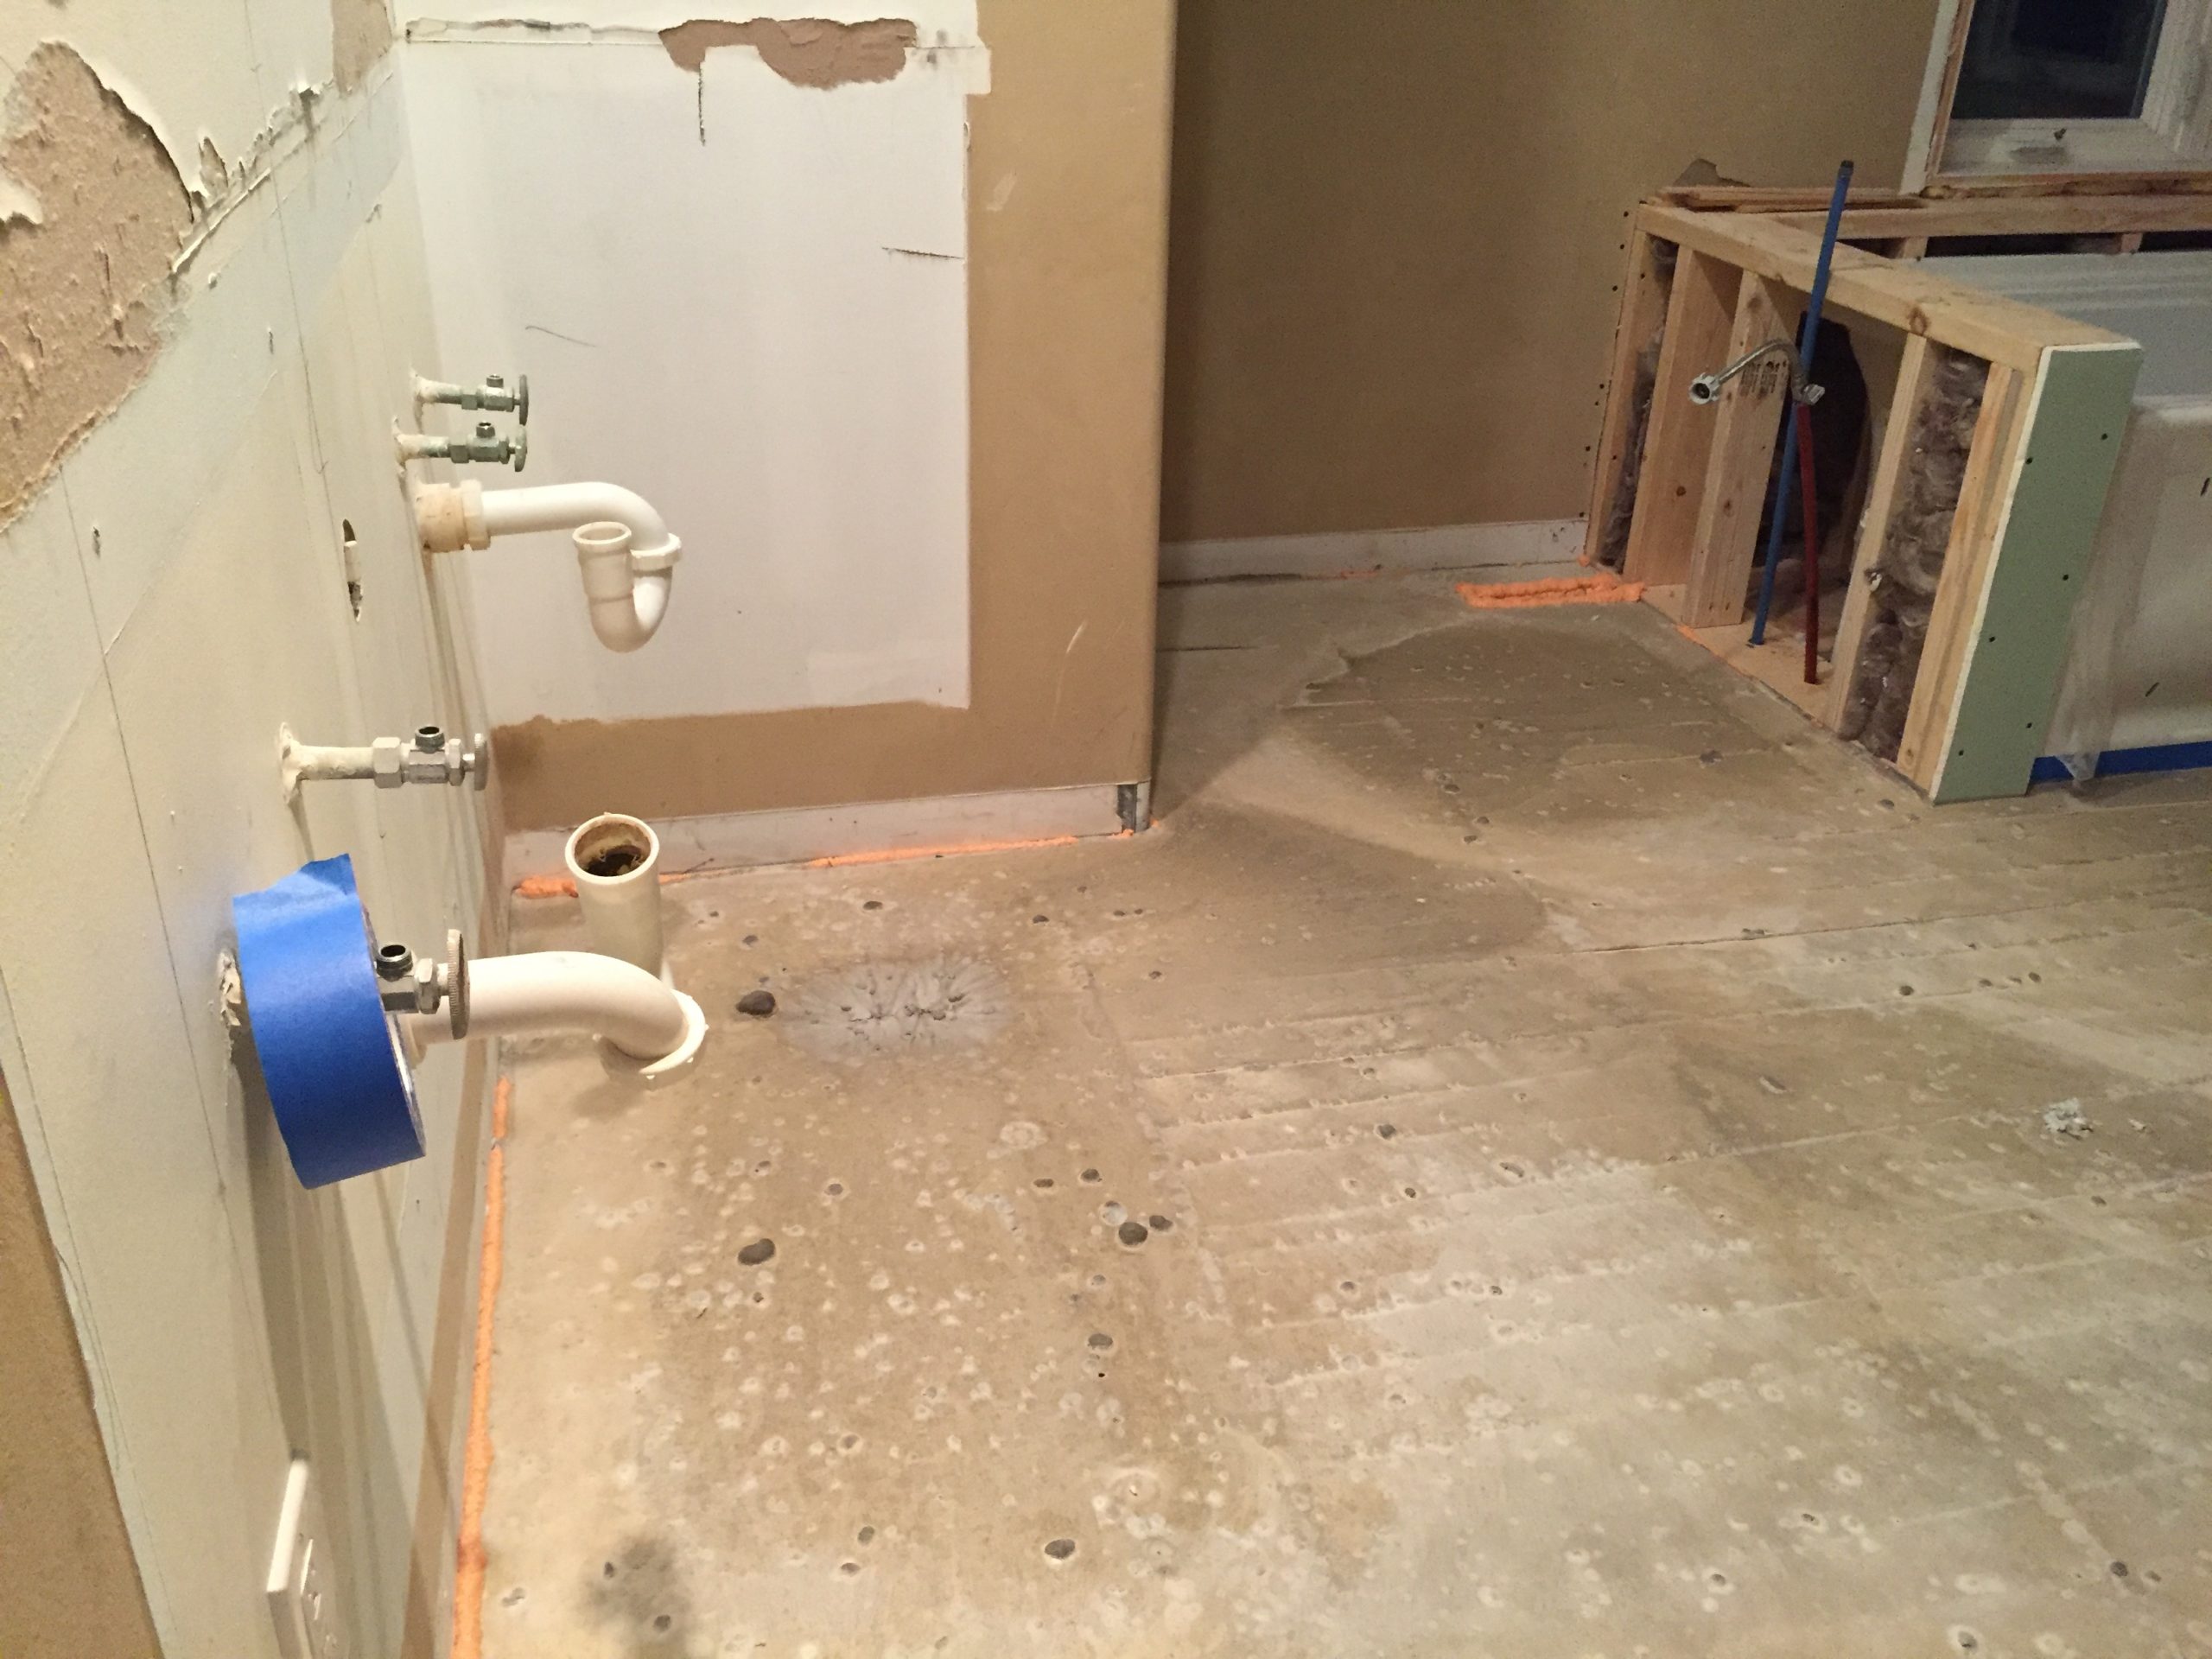
All the old tiles from the floor were removed in preparation to have this heat system added.

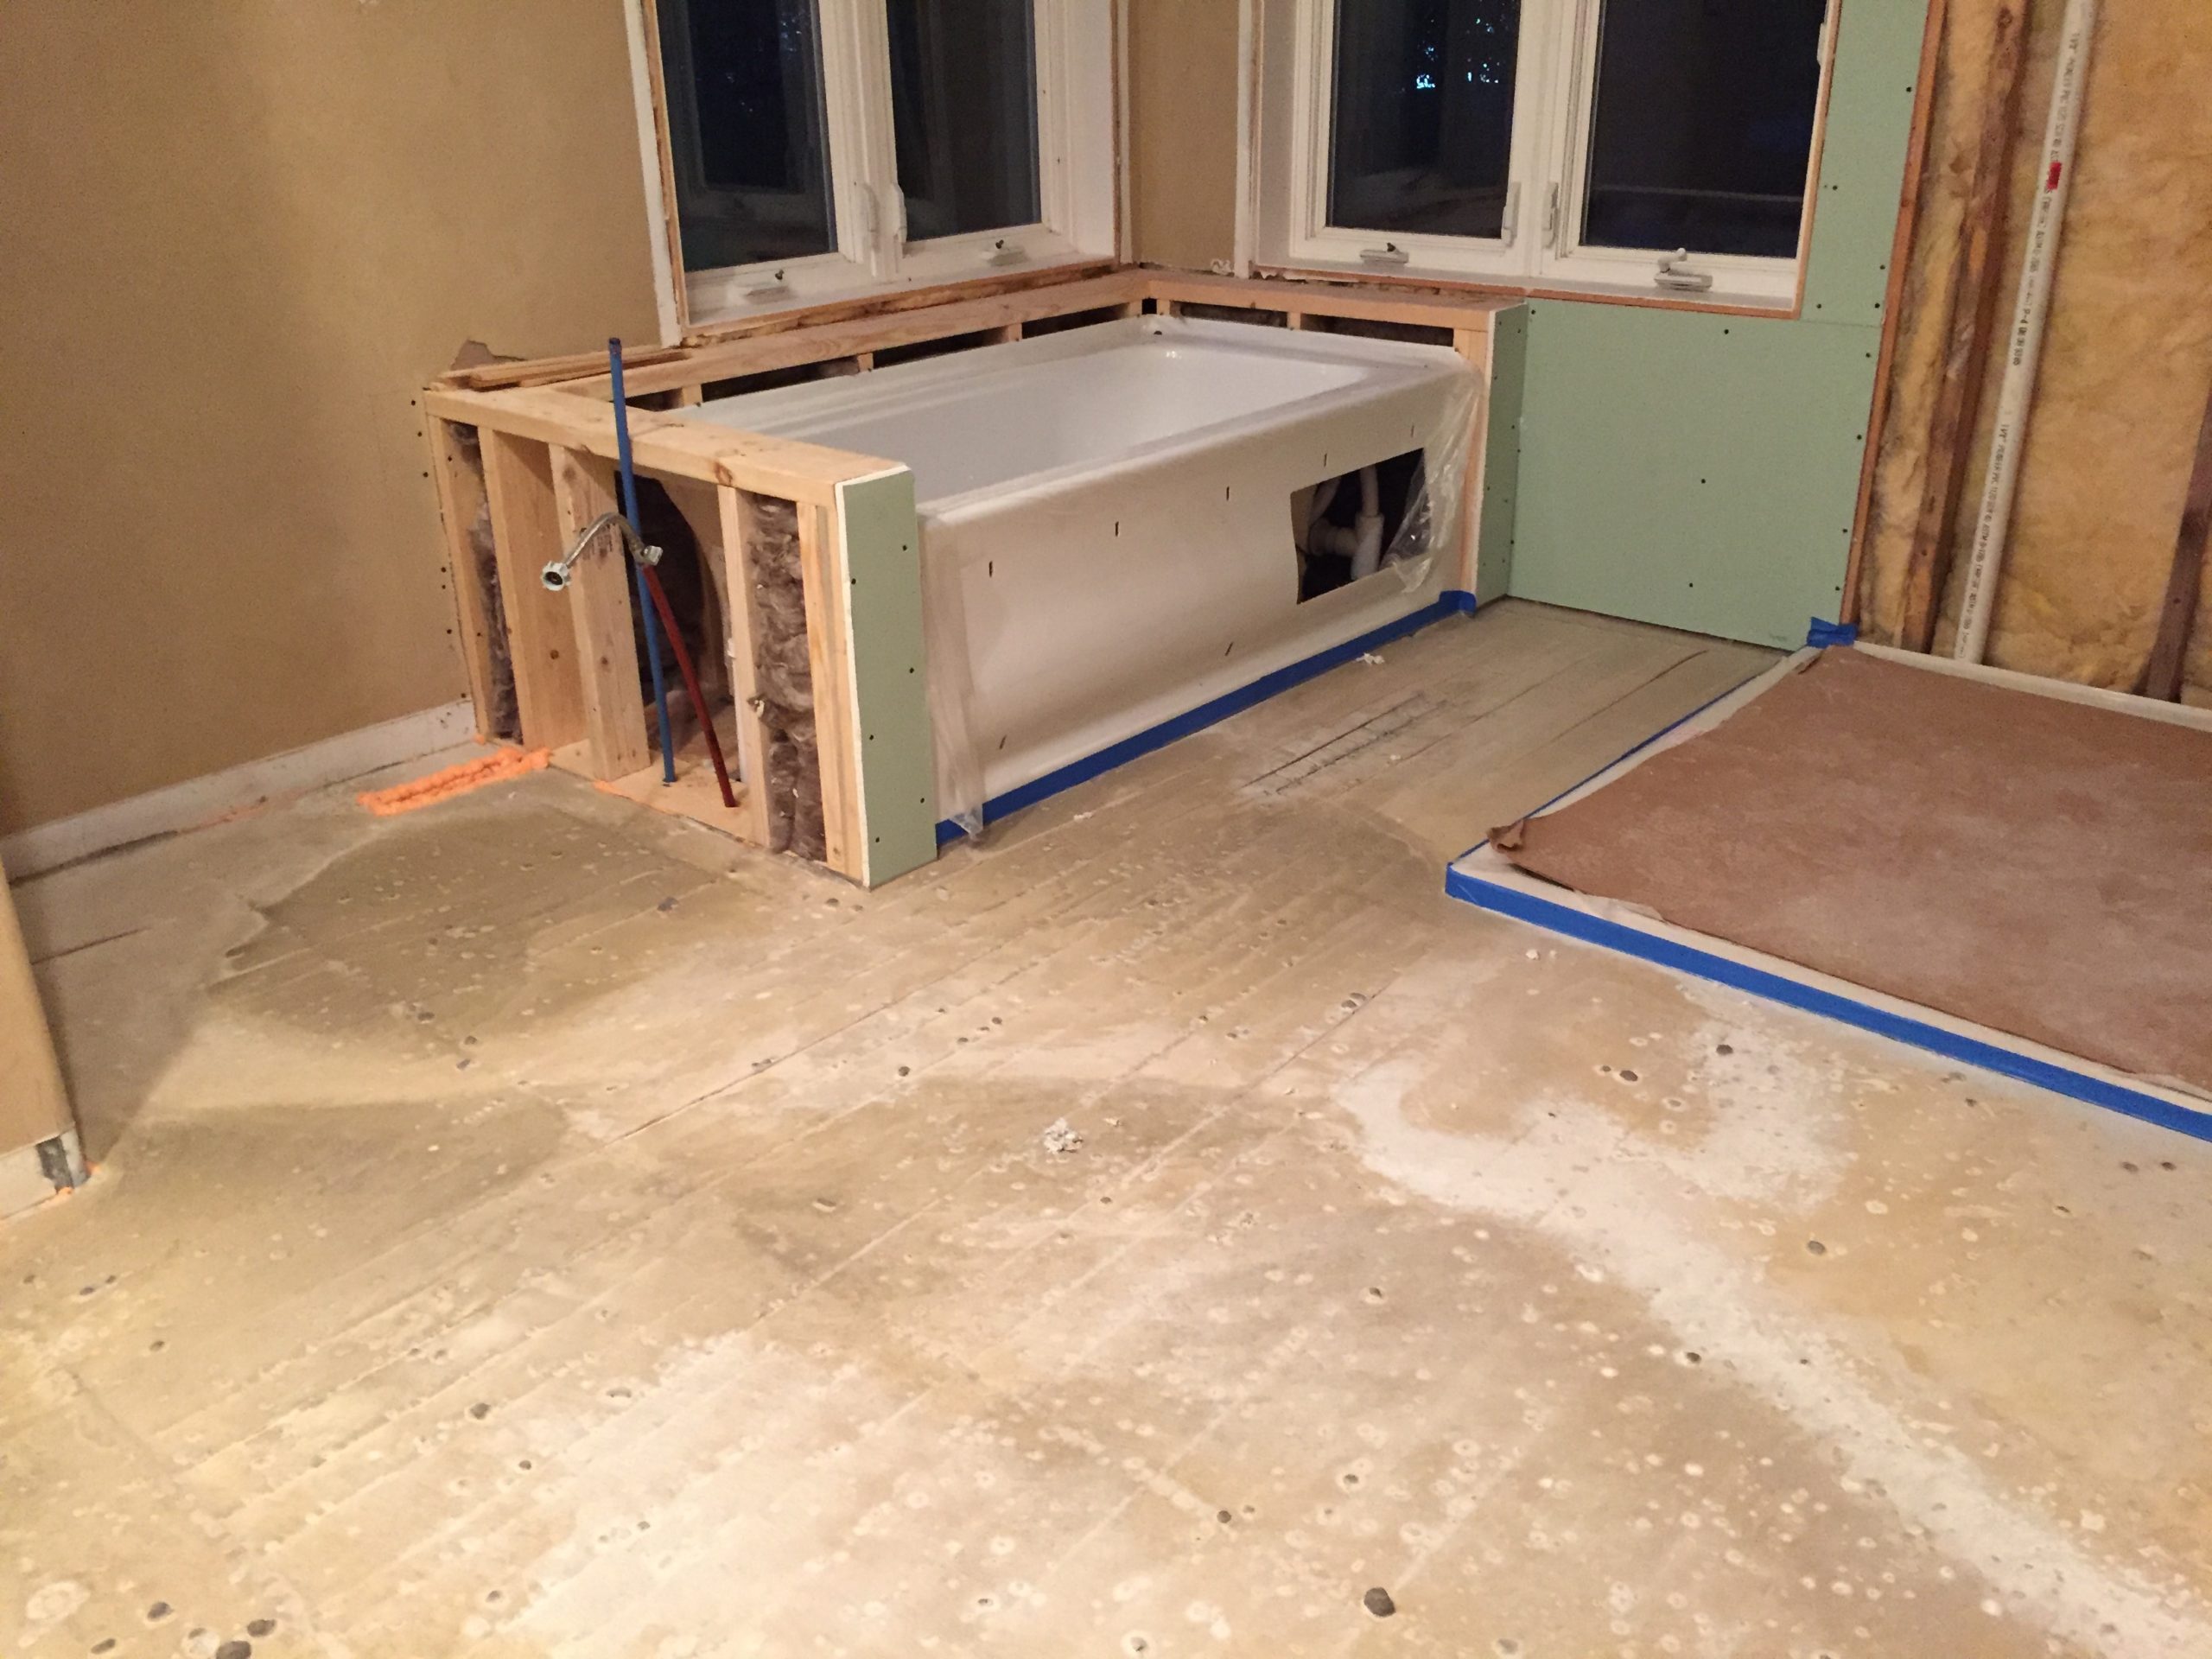
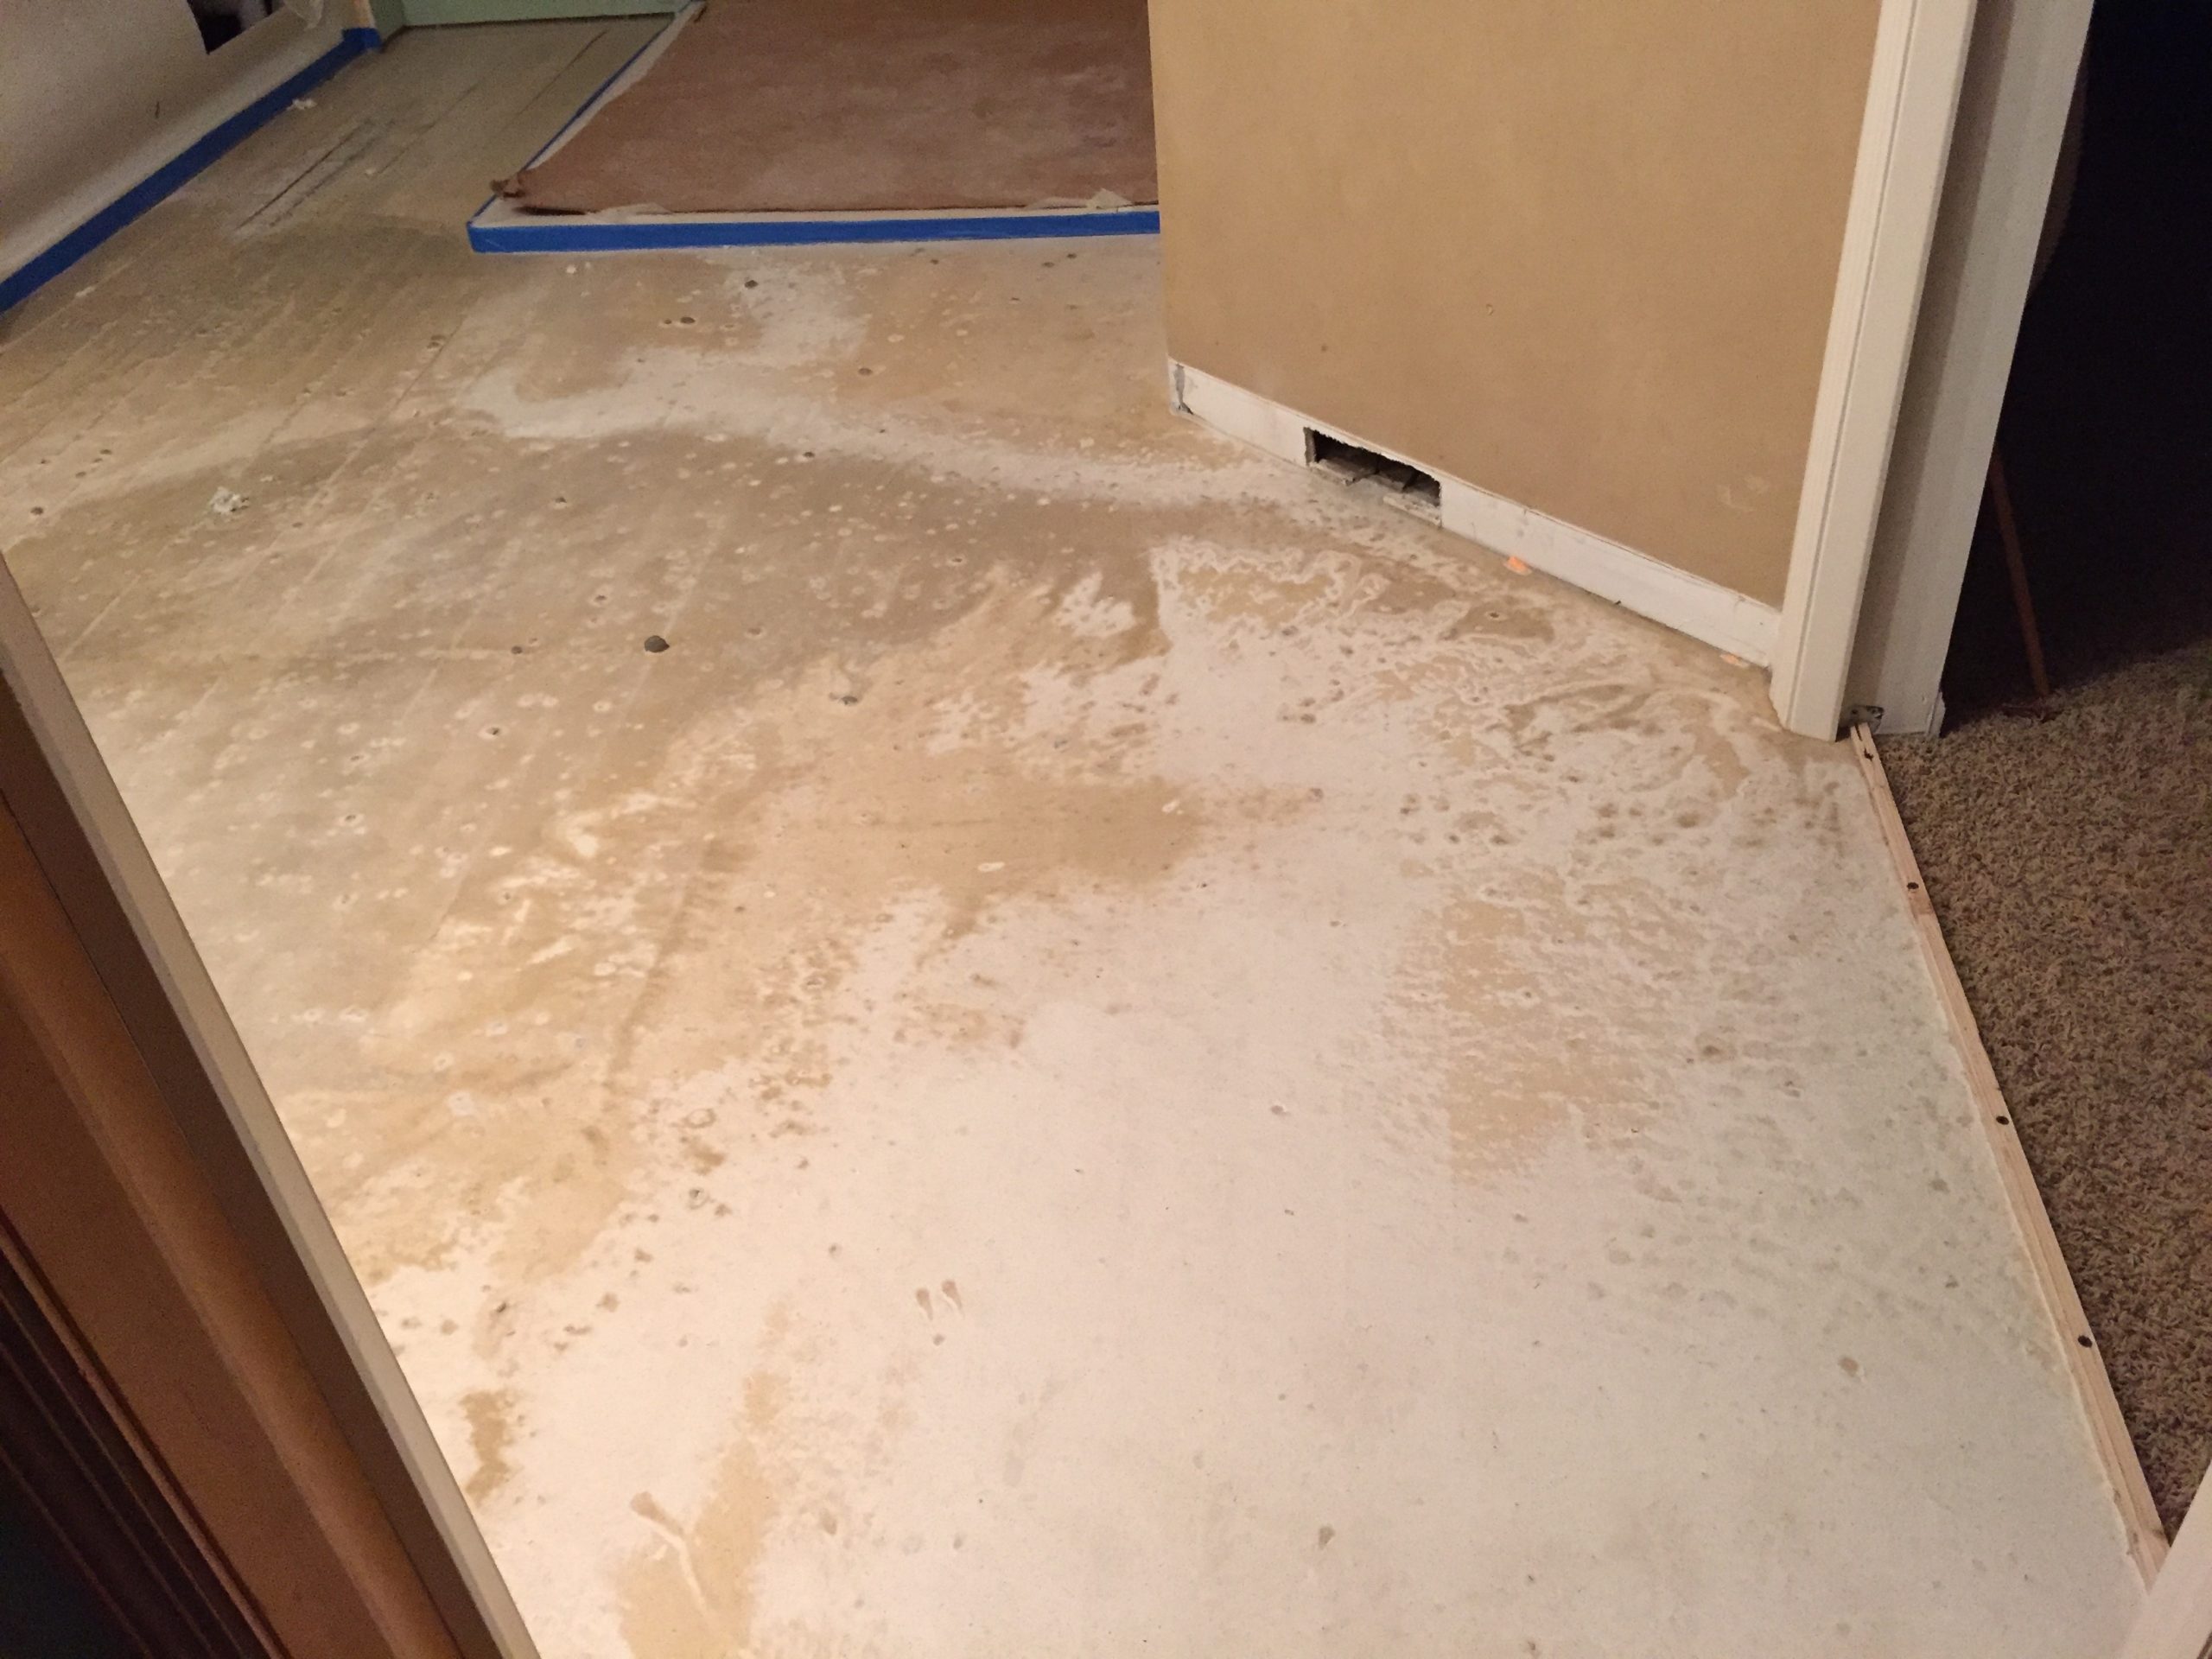
The contractor filled any gaps in the floor, i.e. between the tub and the sub floor, next to the heat register, next to the shower, etc.  This was so that when he spread cement like liquid it would not leak into the floor below.

Cement over Nuheat
Cement over Nuheat
Cement over Nuheat
Cement over Nuheat

The cement had to be allowed to dry overnight.

We decided to use a regular thermostat instead of a programmable one for our radiant heated floor since we just leave it on all the time.

And the end of Day 4 was completed.

Master Bathroom Remodel – Day 3

I sometimes wonder why it costs so much to remodel a bathroom when it seems like things go quickly and doesn’t appear to take much time.

On day 3 of the remodel, the electrician arrived. We had them put three outlets where the large mirror used to be so that, instead of one large mirror, we could have three sconces and two mirrors. We thought that would look nice.

Preparing the Wall for the Sconces

We also had the socket installed for the radiant heat that we’re putting in under the floor tile.

Radiant Heat Socket
Radiant Heat Socket (Top)

The electricians were here a little more than a half a day as we also had them prepare for new LED lights on the ceiling.

Next the area was covered where the old soffit was.  We originally thought that the soffit that ran along the wall could also be replaced but we found out it’s an actual beam so it had to stay there.

Soffit Replacement
Soffit Replacement

And look what was installed on day 3 ~ the Kohler bubble bathtub. Can’t wait to get in this!

Kohler Bathtub Installed

The previous owner two exhaust fans in this bathroom.  One was an exhaust over the toilet and the other was a heat lamp with an exhaust in the middle of the room.

We decided to remove the exhaust over the toilet and have a large quieter one installed in the middle of the room.

Exhaust Removal
Exhaust Removal

So far, everything is stress-less.  Well, okay, everything except my husband.  (laughing)

Master Bath Remodel, Day 2

The first day of the bathroom remodel went seamlessly.  One whole day to gut a large bathroom.  Quite amazing.

By the end of day two we had the rough-in for the tub installed along with the onyx shower pan.

Tub Rough-In
Tub Rough-In

The pipes for the shower have also been set in place although not completely hooked up.

New Shower Pipes
New Shower Pipes

Today we went and looked at mosaic tiles and finally decided on the one below that we found at Home Depot.  It’s called Emperador Bamboo Blend and costs $14.97 for a sheet that’s 12×12.  It goes pretty well with the shower wall tile that we’ve picked.

The tile on the left is the floor tile and the one above the mosaic is for the shower wall.

Emperador Bamboo Blend Mosaic Tile


Remodeling The Master Bathroom

When we first moved into our house 4 1/2 years ago, I knew that the master bathroom needed updating.  And for the last 3 1/2 years, we have had many contractors come to our house to give us estimates but we didn’t feel comfortable with any of them nor with their estimates.

Basically what we wanted done was to have everything taken out and and all new items put in.  Simple enough, no? The problem we kept having was that the estimates we received ran from $34K to $40K. For that, we could have bought half a house in St. Paul.

Then last year, the jacuzzi tub started leaking into the downstairs family room.  Not good. After the insurance company came out and assured us the ceiling was dry, we decided to wait until we remodeled the bathroom to have the problem fixed.

And  so our remodel project begins.

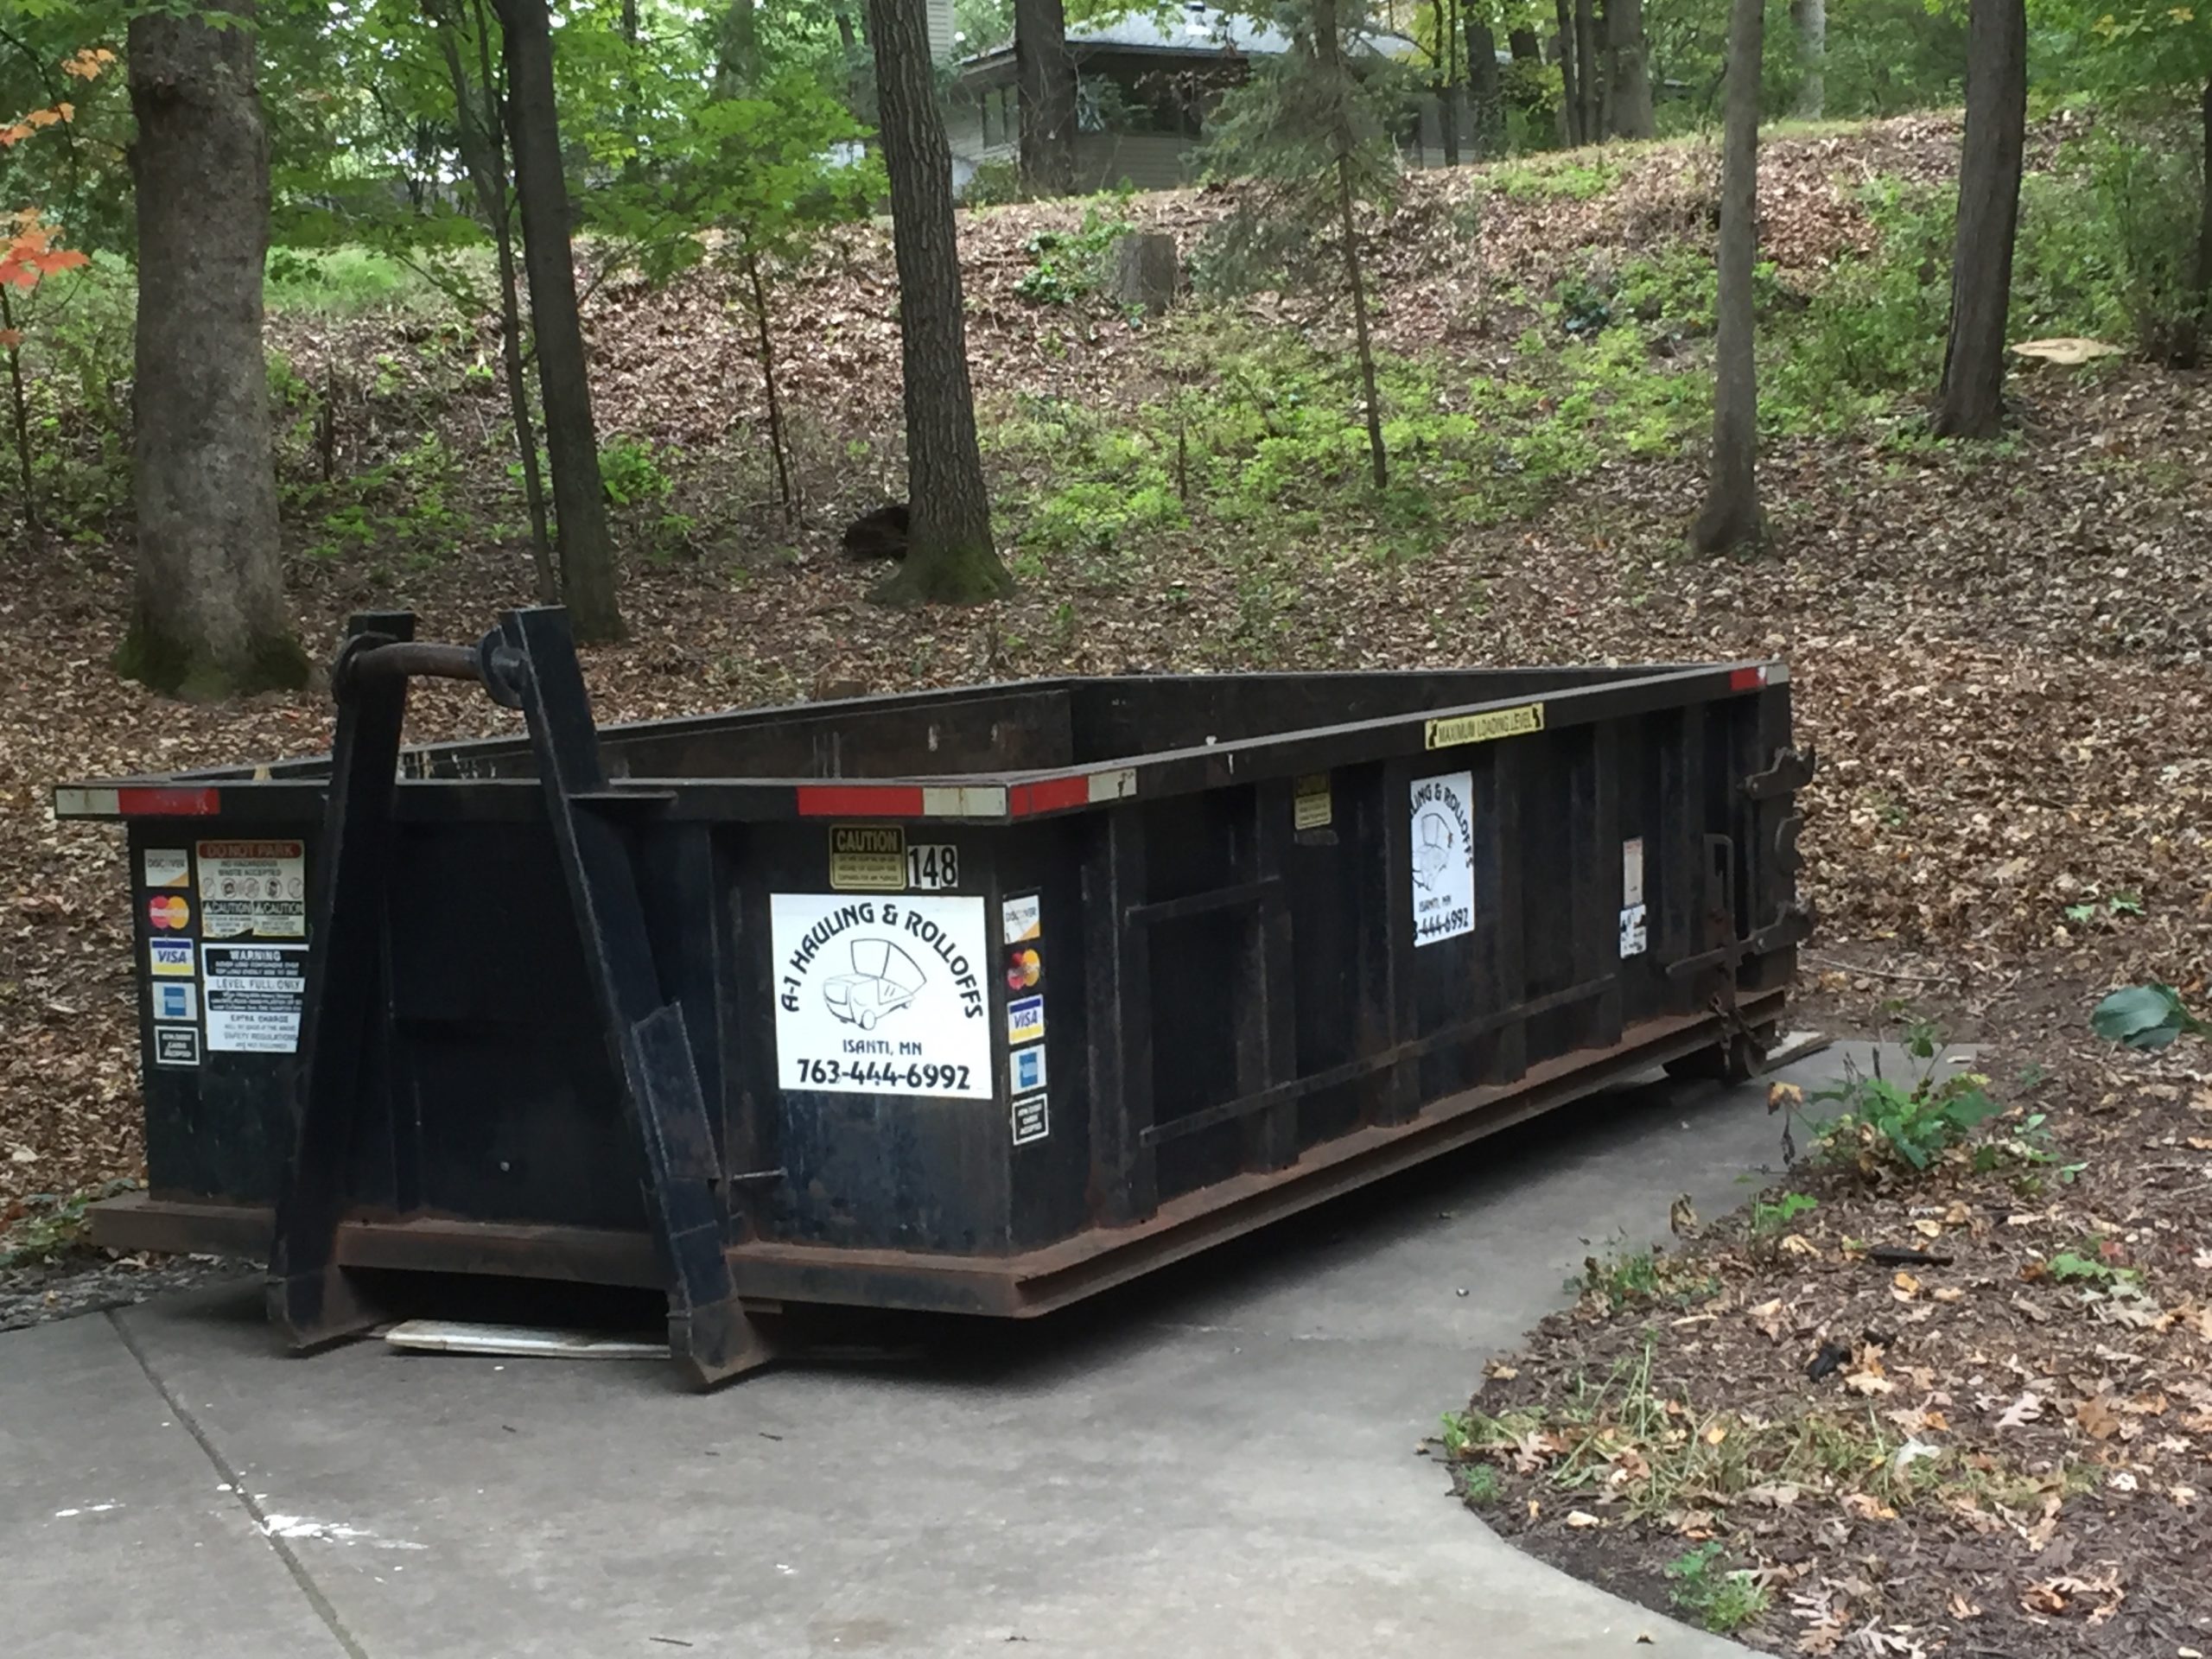
The dumpster arrived first thing Monday morning and within an hour our contractor, Tom, showed up.

Dumpster
Dumpster

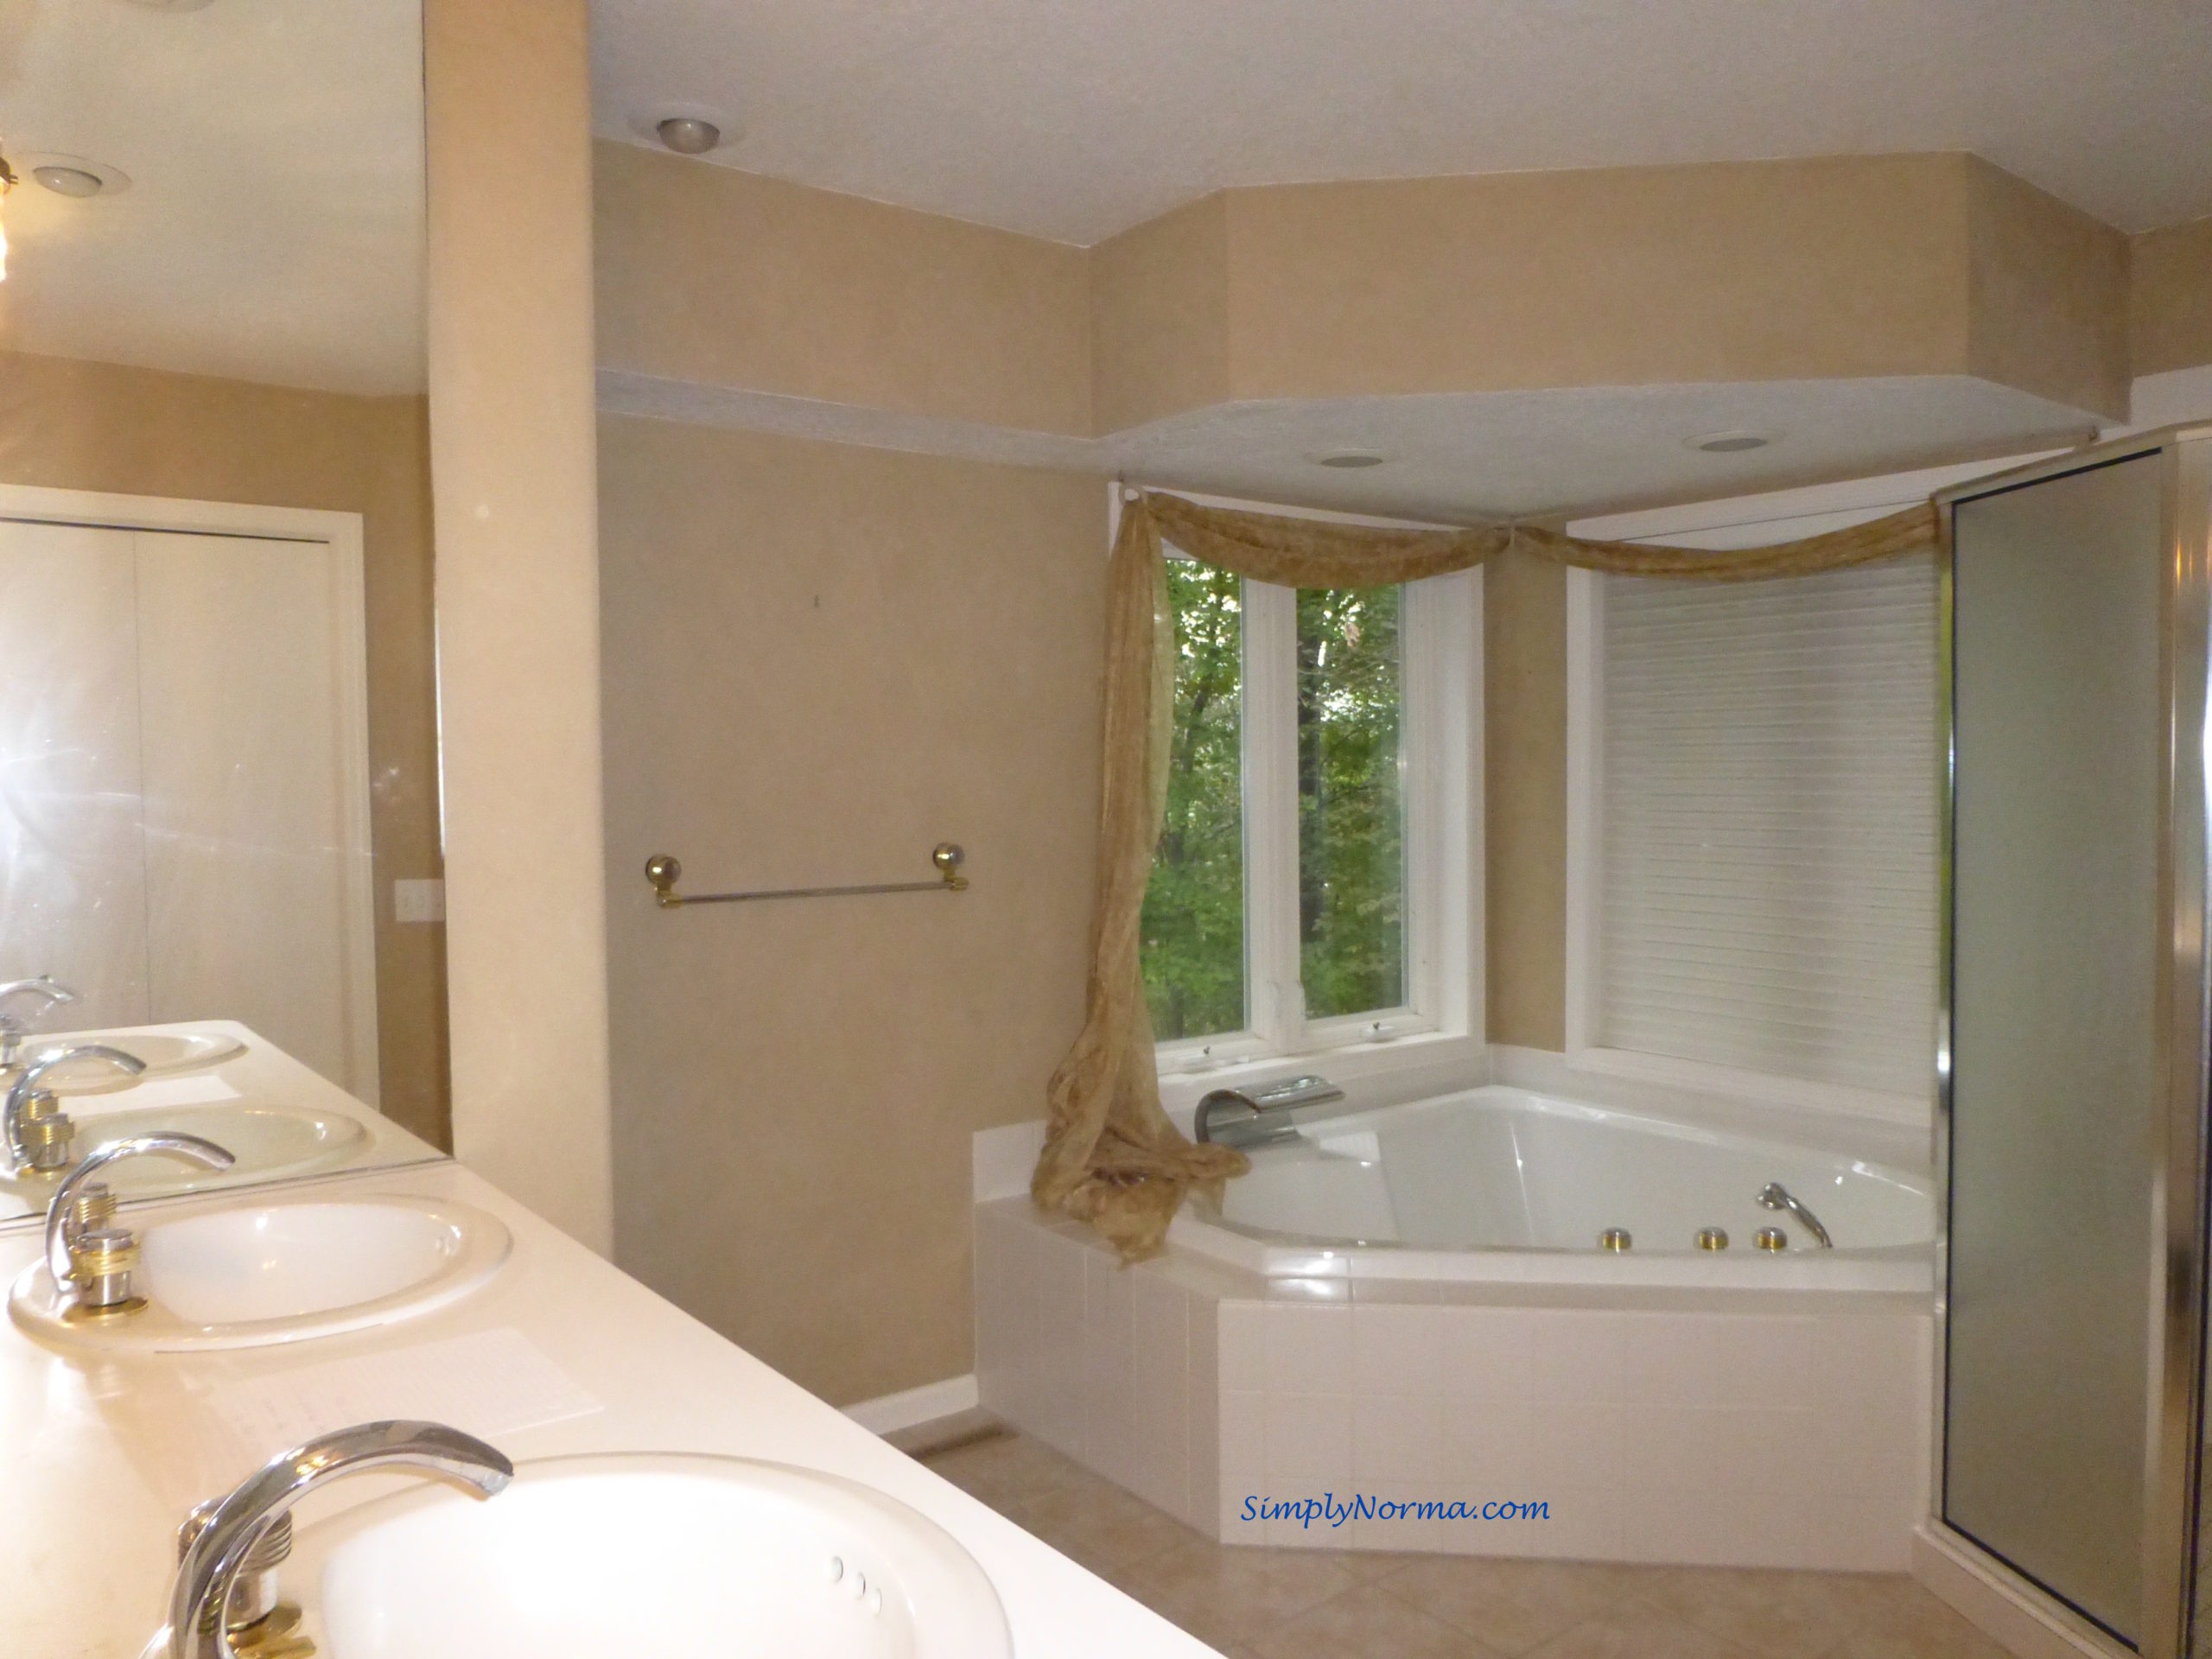
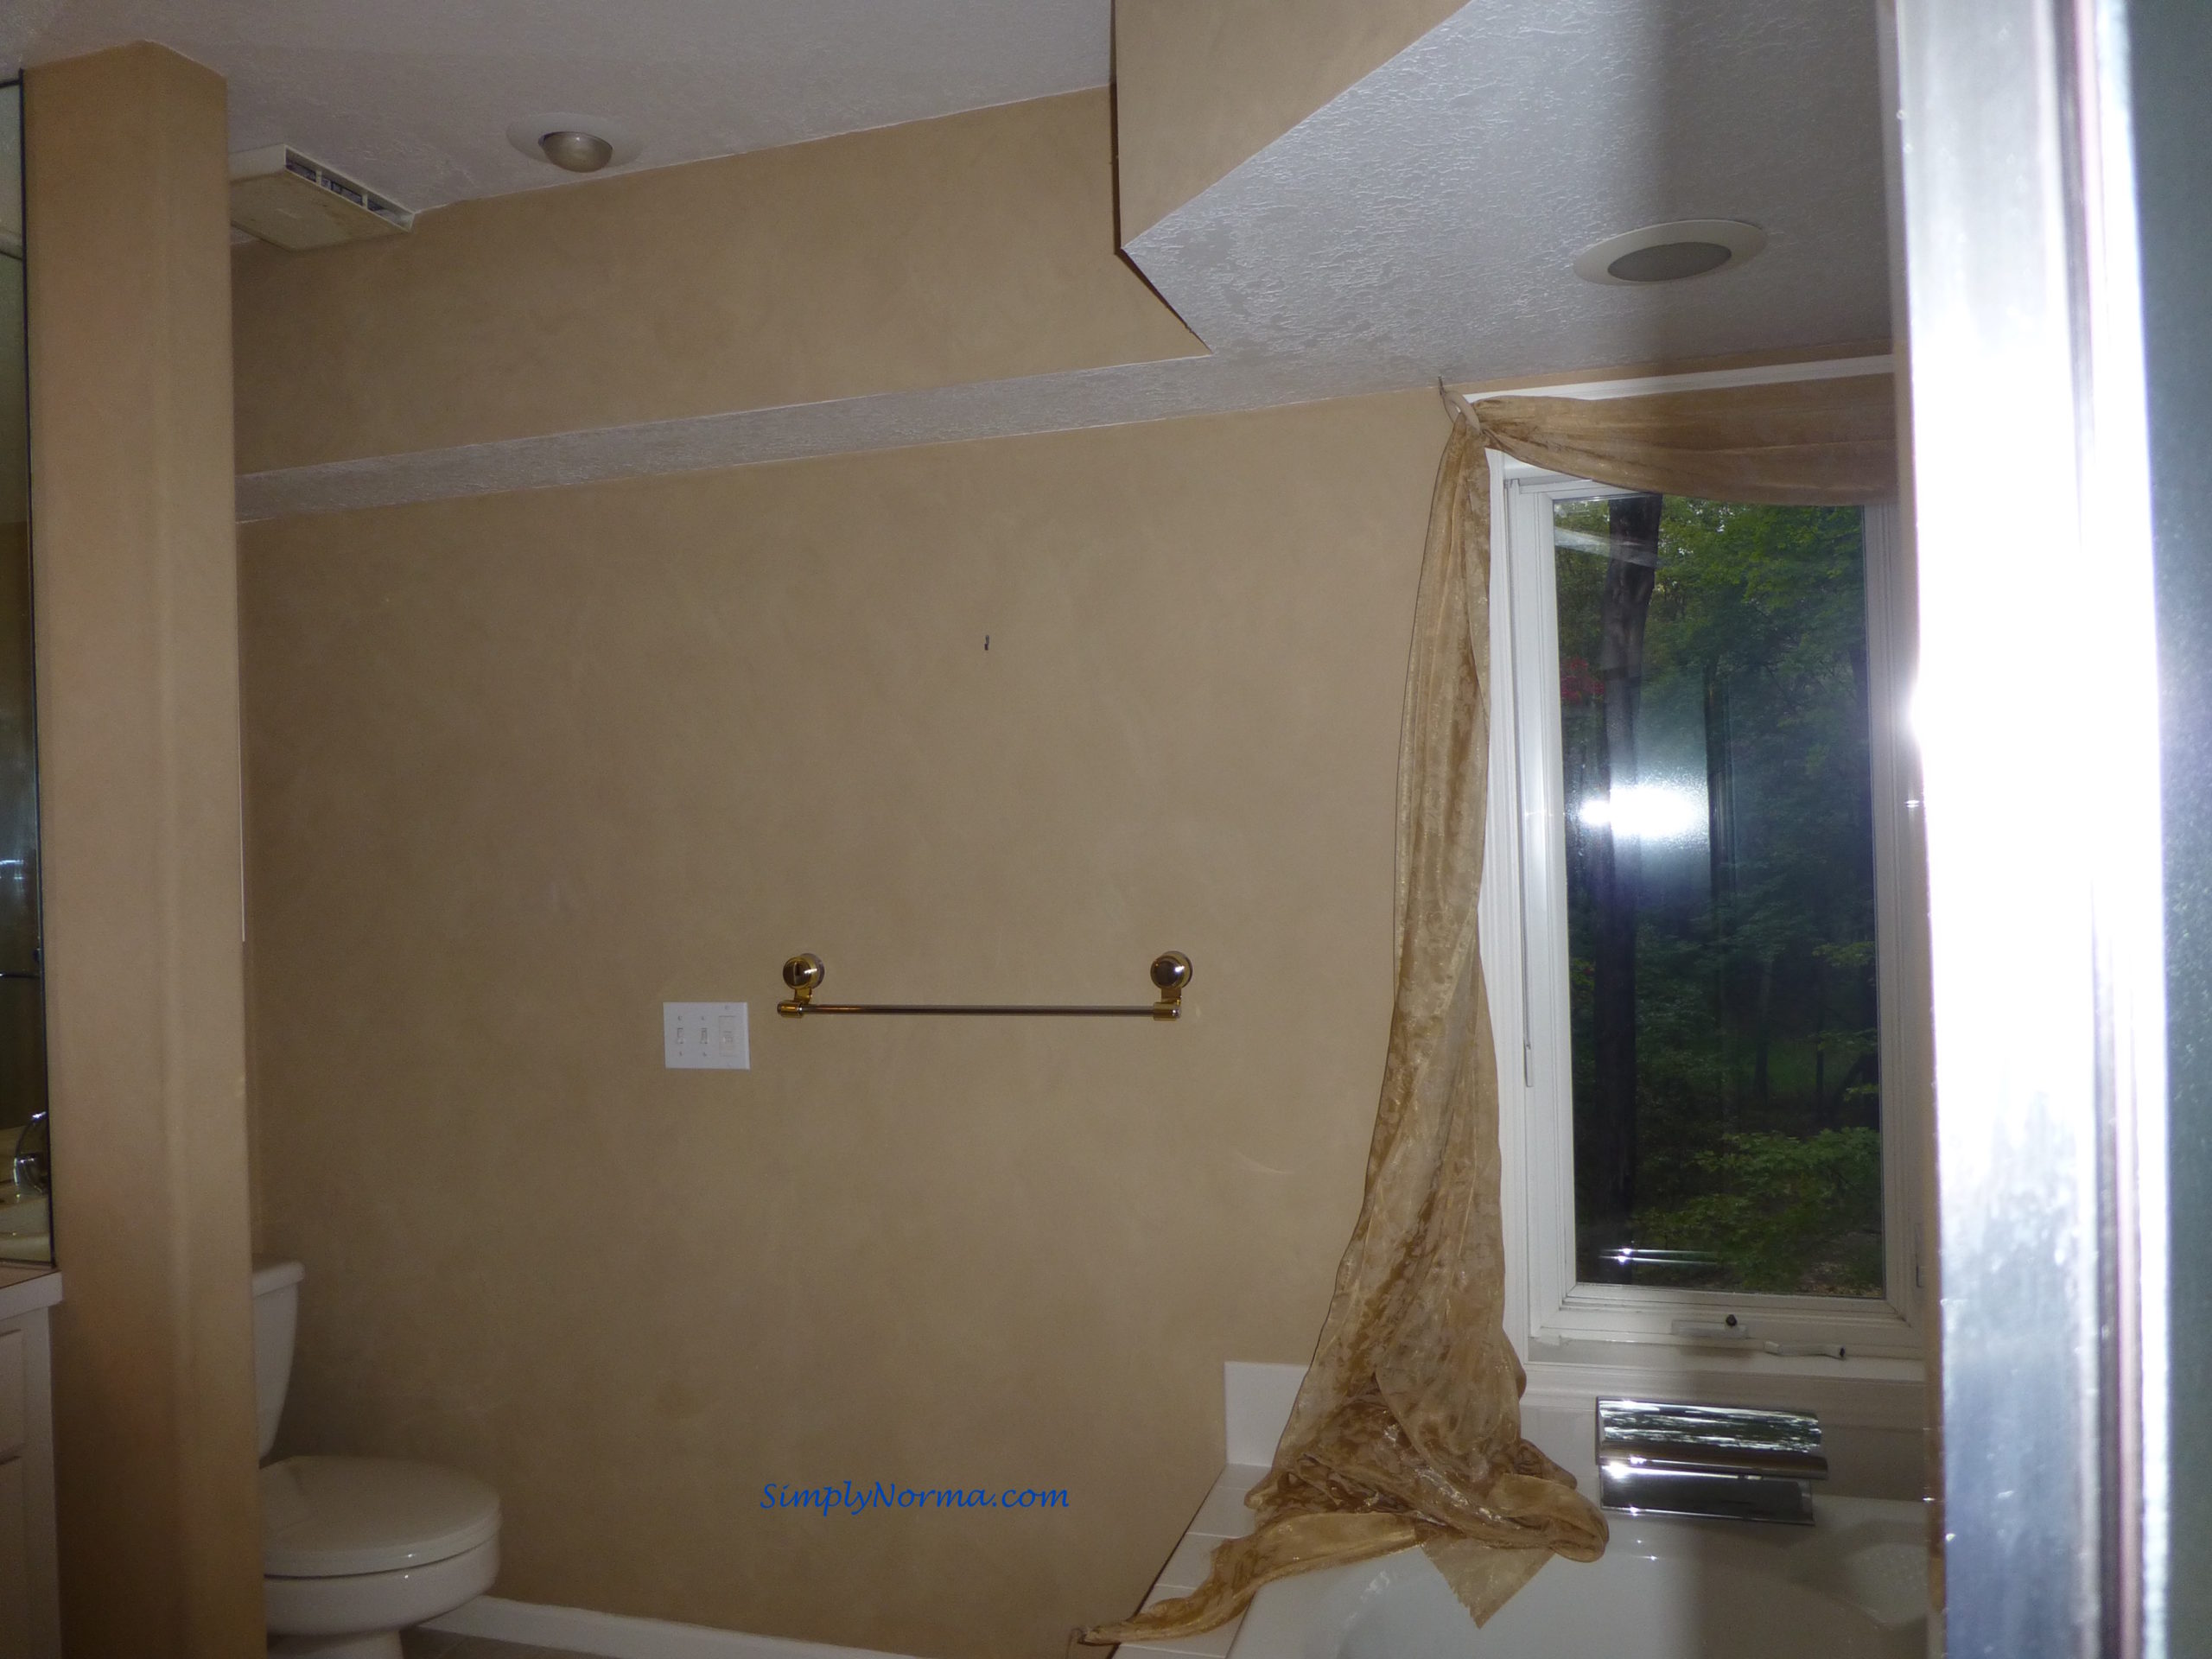
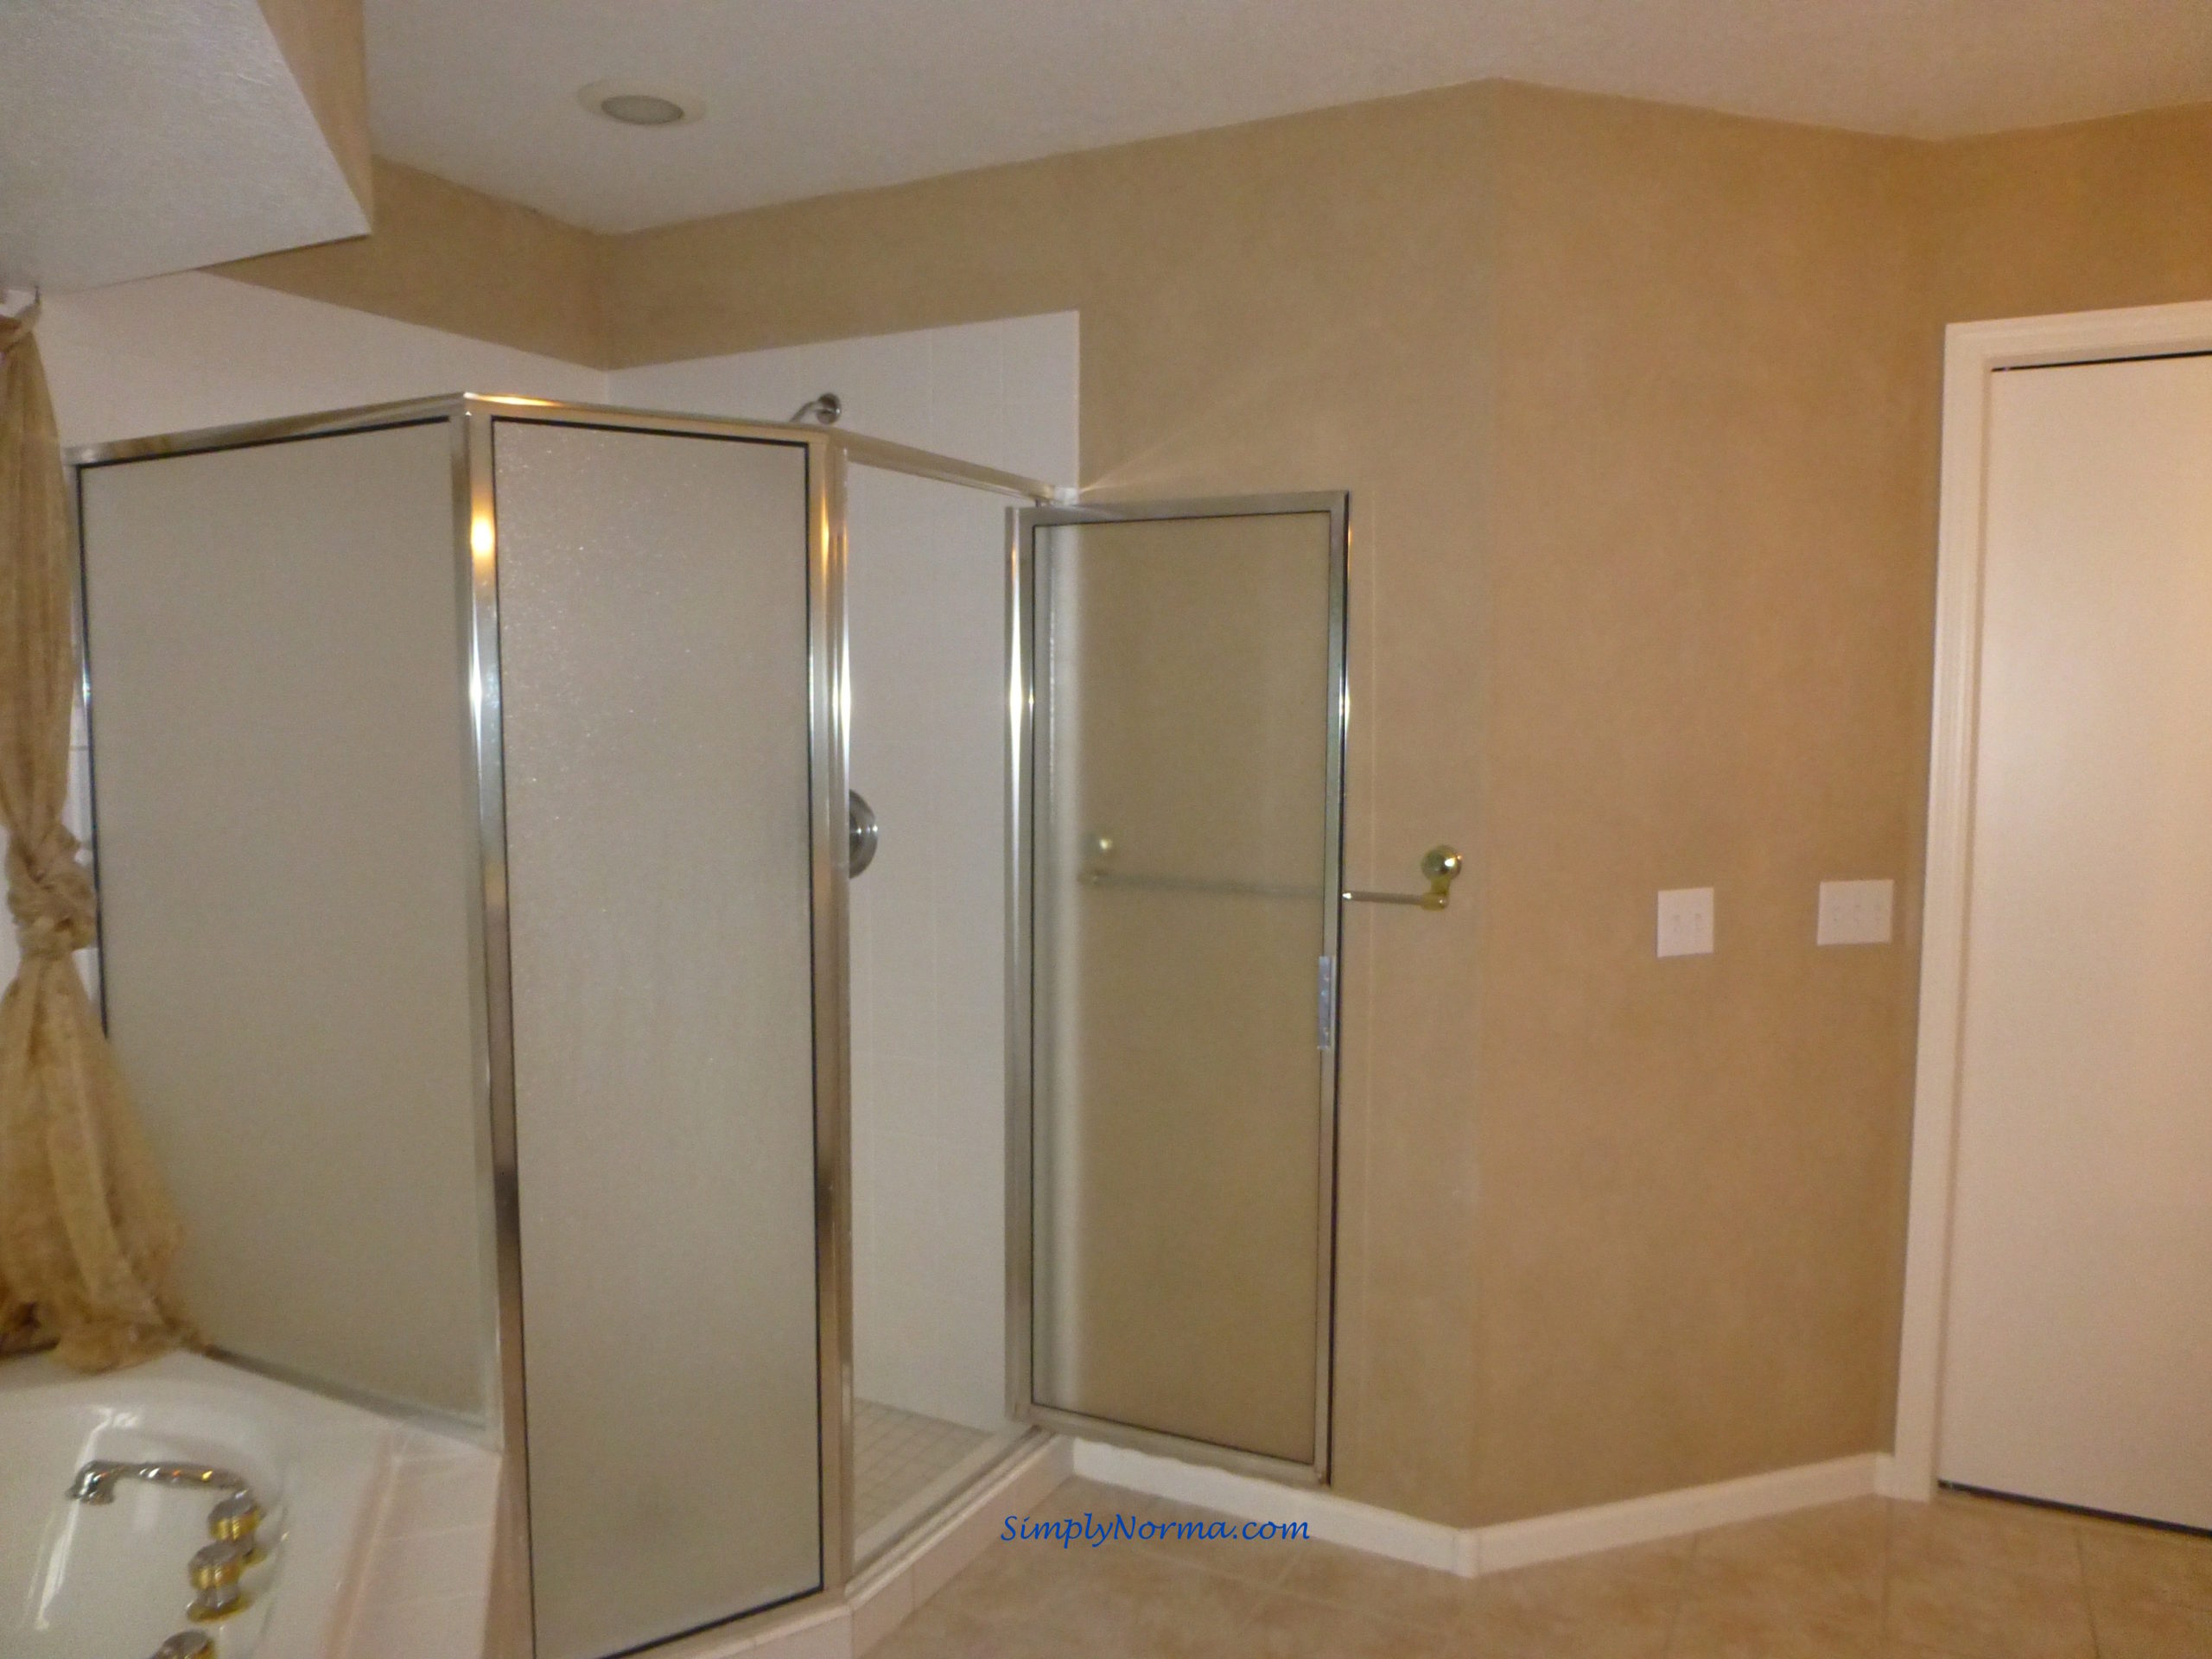
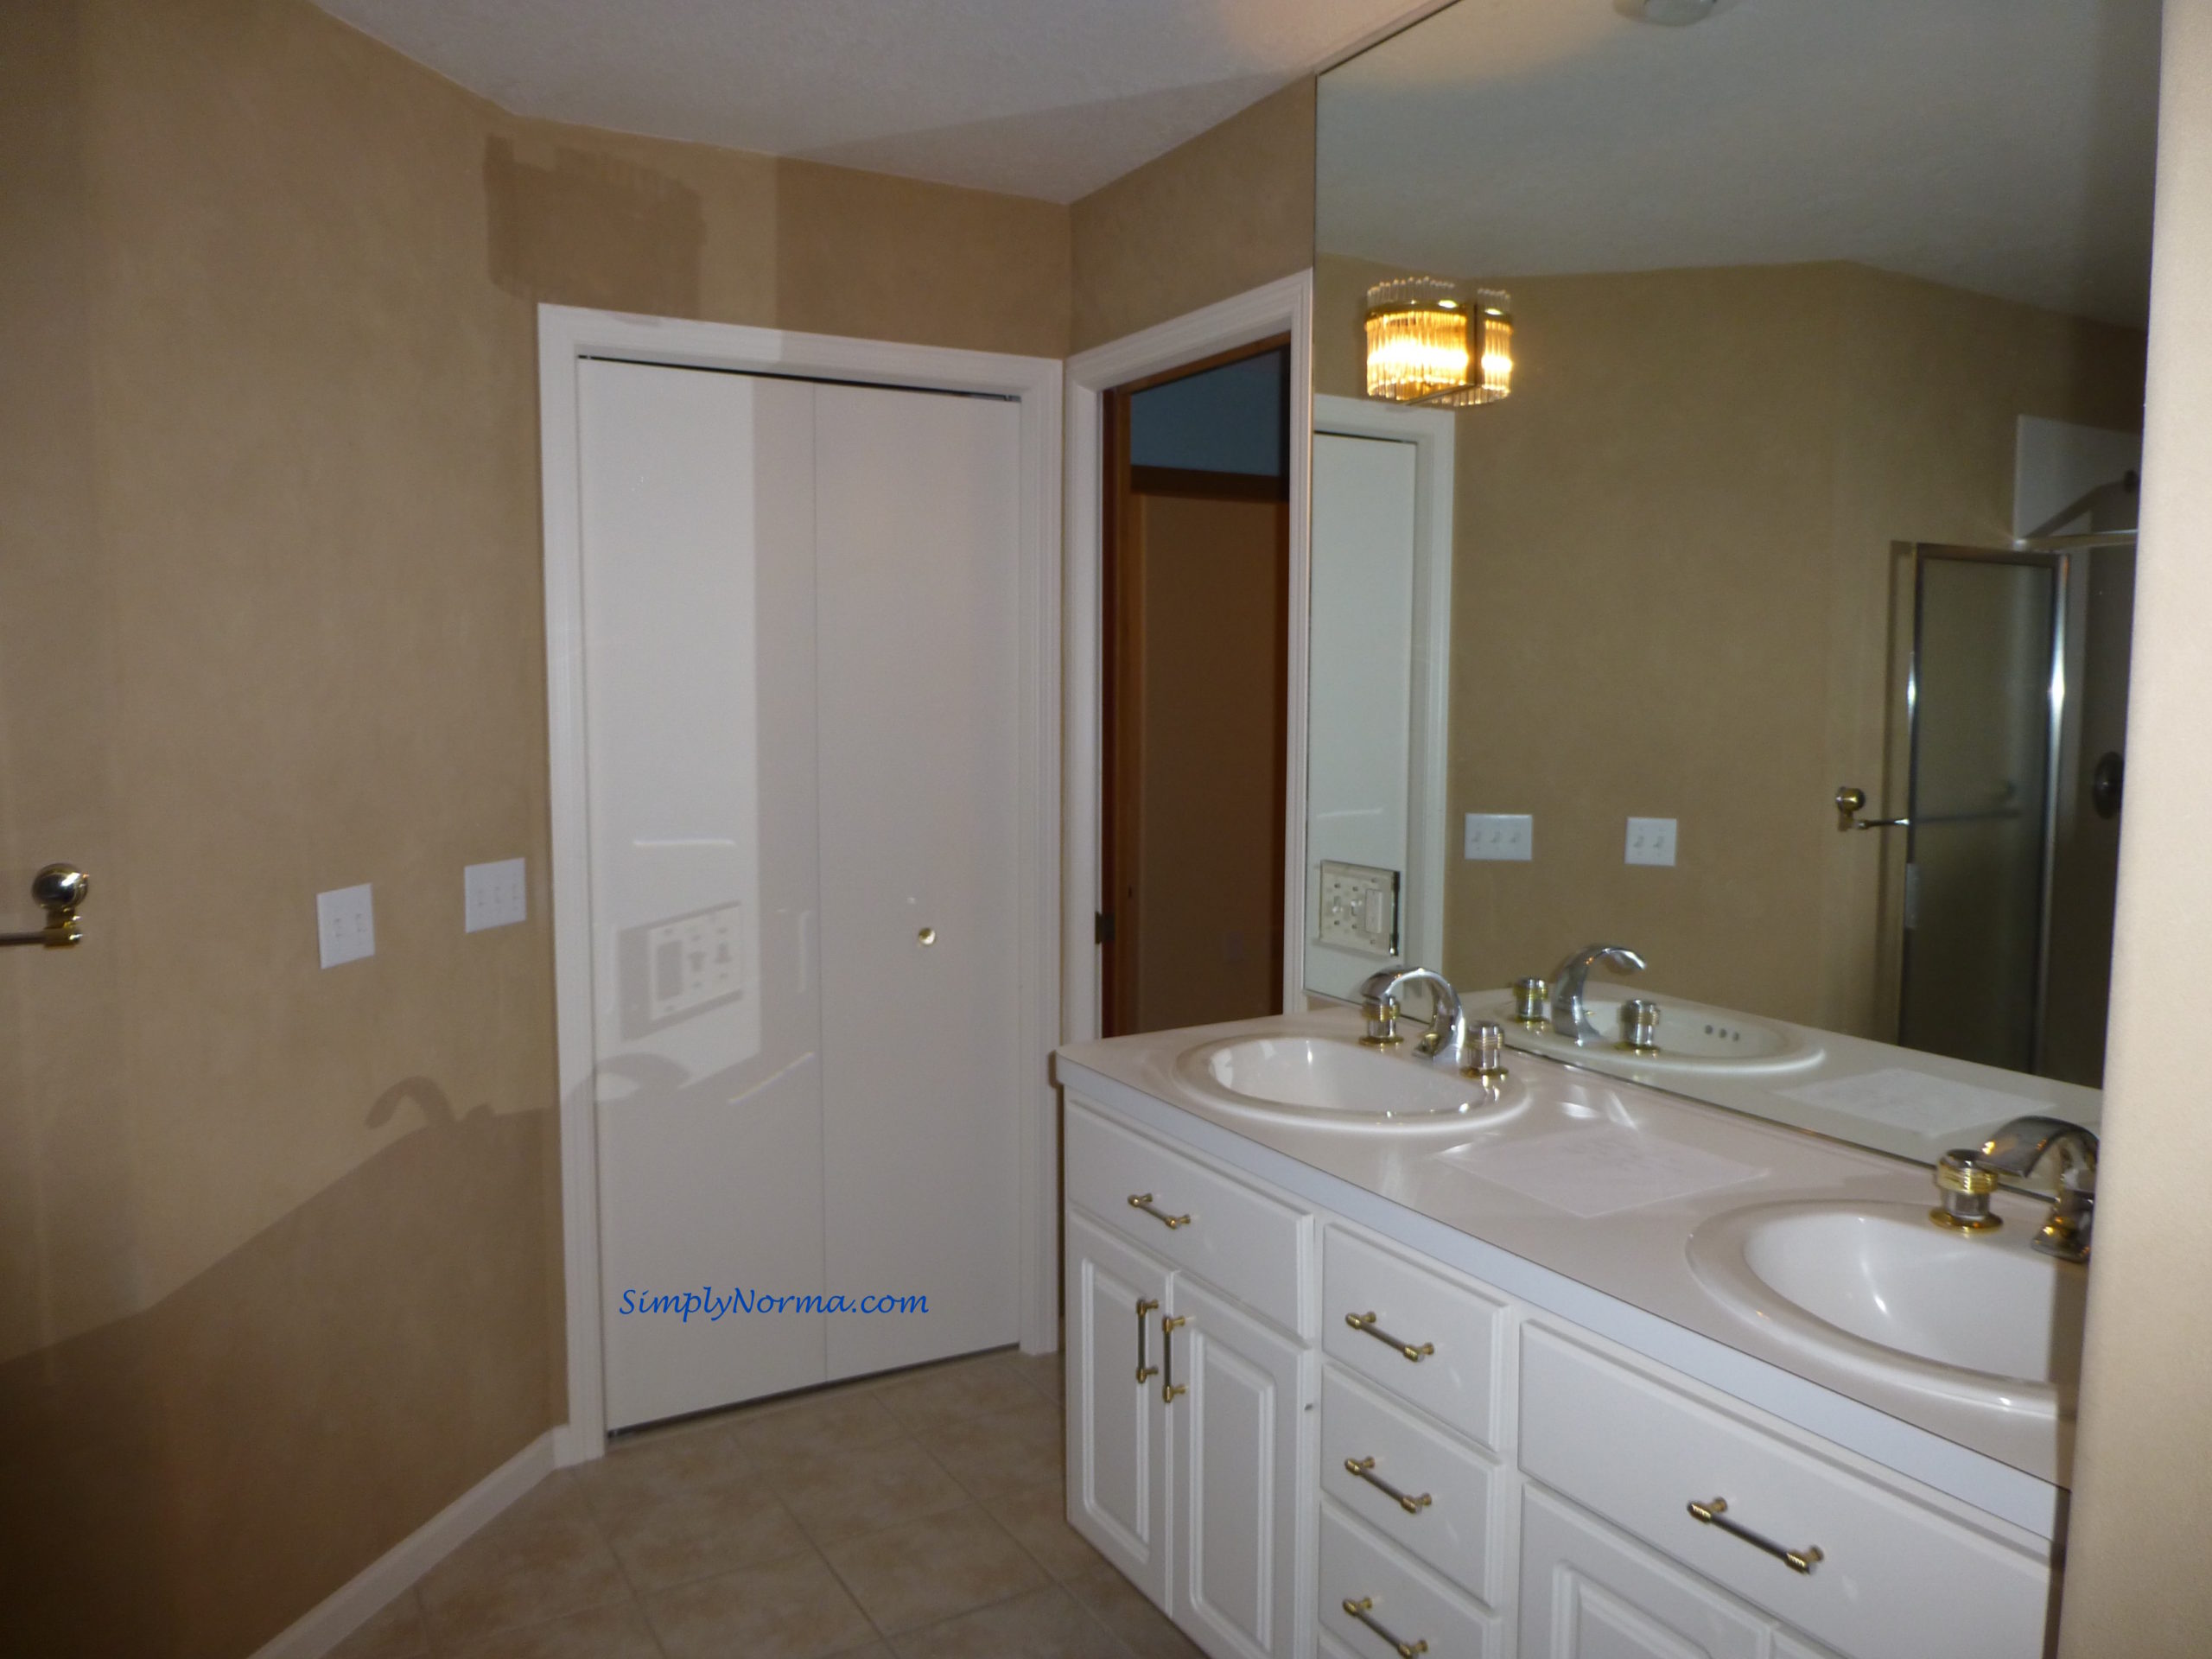
Here are some “before” pictures of the bathroom ~

"Before" Bathroom Remodel
“Before” Bathroom Remodel

Originally we received estimates to have the soffit over the tub removed but were told it would cost $5k to do that. So, instead we decided to put in a rectangular tub but at an angle to match the soffit. But in comes our contractor Tom who told us previous contractors’ estimates were way off.  The large soffit could come down but the long one on the side would have to stay as it’s a beam.

"Before" Bathroom Remodel
“Before” Bathroom Remodel
"Before" Bathroom Remodel
“Before” Bathroom Remodel
"Before" Bathroom Remodel
“Before” Bathroom Remodel

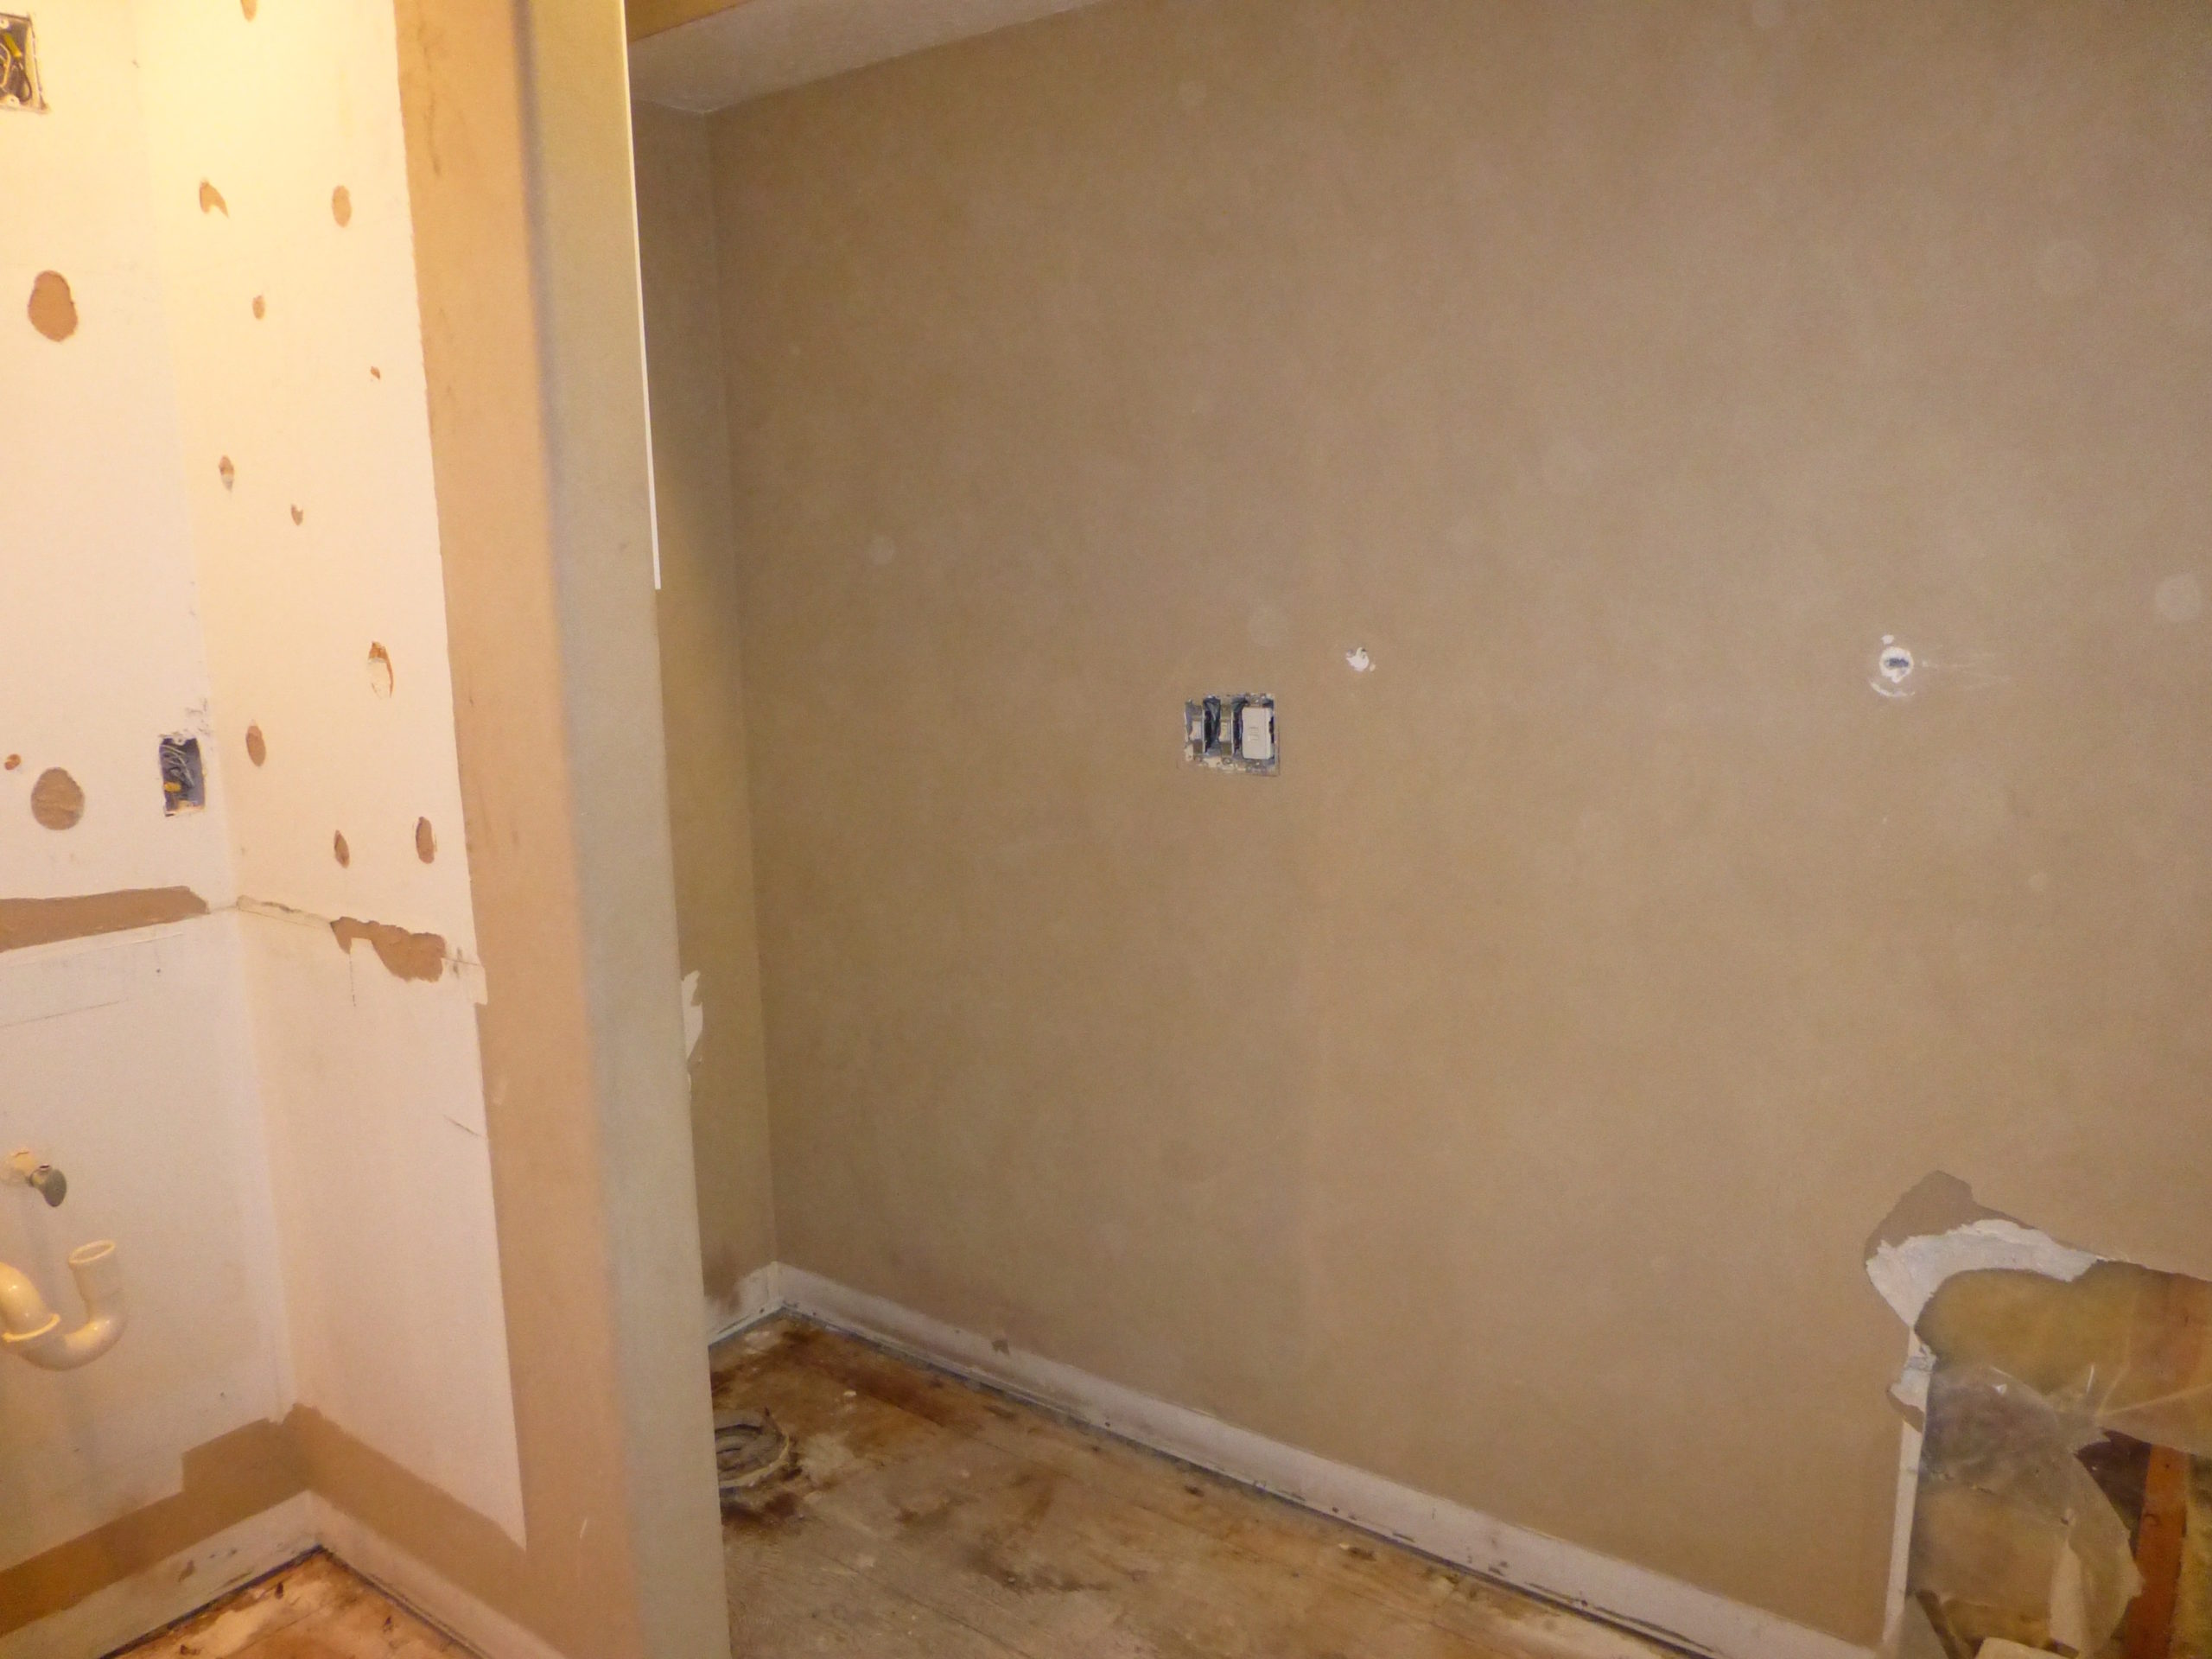
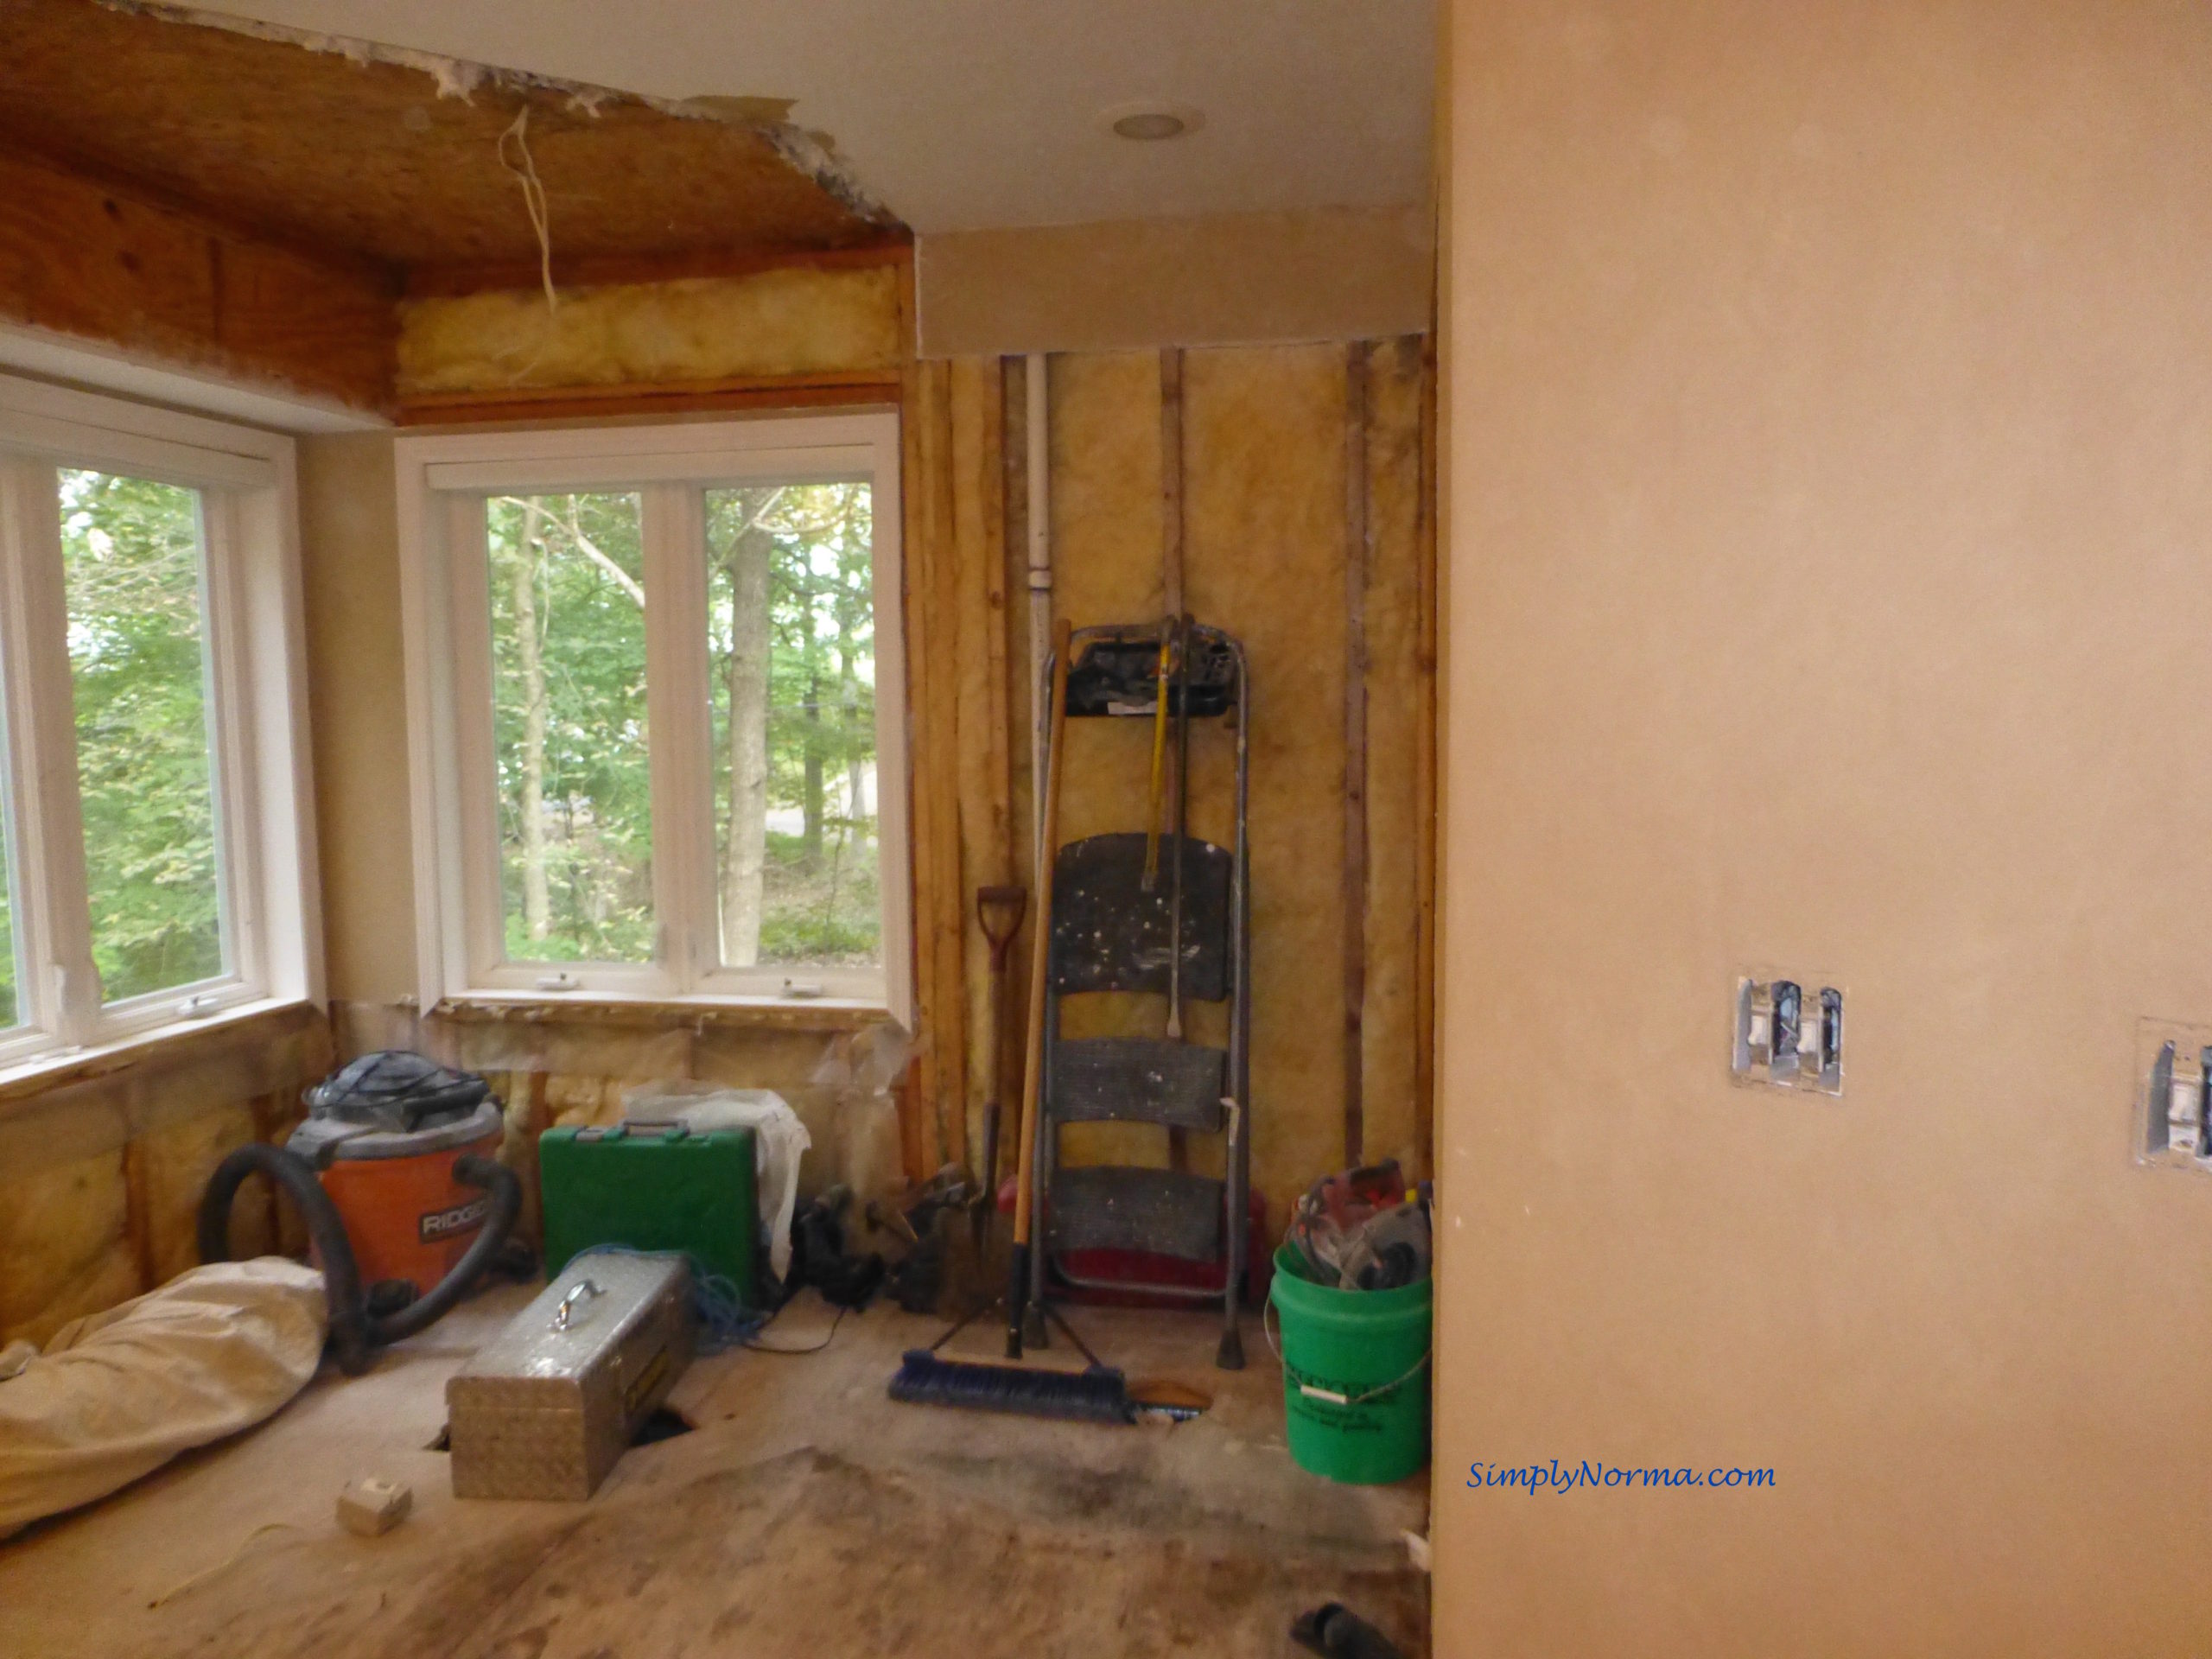
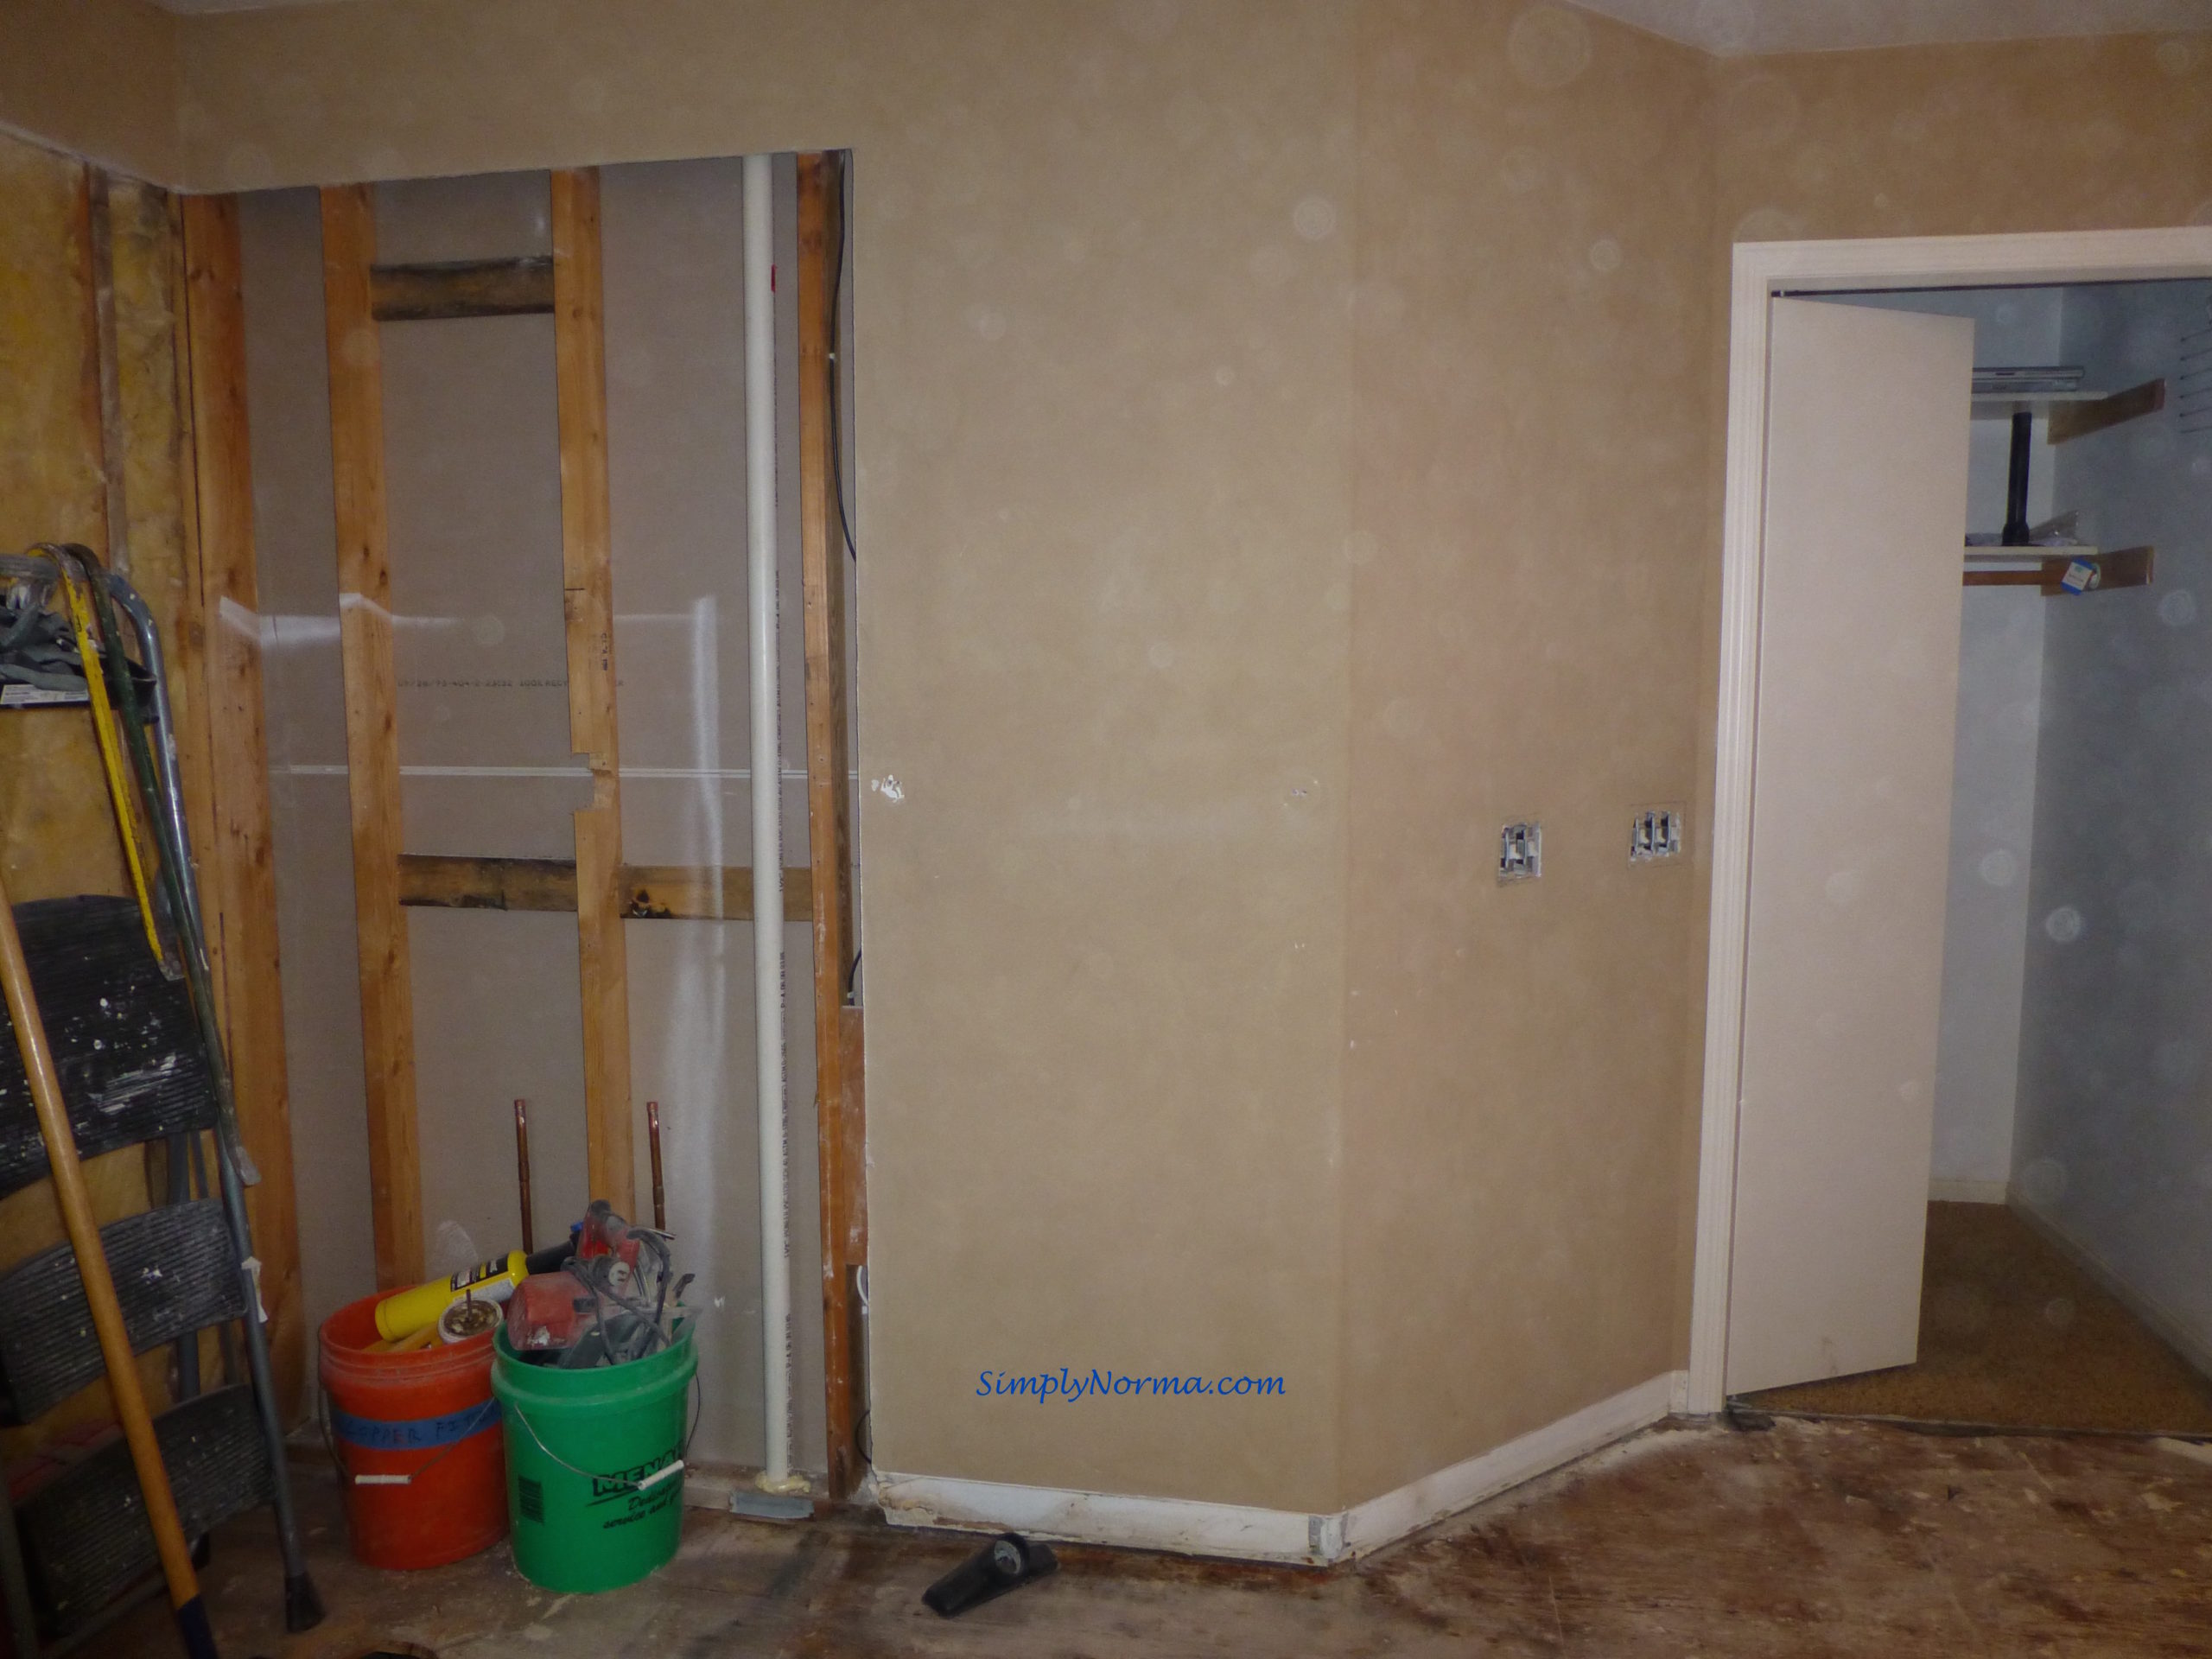
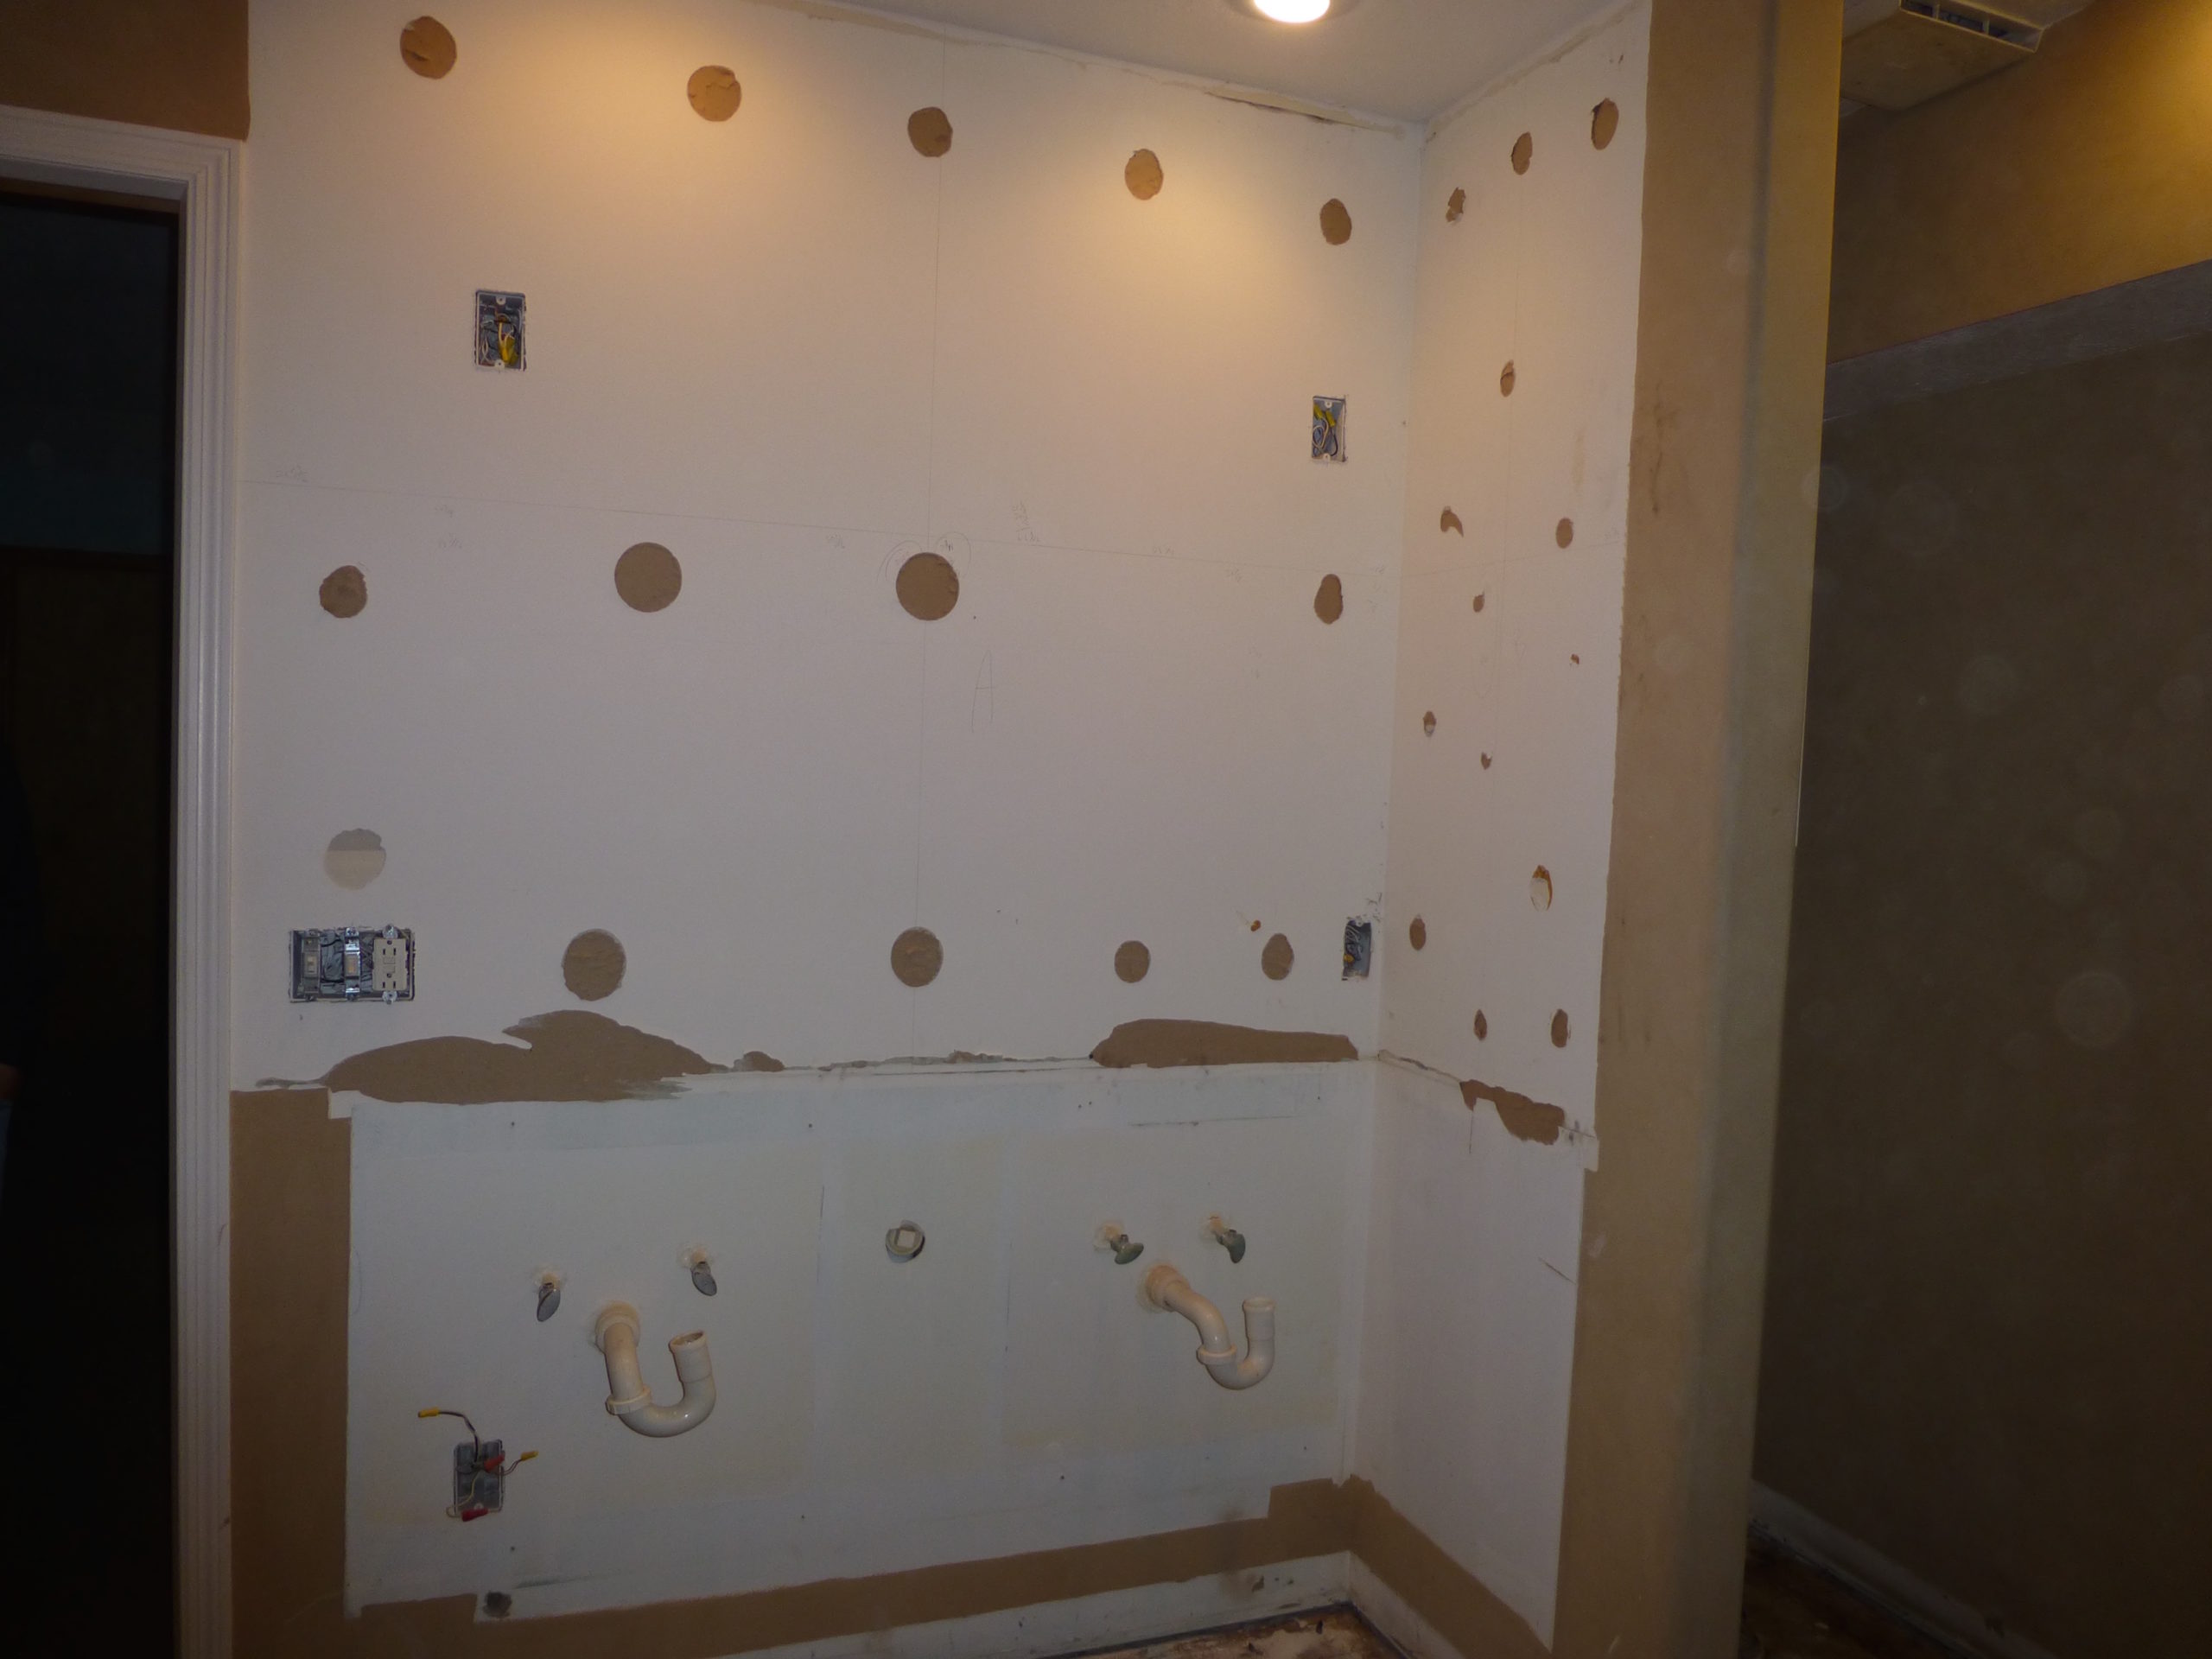
And thus Day One of the bathroom remodel began which mostly consisted of gutting the room.

Gutting the Bathroom

The closet door on the right will also be replaced.

Gutting the Bathroom

Vanity, sink, faucets, lights … all gone.

Gutting the Bathroom

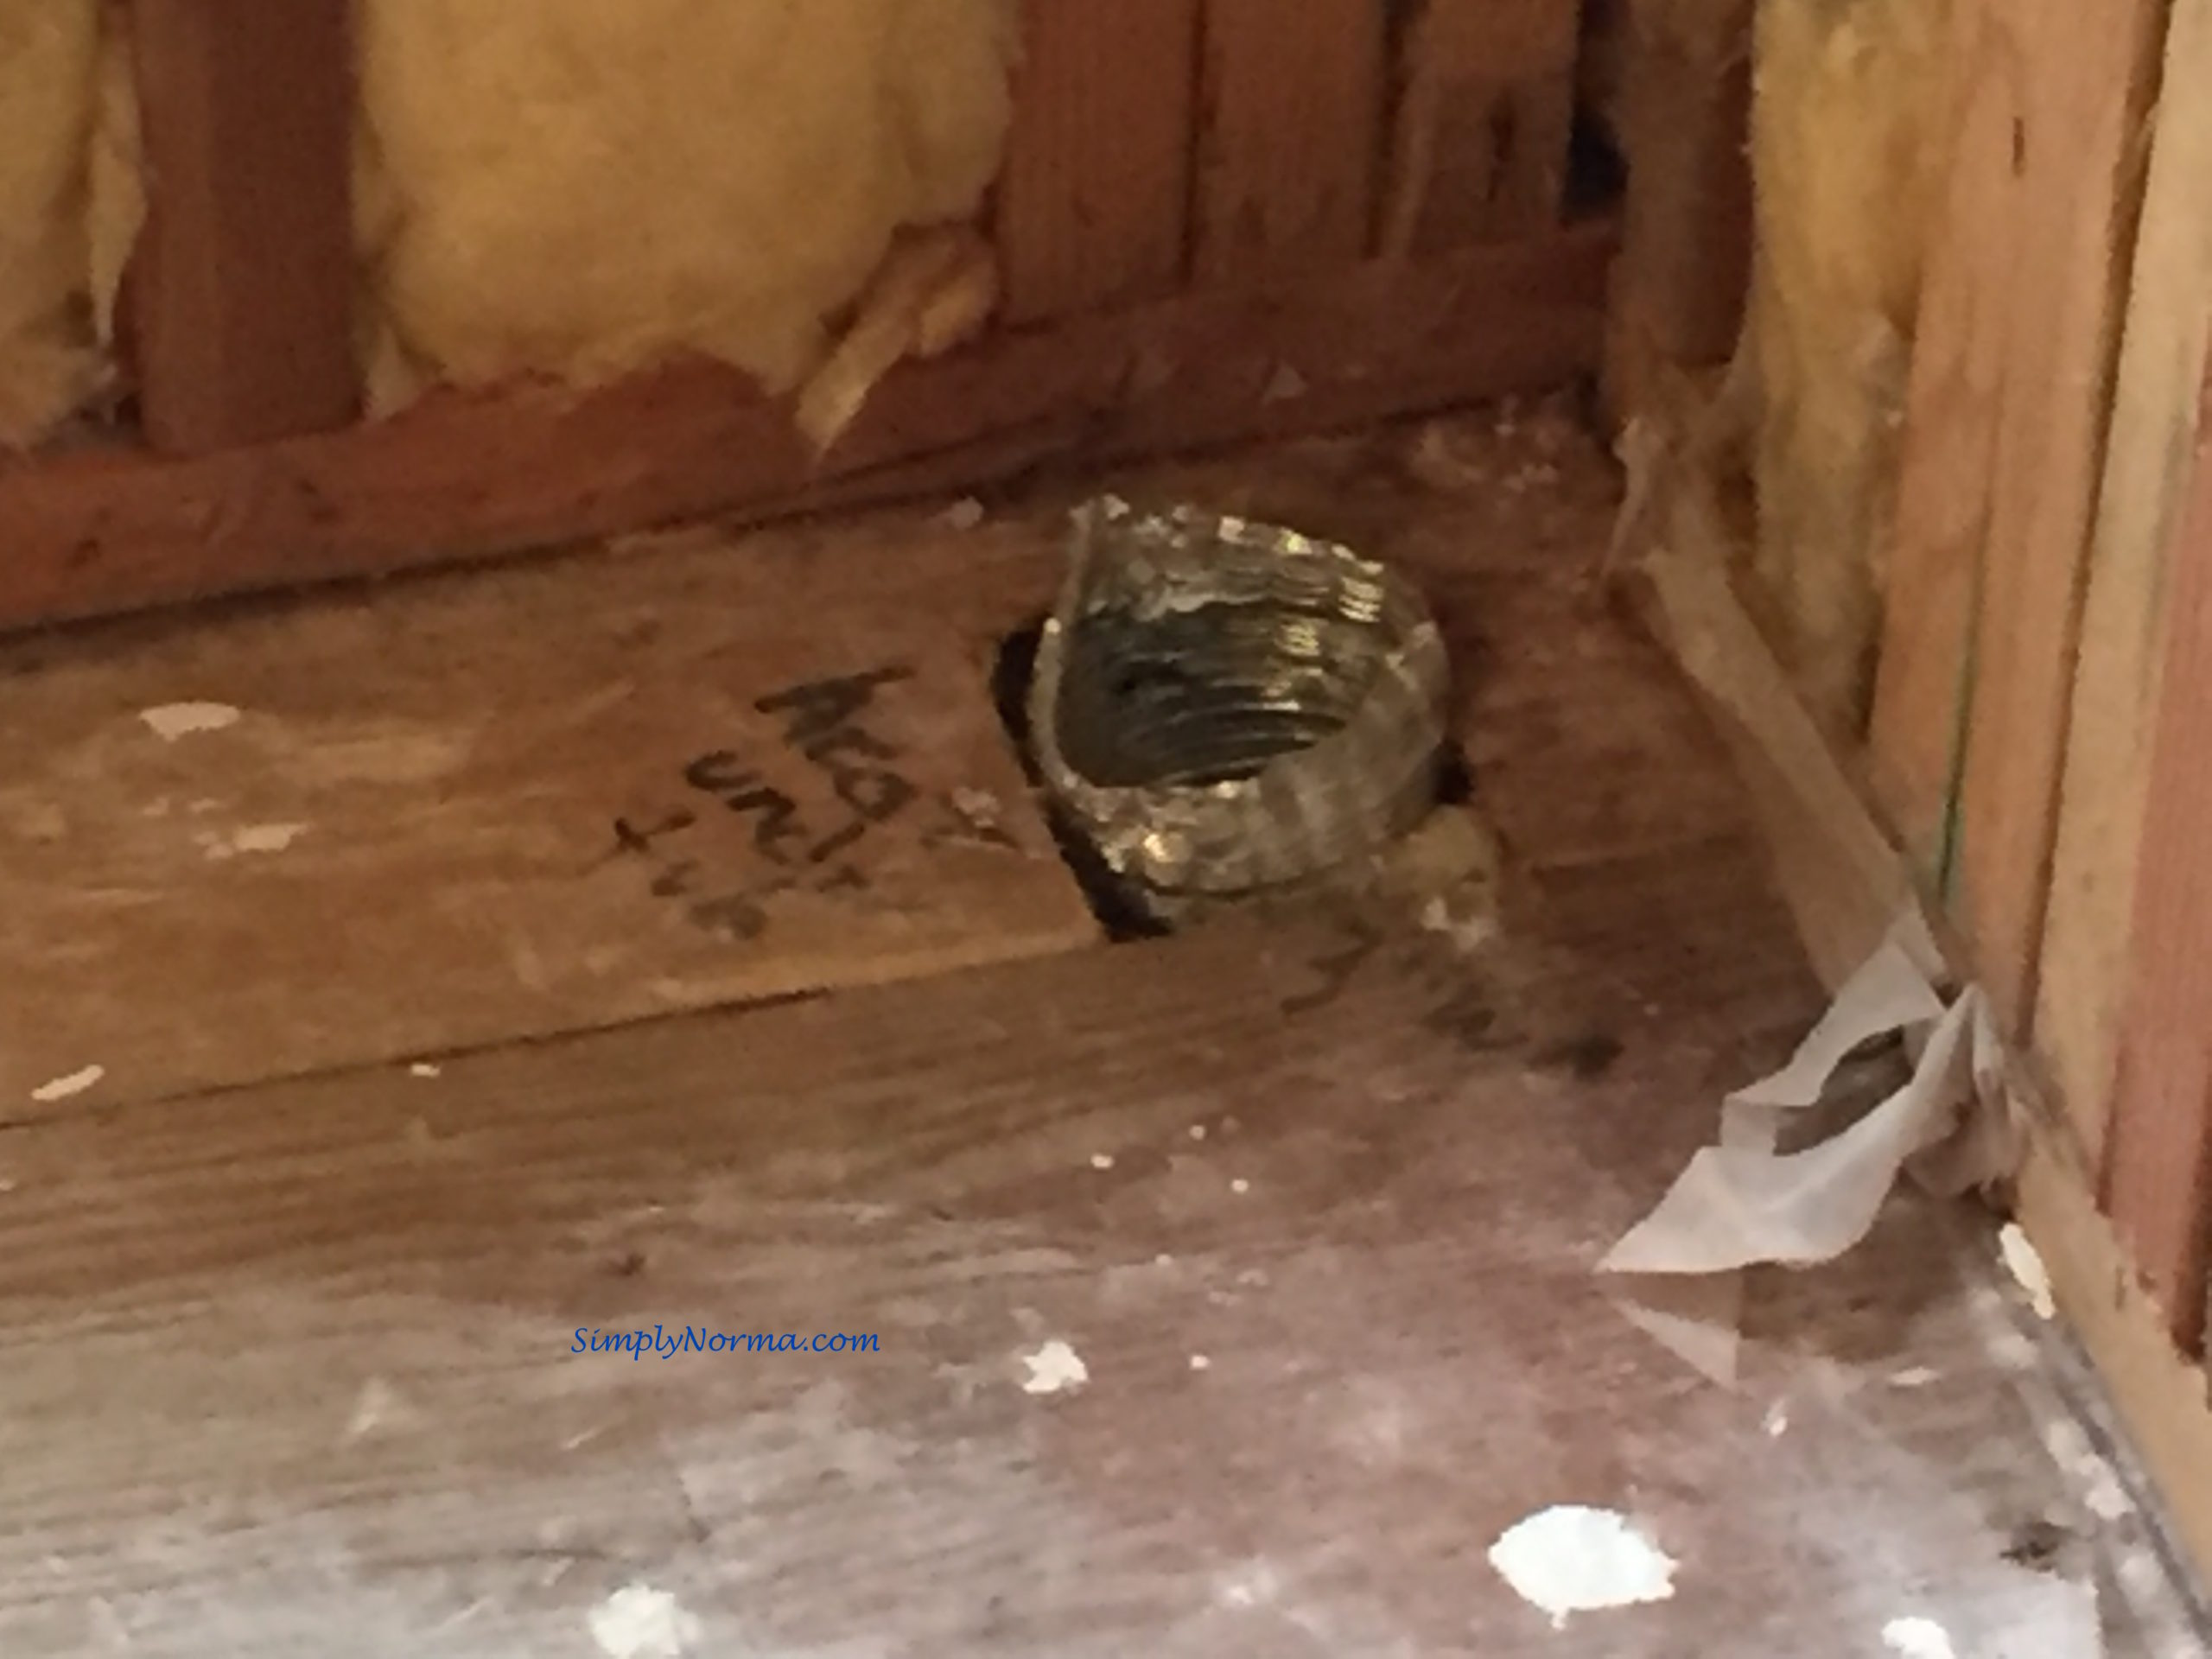
Then we came upon two surprises.  The first was tucked away underneath the bathtub in a corner.  It was a duct that provides heat underneath the tub.  A little odd, no?  Our contractor decided to leave it there.

Heat Duct Under Tub
Heat Duct Under Tub

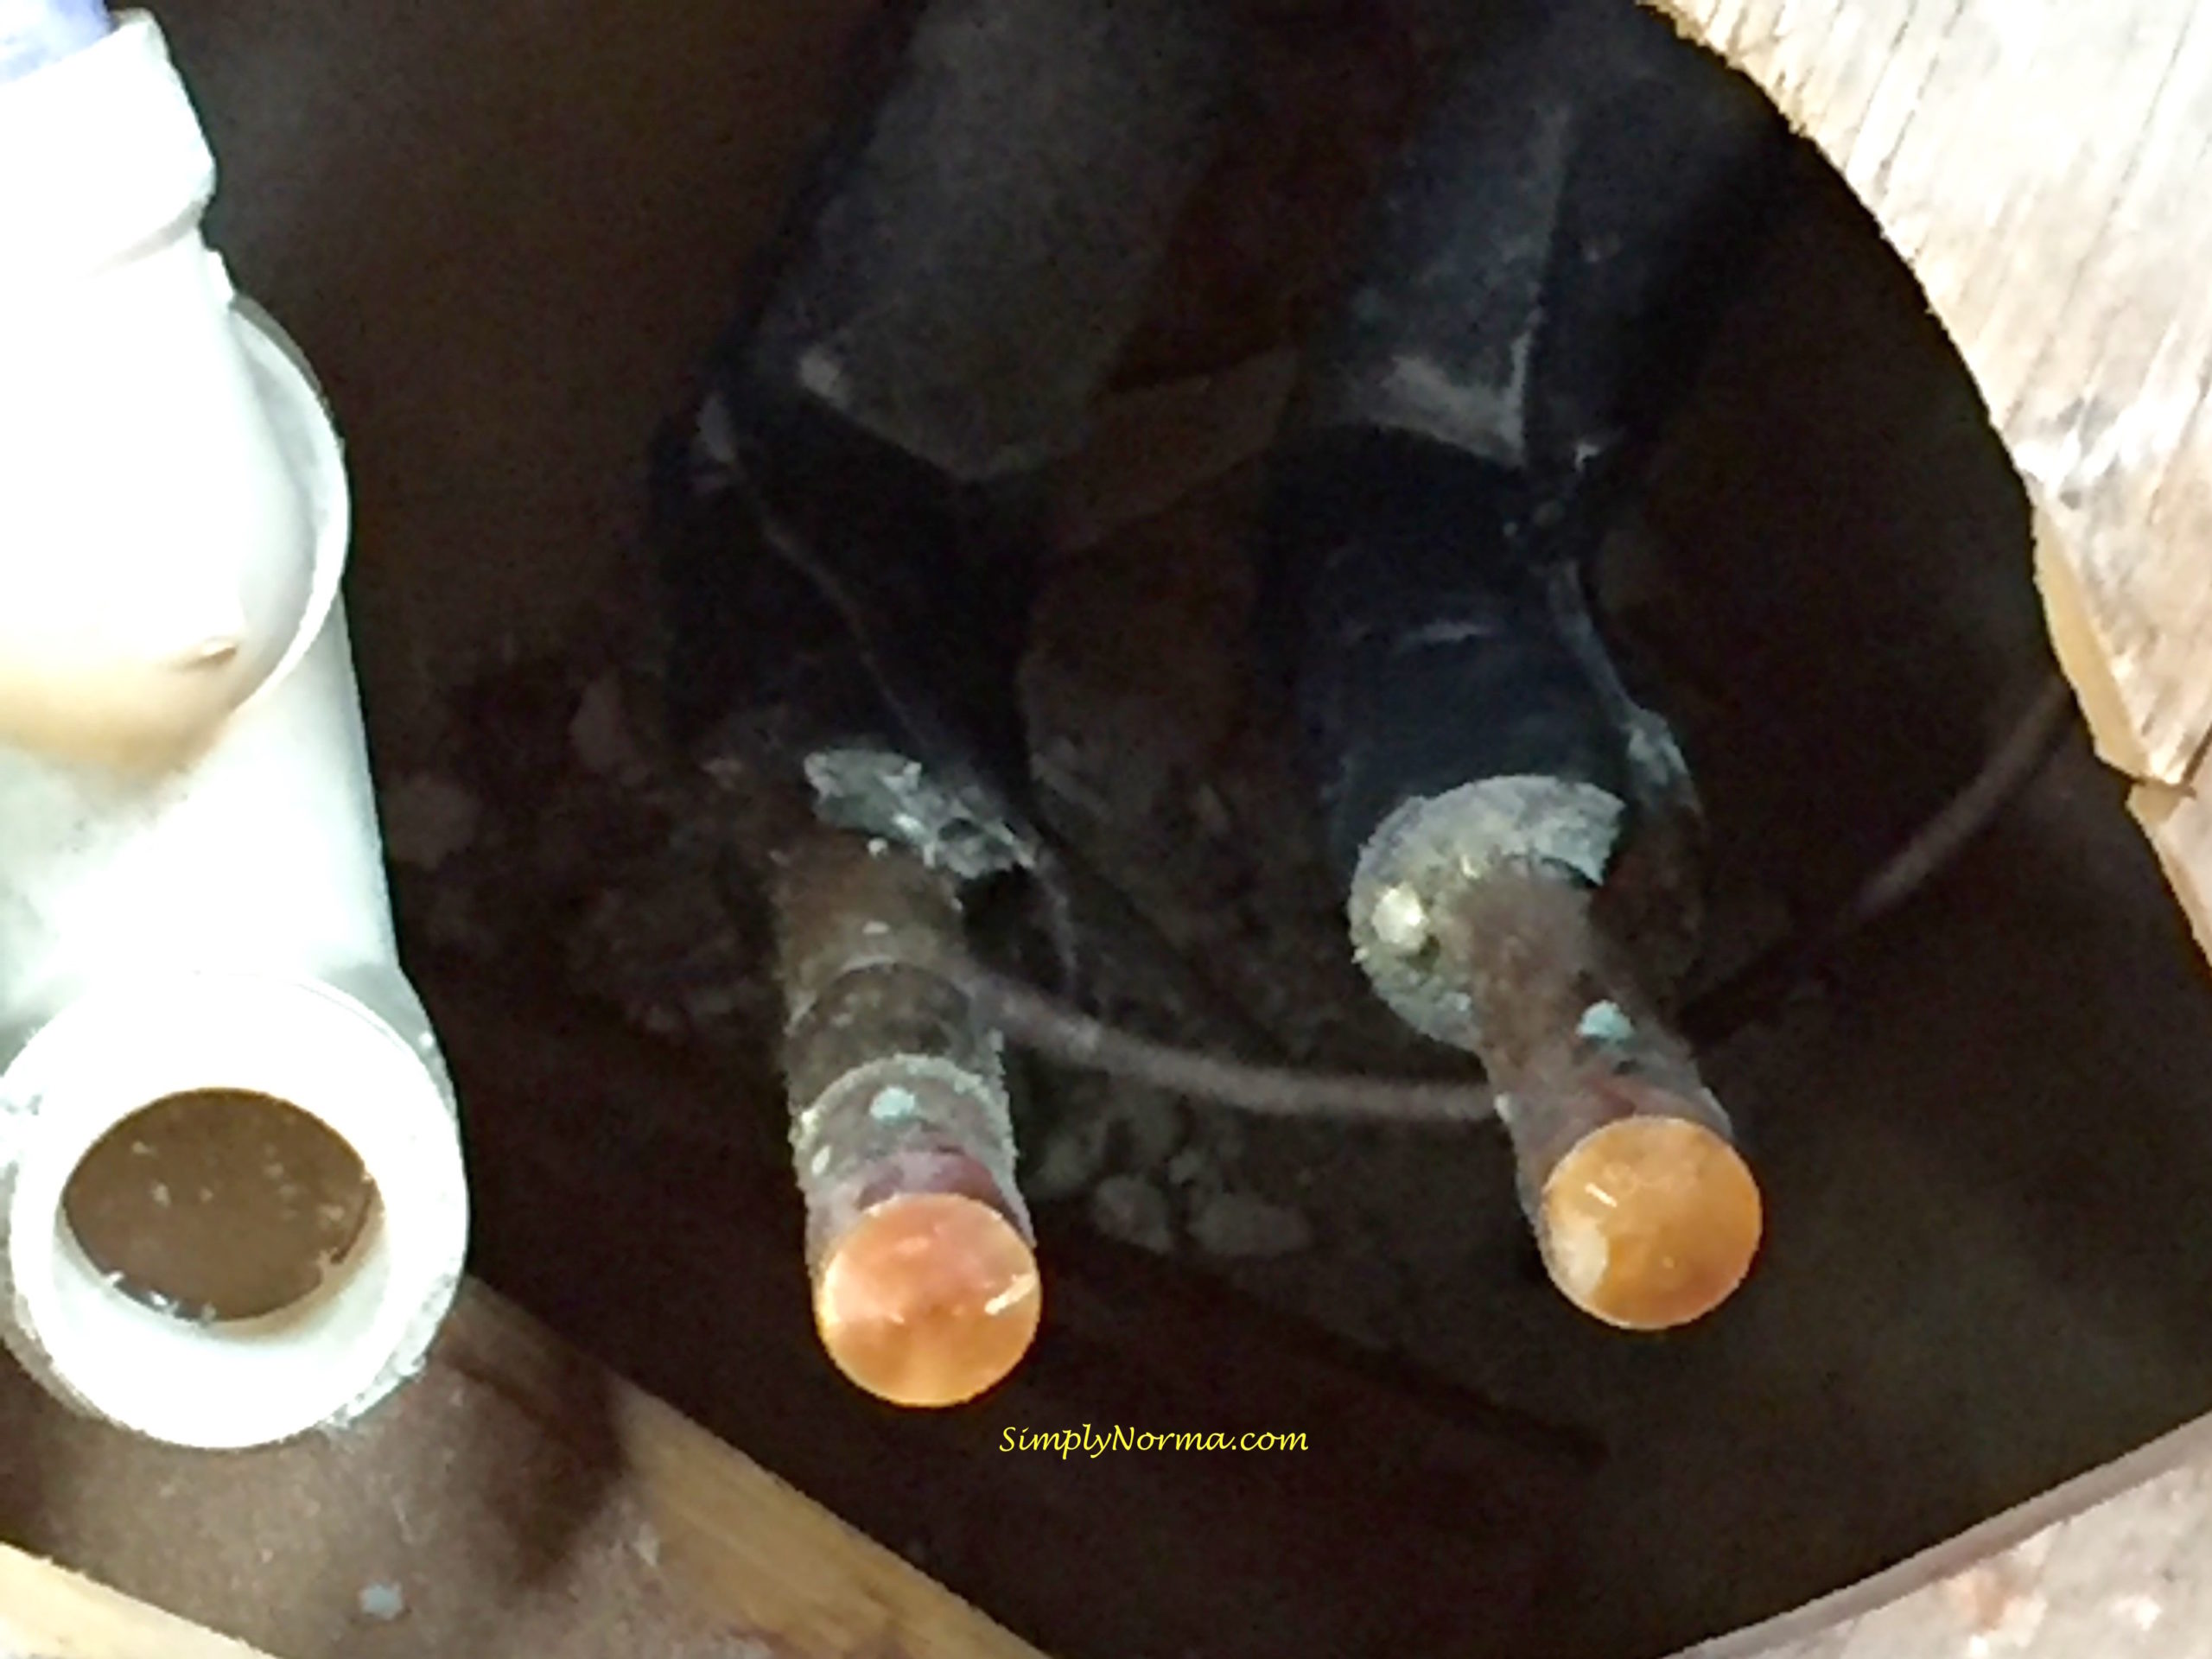
Next, I was called upstairs to take a look at a small thin tube that ran from underneath the tub to under the shower to … ??? We’re not quite sure, but the tube looks like one that attaches to our hot water heater in the basement. When we had the water heater replaced, those contractors didn’t know what the tube was for either so they just kept it there.

(Not the best picture … )

Gutting the Bathroom

I was surprised how quickly two men were able to gut a bathroom.

Hopefully this will be a painless remodel.

Day 2 of the bathroom remodel.

Chicken Salad With Olives ~ Paleo

Today was “cleaning out the refrigerator” day and I decided I wanted to use the olives that were left over in a Chicken Salad.

I like to surprise my husband by sending him something unique for his lunch so I try different ingredients.  The strange thing is, he is never surprised.  He never says “great job” or “that tasted horrible.” I get absolutely no feedback and, of course, I think everything I make is wonderful.  (laughing)

For this particular recipe, I used 2 cooked chicken breasts that I had seasoned with salt and white pepper.

It’s another “simple” recipe that I concocted.

Ingredients

  • 2 cooked chicken breasts, cut into bite sized pieces
  • 9 pimento stuffed green olives, sliced
  • 9 black olives, sliced
  • 1 small yellow pepper, chopped
  • 1/2 cup of paleo mayonnaise (more or less ~ gauge it to your taste)
  • Salt, to taste
  • Pepper, to taste

Directions

  1. Mix all of the ingredients together.

That’s it folks!  Easy peasy, no?

Paleo Tuna Salad
Paleo Chicken Salad With Olives

This tastes great by itself or you can also serve it on a bed of lettuce.

Enjoy!

For additional paleo recipes, click here.

Parmesan Zucchini Slices

These paleo Parmesan Zucchini Slices came out wonderful.  I was quite surprised at how easy they are to make ~ you just need to make a “station” that includes the ingredients that you’ll be dipping the zucchini slices in.

So, let’s take a look at the ingredients needed.

Ingredients

  • Olive oil, for frying
  • 1 medium zucchini, sliced 1/4 inch thick
  • 1 cup almond flour
  • 1 egg, at room temperature and lightly beaten
  • 1/4 cup parmigiano reggiano cheese, grated
  • Salt and Pepper, to taste
  • 1/4 cup paleo mayonnaise (I use the recipe here)
  • 1 tablespoon dried basil or 1/4 cup fresh basil (chopped)

Directions

  1. In a large skillet on medium heat, add enough olive oil to coat the bottom.
  2. Slice the zucchini then dip both sides in the almond flour.
  3. Next, dip both sides in the egg mixture.
  4. Add the salt and pepper to the grated cheese then dip both sides of the zucchini in this mixture.
  5. Fry the coated zucchini slices in oil until golden brown, about 2-3 minutes per side.
  6. When the slices are ready, place them on a plate lined with a sheet of paper towel to absorb any extra oil.
  7. In a blender, puree the mayonnaise and the basil together. This will be your dipping sauce.

And there you have it ~

Paleo Parmesan Zucchini Slices

A perfectly good side to any meal or a nice snack.  Yum!

With the holidays around the corner, this would make a good appetizer also.

For additional paleo recipes, click here.