All the thoughts in my head haven’t made it to my blog yet but are sitting as drafts for the most part — incomplete. It’s not procrastination although I do work better under pressure and a deadline. I haven’t wanted to spend too much time using my left injured hand typing although it is doing much better even if occasionally I get twinges of pain.
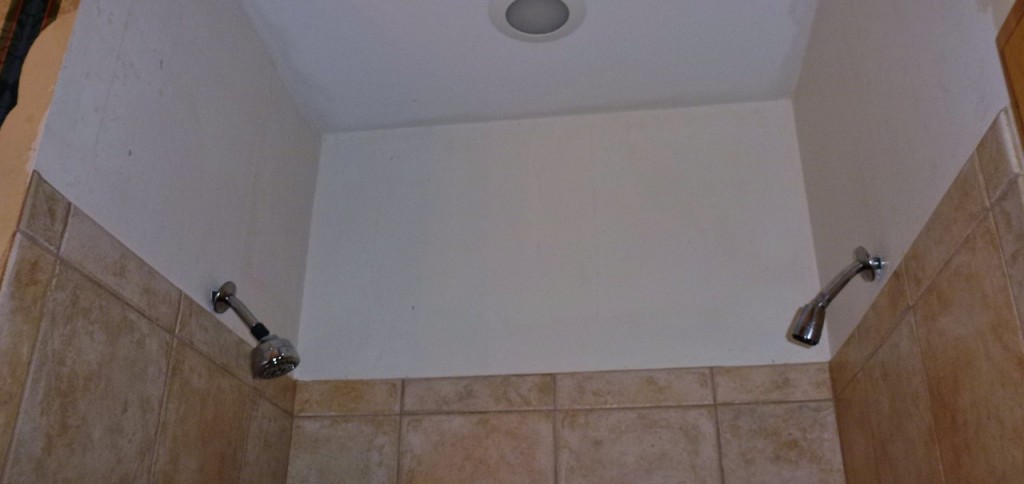
This week I started a new bathroom project — removing wallpaper. My concern with this project was in using the already-made solutions that reek of chemicals that I’m sure would cause me to get sick. Fortunately, I was able to find something that is much better and works.
In searching the “world wide web” I came across the site called DIY (do it yourself) Network. I’ve been using their suggestion to use one part Downy to one part hot water in a spray bottle to remove the wallpaper.
So far — it has worked but I did have a few kinks. First, I’m only using one hand to work and that makes for very slow going. Second, the wallpaper has been on this wall since they built the house which means that it is being stubborn (can wallpaper have feelings?) about coming off.
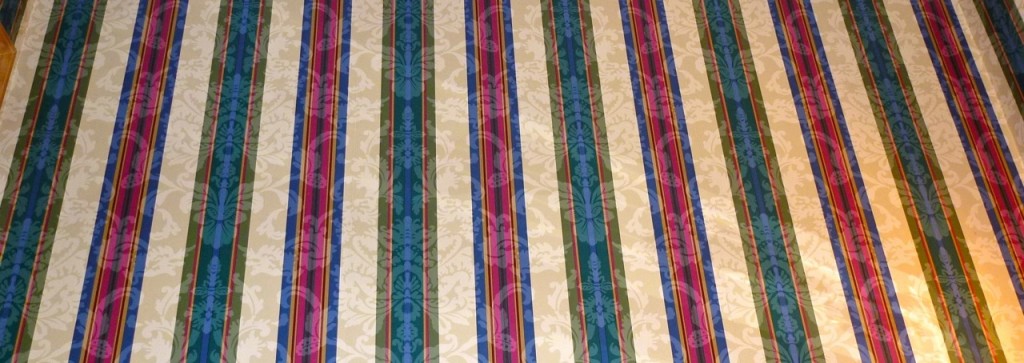
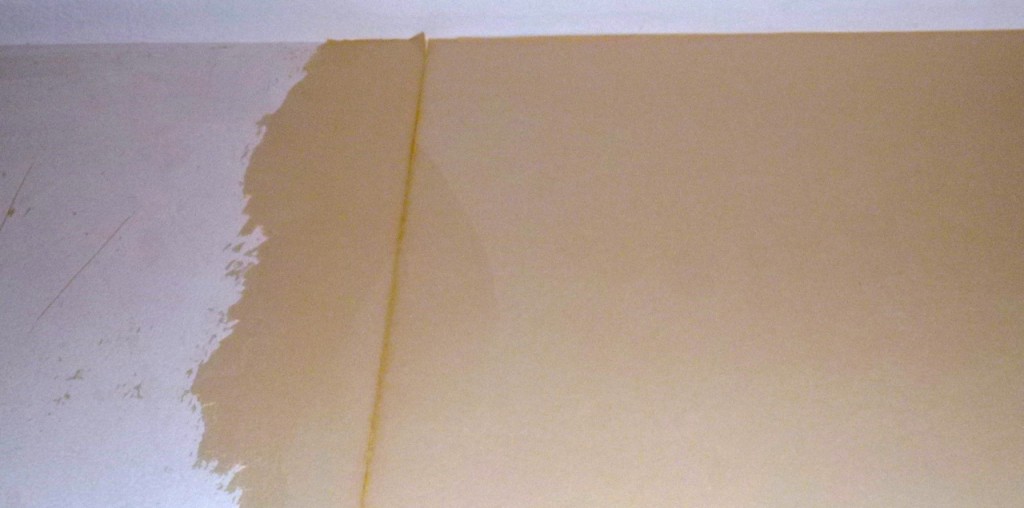
I’m not sure what kind of wallpaper they had 19 years ago. I had always imagined all wallpaper was the same. But I don’t believe so. The wallpaper has a thin decorative layer on the top and underneath it is another thin cardboardy layer. In order for my homemade solution to work, I have to peel the thin decorative layer first, spray the cardboard with my solution then use the putty knife to scrape it off. (Thought: I wonder if they used the cardboard piece to protect the sheetrock???)

Both pieces (the thin decorative layer and the thin cardboard layer) are sticky.

Once I remove both layers, I put a little bit of dish detergent in a bucket, add some really hot water and take a cloth to wipe down the wall to remove any residue glue that may still be there. Then I use plain hot water to wipe the wall down again. Lastly, I wipe the wall down with a dry towel.
One step I did not follow (well I tried but it didn’t work) was to “score” the wallpaper. Apparently there is an instrument called a wallpaper scorer that creates small holes in the paper to allow the solution to penetrate to the glue. Instead, I used my putty knife to make small indentations. This was not successful as the “small” indentations made their way to the sheetrock and I found that with the type of wallpaper I have it wouldn’t have worked.

Anyway — the steps are as follows (not including the scoring part):
- Prepare the room by putting drop cloths on the base of the walls to be stripped. Remove all switch plates and outlet covers from the walls then cut the power to the room (you don’t want to get electrocuted while doing this work).
- Mix your solution — one part Downy and one part hot water. I used fragrance free Downy as my bathroom doesn’t have a window that I can open to air out the room while working and besides, who wants to inhale a bunch of fragrance that has made me sick in the past. Oh — make sure you keep the water hot. I microwaved the solution every 20-25 minutes to make sure it stayed hot as it works much better and made the scraping go faster.
- Soak the walls with the solution. I used a spray bottle for this. Let the solution soak for a few minutes and make sure the wall is saturated.
- Grab the wallpaper on the bottom and pull it off. This didn’t work for me as mine was a 2 step process — remove the outer decorative layer, soak the thin layer underneath and then scrape upward with the putty knife. But hey, it might work for someone else.
- Once the wallpaper is off, mix a tablespoon of dish detergent with very hot water. Use a sponge to wipe down the walls, scrubbing carefully to remove all traces of wallpaper adhesive.
- Rinse down the walls with a towel and clean water then dry the wall with a towel.
 [/amazon_link]


One thought on “Wallpaper Removal”