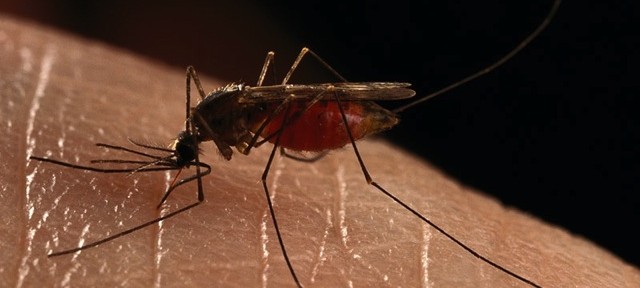
I am so excited about a new product that will be coming out soon called the Kite Mosquito Patch. And I hope to be on the ground level of seeing if it works. If you’ve been following my blog for at least the last month, you’ll know that I have a keen interest in mosquito aversion.
I’ve written two posts already about my trials with different products to see if they would help me avoid these irritating insects. The first post was called Of Mosquitoes and Traps and told of a “natural” trap using yeast and brown sugar. Unfortunately, it did not work.
The second post called How To Mask Your Mosquito Smell told of a product that is currently available that uses butane to mask our smell. This product does work for me.
The Kite Mosquito Patch is a non-toxic square you stick on your clothing or bag that purports to make you practically invisible to mosquitoes for approximately 48 hours by disrupting their ability to “smell” you. ABC News recently wrote an article regarding it. The Bill and Melinda Gates Foundation along with the National Institutes of Health have paired up with the company to create this new technology.
Kite Patch hopes to prevent the spread of malaria and West Nile Virus with this patch. That would truly be spectacular, don’t you think?
There is a campaign, called Indiegogo, associated with Kite Patch that is collecting funds to collect as many patches as they can to send to Uganda where the malaria rate is over 60 percent.
The Kite Patch is awaiting regulatory approval but is expected to be distributed worldwide around 14 months from now. Once they have U.S. EPA approval, patches will be distributed to contributors to try out.
I became a contributor yesterday by joining the Kite Pioneer Program which will send 30 patches to Uganda and 30 patches to myself along with a t-shirt, sticker, etc.
I’m really looking forward to see if this really works as it will have a huge impact, not just on how much I work outside in the summer but for everyone who has ever been biten by a mosquito and suffered the consequences.
About a year and a half ago (yes, a long long time ago) I asked my sister-in-law to bring me my mother-in-law’s old slides so that I could convert them into a DVD as a surprise for her.
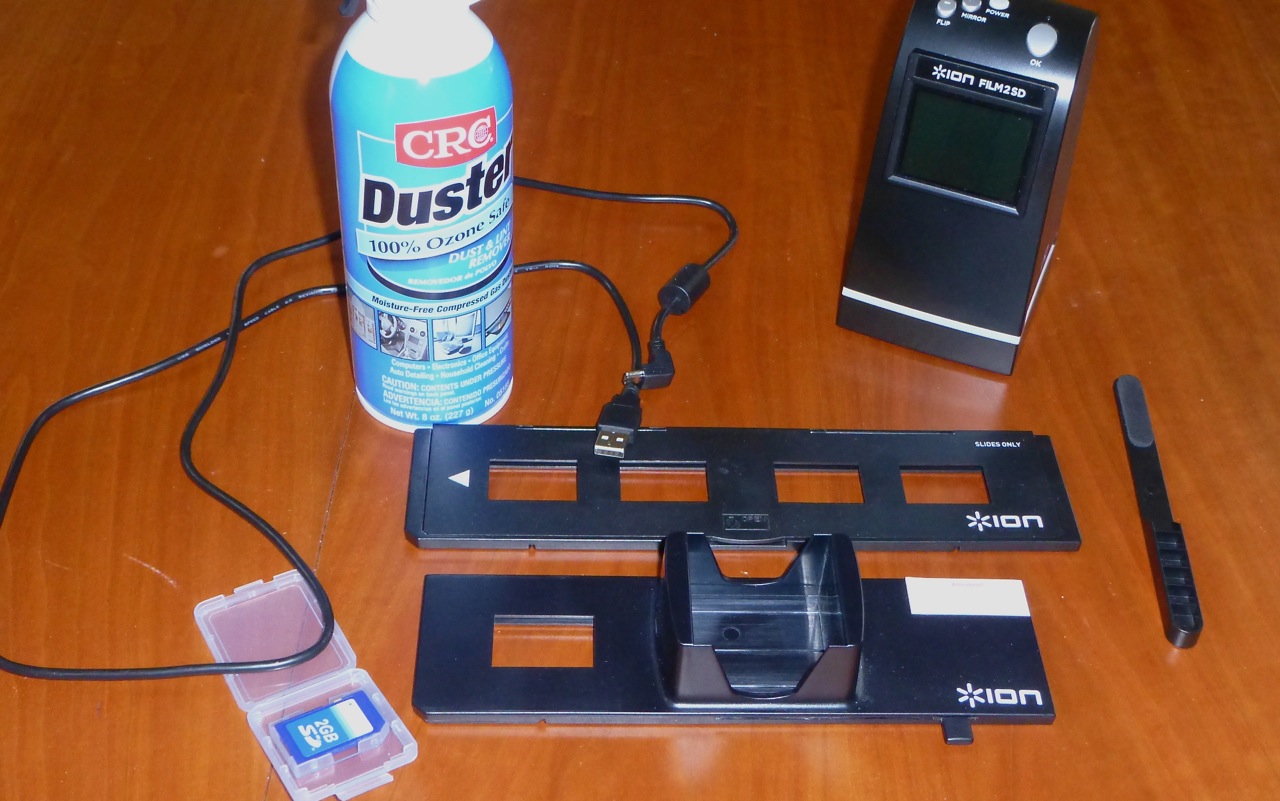
Well, needless to say, time went by and by and by until one day I decided to tackle the project. I bought myself a negative/slide scanner that is made by Ion. Here is what came in the box (with the exception of the CRC Duster that I purchased separately).
Ion Scanner
The scanner scans both 35mm negative film and slides. Although you can put a few slides in the “holder” they sometimes stick when you try to push them through with the lever depending on the size of the slide and how perfect (or imperfect) the edges are. The small screen on the scanner allows you to view the slide, i.e. is it backwards, upside down, etc. However, the screen is small and if you decide to look at each slide picture, it can really slow you down. I would just glance to make sure the setting was on “slide” and not “negatives.” My plan was to use iPhoto on my MacBook Pro to edit them.
One problem I had with the scanner was that it would switch into “negative” mode without my knowing why so I would have to re-scan the slide(s) if I didn’t catch it right away or turn the scanner off and on in order to correct the setting since I wasn’t scanning 35mm negatives.
Overall, I scanned a little over 3200 slides starting from the year 1966. It took 2-3 months for me to scan these because I didn’t work on it for hours every day. A little here, a little there.
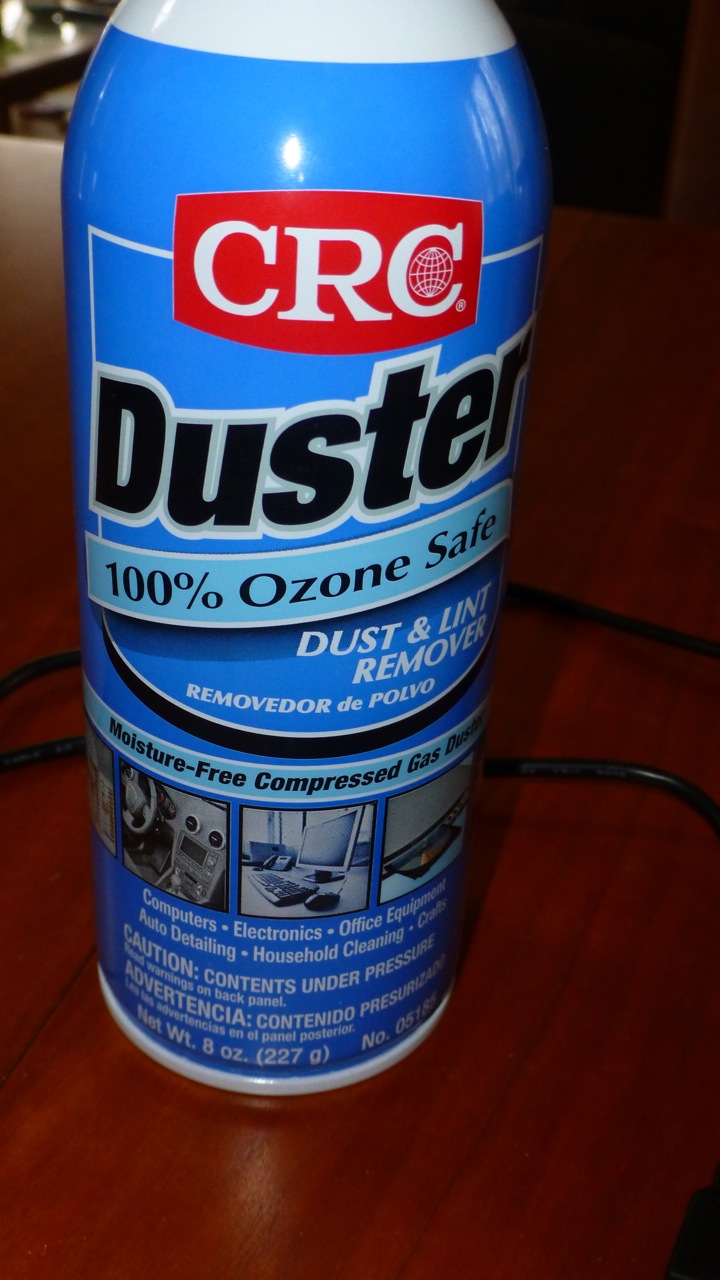
A second, but major problem I had while scanning was the dust on the slides which is why I bought the CRC duster that allows you to spray air into the side of the scanner or on the slides themselves to remove the dust (but it would be very expensive to spray each individual slide on both sides not to mention time-consuming).
CRC Duster
Because I had different groups of slides to scan that had different travel dates and countries, I scanned each grouping then transfered the slide pictures from the 2GB disk  to iPhoto with the adapter that comes with the scanner. It was quite easy to do — even for an amateur like me.
I then made an Album in iPhoto for each grouping. Afterwards, I went into each Album and edited each photo for lighting, cropping, etc.
iPhoto also allowed me to “retouch” each photo by removing the small spots of dust that showed up although there were some slides that simply had too many (one could spend many hours editing one slide). Other sides were so over/under exposed that I did not include them in the DVD’s that I made from the albums I created.
After the above was completed, I made DVD’s on iPhoto. Since my mother-in-law likes classical music I downloaded some songs from iTunes from various artists. I was then able to use that as background music for the slideshow I created.
One irritating feature that the scanner does is that it adds a “sequence number” to each slide. That number is transferred to iPhoto which is then transferred to the DVD and it will show up in the slideshow so I had to manually remove each number from the picture. I was not able to figure out how to remove them in mass. Bleh!
I’ll be posting some before and after pictures of slides every now and again with my mother-in-law’s permission. The slides are from countries like Iran, Russia, Uzbekistan, and Greece — to name a few.
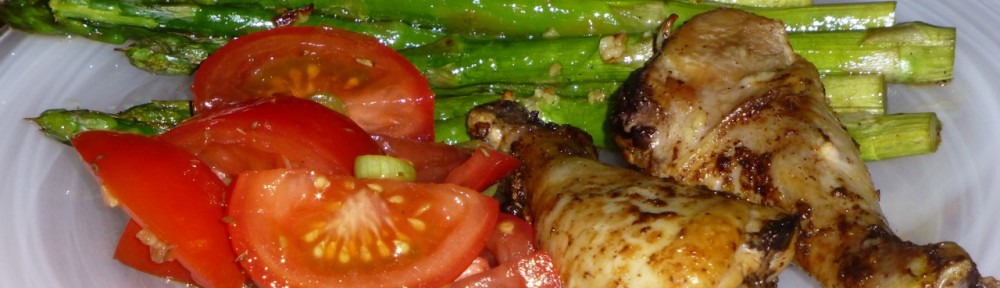
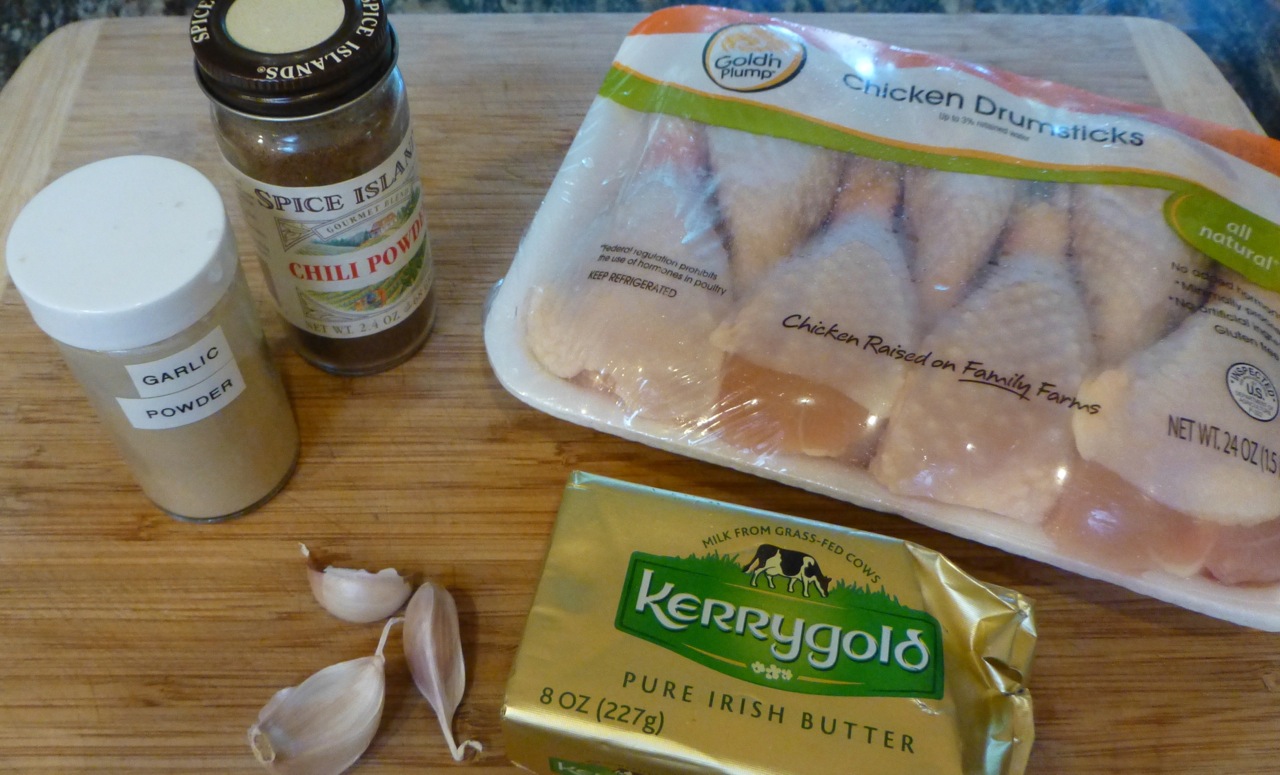
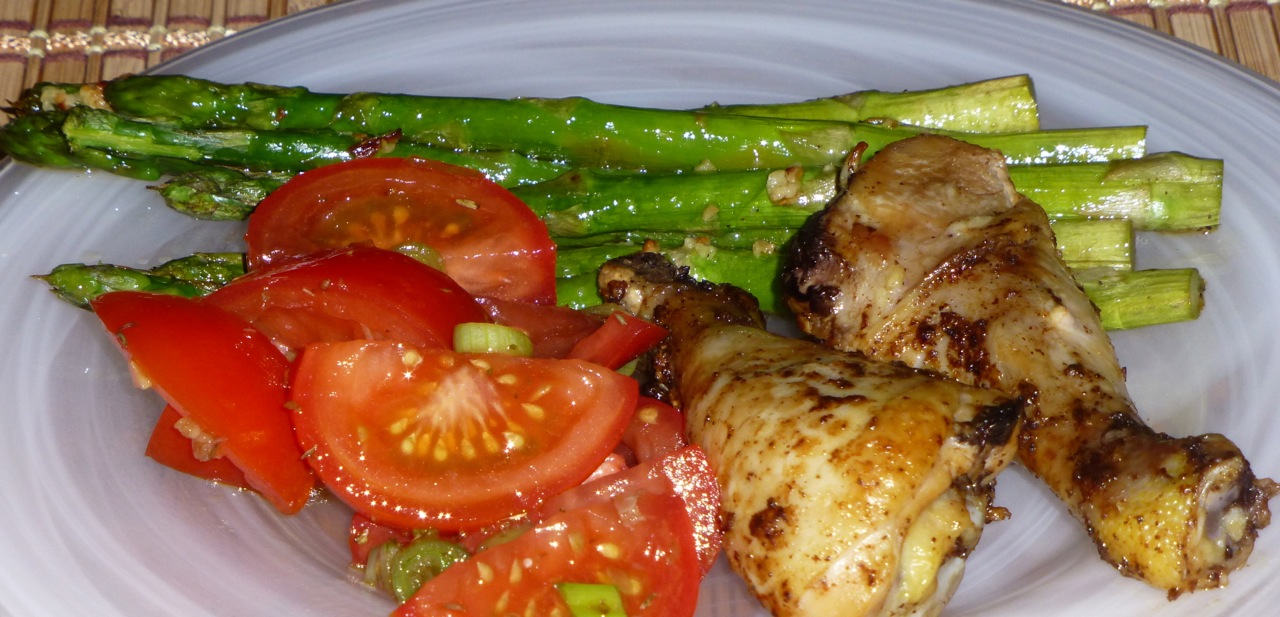
The title of this recipe, Spicy Drumsticks, is a misnomer, at least the way the ingredient amounts are listed. There is chili powder used but I think you’d have to use more than the 2 teaspoons in order for it to be really spicy.
But, don’t get me wrong — they tasted great! I’d make them again and again because, quite frankly, I continue to enjoy easy to make recipes since I like to work outside in the yard. In winter when I’m more indoors, I like the more “complicated” recipes.
My favorite kind of birthday cake is coconut. Yum! I love coconut.
Quite a few years back, friends of mine brought me a coconut cake from Hawaii. Oh man! It was simply delicious as every bite melted in my mouth. Unfortunately, the company doesn’t deliver. Drats!
So, this year I decided NOT to make a paleo coconut cake but instead buy one at Whole Foods since I’ve had theirs before and they weren’t too bad. I reasoned (well, we’ll call it reasoning) that making a paleo cake for myself from scratch was counterintuitive to my birthday, i.e. who makes their own birthday cake?
I had sent a recipe to my husband to see if he would be interested in making a paleo cake for me but he did not lean in that direction. Actually, he didn’t lean at all. Â hahaha
Anyway, I ordered a 5 inch coconut cake. It was small enough so we wouldn’t gorge ourselves but would be plenty to last a few days.
Coconut Cake, Whole Foods
I had my last piece today.
Since we don’t eat sugar on the paleo diet (with the exception of honey or pure maple syrup) my body revolted. The first day I had a nice small piece and it tasted too sweet. Afterwards I felt like I had acid reflex.
The second day I had my piece and it didn’t taste too sweet but I prepared myself with a mug of hot tea to “down” it with. I had a bit of a small headache when I finished this piece.
The third day I finished the last small piece — seriously, these were small pieces — and again my head started to feel out of sorts and my chest felt like I was getting acid reflex.
The old non paleo body that could “handle” such sweet things has changed and the new paleo body let’s me know that these sweets really aren’t that good for me.
So — it was a beautiful birthday cake but (a new take on an old phrase) “it doesn’t do a body good.”
Next year, I think I’ll make my own birthday cake.
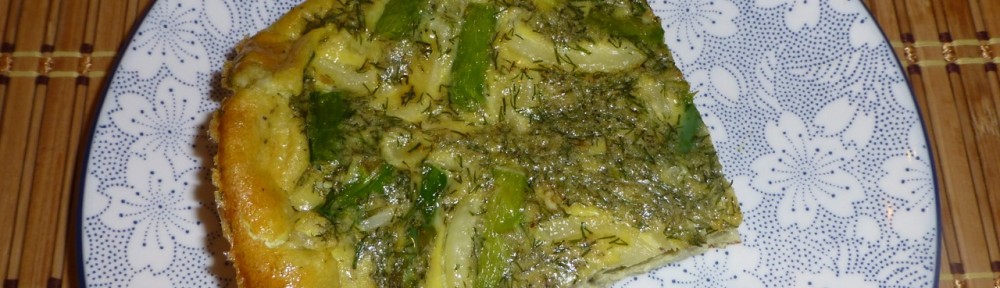
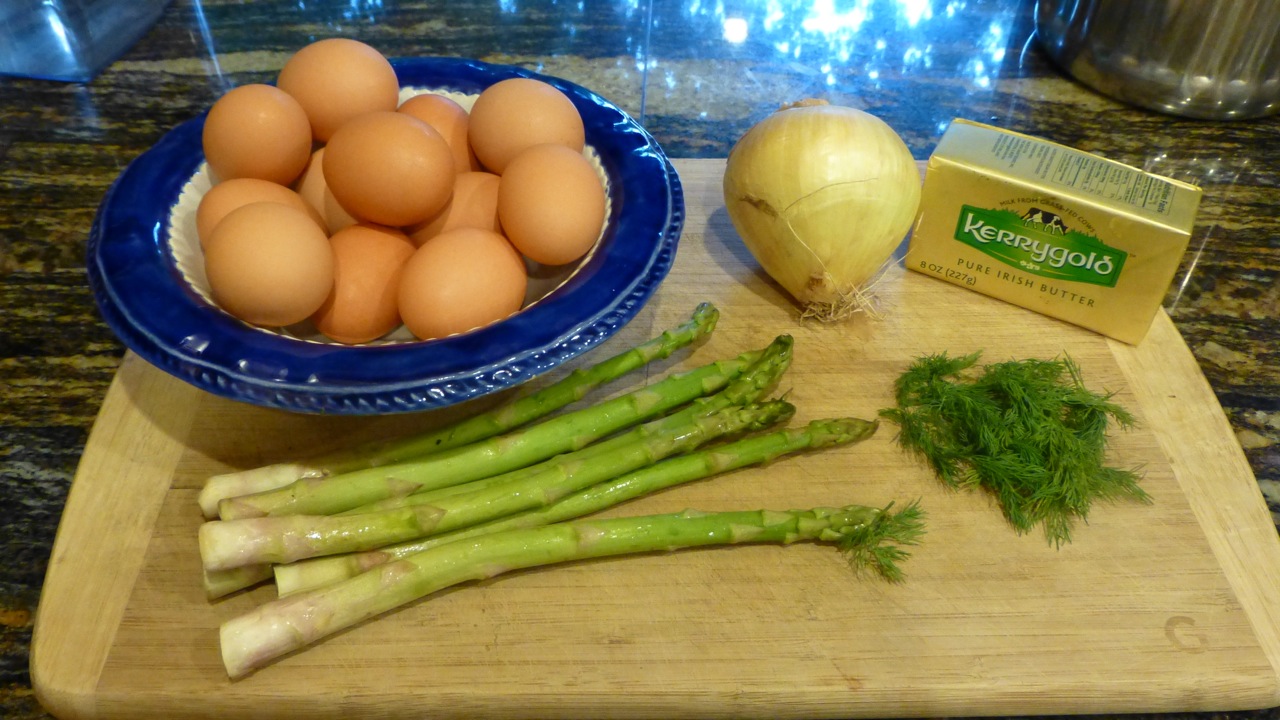
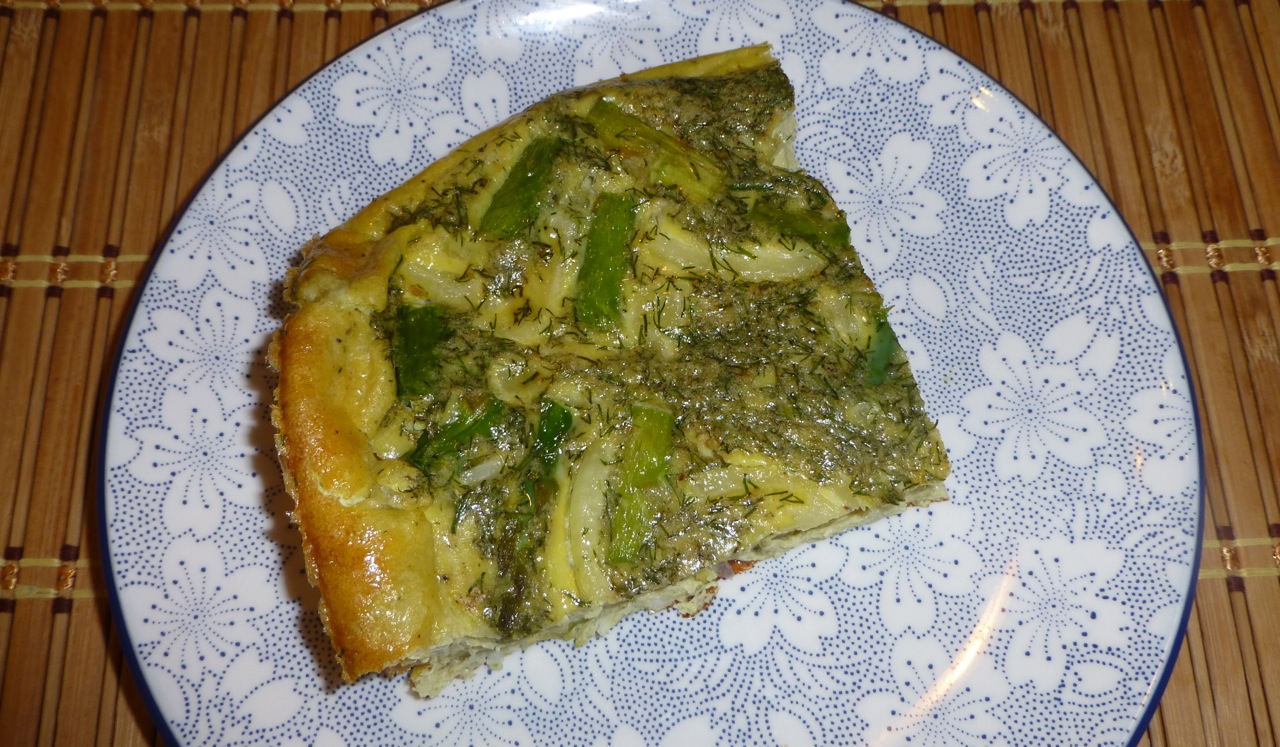
It’s breakfast time! Well, you could make this for a light dinner also but I served it for breakfast. This Asparagus, Dill, Onion and Egg Casserole recipe is light and healthy. Yes, it does take a lot of eggs (one dozen) but we had this for leftovers the following day and the day after. It reheats beautifully.
And not too many ingredients which is my kind of recipe …
Ingredients
You could add more “spice” to this dish like sausage or bits of turkey bacon — let your imagination go wild. I decided to make the original recipe then play with it later.
Ready to try it? Here it is …
Ingredients
1 tablespoon butter or olive oil
2 medium yellow onions (I used one large)
1 pound asparagus
1 dozen eggs
¼ cup loosely packed dill leaves, roughly chopped
¼ teaspoon ground pepper
¾ teaspoon kosher salt
Directions
Preheat the oven to 350 degrees fahrenheit and lightly spray a casserole dish with olive oil.
Slice the onions thinly.
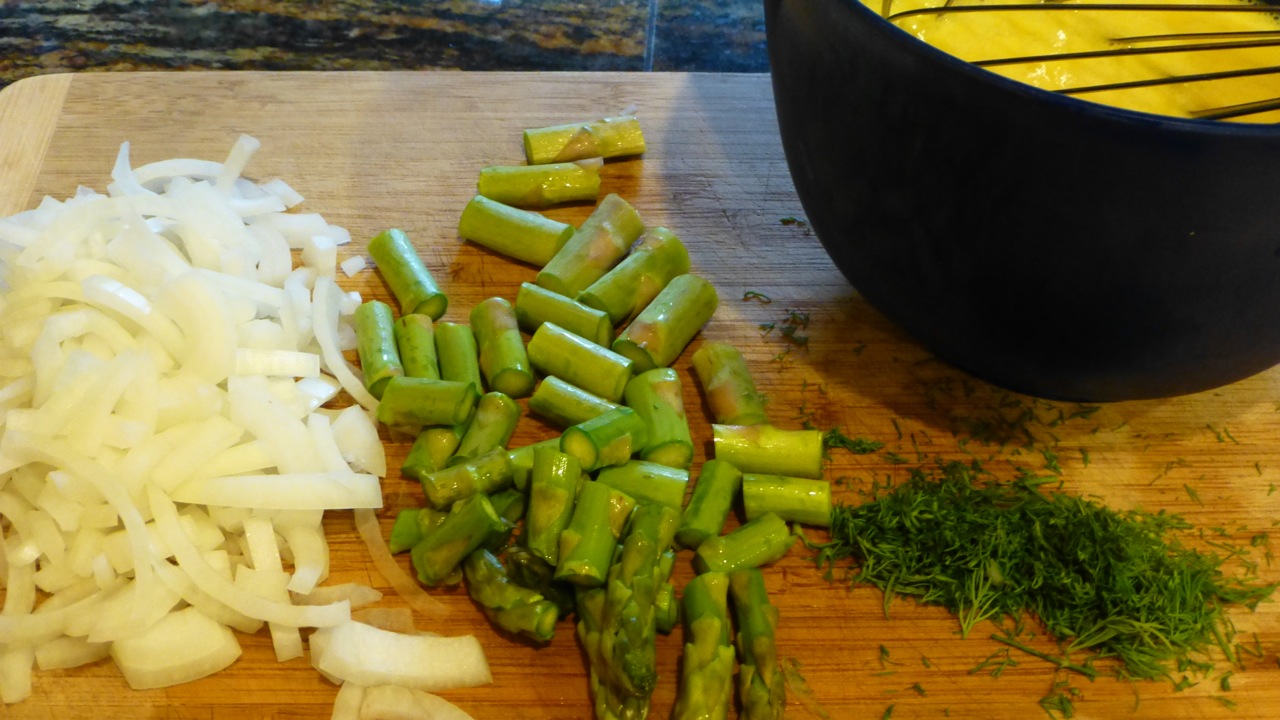
Wash the asparagus, cut the bottoms off then slice into 1 inch pieces.
Roughly chop the dill leaves.
Put the cracked eggs in a bowl, add the dill, pepper and salt then beat this all together.
In a large frying pan, add butter or olive oil and once hot add the onions.
Cook the onions until they are translucent. (side comment: I love the word translucent!)
Add the chopped asparagus to the frying pan with the onions in it and cook through until the asparagus is tender (just a few minutes).
Put the onion and asparagus mixture into the greased casserole dish.
Pour the beaten egg batter over the onion and asparagus and stir it around.
Bake 35 to 40 minutes until the eggs are set and just starting to brown on top.
Allow this to cool for 5 to 10 minutes before cutting.
And that would be it!
Asparagus, Dill, Onion and Egg CasseroleAsparagus, Dill, Onion and Egg Casserole
A little over a month ago, I was quite disturbed over what I saw on our front porch — inch long black “pellets.” I call them pellets because I really didn’t know what they were.
Every day, a few more pellets would appear. So, I did what any warm blooded American girl would do — I “googled” mice pellets. I assumed they were mice because we have had so much rain in Minnesota and the mice food traps that the pest control company had placed around the perimeter of the house were getting empty pretty quickly. Yes, I’m pretty sure I was right — mice droppings.
I called our pest control company up and said “I think the mouse feeders are empty and the mice that are still alive are letting us know there’s no food by defecating on our porch.” Uh, really? Yes, that’s what I said. One can say just about anything to a pest control company no matter how ridiculous or illogical it is because they’ve heard just about everything under the sun. But, it was a tad bit illogical. Wouldn’t you say? No, don’t answer that.
The pest control company came out, looked at the mice feeders and said “Yes, they are empty and insects are living in them.” He cleaned them up, gave us a couple new ones then got ready to leave.
“Hey! What about these pellets over here?” He looked them over and said “I believe that’s from a bat.” Wait. What? “If you’ll notice,” he continued, “the pellets go up the corner and up under the eaves.” Oh, I hadn’t noticed that.
Then he said goodbye and left. I didn’t think about it at the time, but aren’t they a PEST CONTROL company and aren’t bats pests? My husband pointed that out to me when he got home. (Thank God for logical thinking husbands!)
Anyway, I googled up some information on bats and found that cleaning their pellet (guano) droppings can be hazardous because the droppings can carry viruses if the bats are sick. Did you know that? So, I found a dust mask, elbow length rubber gloves, a small broom and a dustpan and went to work cleaning up the mess. Am I the only one who thinks that, in spite of all the precautions, I am going to “get” the disease from cleaning up these types of things?
Once it was cleaned up, I filled a bucket with bleach and threw everything in there except the mask which I threw out. I then put my clothes in the washer as airborne dust from the guano can attach itself to the clothes. Then I took a shower.
The next day, as expected, and in the same location, more guano were left by our friendly bat. I say friendly because how can I be upset with a bat who eats the mosquitoes on our property? One must think positive about these things (or they will go positively bonkers!).
Alas! I was heading to Seattle soon so had no more time to worry about such things. The bat would be there when I returned — I was sure of it.
When I returned a week later, I noticed that my husband had decided to follow my advice (yes ladies, every now and again husbands will follow our advice). He bought some mesh and duct tape and taped the area where the bat was going in. Why did he do this you ask? Well, I had read that when you put up this mesh, the bat will be able to get out but will not be able to get back in. Clever, eh? The only problem is whether there were any baby bats still inside. How would one know?
Bat Protection
Ignorance is bliss in this case (at least I think so). Since the mesh has been up, no more guano droppings have been seen. The pest control company was right — it was a bat.
Within a week of arriving home, I had a birthday. (No, I’m not digressing here — truly it’s part of the plot. Â Grin.) I noticed some receipts on the counter and one of them said “bat house.” Hmmm … I wonder what my husband was up to.
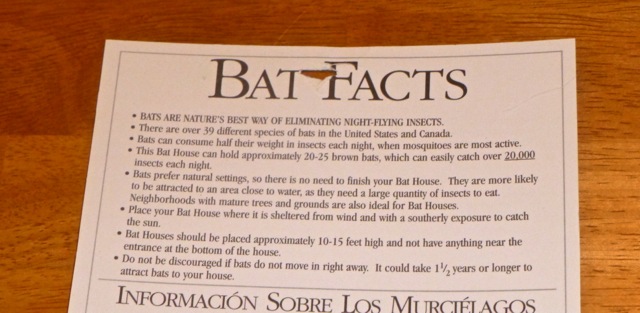
When my birthday finally arrived, the day went on as usual. I expected a card with my gift on the kitchen table first thing in the morning but … nothing. There was a piece of paper called “Bat Facts” on the table. What could it mean?
Bat Facts Sheet
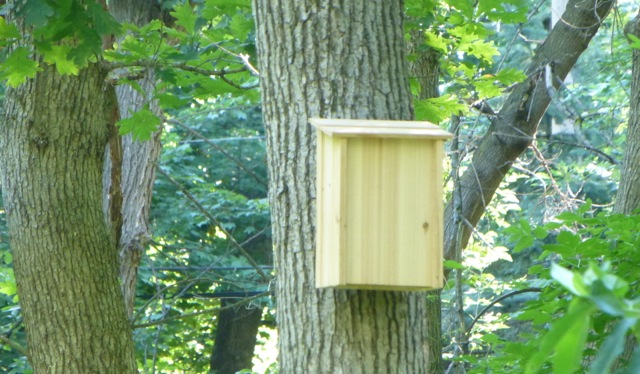
My anticipation built throughout the day wondering what my birthday gift would be and when my husband finally arrived home from work, he brought the mail in and sat down. Then he nonchalantly asked me if I had seen the bat house. Uh, no. He took me to the kitchen window and showed me where he had installed it while I was in Seattle. (The bat house must be placed away from the house …)
Bat House
Here it is close up …
Bat House Up Close
Awww … that was so sweet. Since we live on a wooded lot, we get plenty of mosquitoes and I was hoping to get a bat house to attract bats so they would eat up all the mosquitoes. I just wasn’t expecting a bat house for my birthday (I was thinking more of a wood chipper — hahahaha). But, my husband had read that when you displace a bat from its “home” you should build a place for them to go.
I’m hoping we get a bachelor bat and not a large colony of them. I mean, really, on one acre, how many bats does one need?
“90 percent of occupied bat houses were used within two years (with 50 percent occupancy in the first year). The rest needed three to five years for bats to move in.”
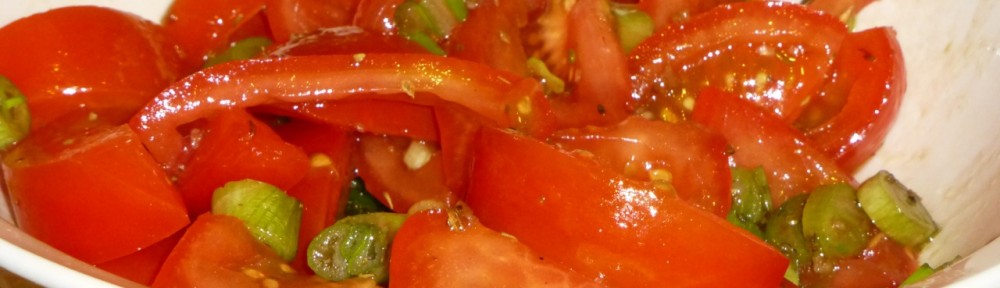
This Balsamic Heirloom Tomato Salad is a great summer salad to make as it can be quickly and easily made.
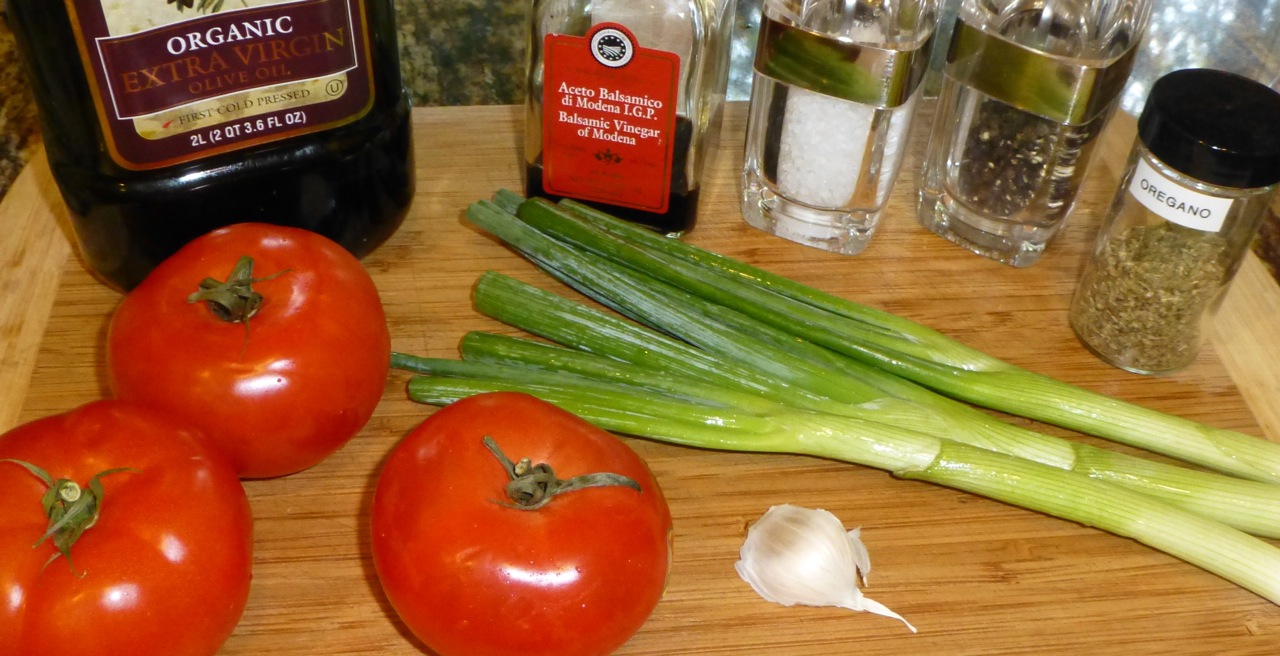
You need just a few ingredients to get you going …
Ingredients
The original recipe calls for green, yellow and red tomatoes. I used what I had (although it would be a lot prettier with the other colors).
You’ll be draining the tomatoes in a colander with a bowl underneath …
Drain Tomatoes
And, that’s pretty much MOST of the steps. Here’s the recipe so you can try it …
Ingredients
1-1/2 to 2 pounds Heirloom Tomatoes (of different color and variety or just red)
1 bunch green onions, sliced
1 clove of garlic, minced
Salt
3 tablespoons extra virgin olive oil
1 tablespoon balsamic vinegar
1 pinch of dried oregano
Fresh black pepper, to taste
Directions
Wash the tomatoes and remove the stems.
Slice tomatoes into halves, quarters or eighths depending on the size of the tomato.
Toss the tomatoes into a colander that sits over a large bowl.
Generously sprinkle the salt over the tomatoes then gently toss and let them sit for 20 minutes. (The salt removes some extra water from the tomatoes and seasons them.)
In another bowl, combine the sliced green onions and garlic.
In a measuring cup combine the balsamic vinegar, olive oil and oregano and whisk this together until blended.
Put the tomatoes in a bowl then pour the balsamic mixture over the tomatoes.
Toss, season with fresh black pepper and serve.
Quite easy, eh? Yes, yes — easy and simple is always good.
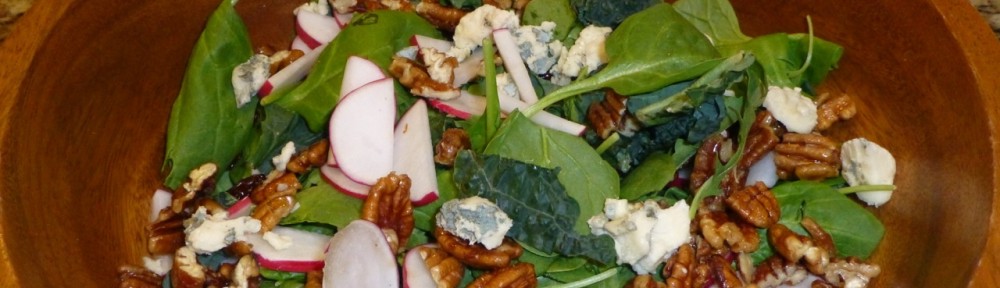
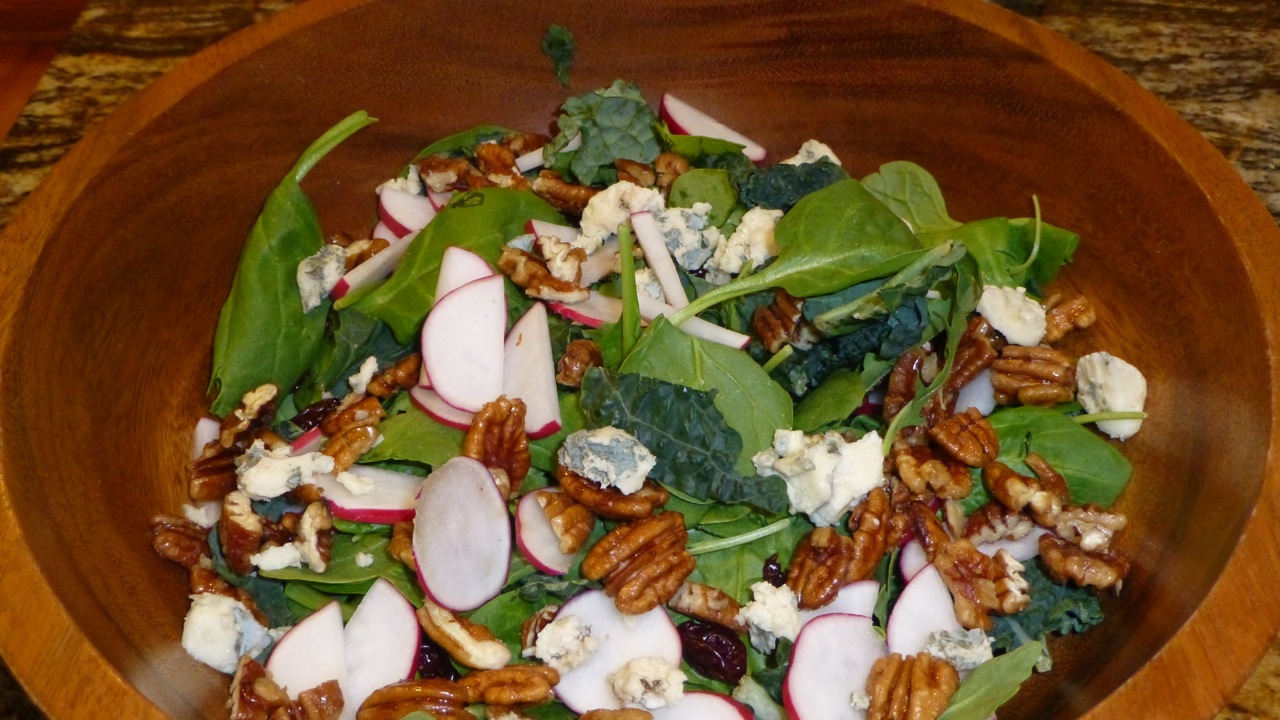
I can’t say enough about salads — especially those with nuts and … cheese. Yes, there I said it again. Cheese. I don’t have cheese very often but this salad called for blue cheese and I thought I’d try this Arugula Salad with Orange Dressing.
This was so delicious but I have to confess that I changed the recipe up a bit. The original recipe for the salad calls for a pear and I didn’t have one handy so I left it out and replaced it with dried cranberries and radishes. For the dressing, I used olive oil instead of vegetable or canola to make it paleo friendly along with replacing the sugar with honey. The recipe you see below includes my changes.
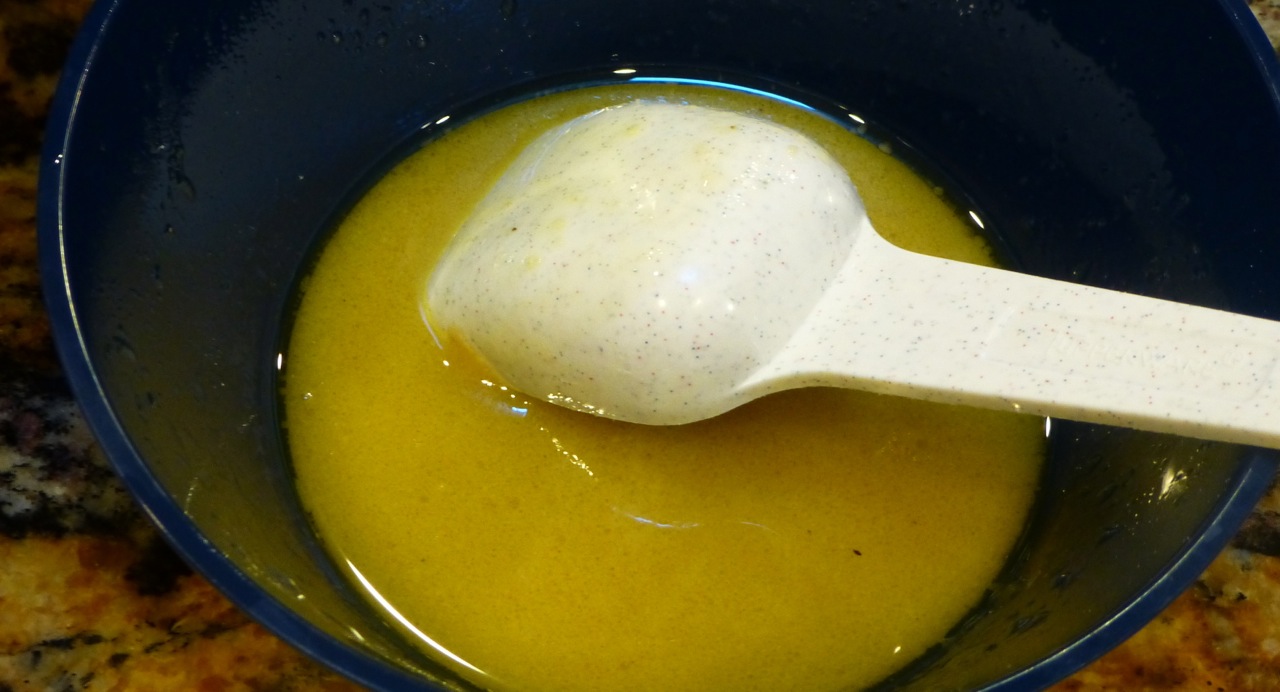
It was so delicious! The orange dressing ingredients make quite a bit so I’d half it next time or save some to use in another salad (remember to serve it on the side).
Orange Dressing
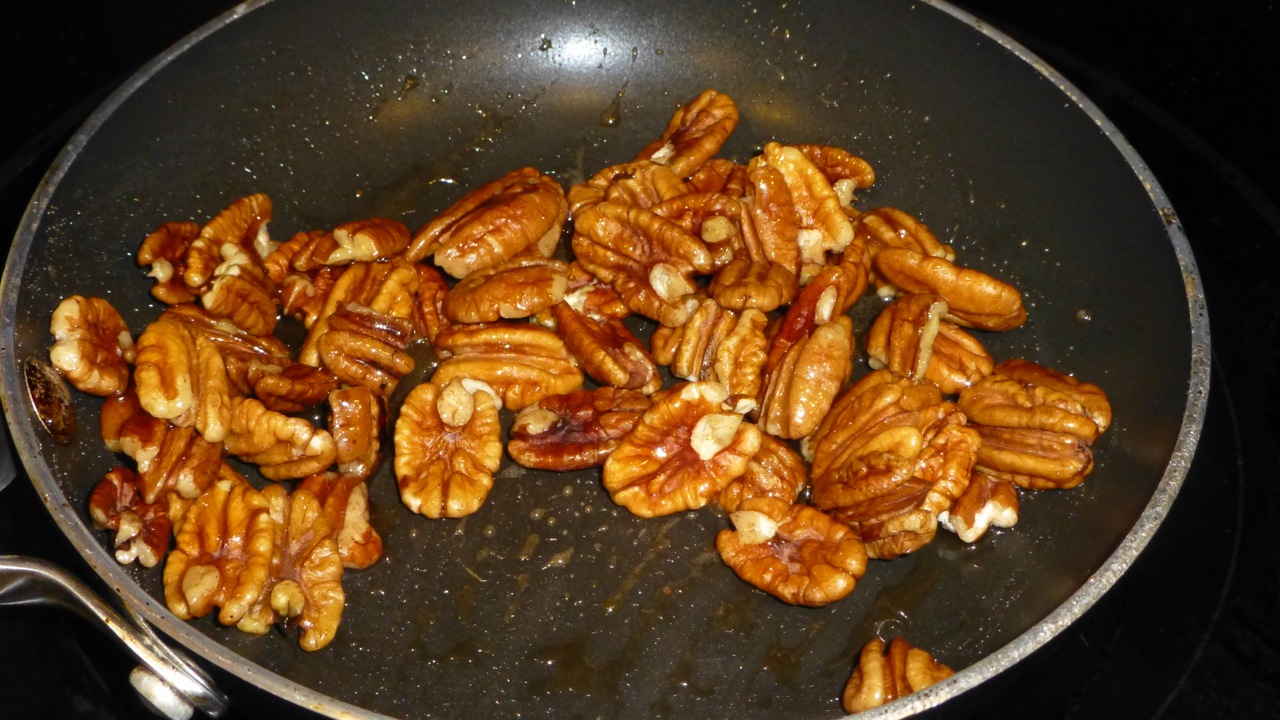
I used pecans and “candied” them. Click here to read how to do that the “paleo” way.
Candied Pecans
So, here’s this easy salad recipe.
Ingredients (for the salad)
12 ounces (total) of arugula/baby spinach leaves (I used spinach and kale instead of arugula)
4Â ounces crumbled blue cheese
4Â ounces caramelized pecans
3 radishes sliced thinly
Dried cranberries
Ingredients (for the dressing)
1/4Â cup vinegar
2Â teaspoon grated orange rind
1/2Â cup orange juice
Juice of 1 lemon
1/4Â cup honey
1/2Â teaspoon dry mustard
1/4 teaspoon salt
1Â cup extra virgin olive oil
Directions
Add all the salad ingredients together in a large bowl and toss to combine.
In a separate bowl, combine the dressing ingredients then serve the dressing on the side.
Arugula Salad with Orange Dressing
Whala! There you have it — easy, delicious and healthy!
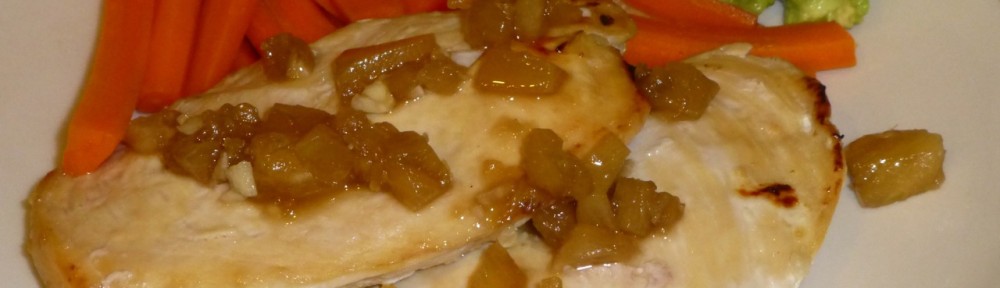
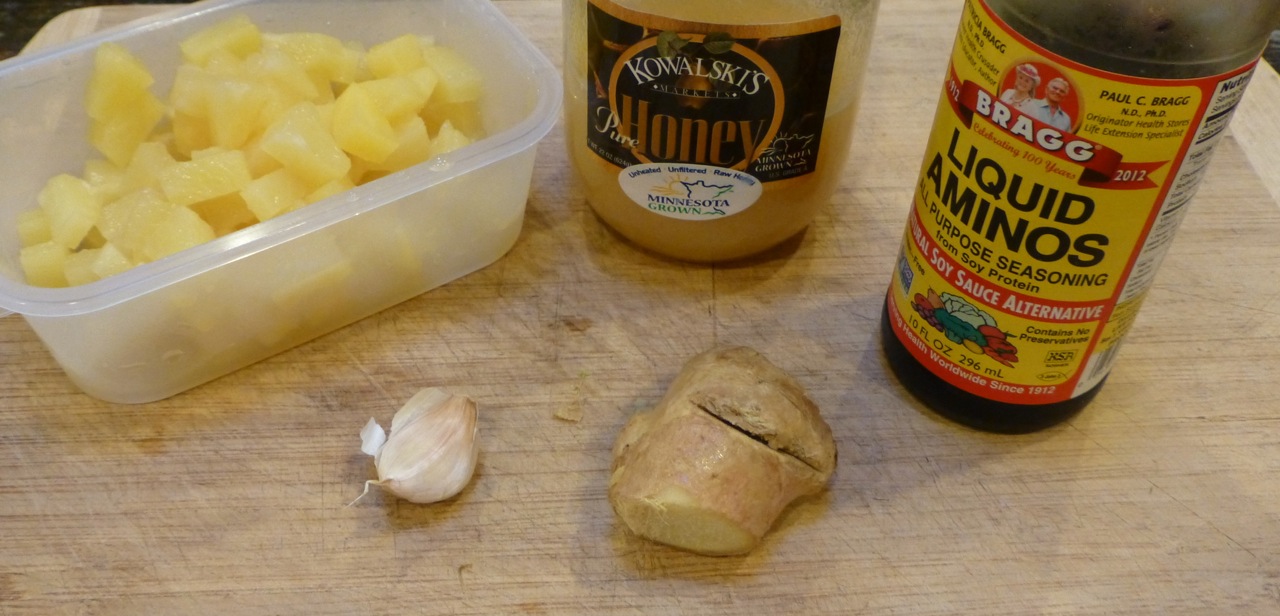
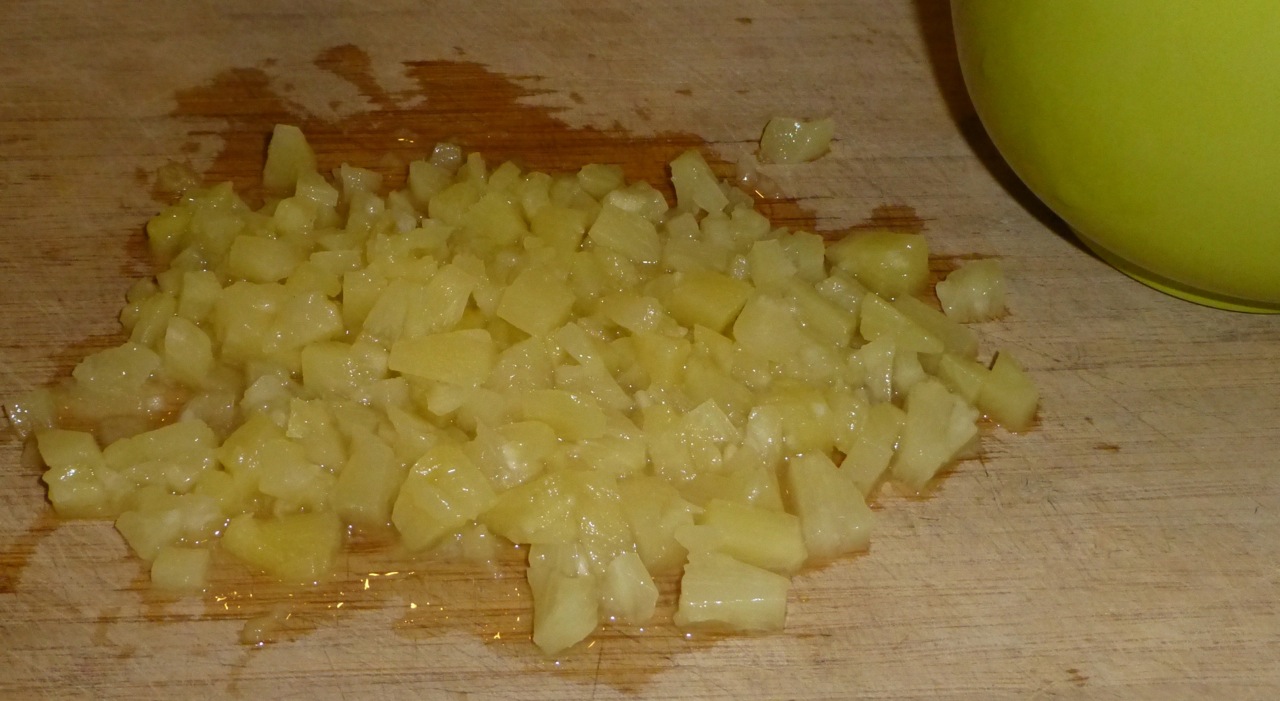
Here’s a really really simple recipe for Pineapple Chicken Teriyaki and it requires very few ingredients which is wonderful! I used Bragg’s Liquid Aminos instead of soy to be more paleo friendly.
Ingredients (Chicken not shown)
Since I had a can of pineapple chunks instead of crushed pineapple, I simply chopped mine up into smaller pieces.
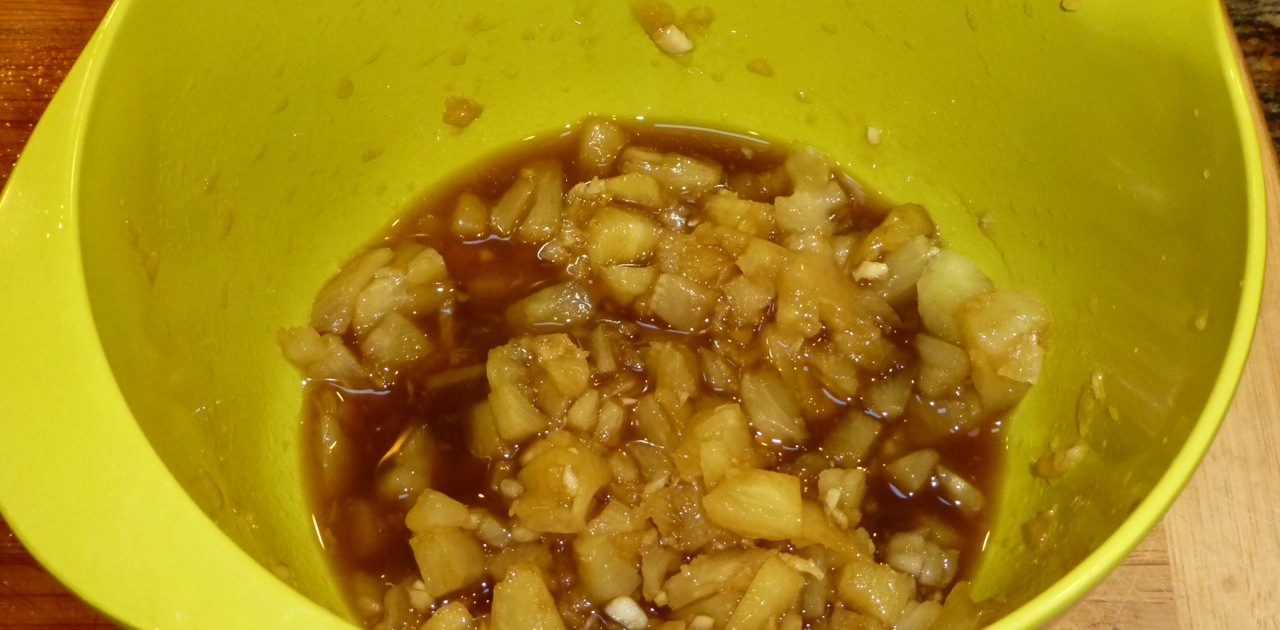
Now to combine everything together to make the teriyaki sauce …
Teriyaki Sauce
The chicken is marinated in the teriyaki sauce for 30 minutes to overnight in the refrigerator in a plastic bag. This will help the chicken to absorbe the flavors.
Marinate Chicken
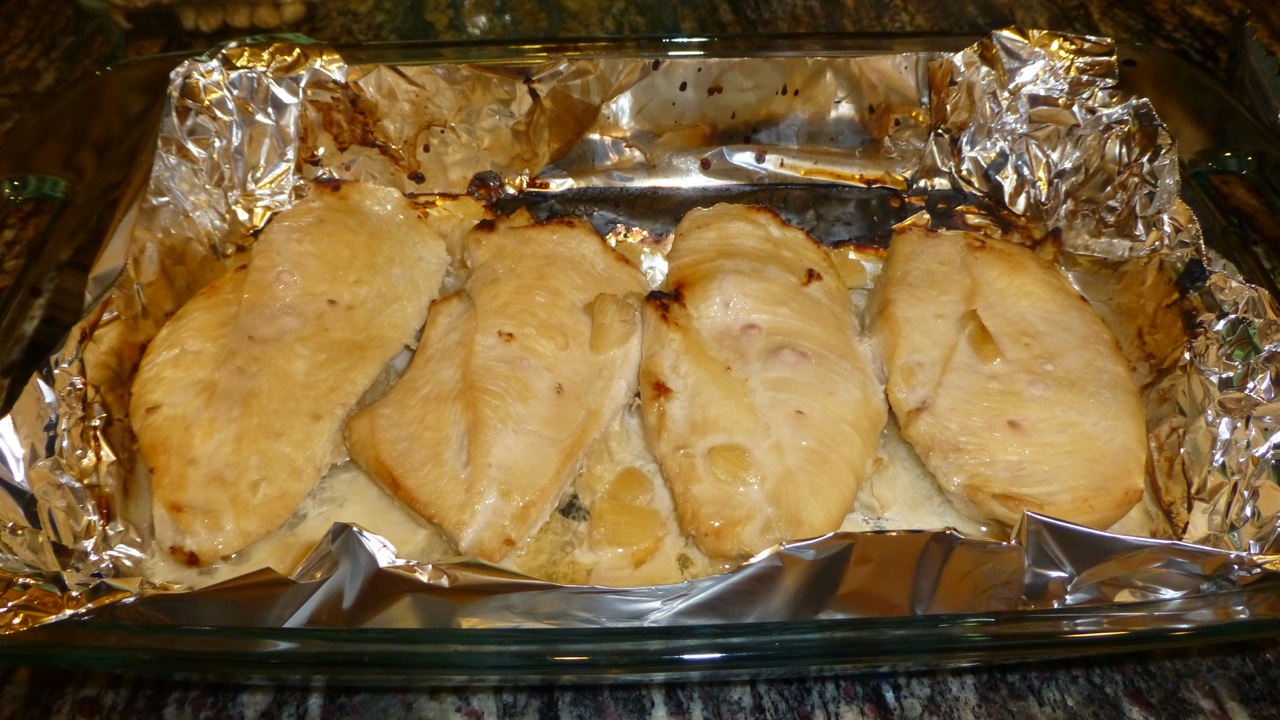
Next, you’ll be broiling the chicken …
Broil Marinated Chicken
Ready to try this paleo recipe?
Ingredients
1 – 8 ounce can crushed pineapple
3Â tablespoons Braggs liquid aminos or soy sauce
2Â tablespoon honey
1Â teaspoon grated fresh ginger
1Â small garlic clove, minced
4Â boneless, skinless chicken breasts
Directions
For the teriyaki sauce, place the crushed pineapple, soy sauce, honey, ginger and garlic in a bowl then whisk to combine.
Pour half of the teriyaki sauce in a resealable plastic bag and reserve the other half.
Add the chicken breasts to the resealable bag then seal it and give the chicken a good massage to coat with the sauce.
Refrigerate for 30 minutes or overnight.
When ready to cook, turn the broiler on and place the rack in the middle position.
Put the marinated chicken breasts on a foil-lined baking sheet and spoon some of the chunky pineapple/ginger from the marinade on top of the chicken to help keep the chicken moist.
Broil for 8 to 10 minutes on each side for a total of 16-20 minutes.
Discard any remaining marinade in the bag.
While the chicken is broiling, heat the reserved teriyaki sauce in a saucepan and bring it to a simmer for about 3 minutes or until slightly thickened.
When the chicken is cooked, slice the chicken, pour the teriyaki sauce over the top and serve immediately (or you can leave it whole).
Well, I’m not sure exactly what went wrong with this Sweet Plantain Drop Biscuit recipe. Everything was going smoothly and I was hoping that these biscuits would turn out because I absolutely love sweet plantains AND biscuits … but, the biscuits came out more like a cookie.
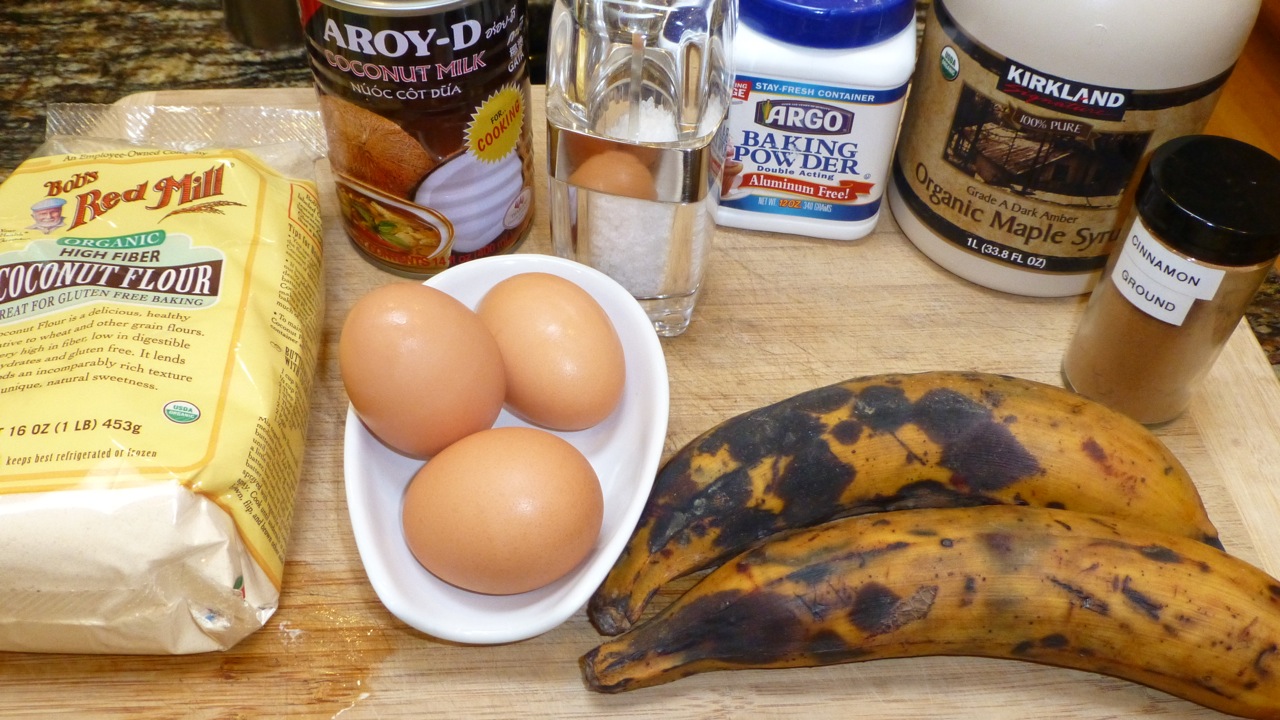
Check it out and let me know if you can tell what might have gone awry. The ingredients were simple enough — and yes, my eggs were at room temperature (that’s something I learned a long time ago in baking).
Ingredients
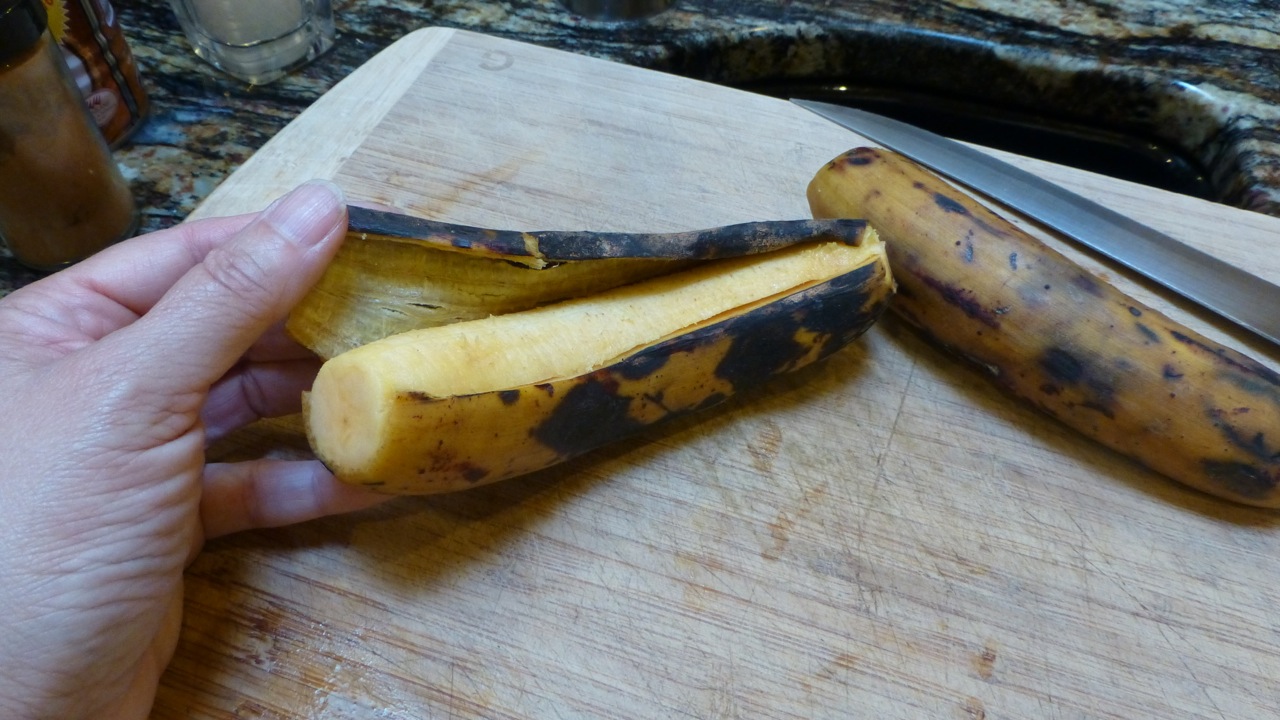
The plantains were quite ripe also — yes, just like the recipe says, they have to be very ripe even to the point of the skin being all black (as long as they aren’t moldy).
Plantain
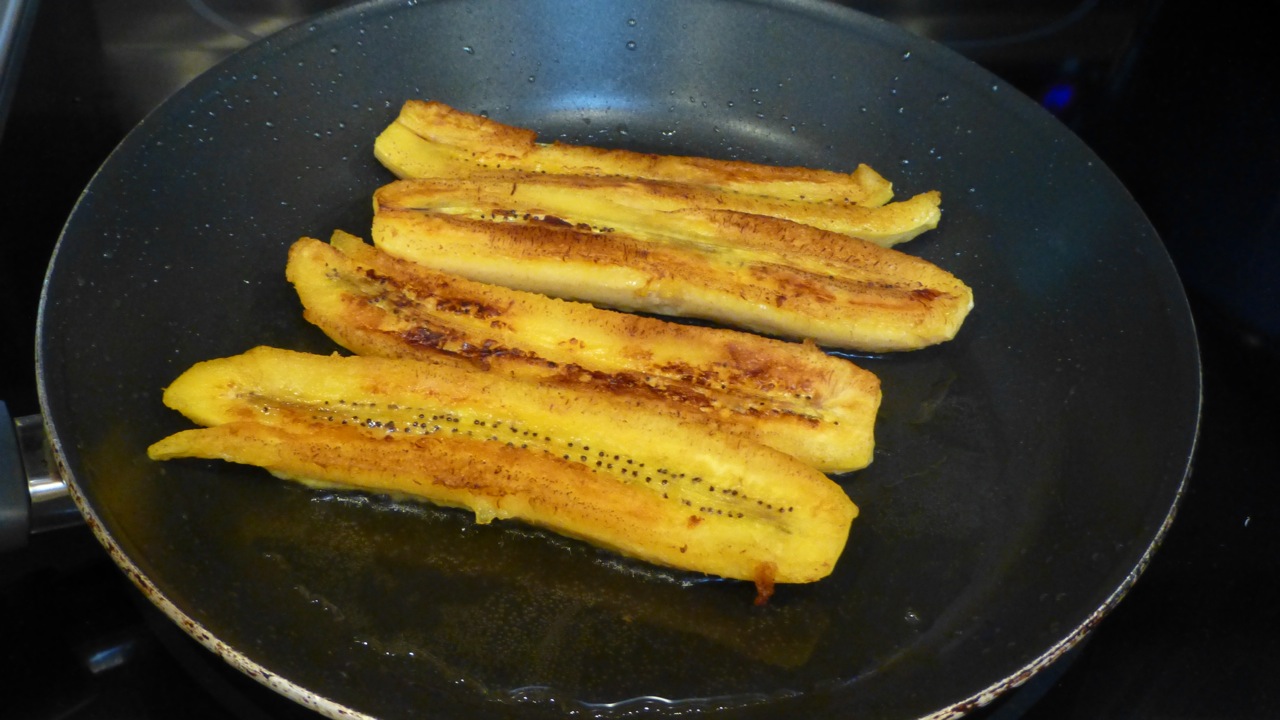
You’ll be frying these beautiful plantains on a skillet until they’re browned on both sides.
Fried Plantains
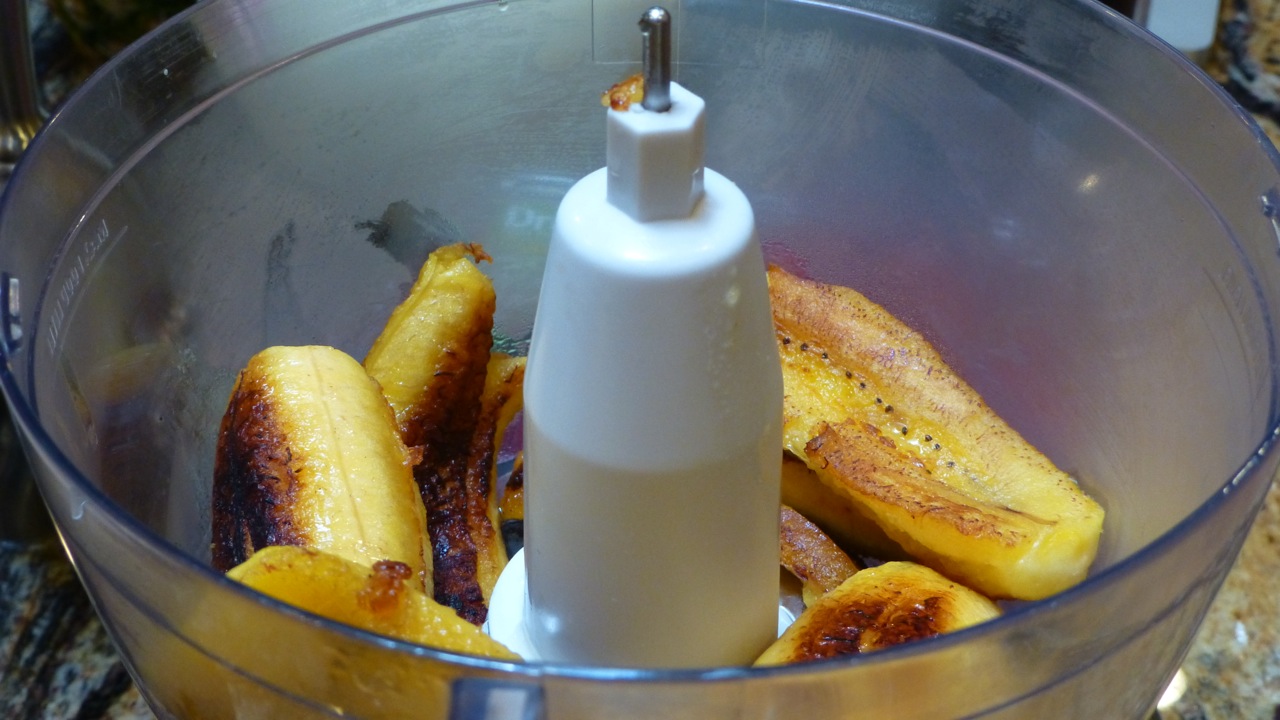
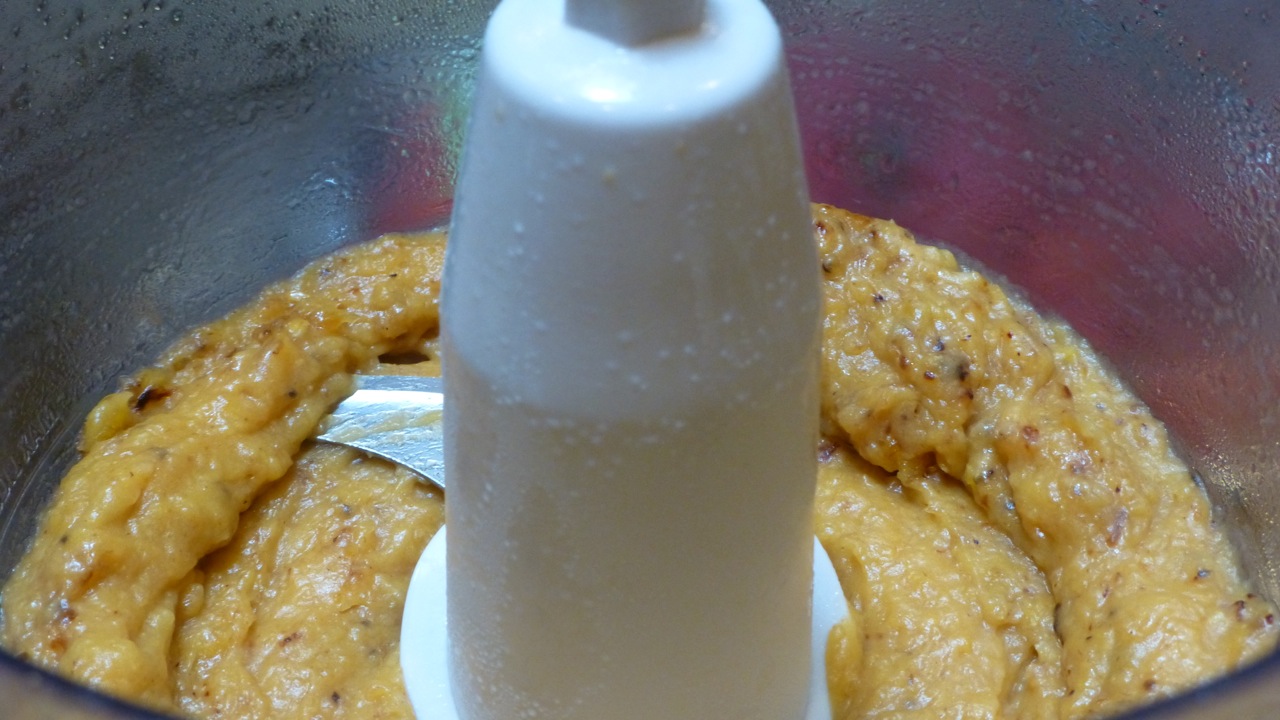
Then adding them to a food processor and pureeing them.
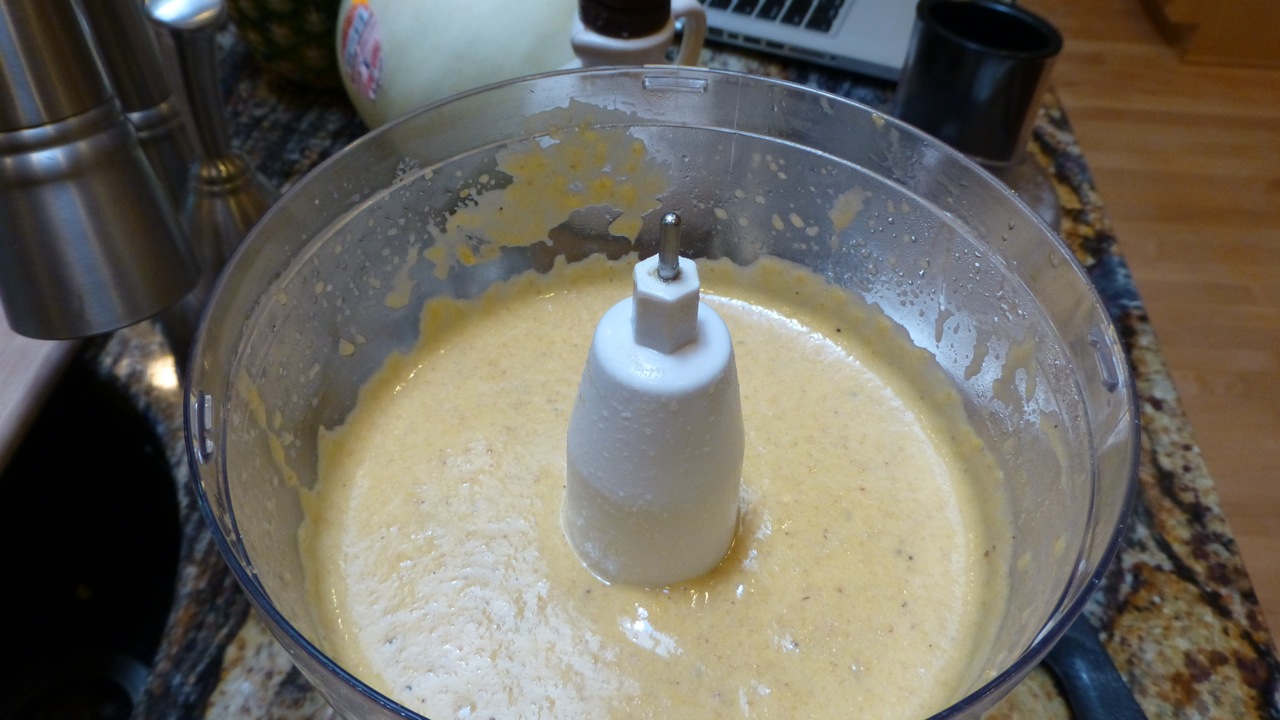
So far … so good. I could hardly wait. Next, you’ll be adding the maple syrup, coconut oil, eggs, and coconut milk and pureeing this until its all smooth and not clumpy. Looks smooth to me …
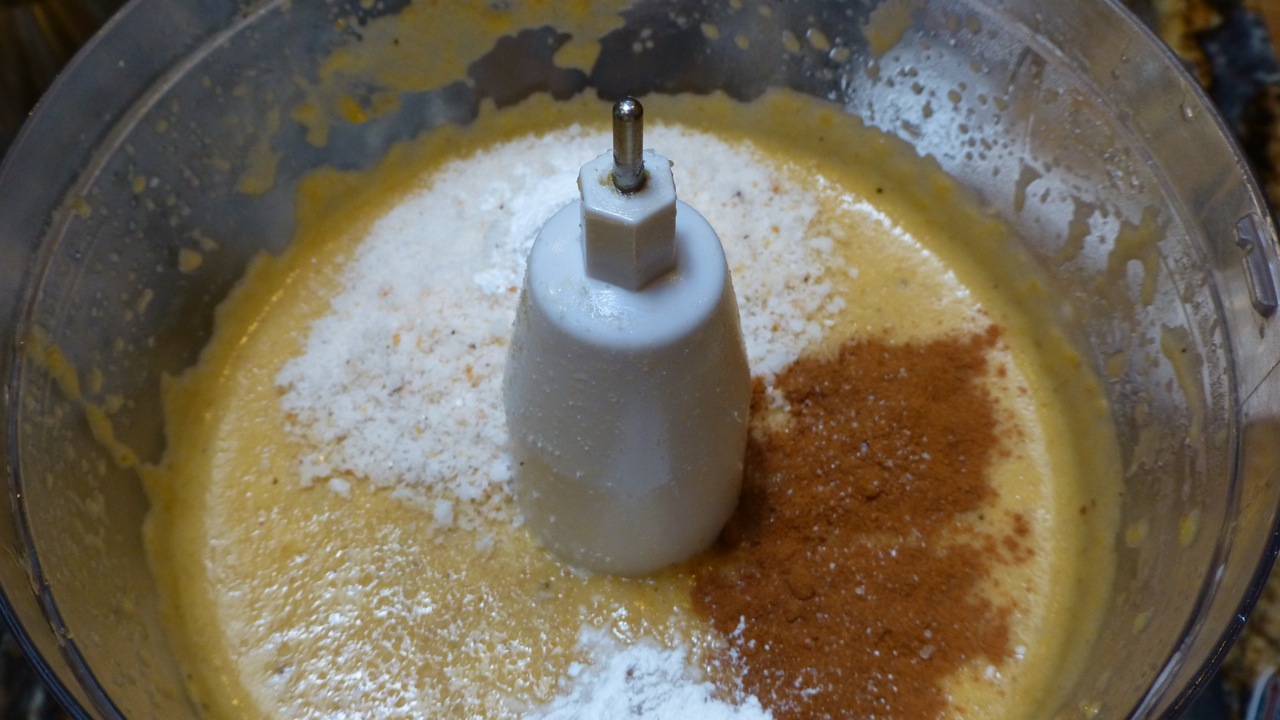
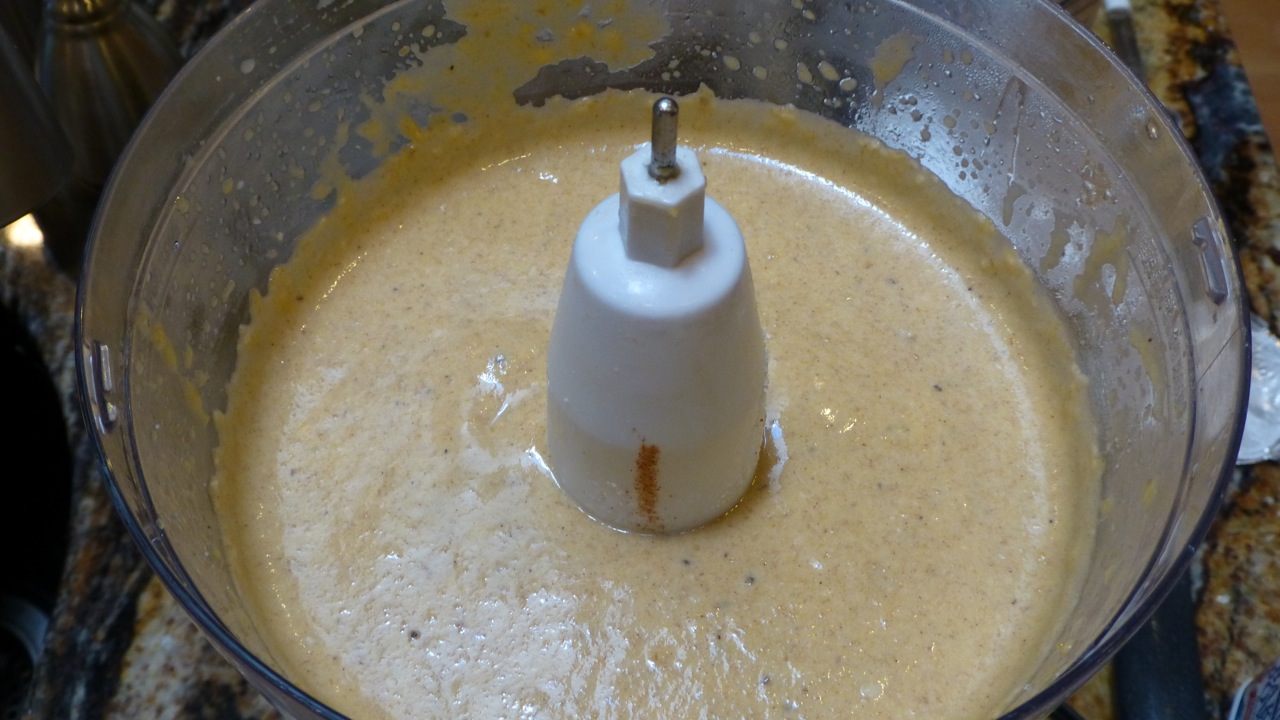
Next add the stuff that helps thicken it, i.e. coconut flour, cinnamon, baking powder, and salt then puree it one more time to blend it all.
Looking beautiful!
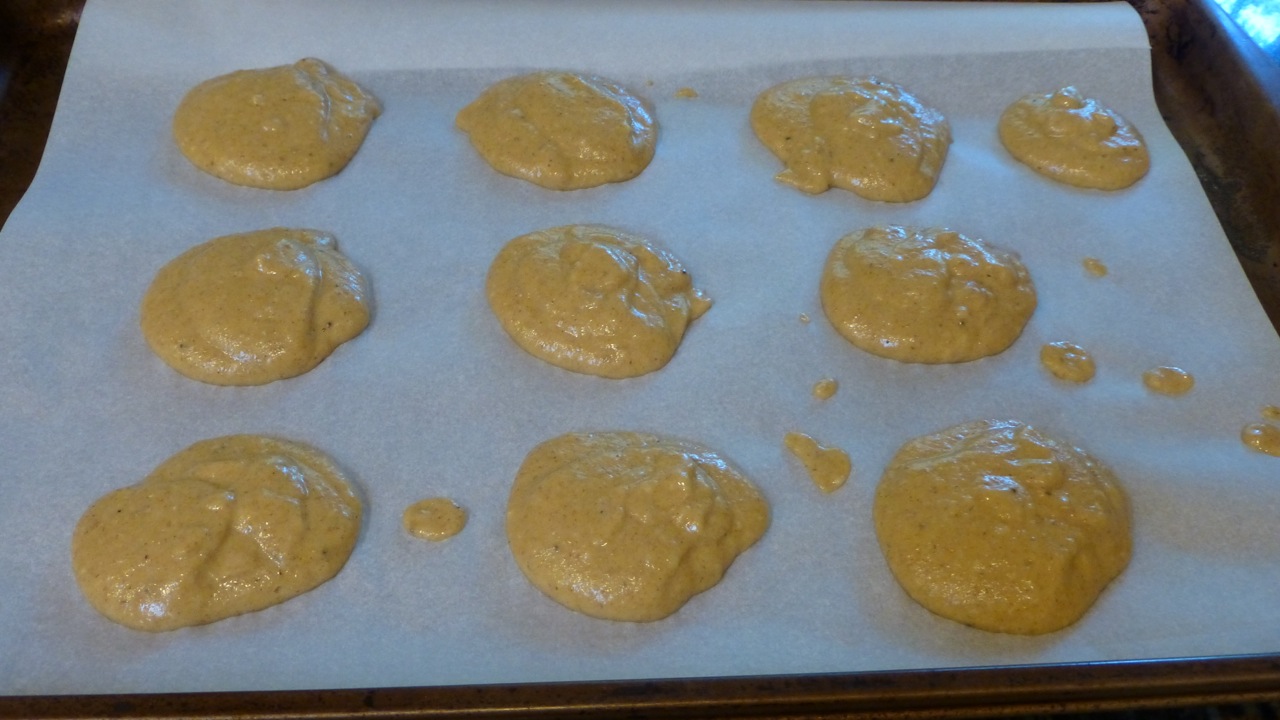
The recipe asks you to use an ice cream scoop to plop them on a baking sheet lined with parchment paper but my ice cream scooper is odd shaped so I had to use two plops. At this point, my hopes are still high.
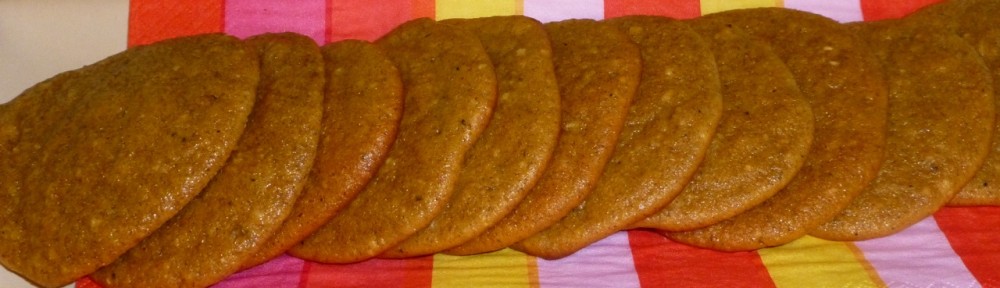
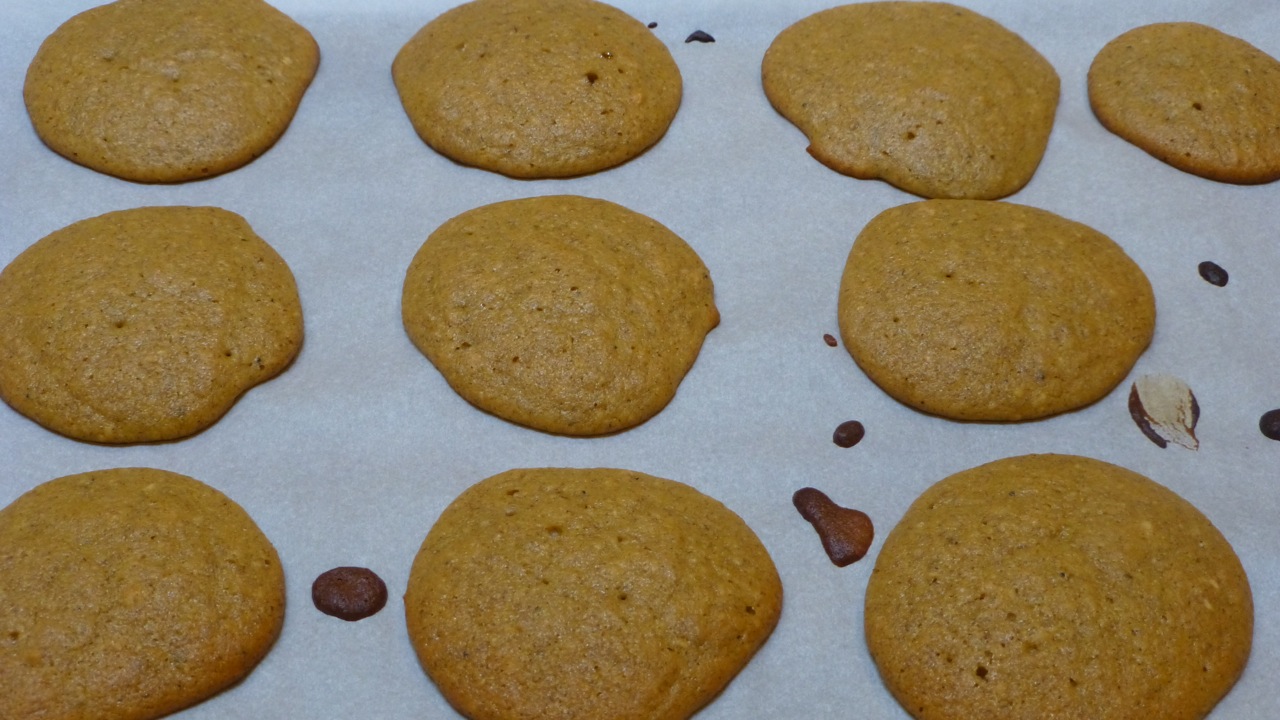
Alas! They flattened and never recovered. I checked the underside of the biscuit and had I left it to bake longer they would have burnt. And I watched them (I really did!) but they never puffed up. Â Sigh …
Sweet Plantain Biscuits
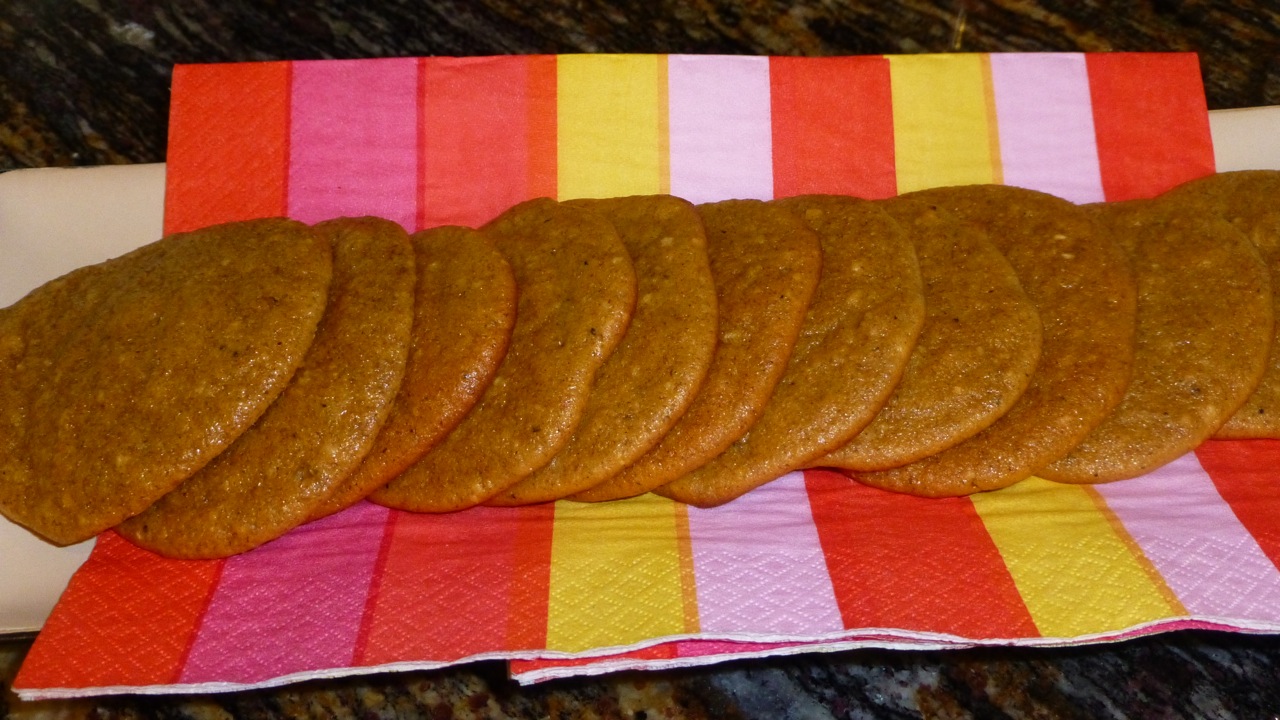
So — I’ve renamed them to Sweet Plantain Cookie until I can figure out what went wrong.
Sweet Plantain Cookie
Anyone have any thoughts? By the way, I did use the canned coconut milk which I found delightfully thicker than the boxed one I’ve been using from Trader Joe’s.
Here’s the recipe for you to try …
Ingredients
3Â tablespoons coconut oil
2Â brown plantains
3Â tablespoons Grade B maple syrup (I used grade A)
1/4Â cup coconut oil, melted
3Â eggs, at room temperature
1Â tablespoon canned coconut milk
3Â tablespoons coconut flour
1 to 2Â teaspoons cinnamon
1Â teaspoon baking powder
pinch of salt
Directions
Preheat your oven to 350 degrees.
Cut the ends off the plantains then use your knife to cut them in half lengthwise to peel the skin off. The browner the plantains are the sweeter they will be and the easier the skin is to take off.
In a skillet over medium-high heat, heat the coconut oil then add the halved plantains to the skillet.
Cook on both sides for about 3-4 minutes until browned.
After browning, remove them and add them to the food processor.
Puree until they begin to clump together.
Add the maple syrup, coconut oil, eggs, and coconut milk to the plantain mixture then puree until smooth and there are no clumps.
 Next, add the coconut flour, cinnamon, baking powder, and salt to the food processor then puree one more time to blend everything together.
Line a baking sheet with parchment paper and, using an ice cream scoop, scoop the batter out to form balls then plop them on the baking sheet keeping them about 1 inch away from each other.
Bake for 20-25 minutes until slightly brown and completely cooked through.
Allow them to cool before eating.
That’s it! Let me know if you try them and if you make any changes.
A special thanks to PaleoOMG who has an amazing website if you’re looking for more paleo recipes.