A little over a month ago, I was quite disturbed over what I saw on our front porch — inch long black “pellets.” I call them pellets because I really didn’t know what they were.
Every day, a few more pellets would appear. So, I did what any warm blooded American girl would do — I “googled” mice pellets. I assumed they were mice because we have had so much rain in Minnesota and the mice food traps that the pest control company had placed around the perimeter of the house were getting empty pretty quickly. Yes, I’m pretty sure I was right — mice droppings.
I called our pest control company up and said “I think the mouse feeders are empty and the mice that are still alive are letting us know there’s no food by defecating on our porch.” Uh, really? Yes, that’s what I said. One can say just about anything to a pest control company no matter how ridiculous or illogical it is because they’ve heard just about everything under the sun. But, it was a tad bit illogical. Wouldn’t you say? No, don’t answer that.
The pest control company came out, looked at the mice feeders and said “Yes, they are empty and insects are living in them.” He cleaned them up, gave us a couple new ones then got ready to leave.
“Hey! What about these pellets over here?” He looked them over and said “I believe that’s from a bat.” Wait. What? “If you’ll notice,” he continued, “the pellets go up the corner and up under the eaves.” Oh, I hadn’t noticed that.
Then he said goodbye and left. I didn’t think about it at the time, but aren’t they a PEST CONTROL company and aren’t bats pests? My husband pointed that out to me when he got home. (Thank God for logical thinking husbands!)
Anyway, I googled up some information on bats and found that cleaning their pellet (guano) droppings can be hazardous because the droppings can carry viruses if the bats are sick. Did you know that? So, I found a dust mask, elbow length rubber gloves, a small broom and a dustpan and went to work cleaning up the mess. Am I the only one who thinks that, in spite of all the precautions, I am going to “get” the disease from cleaning up these types of things?
Once it was cleaned up, I filled a bucket with bleach and threw everything in there except the mask which I threw out. I then put my clothes in the washer as airborne dust from the guano can attach itself to the clothes. Then I took a shower.
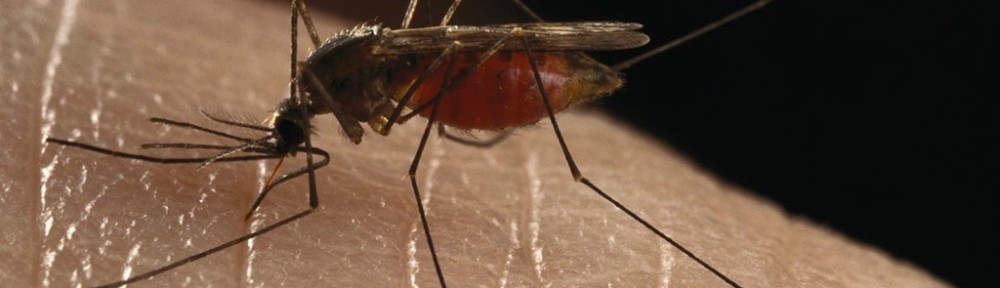
The next day, as expected, and in the same location, more guano were left by our friendly bat. I say friendly because how can I be upset with a bat who eats the mosquitoes on our property? One must think positive about these things (or they will go positively bonkers!).
Alas! I was heading to Seattle soon so had no more time to worry about such things. The bat would be there when I returned — I was sure of it.
When I returned a week later, I noticed that my husband had decided to follow my advice (yes ladies, every now and again husbands will follow our advice). He bought some mesh and duct tape and taped the area where the bat was going in. Why did he do this you ask? Well, I had read that when you put up this mesh, the bat will be able to get out but will not be able to get back in. Clever, eh? The only problem is whether there were any baby bats still inside. How would one know?
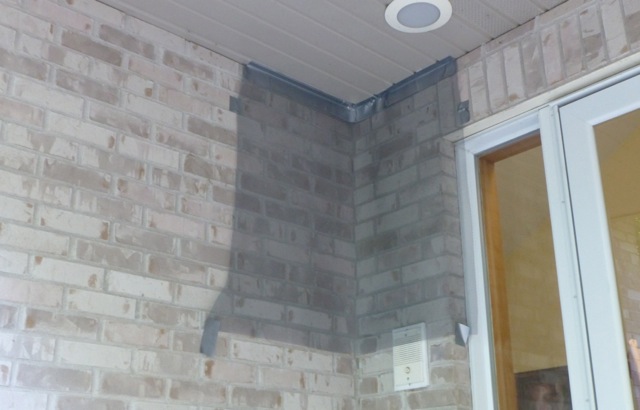
Ignorance is bliss in this case (at least I think so). Since the mesh has been up, no more guano droppings have been seen. The pest control company was right — it was a bat.
Within a week of arriving home, I had a birthday. (No, I’m not digressing here — truly it’s part of the plot. Â Grin.) I noticed some receipts on the counter and one of them said “bat house.” Hmmm … I wonder what my husband was up to.
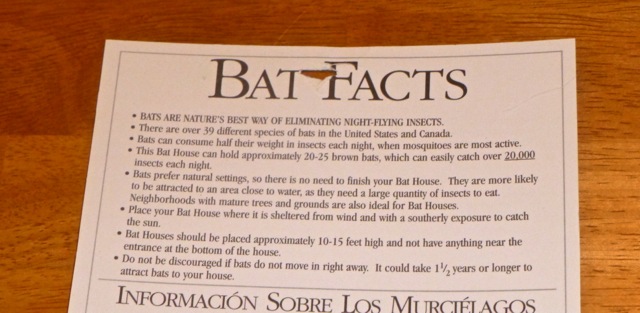
When my birthday finally arrived, the day went on as usual. I expected a card with my gift on the kitchen table first thing in the morning but … nothing. There was a piece of paper called “Bat Facts” on the table. What could it mean?
My anticipation built throughout the day wondering what my birthday gift would be and when my husband finally arrived home from work, he brought the mail in and sat down. Then he nonchalantly asked me if I had seen the bat house. Uh, no. He took me to the kitchen window and showed me where he had installed it while I was in Seattle. (The bat house must be placed away from the house …)

Here it is close up …
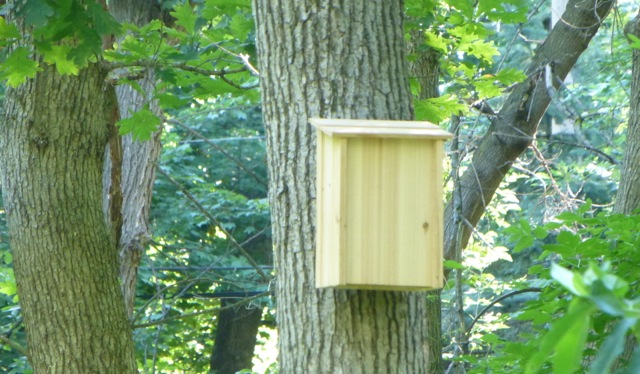
Awww … that was so sweet. Since we live on a wooded lot, we get plenty of mosquitoes and I was hoping to get a bat house to attract bats so they would eat up all the mosquitoes. I just wasn’t expecting a bat house for my birthday (I was thinking more of a wood chipper — hahahaha). But, my husband had read that when you displace a bat from its “home” you should build a place for them to go.
I’m hoping we get a bachelor bat and not a large colony of them. I mean, really, on one acre, how many bats does one need?
Here’s an interesting statistic:
“90 percent of occupied bat houses were used within two years (with 50 percent occupancy in the first year). The rest needed three to five years for bats to move in.”
So … now we wait. How exciting, eh?
Related Articles:
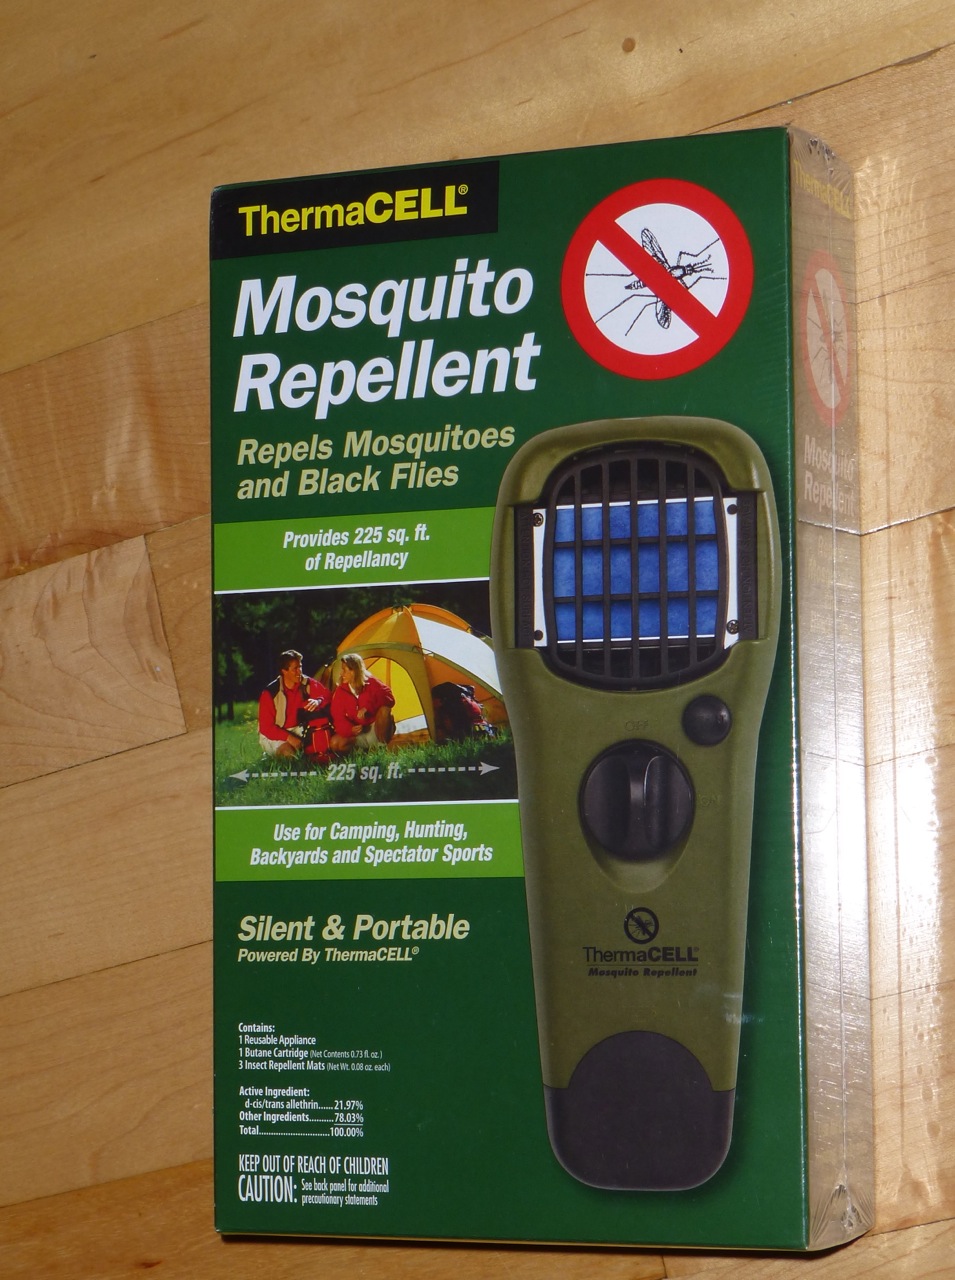
How To Mask Your Mosquito Smell
Note: The header picture is a free wallpaper photo by National Geographic of Mexican Free-Tailed Bats.