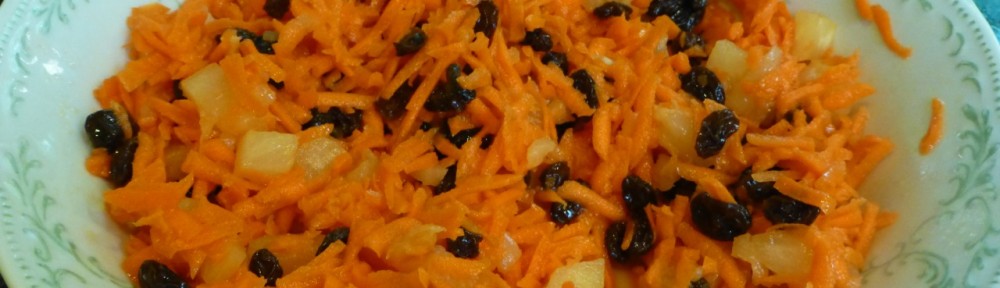
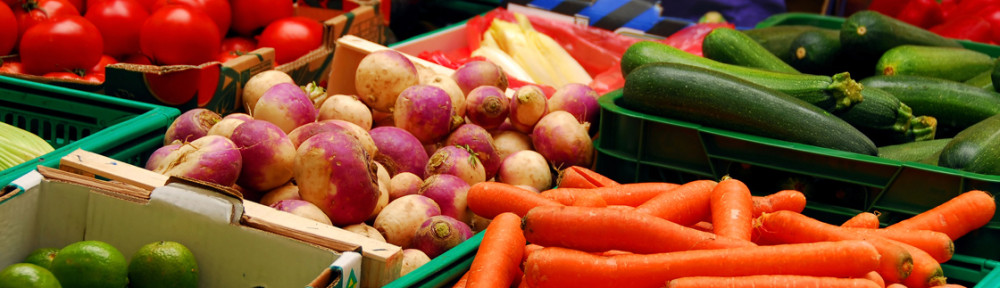
This Sweet Carrot Paleo Salad is great as a side dish and/or can be used during Thanksgiving or another holiday because it has a nice sweetness to it.
Just a few ingredients are needed and the directions are simply easy.
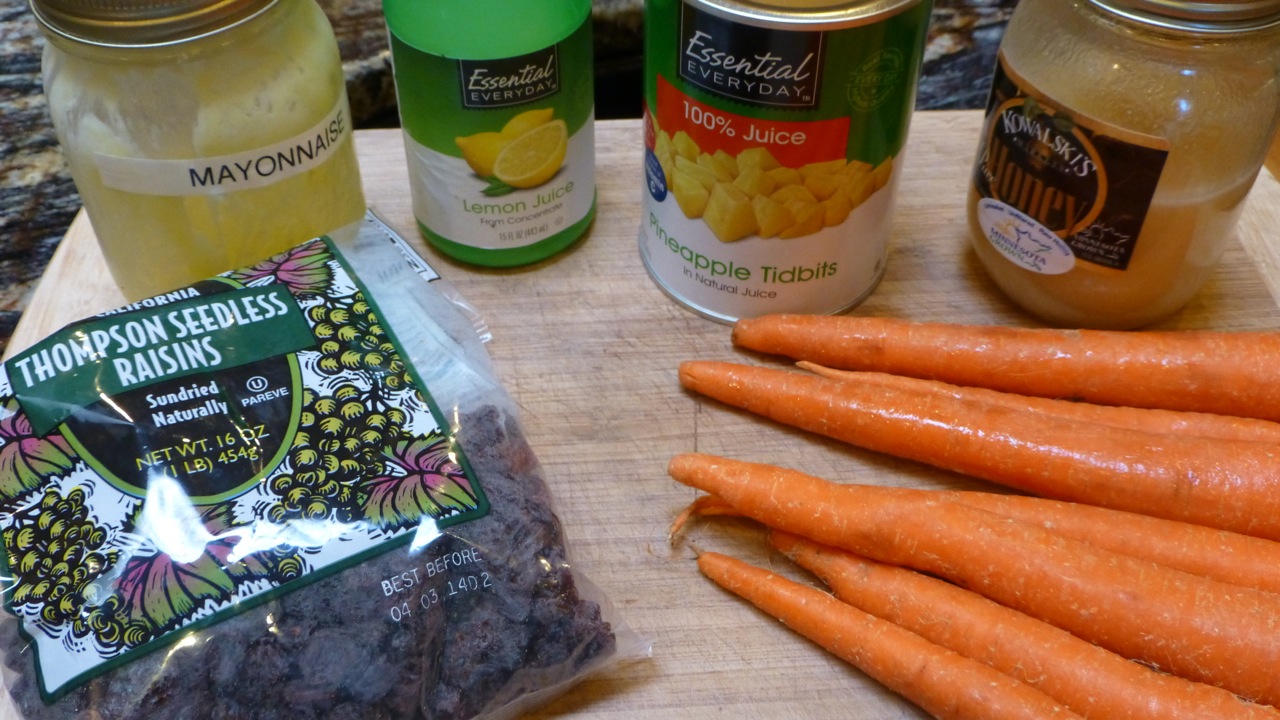
Ingredients
Ingredients
1 pound carrots, grated
Directions
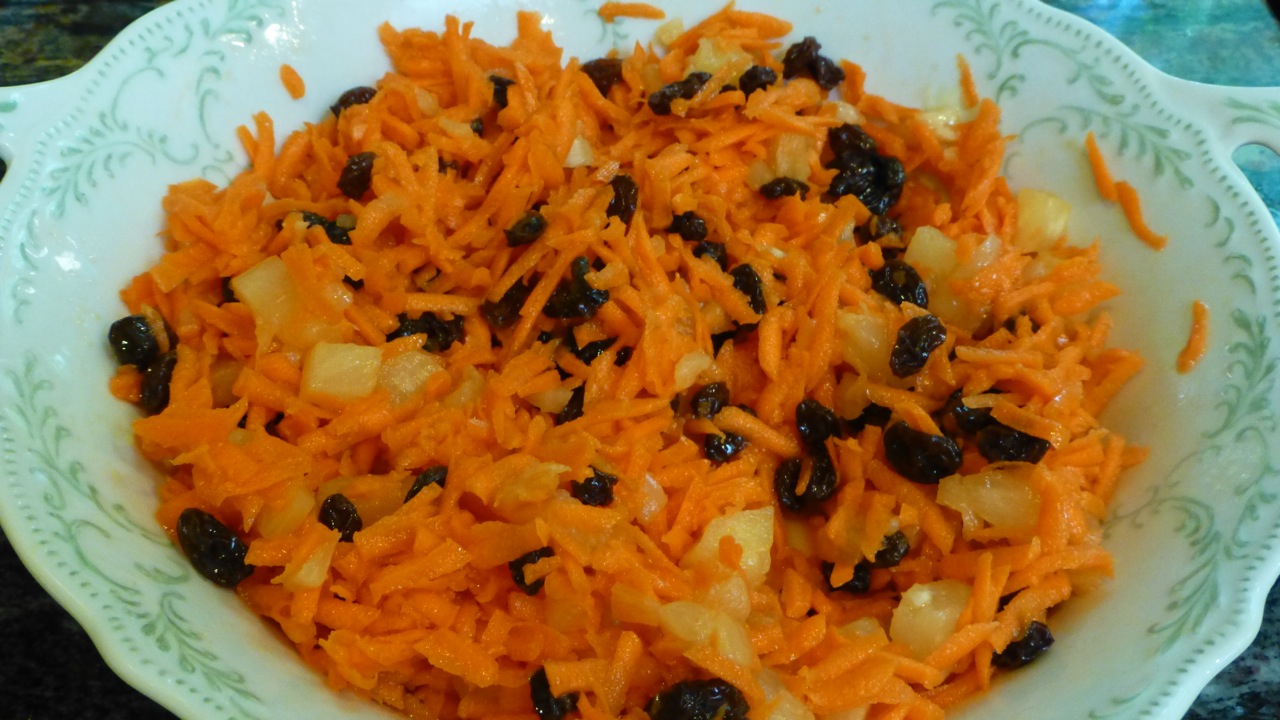
In a large bowl, mix together the carrots, pineapple and raisins.
Stir in the honey, mayonnaise and lemon juice until everything is evenly coated.
Refrigerate for at least 30 minutes before serving to let the flavors blend together.
That’s it! Â Very easy to make and most people have the ingredients in their cupboards.
Paleo Sweet Carrot Salad
Oh — one quick comment. This recipe doesn’t do very well after the second day in the refrigerator. It’s “okay” but doesn’t taste as great so I’d recommend you eat it fresh.
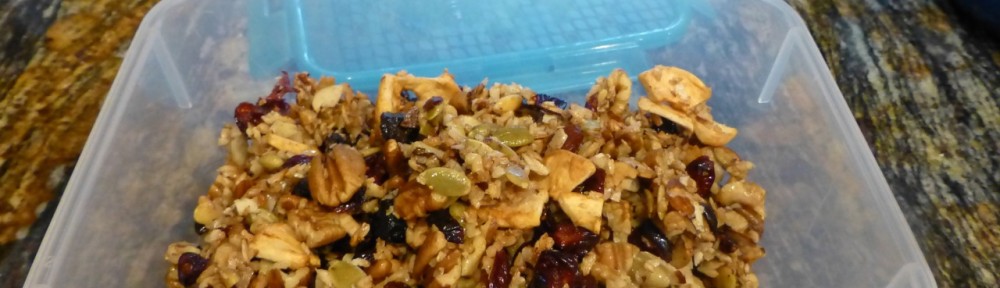
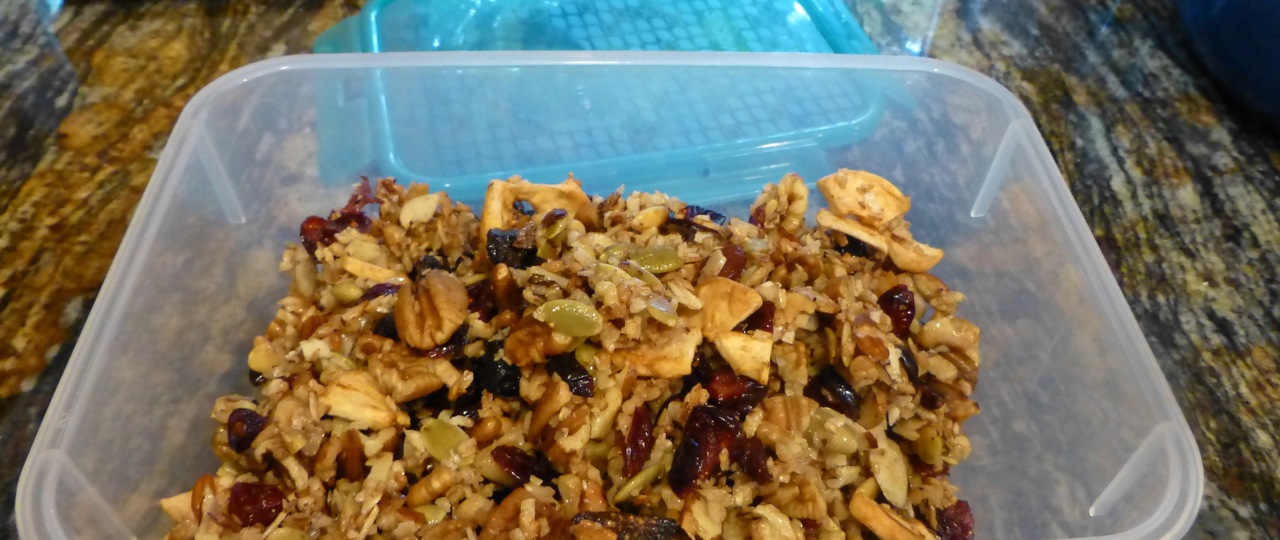
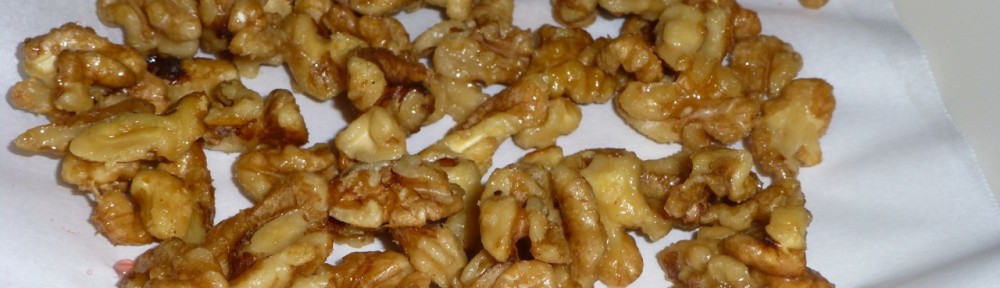
This recipe was revamped just a tad, i.e. I didn’t add the blueberries or vanilla bean. For the blueberries, I substituted dried figs. It came out tasting just great! Feel free to substitute your own nuts and/or dried fruit. Using the “base” is what makes this recipe tastes delicious. I’ve eaten it for breakfast and also for snacking.
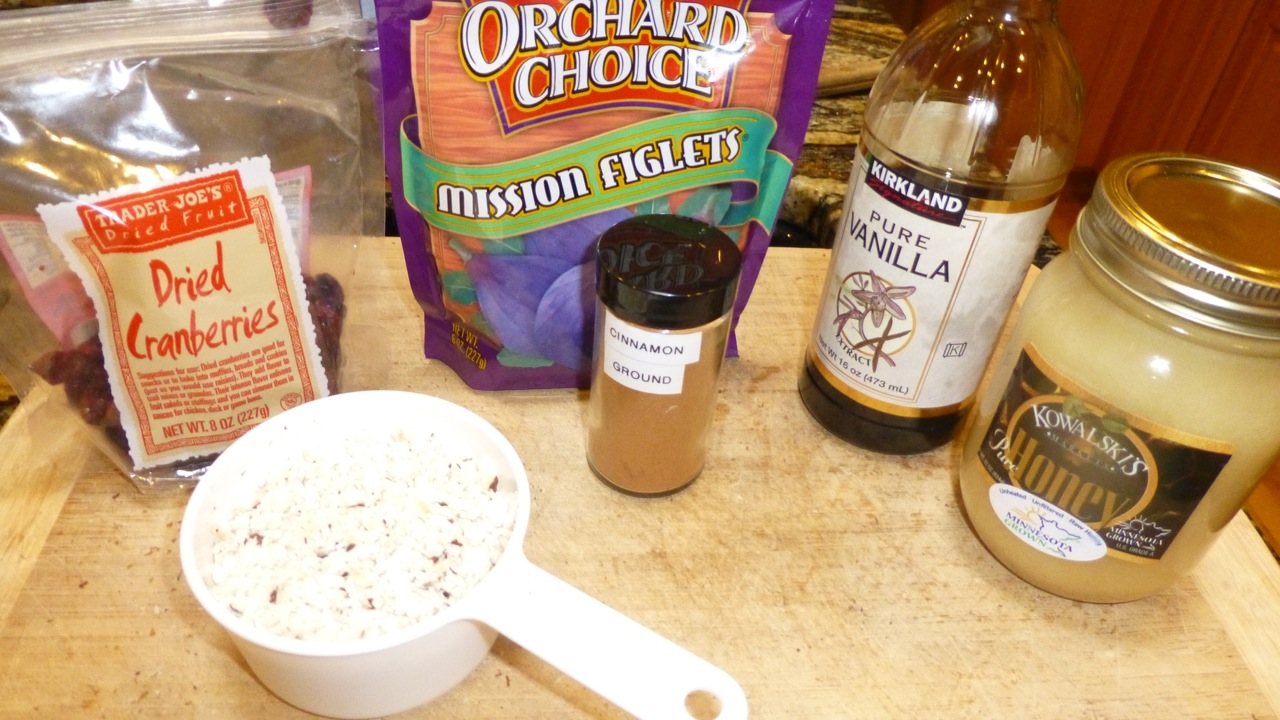
IngredientsMore Ingredients (Pumpkin Pie Spice not shown but was used)
Ingredients
3 tablespoons coconut oil
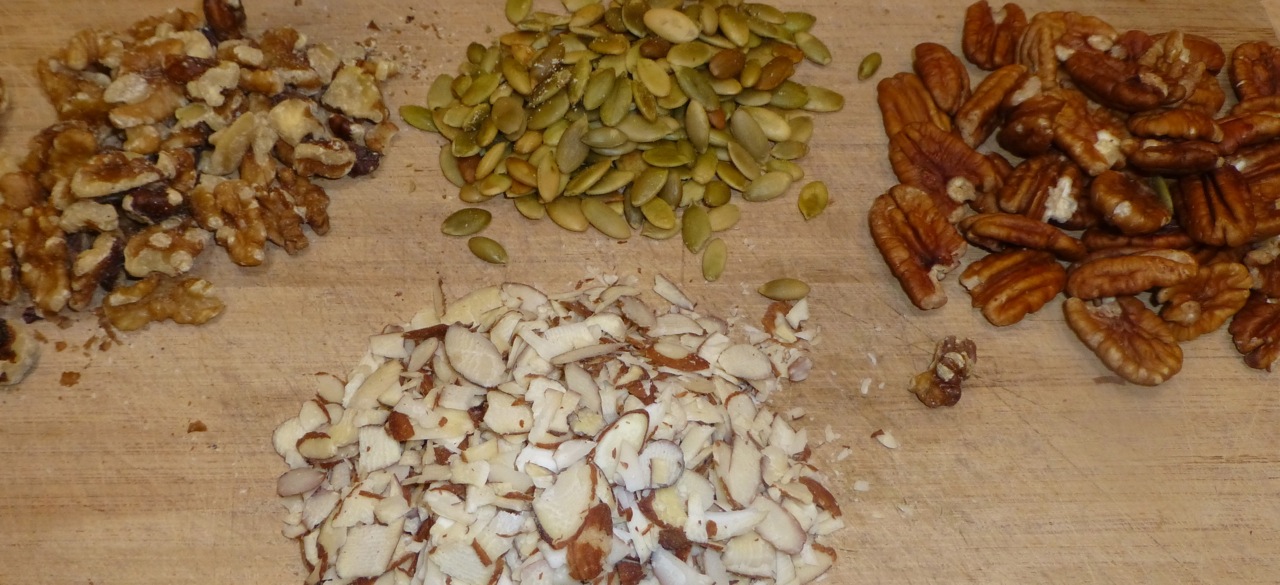
2 cups sliced almonds
1/2 cup raw pecans, chopped
1/4 cup raw walnuts
1/4 cup raw pepitas (pumpkin seeds)
3/4 cup natural coconut, shredded
1/4 cup natural coconut, finely shredded (optional)
1/4 cup raw honey
pinch sea salt
1 cup dried cranberries
1 cup dried blueberries (I substituted dried figs)
1 vanilla bean, seeded (I substituted one teaspoon of vanilla for this)
1 1/2 teaspoon cinnamon
1 1/2 teaspoon pumpkin pie spice
Directions
Melt the coconut oil in a large skillet over medium heat.
Add the almonds, pecans, walnuts, pepitas, and coconut to the skillet.
Drizzle this with the raw honey.
Cook over medium heat until the honey and oil cling to the nuts and begins to “boil”.
Add the remaining spices and fruit(s) to the skillet.
Stir to coat everything together.
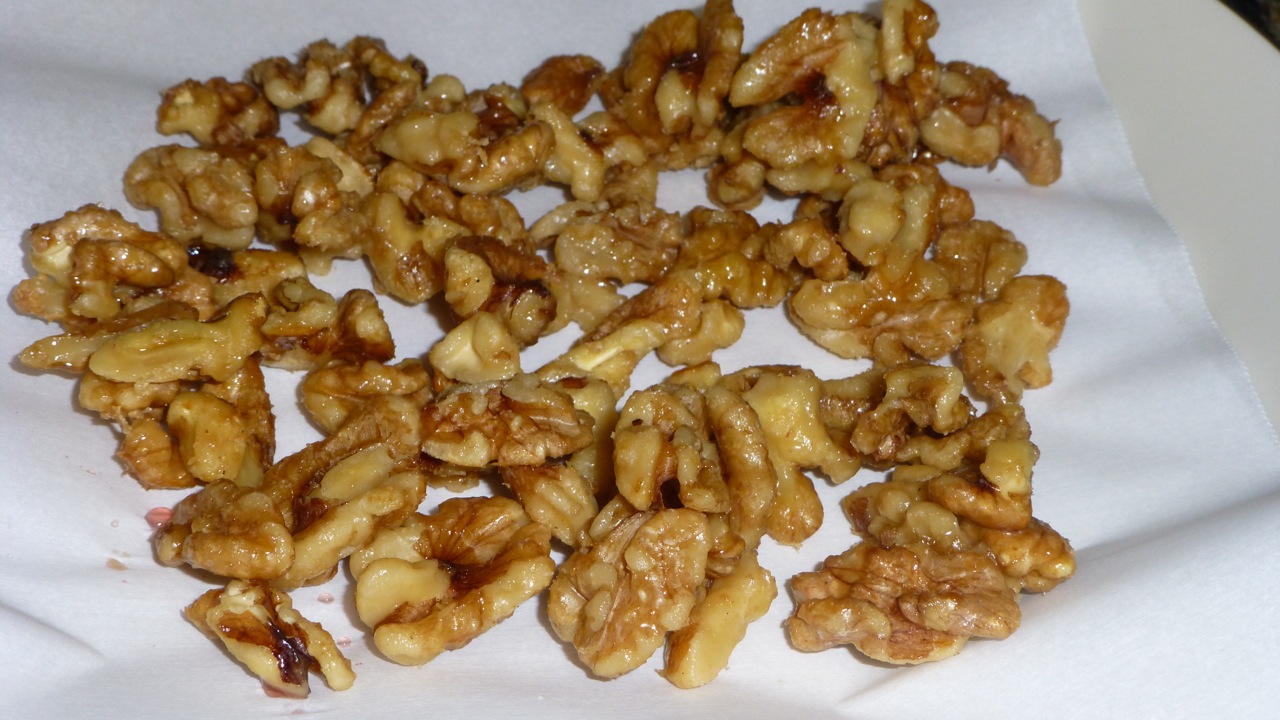
Pour everything onto a large piece of parchment paper and allow the granola to  air dry and cool for up to an hour.
Living in Minnesota, well, what can I say? The state insect must be the mosquito. It just must be. I spend the rest of the year trying to figure out how to avoid this pesky annoying insect.
This year though I had plans. Great plans. Wonderful plans. I was going to beat the mosquitoes this year.
Even with all the rain, the mosquito season started out very slowly but it has since picked up. Just yesterday I heard that the West Nile virus had been detected in mosquitoes in a county near ours. No human has contracted it yet — just the tested mosquitoes.
For awhile I thought I was going nuts as my husband would work outside and come in unbitten whereas I would come in all bitten up. Hmmm … a friend of mine told me they must like Spanish blood. Yeah, okay.
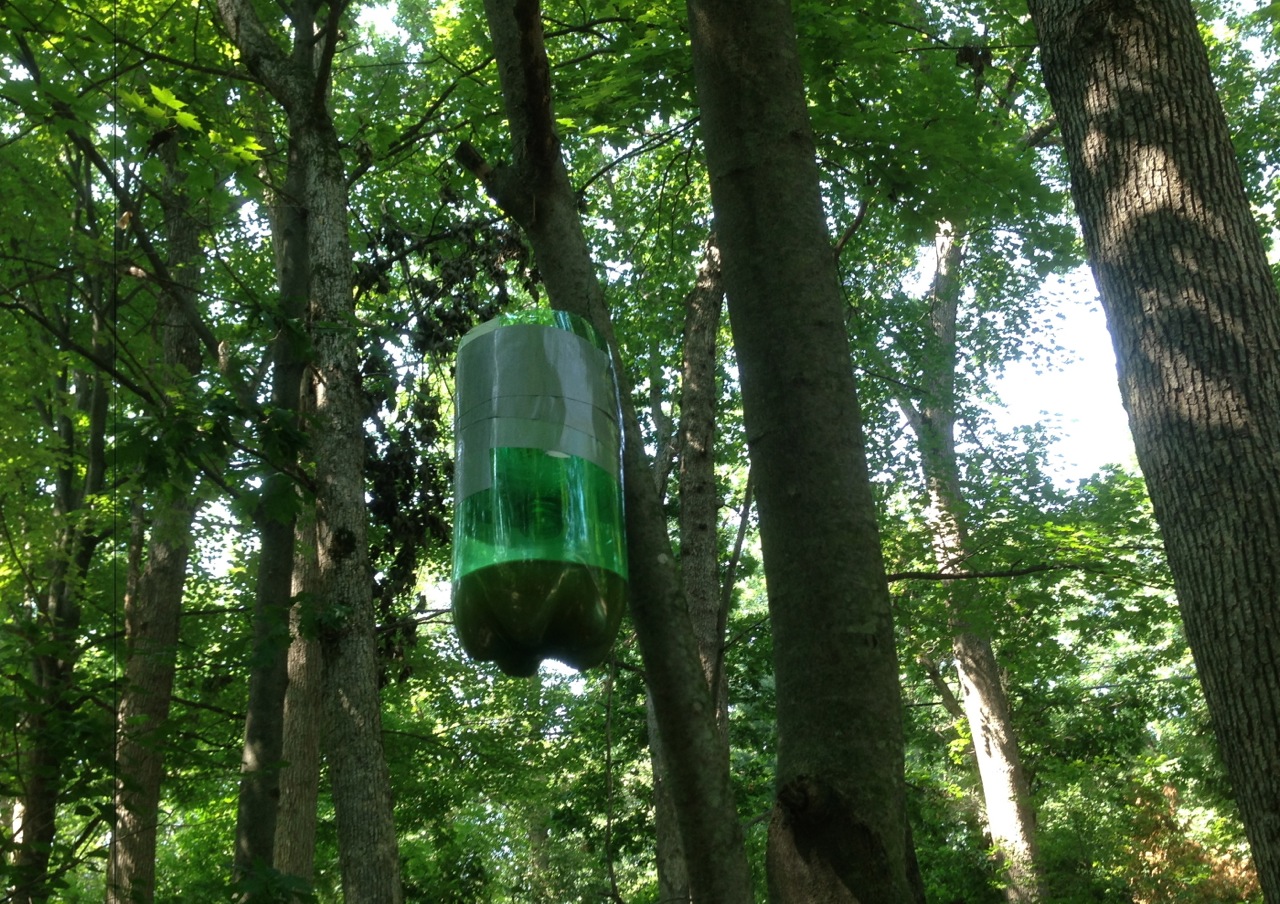
With high hopes, I set out with my plans in hand. I was going to make a mosquito trap this year. Yes — this trap would produce carbon dioxide so the mosquitoes would be attracted to it instead of to me. What a great plan, right?
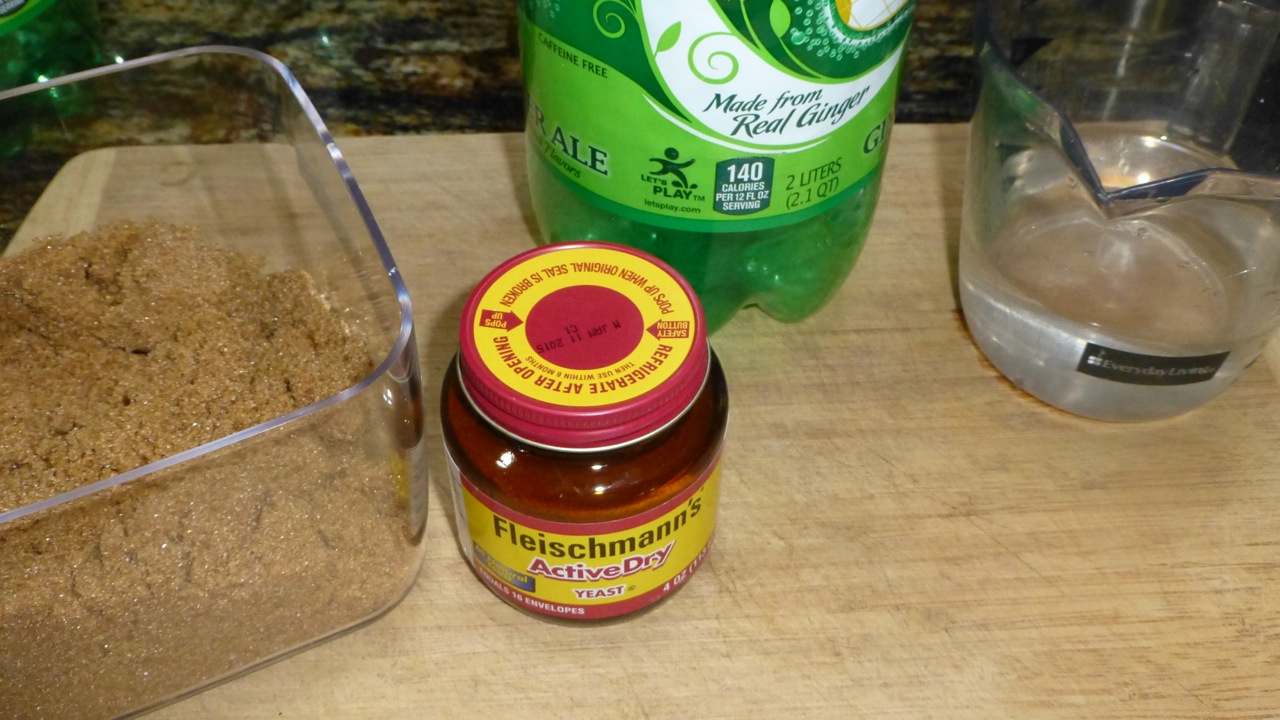
It took just a few items to get going …
1 cup of water
1/4 cup of brown sugar
1 gram of yeastÂ
2-liter plastic bottle
Duct tape
Wire
Hole Puncher
Mosquito Trap Items Needed
(Not shown above is the duct tape, wire (for hanging) and a hole puncher.) Simple enough, eh?
First, I boiled 1 cup of water, added 1/4 cup of brown sugar to it, stirred it up and set this aside to cool.
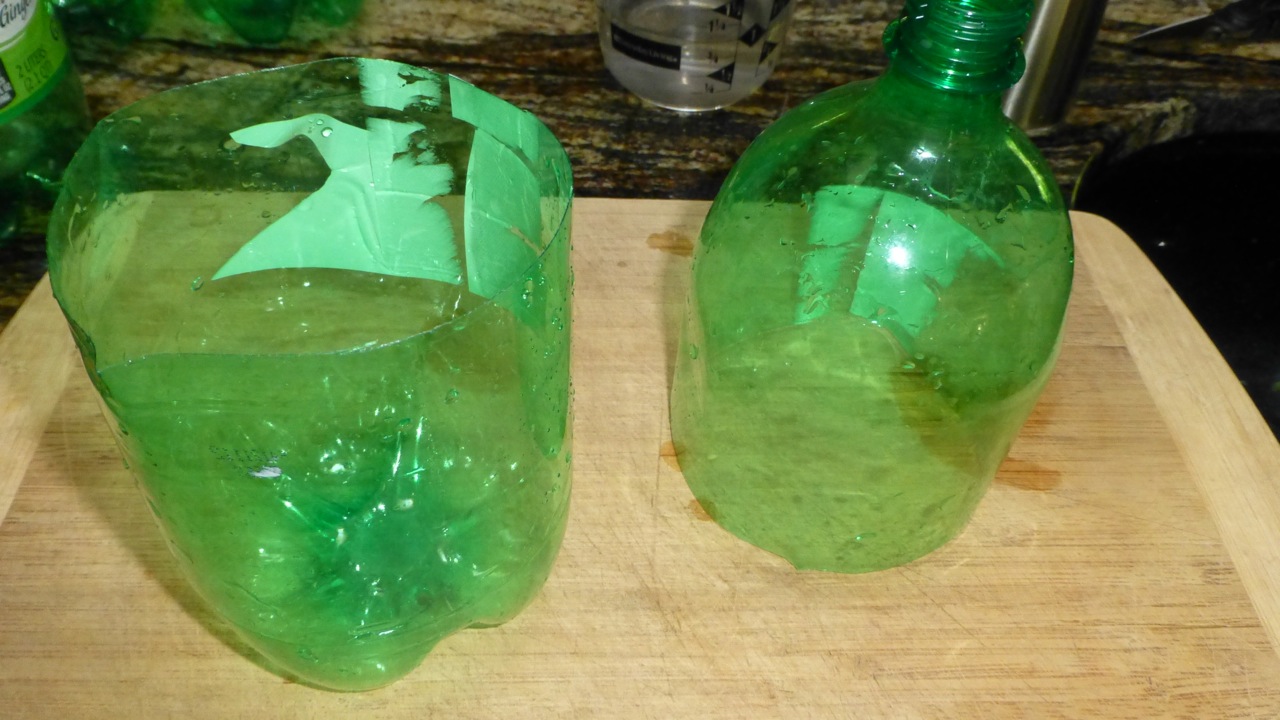
Second, I rinsed the 2 liter plastic bottle then I cut 1/3 off of the top. The 1/3 is important so that when it’s inverted the top doesn’t touch the liquid on the bottom.
Cut 2 Liter Plastic Bottle
I then used the paper puncher to cut two holes on each side of the top portion of the bottle then used wire to make a hangar for it.
Punch Hole, Make Hanger
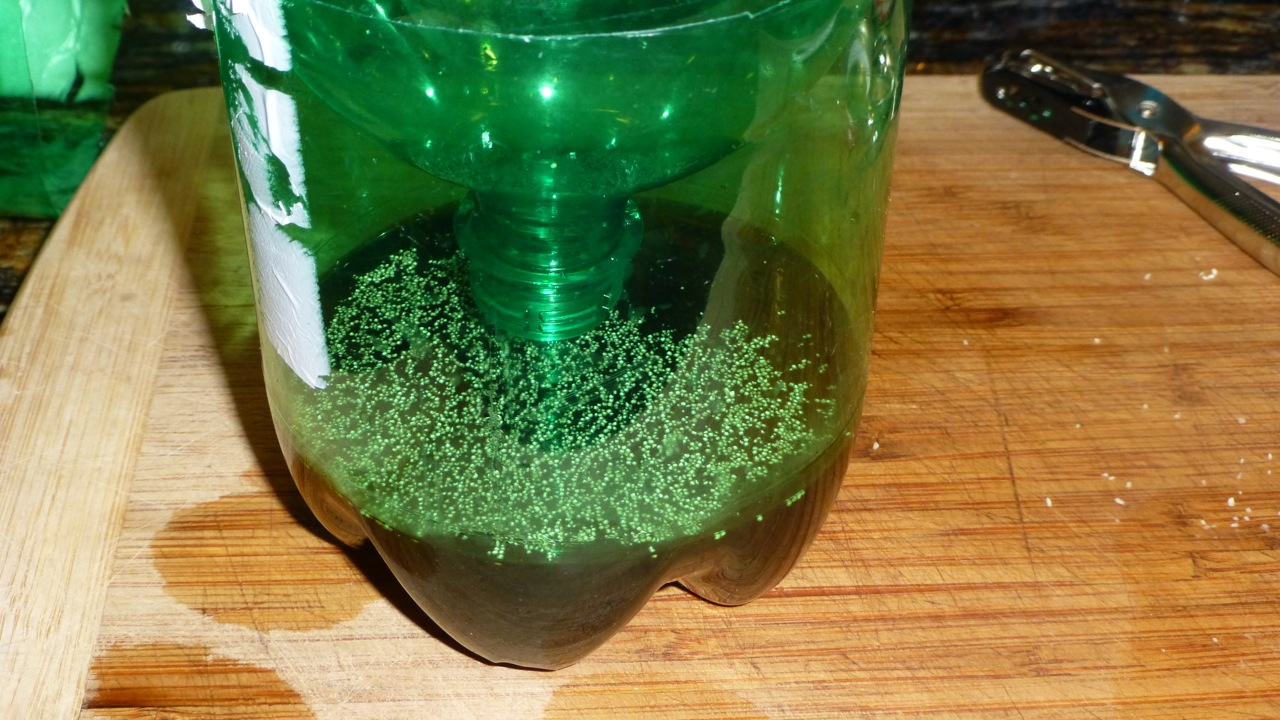
After the boiling water had cooled, I added 1 gram of yeast (almost 1/4 teaspoon) to the cooled water.
I then poured the water mixture into the bottom portion of the plastic bottle.
Yeast Mixture
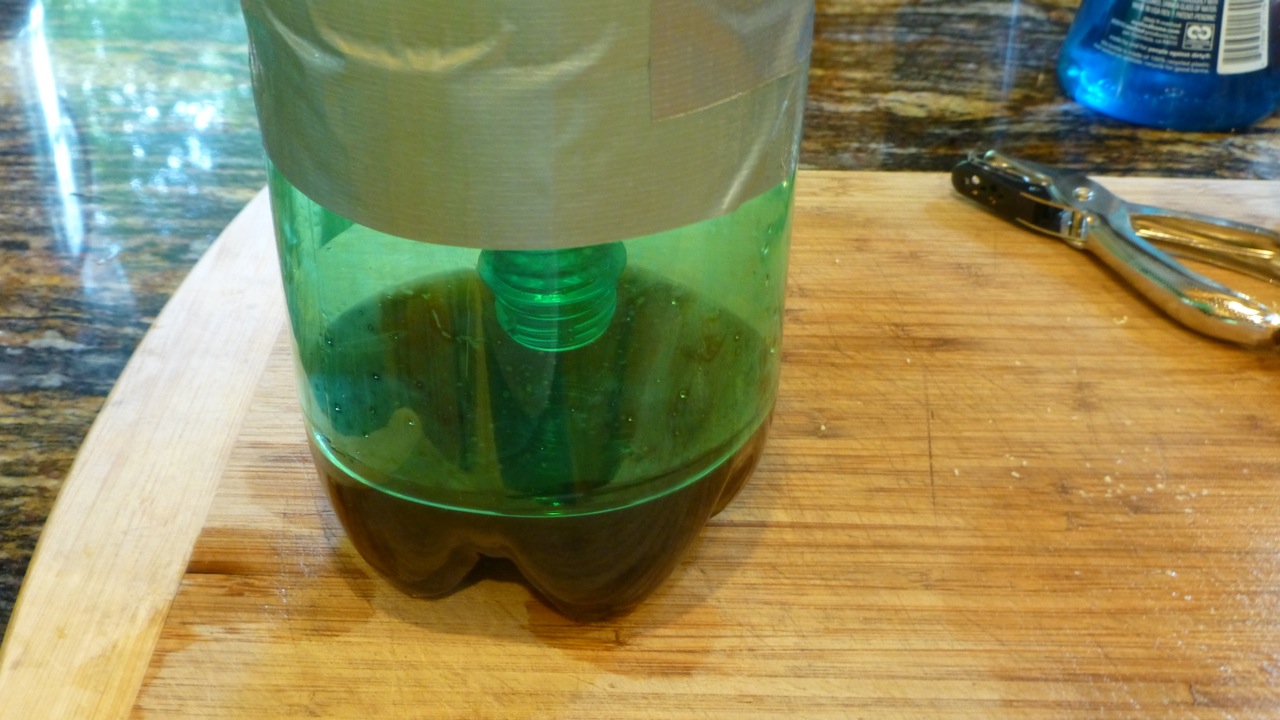
I then took the top of the plastic bottle and placed it inside of the bottom (so that the spout is pointing down). Â Then I carefully took duct tape and taped the bottom and top together.
Duct tape top to bottom
Eh? We’re getting along quite fine here. My excitement was building. If this works then I’ll have them hanging all over my property.
The internet instructions said I should place them away from our “normal gathering area.” Huh. I’m not much for outside gathering on our wooded lot so I placed one on the ground near the front door (where I’ve seen mosquitoes) and one on the back yard fence.
Within a couple days, both of them had fallen due to the wind. Drats!
So I started over again. This time I was more intelligent! I knew it and I could feel it! I placed one on a table on the deck and another one on a tree limb.
Mosquito TrapHanging Mosquito Trap
I just knew I was going to be the new girl scout of the neighborhood. So, now I waited for the mosquitoes to come.
And I waited. And waited. And waited.
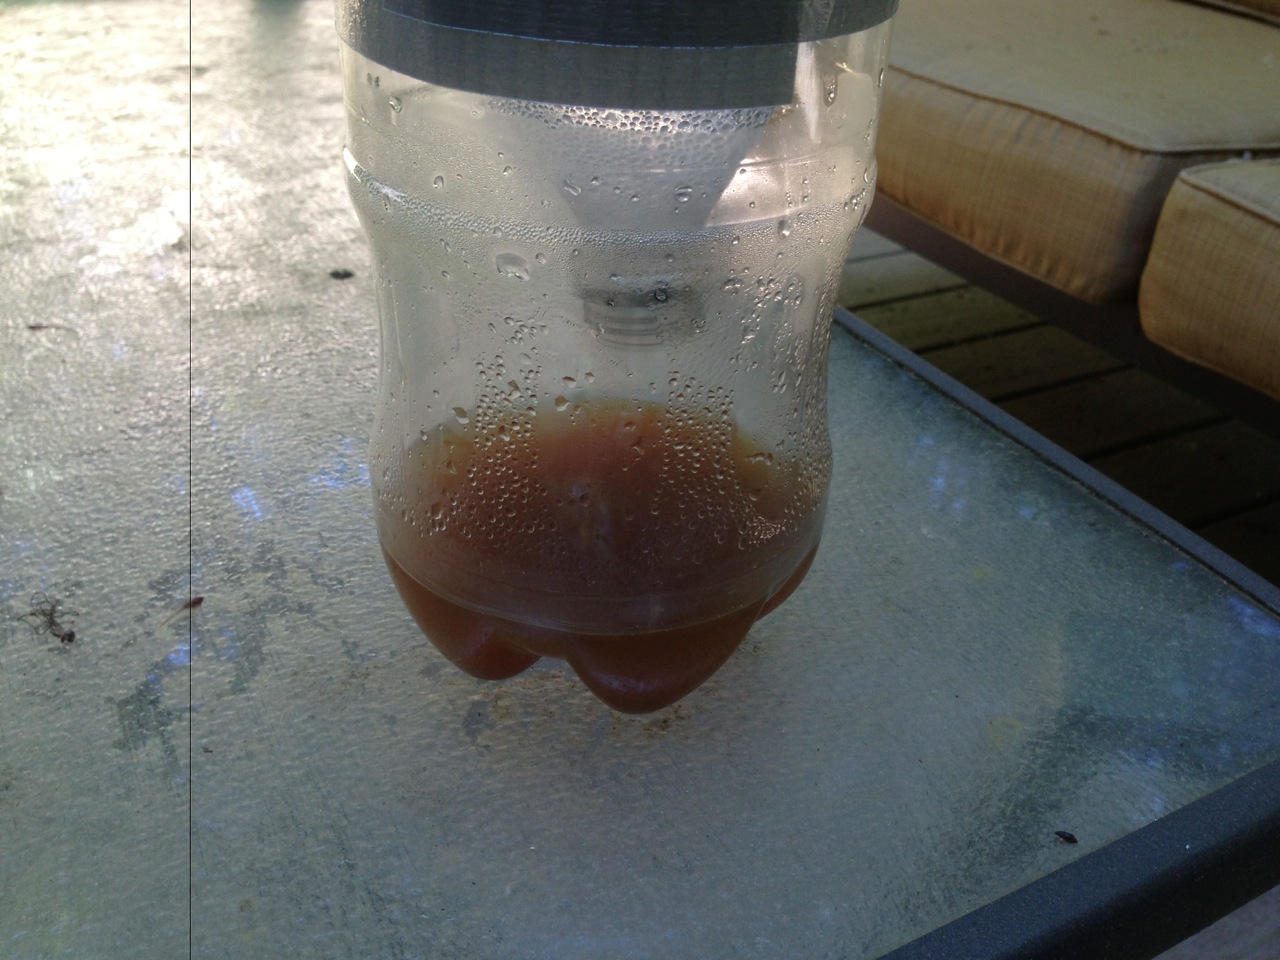
I went outside and worked without adding mosquito repellant and I got bit. And I got bit again. I went to check my mosquito traps and nary a mosquito had visited my traps. Hmmm … the people I spoke with said the formula should produce carbon dioxide and I knew the yeast had fermented.
Okay — I waited a couple more days. What’s this? No … just a few other bugs and a spider who came to inspect. No mosquitoes. The trap does not work.
Out for a walk one day, I spoke with a neighbor about my traps. He suggested something different, something that he used that really did work.
With my hopes dashed because of this experiment, I was determined to try something else. And this time, I felt sure it would work. The product is called Thermacell. Â The “set” comes with a butane cartridge and repellant saturated “mats.” The cartridge heats up and and is directed to a metal grill that the mat sits under. Â The smell repels mosquitoes. I bought myself a carrier for this and simply hook it to the back of my pants. More importantly ~ it works.
The butane cartridge lasts approximately 3-4 hours and the repellant mat lasts around the same amount of time but I change it out sooner so that the smell stays strong. Using this, I don’t have to spray myself with Deet unless I’m walking out in the woods where there might be ticks as Thermacell doesn’t work on ticks ~ only mosquitoes.
Try it ~ Thermacell works for me and I’m glad my neighbor told me about it.
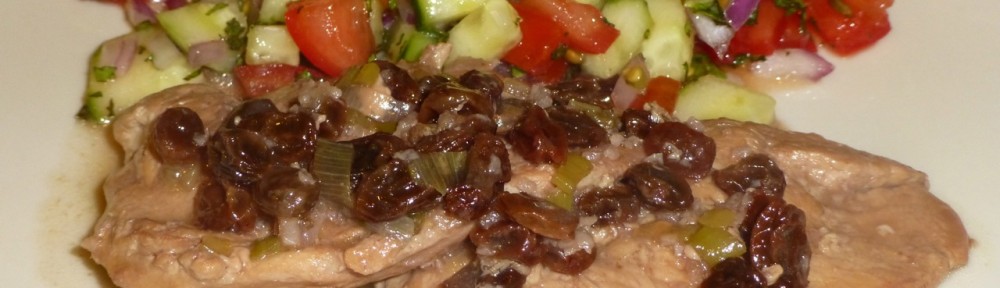
If you’re not a lover of pomegranate, don’t let the name of this recipe deter you from trying it — Pomegranate Chicken. The chicken was quite tasteful and didn’t really have much of a pomegranate-y type taste. Don’t get me wrong — it did have some pomegranate flavor.
Normally unsweetened pomegranate juice tastes quite bitter, no? But you’ll be pleasantly surprised with this recipe.
There aren’t too many ingredients for this recipe BUT the POM juice is a tad expensive.
Boneless Skinless Chicken Breasts
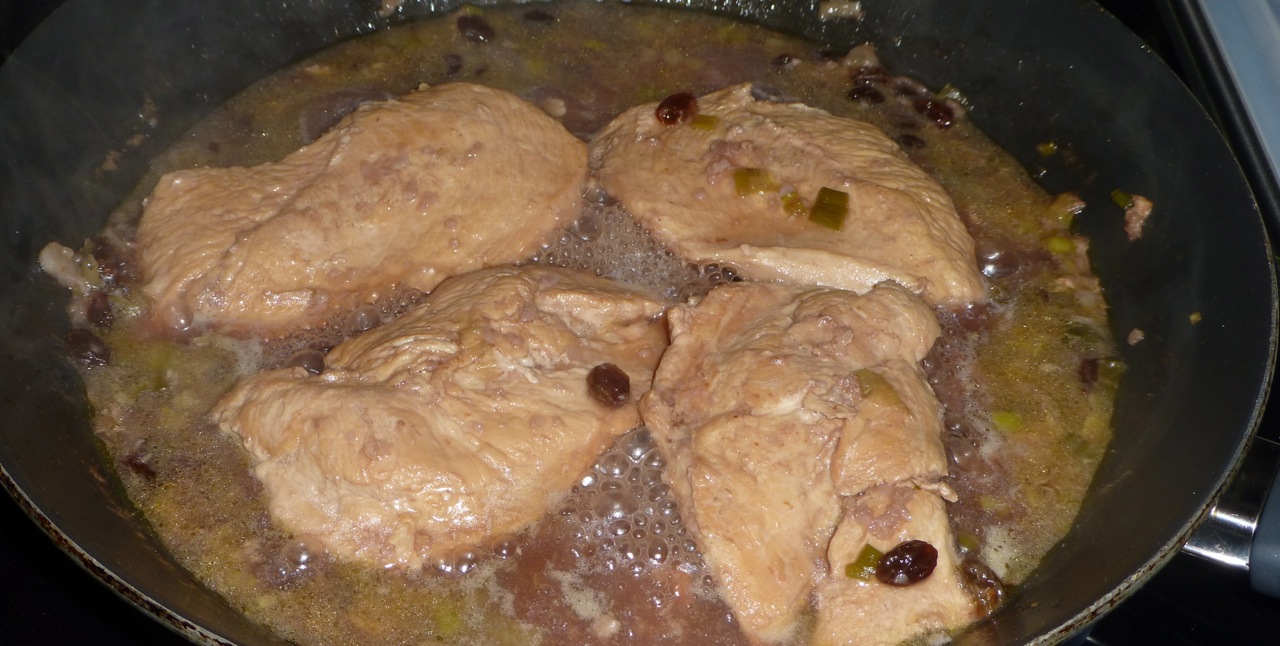
The chicken will be grilled on a skillet on your stovetop. At the last minute, I added some raisins to the sauce since I thought it might come out too bitter (I had no need to worry though).
Grilling Pomegranate Chicken
Ready to try another easy and tasty recipe? Here ya go!
Ingredients
chicken breasts (I used four of them)
pomegranate juice (POM Wonderful is what I used)
garlic, minced
olive oil
Raisins (optional)
Directions
Heat a bit of olive oil in the pan on medium low and add the chicken breasts.
Sprinkle the garlic on the chicken and then pour the pomegranate juice over it until it reaches about halfway up the chicken.
Bring the pomegranate juice to a boil then turn down to a simmer.
Turn the chicken over every few minutes until it’s cooked through.
Continue to simmer the mixture until the pomegranate juice reduces to a thick sauce and the chicken is cooked through.
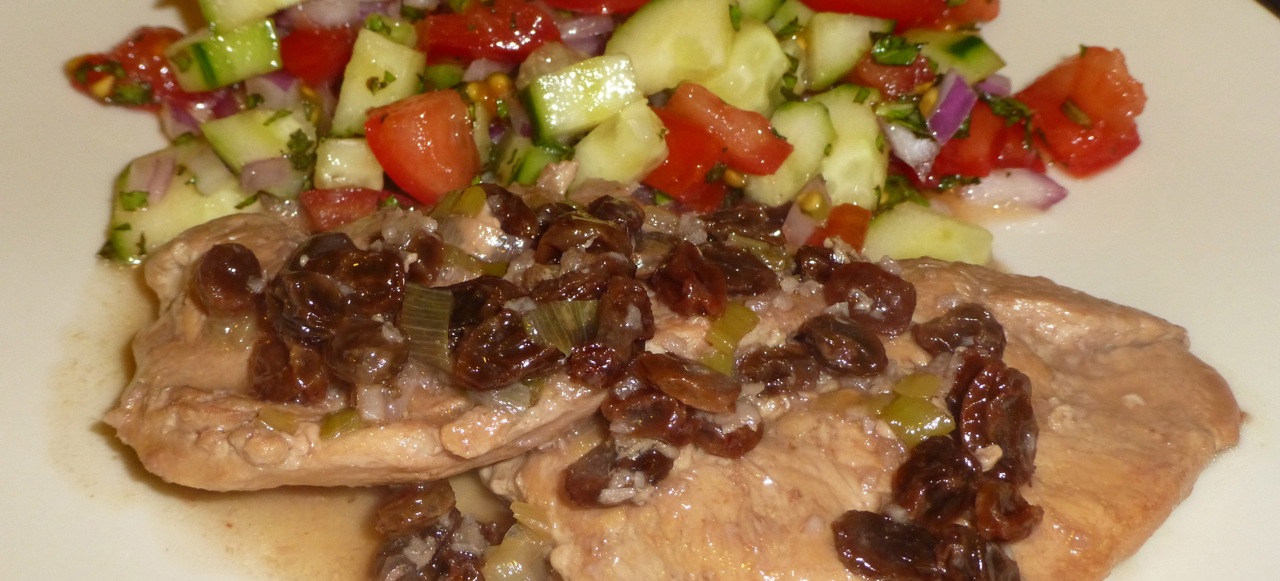
The juice should become a fruity glaze.
Here’s the final product. I served mine with a Shirazi Salad which was a good pairing for it.
I am now in my 7th month on a paleolithic diet. It has been quite a growing experience.
Taking sugar, processed foods and grains out of my diet – which are very easy to find on store shelves – was quite a challenge at first as was the eating of meat on a regular basis.
Although the paleo diet doesn’t suggest you eat copious amounts of meat, protein is a big part of the diet — as are lots of vegetables.
Anything with gluten is pretty much out. Re dairy: “The Paleo diet does not forbid the consumption of dairy products but recommends that they be removed for a while and then reintroduced at a later time to assess your individual tolerance.” LiveStrong
A couple of months ago, we introduced butter back into our diet. Recently I’ve added aged cheese but just in small amounts on salads.
Weight loss has been relatively easy although I never started on the diet to lose weight but simply to try it as my son, who was living with us at the time, wanted to try it.
Feet on a Scale (Microsoft Free Images)
So far, I’ve lost 25.5 lbs. About one pound a week. I have not exercised as in going for long walks or to the gym but I follow my regular routine which includes yard work and sometimes hauling wood around.
It is a nice feeling to get on the scale and see my weight go down — something that didn’t happen while I was on a vegetarian diet but I didn’t limit grains, processed foods nor sugar on that diet.
Have I “cheated” on this diet? Yes but not often. Today we went to Five Guys (a burger restaurant) on the way home. That was a HUGE cheat as my husband and I had a hamburger and french fries (we don’t eat white potatoes on the paleo diet although there is mixed thoughts on whether one should or not depending on who you “read”).
I don’t care much for all the debates about eating this or that but the current diet is working for our family. Recent blood work showed my cholesterol was great and my blood pressure has stabilized even though I am eating meat almost daily and eggs are a larger part of our diet.
I believe that every person is different. What works best for one person doesn’t work for someone else. When I was trying to lose weight a few years back on Weight Watchers I lost 1 pound in a couple of months. They weren’t too happy with me and suggested I was doing something wrong.
Will I continue on this diet? For now, I believe we will. However, because I’m not used to eating meat daily I will continue to have my blood monitored to make sure this diet continues to keep me healthy.
(Special thanks to Microsoft Free Images for both images on this post)
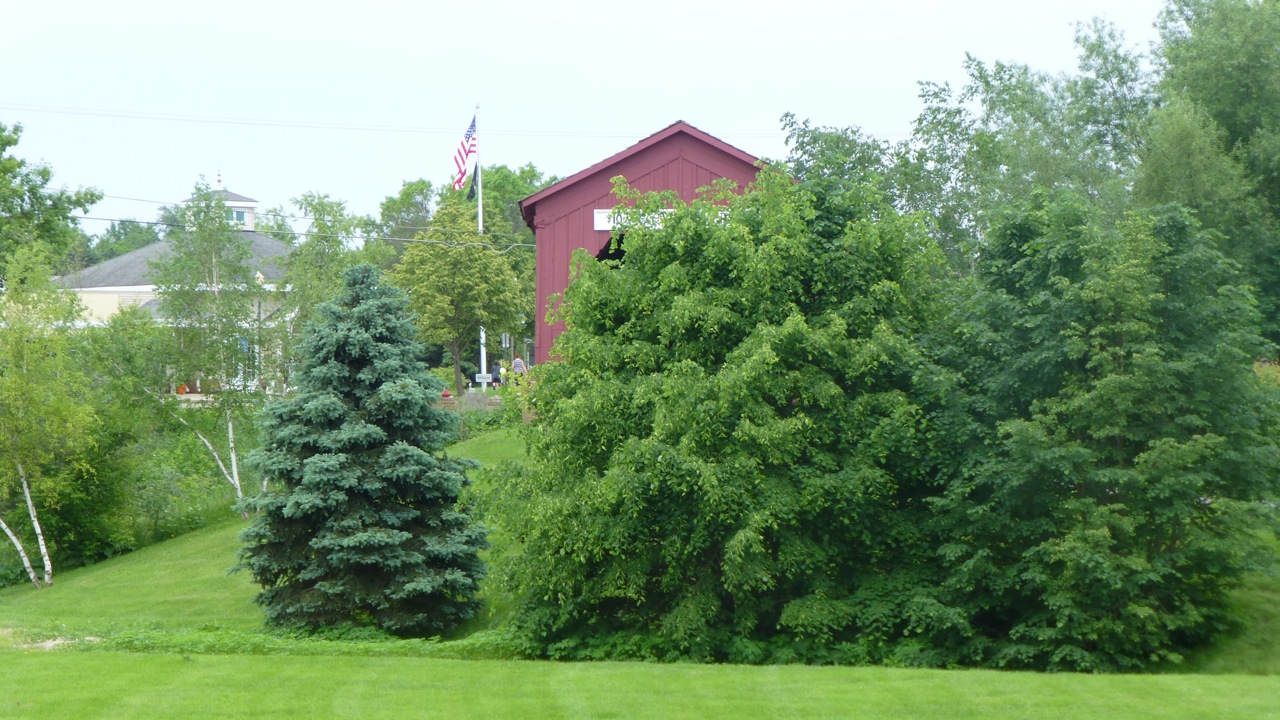
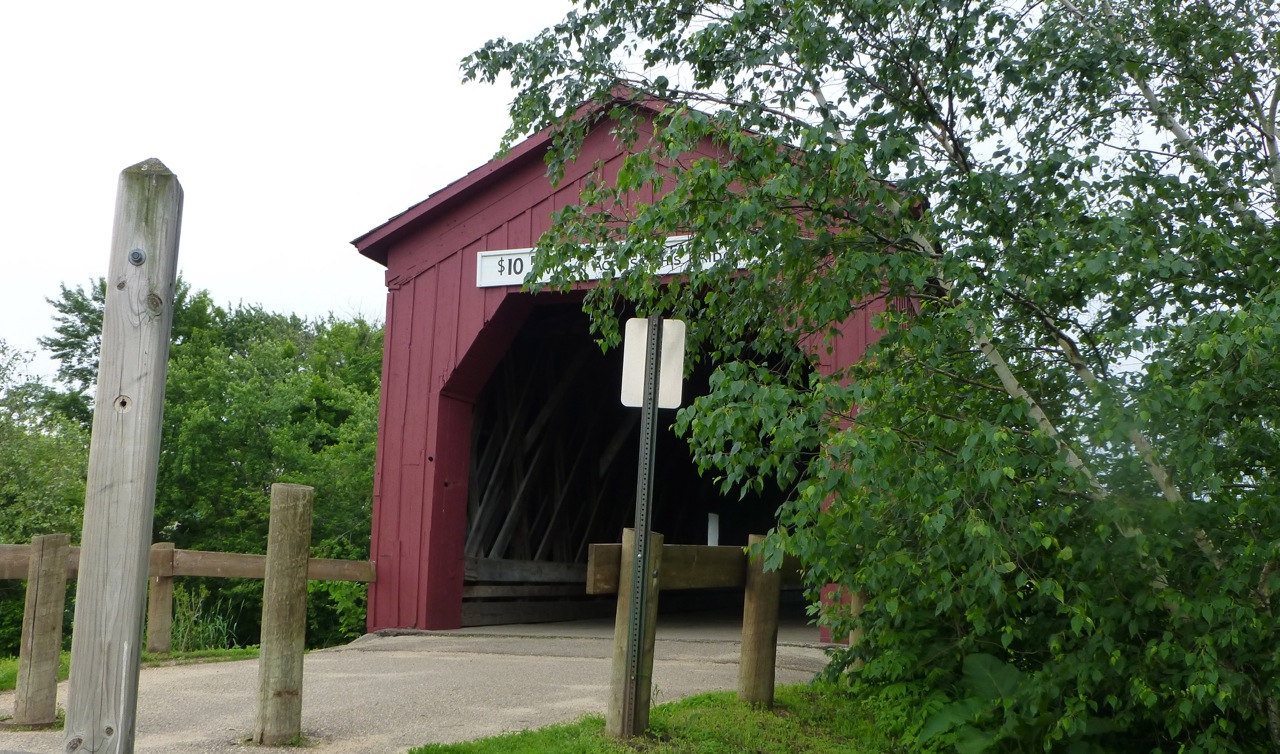
On a recent Saturday afternoon, we took a ride to Zumbrota, Minnesota to explore Minnesota’s only covered bridge which is listed in the National Historic Registery.
When we entered town, we didn’t immediately spot any signs that pointed us in the right direction. Eventually, one sign pointed us towards a park — an 85 acre park named Covered Bridge Park. How appropriate.
The day was overcast but there were quite a few people in the park picnicking and enjoying the day. Looking to the left, we spotted what we thought was the entrance to the bridge.
Zumbrota Covered Bridge, Zumbrota, Minnesota
To the left of the trees is a paved walkway which makes this bridge handicapped accessible.
Zumbrota Covered Bridge
Cute sign, eh?
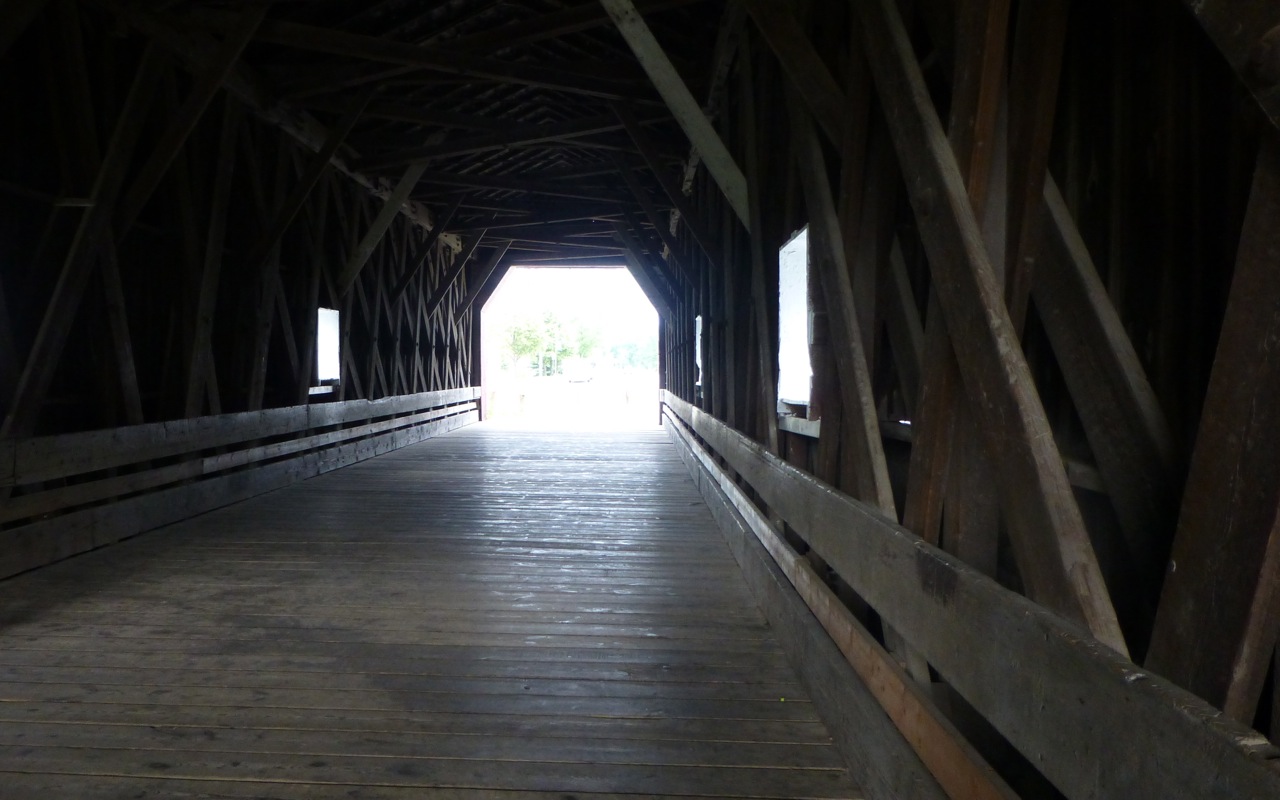
Zumbrota Covered Bridge
When I entered, memories of the movie Bridges of Madison County came to mind. I wonder if anyone has ever taken photos of bridges in Minnesota, covered or uncovered.
Oooohhh, a tad dark in here.
Zumbrota Covered Bridge
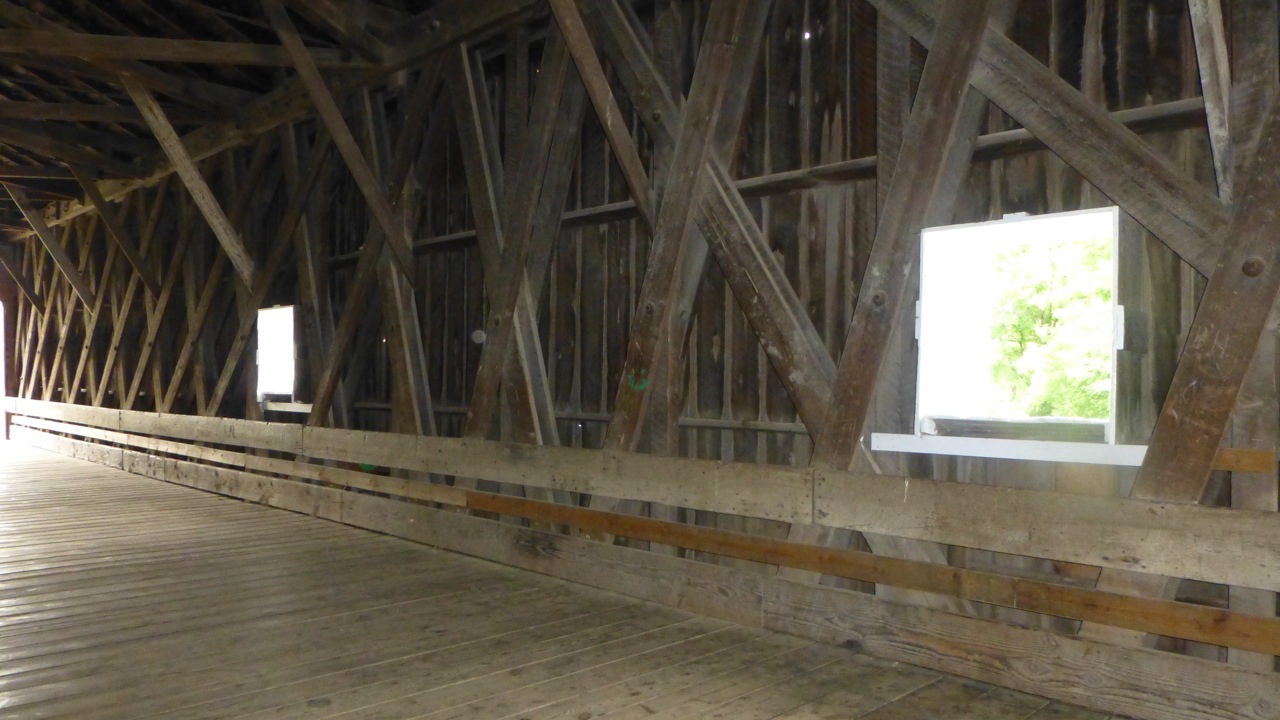
There are windows (no glass) that you can look out through to see the Zumbro River.
Zumbrota Covered Bridge
Ahhh, pretty.
View of Zumbro River
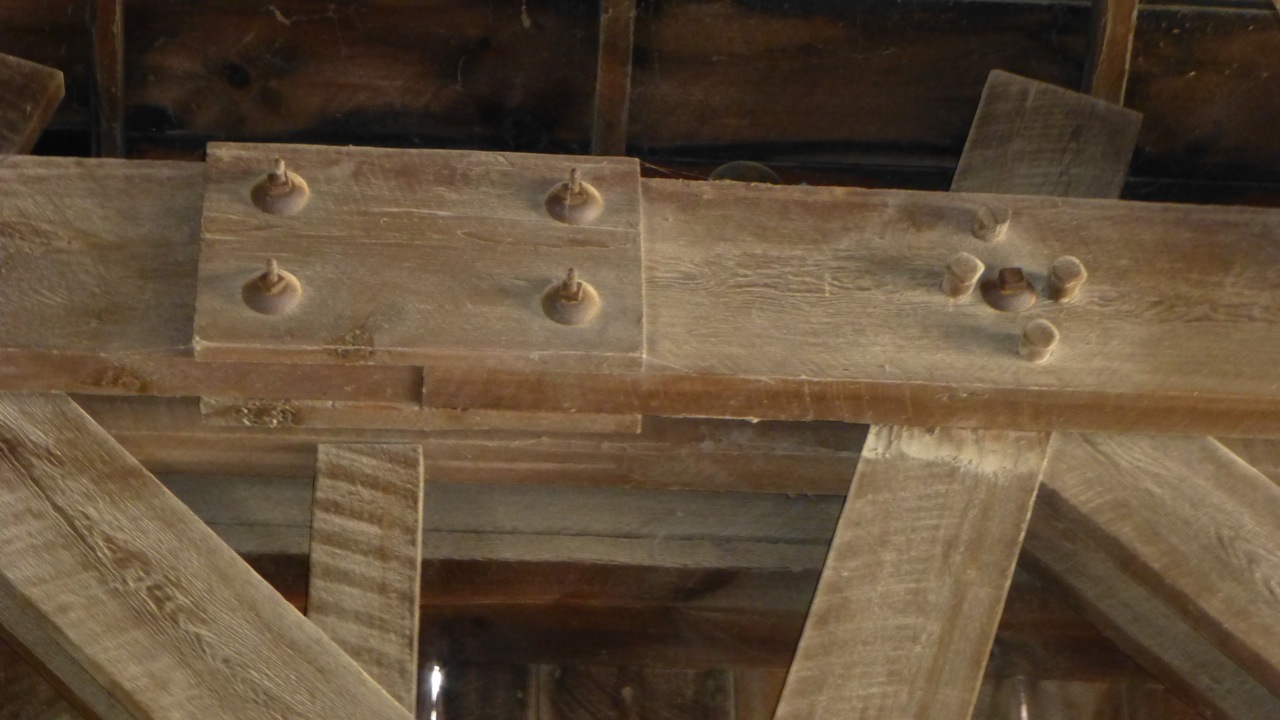
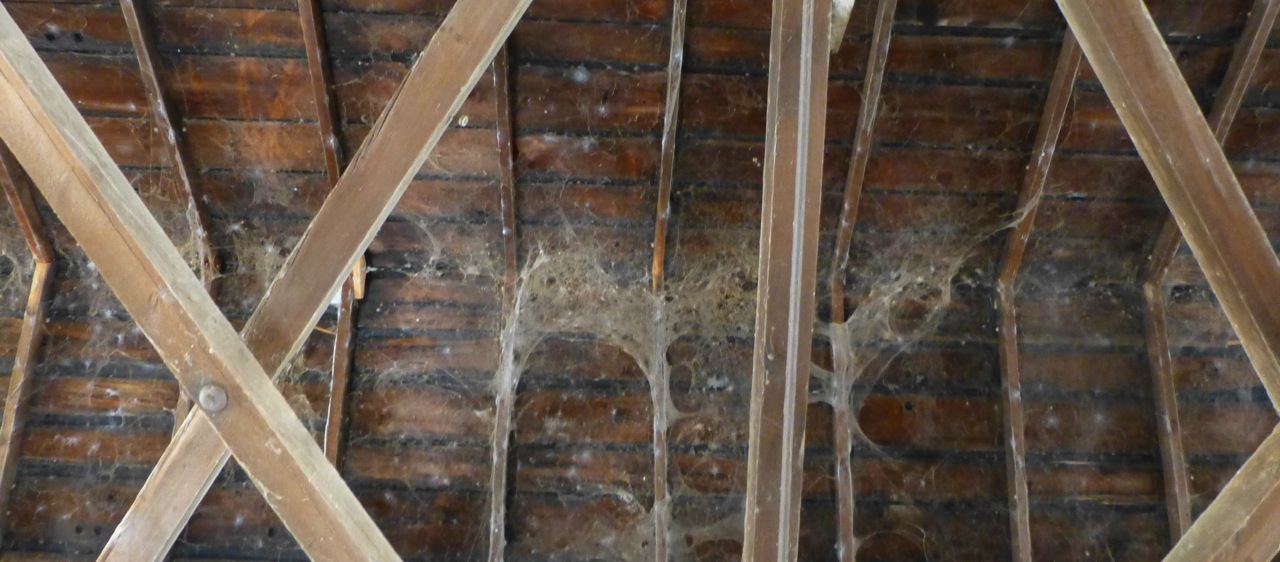
Here’s a view of the inside of the roof.
Zumbrota Covered Bridge
And another view … you suppose there are any spiders here?
I worked long and hard last year to remove the small patches of grass from the front yard and to add perennials so we wouldn’t have to tinker with the yard too much this year.
With the exception of the Minnesota storm that strew large branches across our yard, this landscape job was successful.
If you’ll notice though, we have had some deer damage — one hosta (that I forgot to water after days of rain) got eaten quickly. We’re starting to have some leaves grow back. Whew!
The area to the right of the bridge gets morning and early afternoon sun. I did plant some marigolds in that area but with our wet weather they have not quite bloomed yet. Nor have the coleus which look stunted.
There’s still time for this yard to blossom as it’s only going on mid-July. (I say tongue-in-cheek)
I’m patient. I’ll wait and see what the rest of the summer brings. Last year it was so hot and humid we didn’t have to water. This year we’re just starting to see the warmer weather.
There’s no use in complaining as life is what life is.
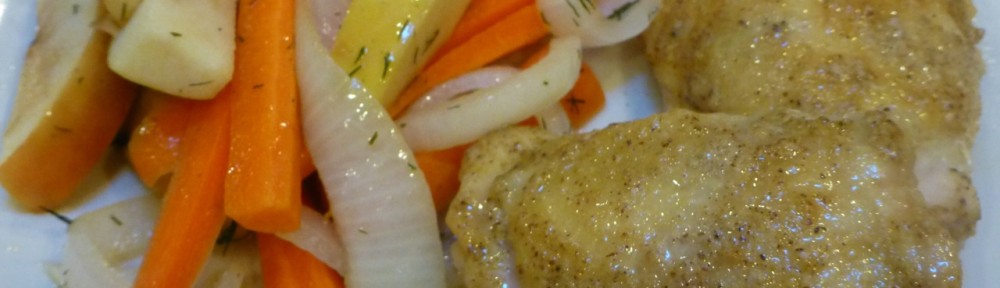
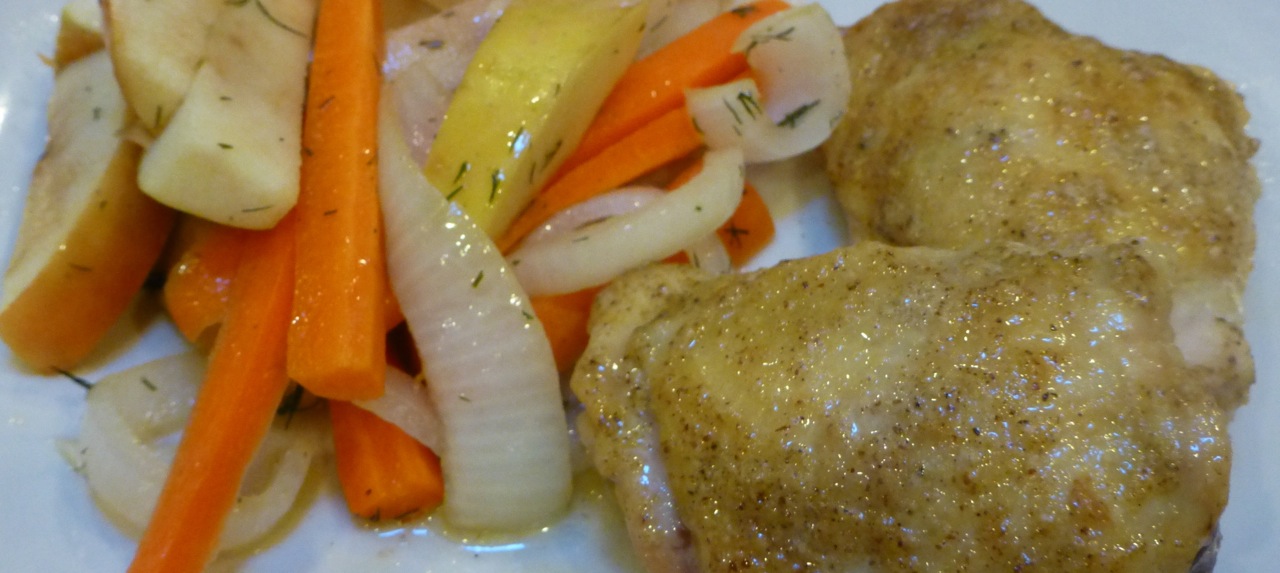
Here’s another simple and tasty recipe to make for dinner – Paleo Mustard Glazed Chicken. The mustard was not overwhelming at all even though it uses two tablespoons of it. I chose to use spicy brown mustard and I’m sure any mustard will do.
I also used butter instead of coconut oil as my husband doesn’t like the taste of coconut oil in everything we eat and it’s a staple on our paleo diet.
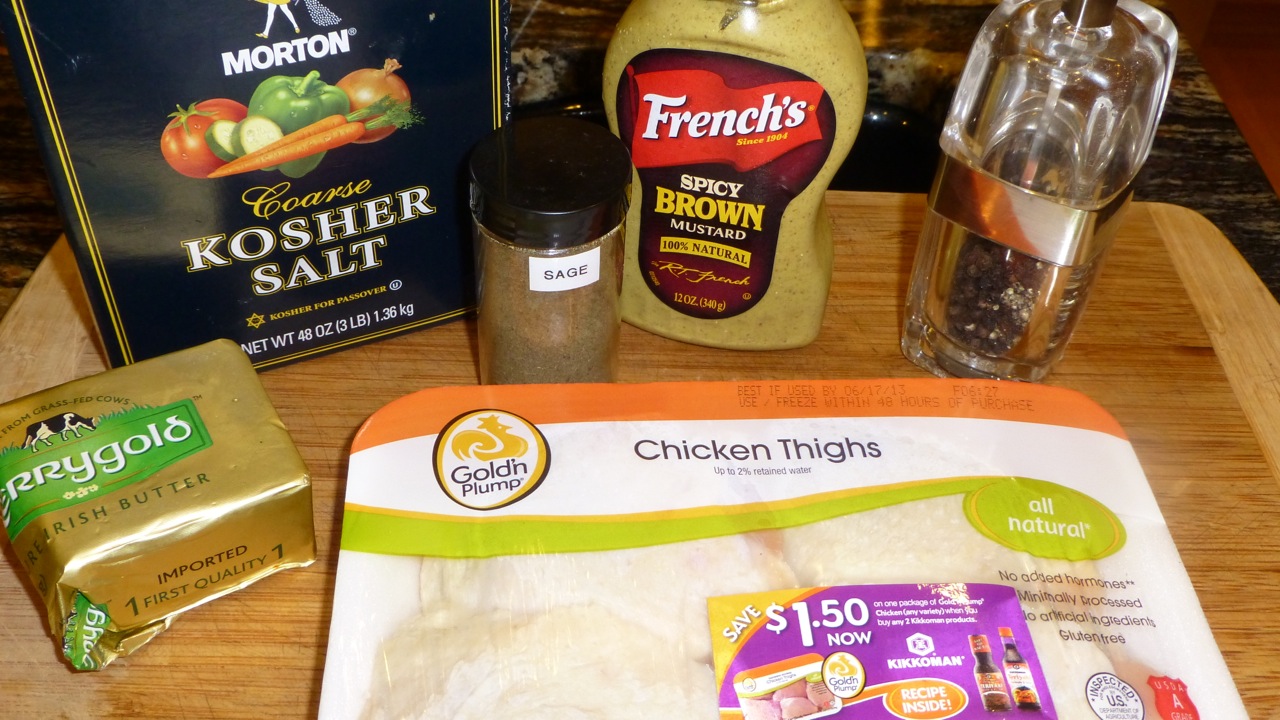
Ingredients
The chicken will only bake for 45 minutes or less and then you’ll get a juicy and skin crusty taste.
Mustard Glazed Chicken – Paleo
It does use 1/4 cup of melted butter — perhaps that’s why it’s so yummy! Ready for the recipe? Here it is …
Ingredients
1/4 cup coconut oil or butter, melted (I used butter)
2 Tablespoons of stone ground mustard  or mustard of your choosing(gluten free)
1/2 tsp. dried sage
1/2 tsp. sea salt
black pepper
8 bone-in, skin-on chicken thighs ( used four as there were only two of us eating but I kept the rest of the measurements the same)
Directions
Preheat the oven to 425 degrees.
In a small mixing bowl, combine melted butter, mustard, black pepper, salt, and sage.
Place chicken thighs in an oven-safe dish and brush the mustard mixture evenly over each one.
Bake for 45 minutes or until temperature of the chicken is 165 degrees. (insert an oven thermometer into the center of  the chicken thigh)
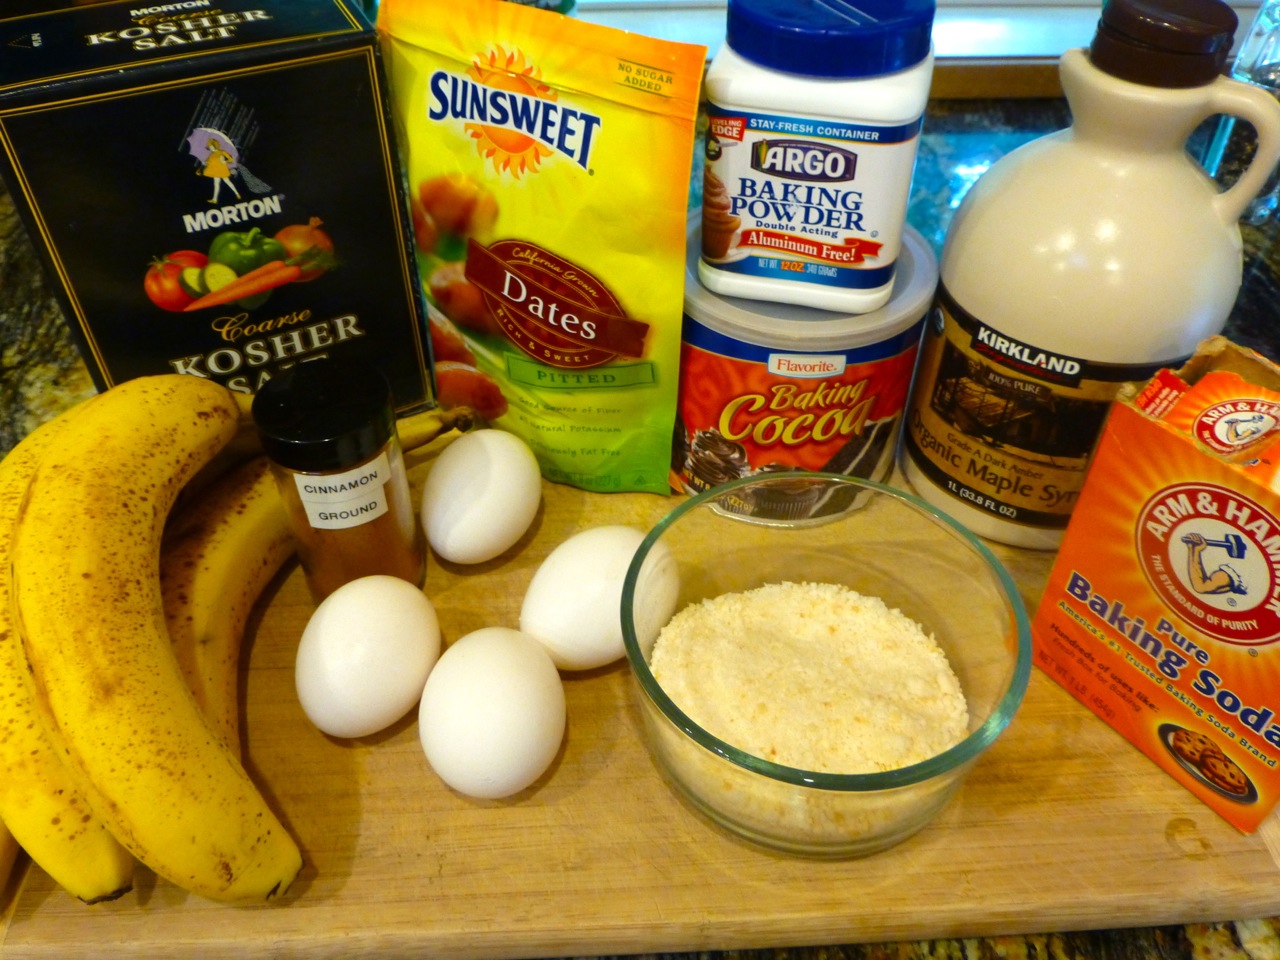
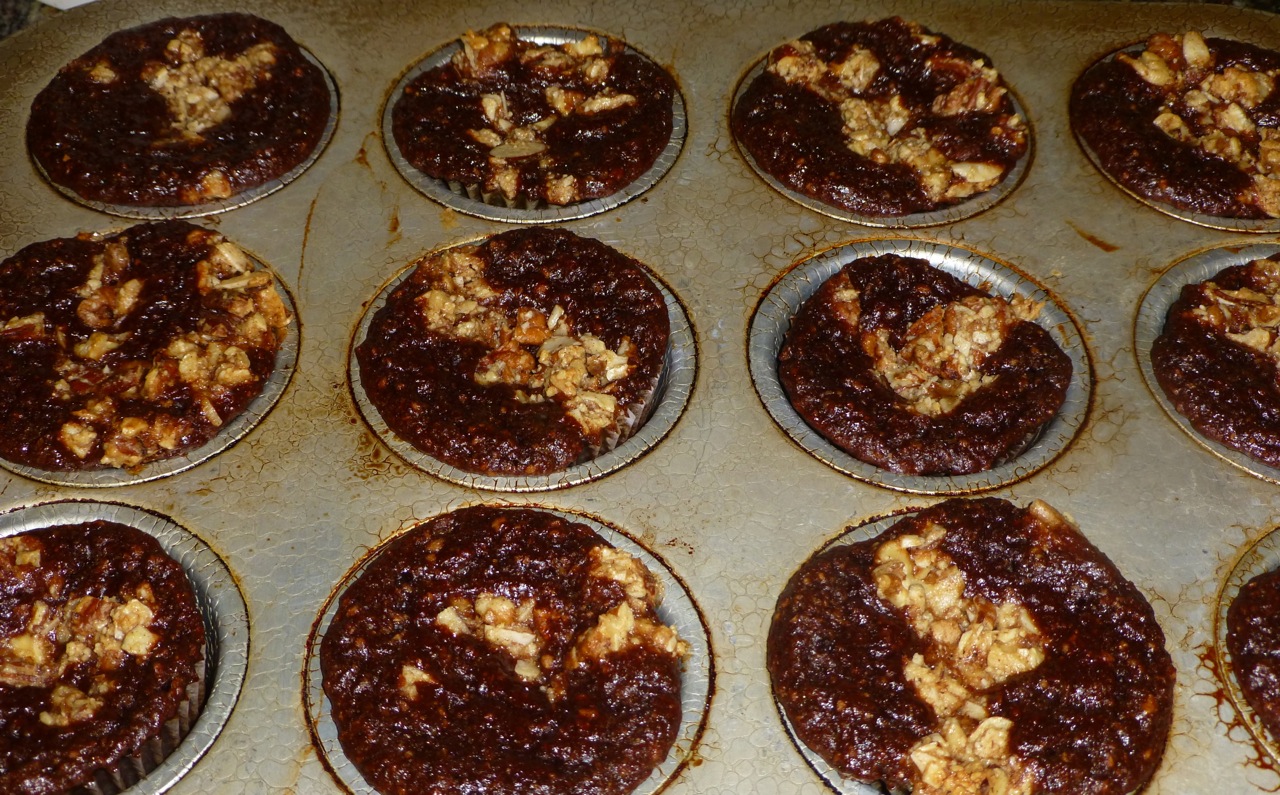
Oh, yum! These Chocolate Maple Crunch Banana Muffins were delicious! However, there was one wee user problem — I didn’t allow them to cook long enough. Yup. I was so afraid they might burn that I took them out about 5 minutes too early even though I checked the “tops” for doneness.
The “tops” felt a little soft but I assumed that the muffins would continue baking a tad more while resting. I was wrong.
So — learn from my mistake so you can enjoy these to the fullest! Here’s a pic of the filling ingredients minus the salt and the coconut oil.
Filling Ingredients (Salt and Coconut Oil not shown)
The original recipe uses Grade B maple syrup. I used Grade A Dark Amber as that’s what I had in the house.
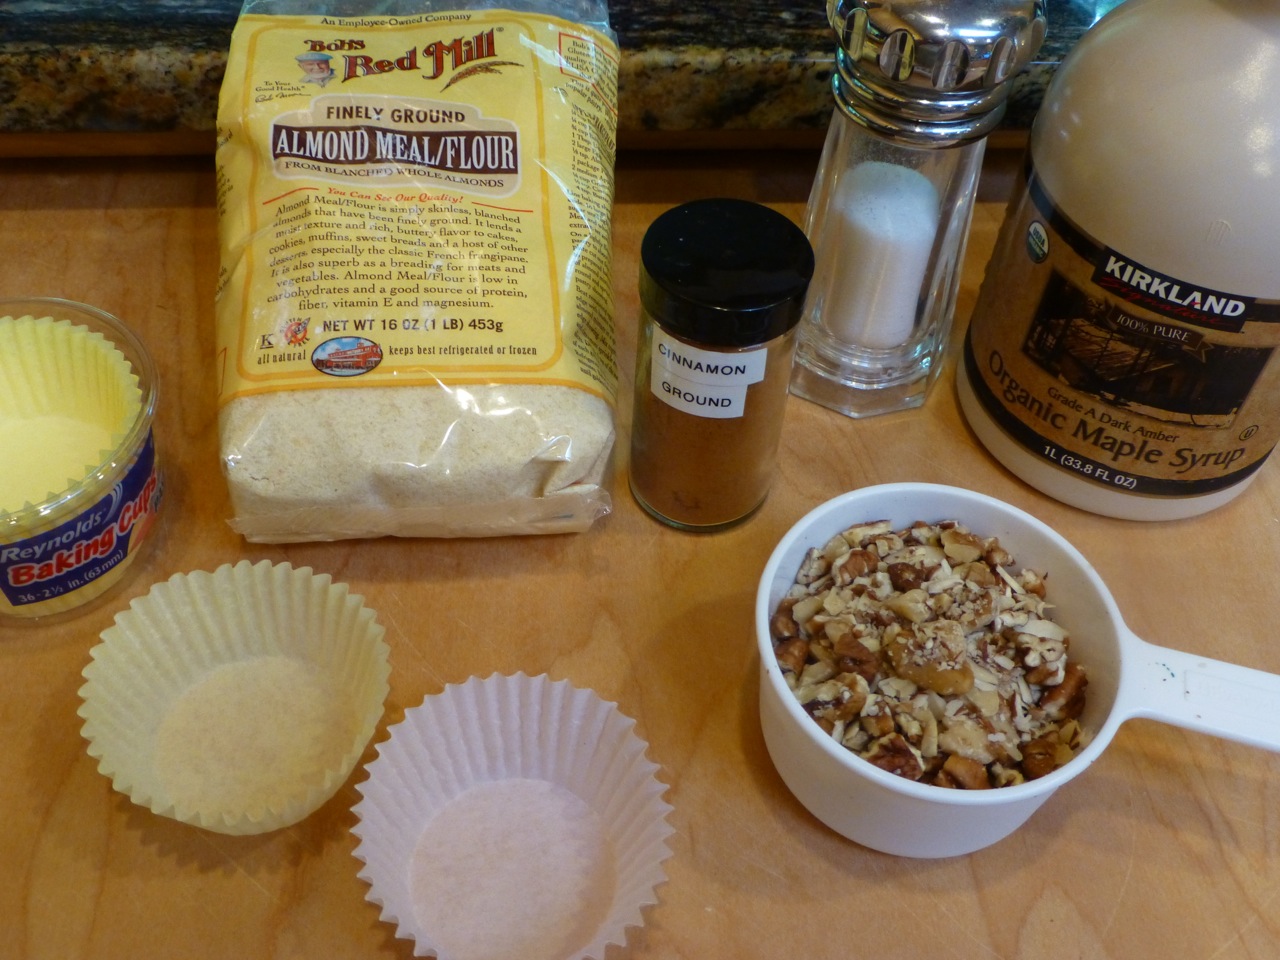
Topping Ingredients
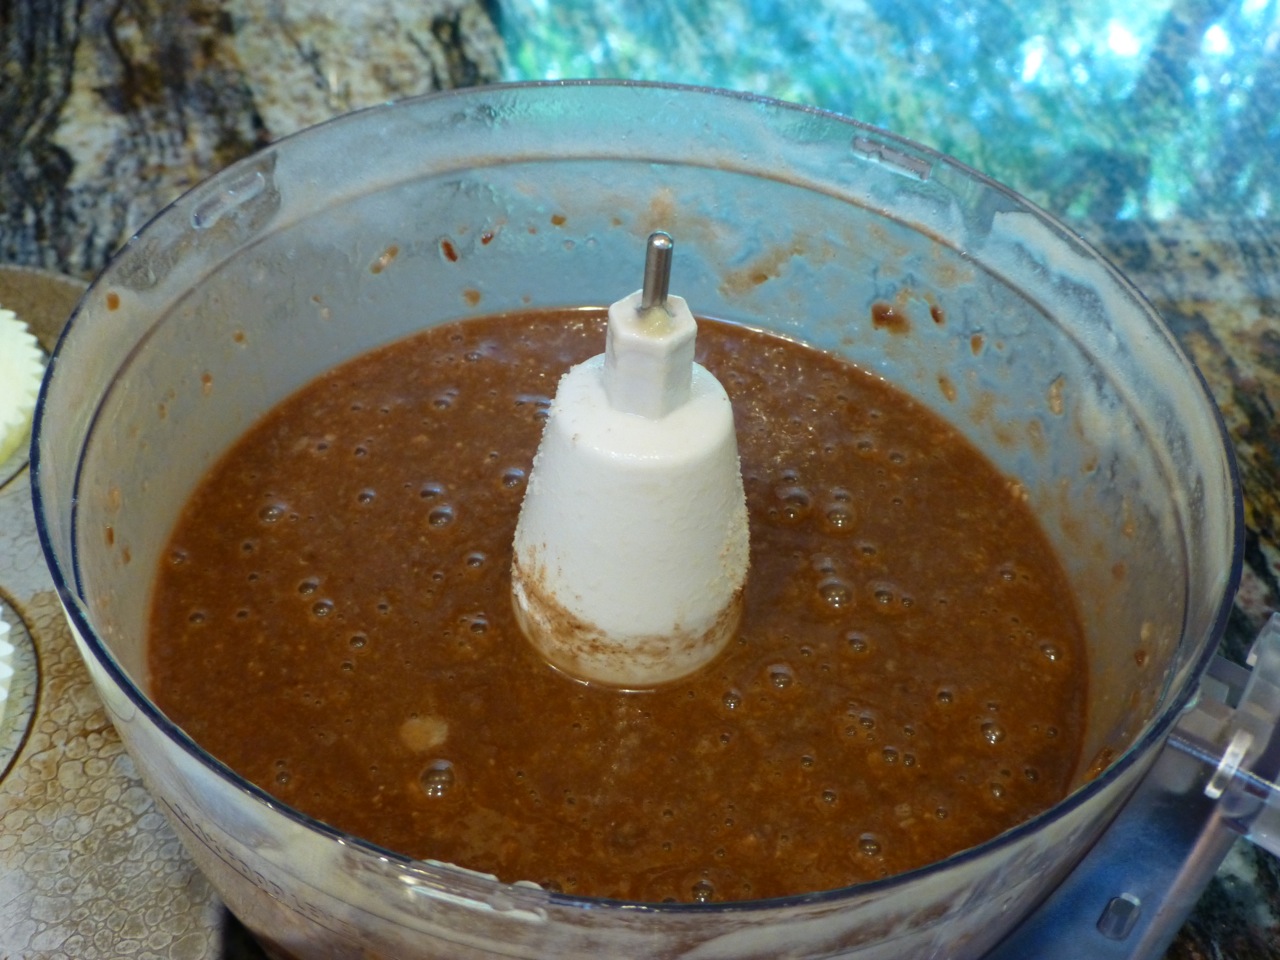
The filling appeared to come out a tad liquid-y but that is the correct texture. However, I used an ice cream scoop like the recipe called for as it said to “plop” the filling into the paper muffin liners. Uh, well, no, that didn’t quite work for me at all. Perhaps because my ice cream scoop is only “half rounded.” It took me 2-3 scoops and the batter did not plop for me but instead “poured.”
Filling
Now at this point I asked myself if perhaps I should have added more coconut flour to make the filling thicker so it could “plop” but since this was the first time making the recipe I decided to be true to it and play with it another time.
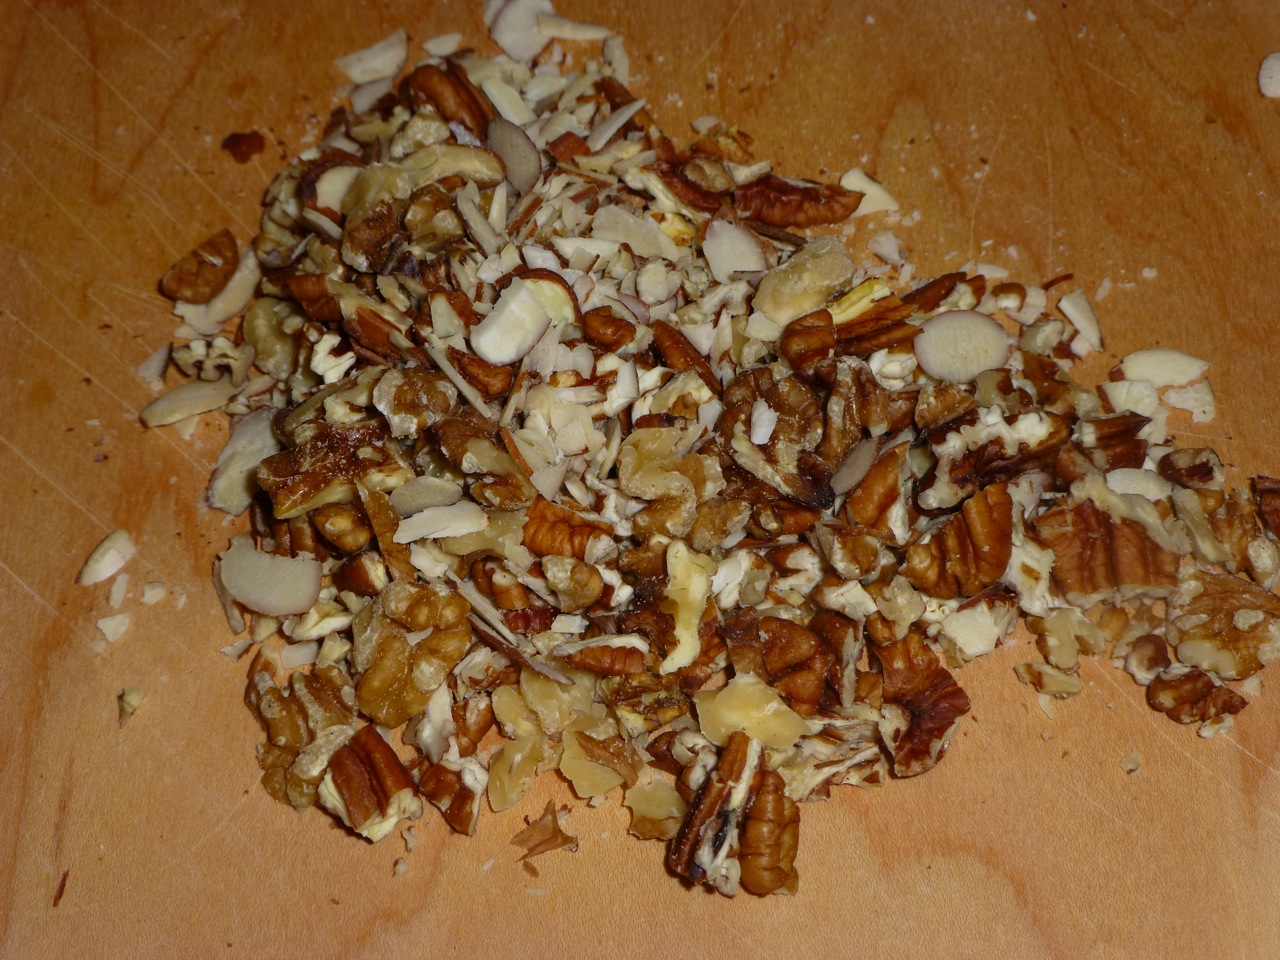
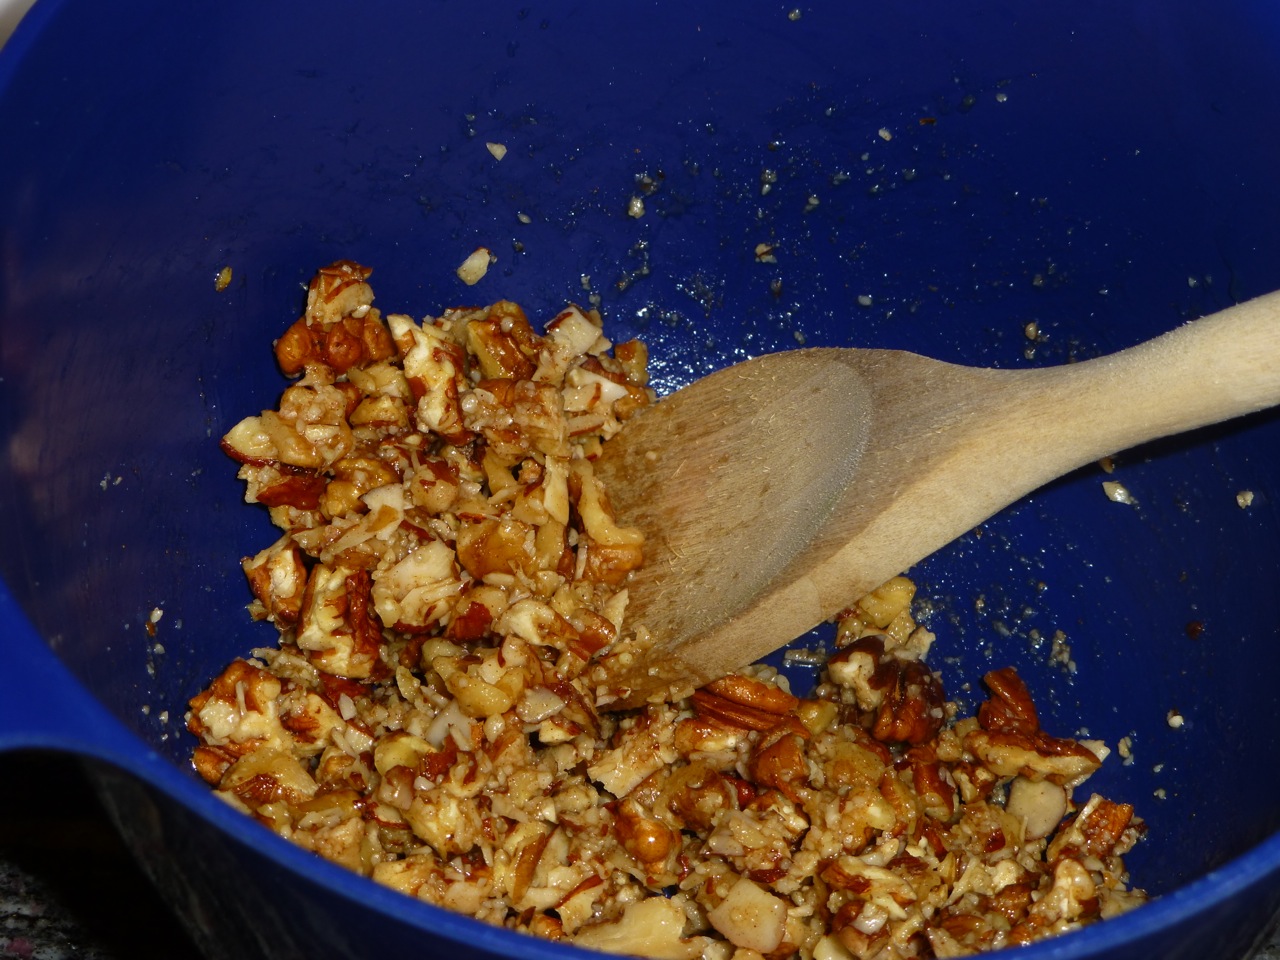
Mixed Nuts
The topping came out just as I expected — a little sticky but perfect.
Topping
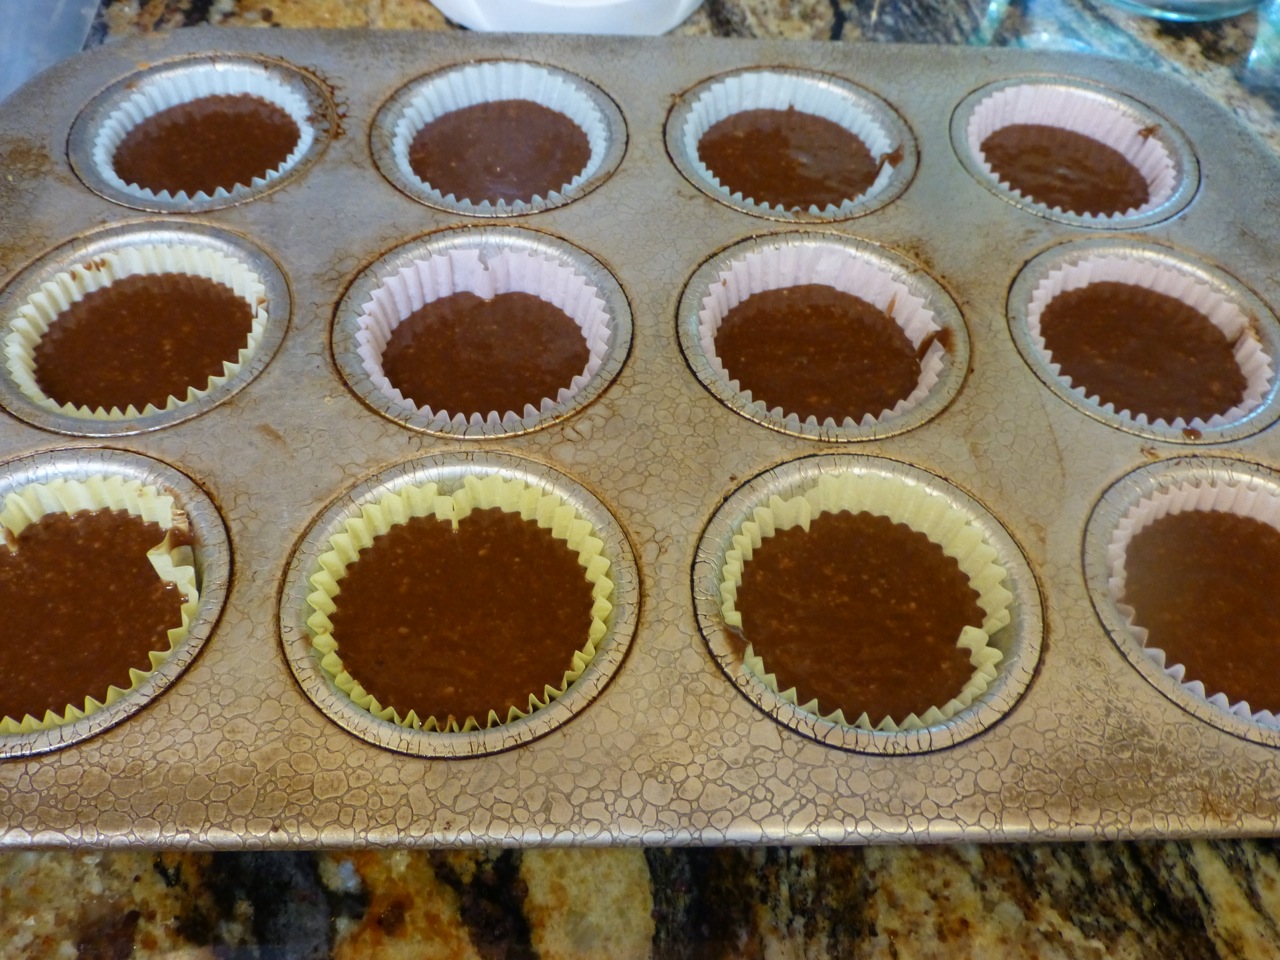
Here they are before going into the oven with no topping …
Unbaked Muffins
And this is what they look like unbaked with the topping.
Muffins with Topping
I could hardly wait for them to bake! And here they are. Notice the indentation in some of them? That’s where they were a little “soft” and I assumed a little baking would continue after they cooled for a little while. (Wrong assumption!)
Chocolate Maple Crunch Banana Muffins
I tucked them away in a container for snacking or to have as a “side” instead of bread with a meal.
Chocolate Maple Crunch Banana Muffins
I believe next time I’ll try a little more coconut flour and, of course, let them bake 5 minutes more so I can reach perfection with them!
In a food processor, puree the bananas and dried dates until you get a paste. Make sure the dates break up completely.
Add the eggs, coconut oil, and maple syrup then puree.
Add the coconut flour and mix.
Then add the cocoa powder and mix again.
Add the baking soda, powder, cinnamon and salt and mix everything together in the food processor.
In a separate bowl, add the ingredients for the topping and mix it all together.
Line your muffin tin with paper muffin liners and use an ice cream scoop to plop batter into each muffin liner. It should make 12 muffins so try not to pile it too high because the topping will take up a lot of room.
Now add a heaping tablespoon of topping on each muffin and spread it out around the top of the muffin.
Place in an oven and cook for 35-40 minutes. (I took them out at 35 minutes but should have kept them in longer. The original recipe cautions that they do take a long time to bake because they are dense and wet and to check them at 35 minutes and every couple of minutes after that. Good advice!)
Press on the top the muffin to check for doneness. It should not give at all (at least in my oven that’s what I found out).
Once they are cooked, let them cool for at least 20 minutes then remove from the muffin tin.
Special thanks to PaleoOMG for this recipe. She has other recipes that are good to try so head on over there and check out that website.