This post is long overdue as I started writing it in mid-January. What a slow start I’m having this year. Well, here it goes …
After making a lap quilt from a kit that I had in the house from a few years ago, I finally decided to take the plunge and try a larger quilt.
About 10.5 years ago  (I know, I know, it was a long time ago …), my sister had asked me to make her a quilt for her king size bed. At that time, I didn’t have my own sewing machine so it had to wait until ~ now.
I knew deep inside my gut though that tackling such a large quilt would be too overwhelming for me so I decided to make it a tad smaller. When I finally finished it, it came out to 96×64. Not quite king size, but …
The good news is I found out that my sister bought a platform bed and this size would fit quite well. It would also fit on a king size bed that has a tall footboard. So, I was quite happy with it.
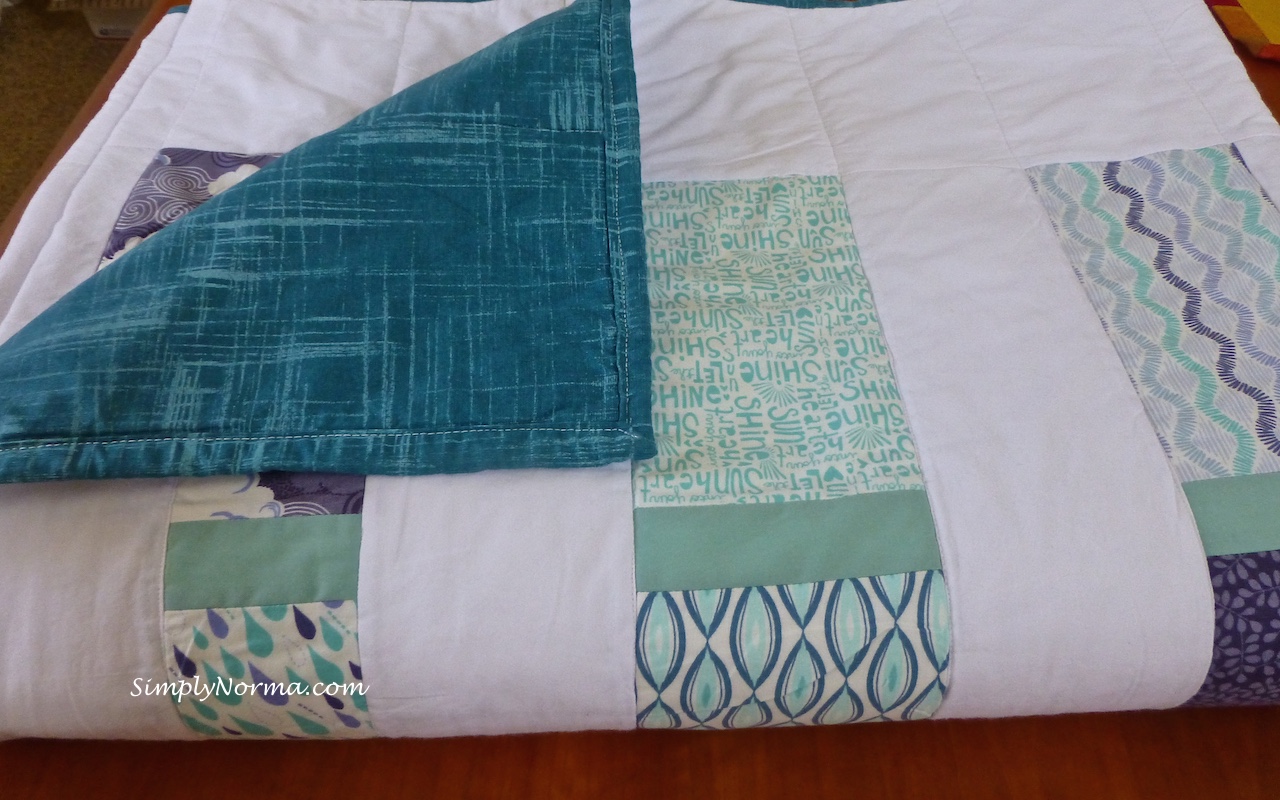
I had happened to come across some really pretty blue material that I thought would match the color on the walls she recently painted. Here’s a look at the fabric I used.
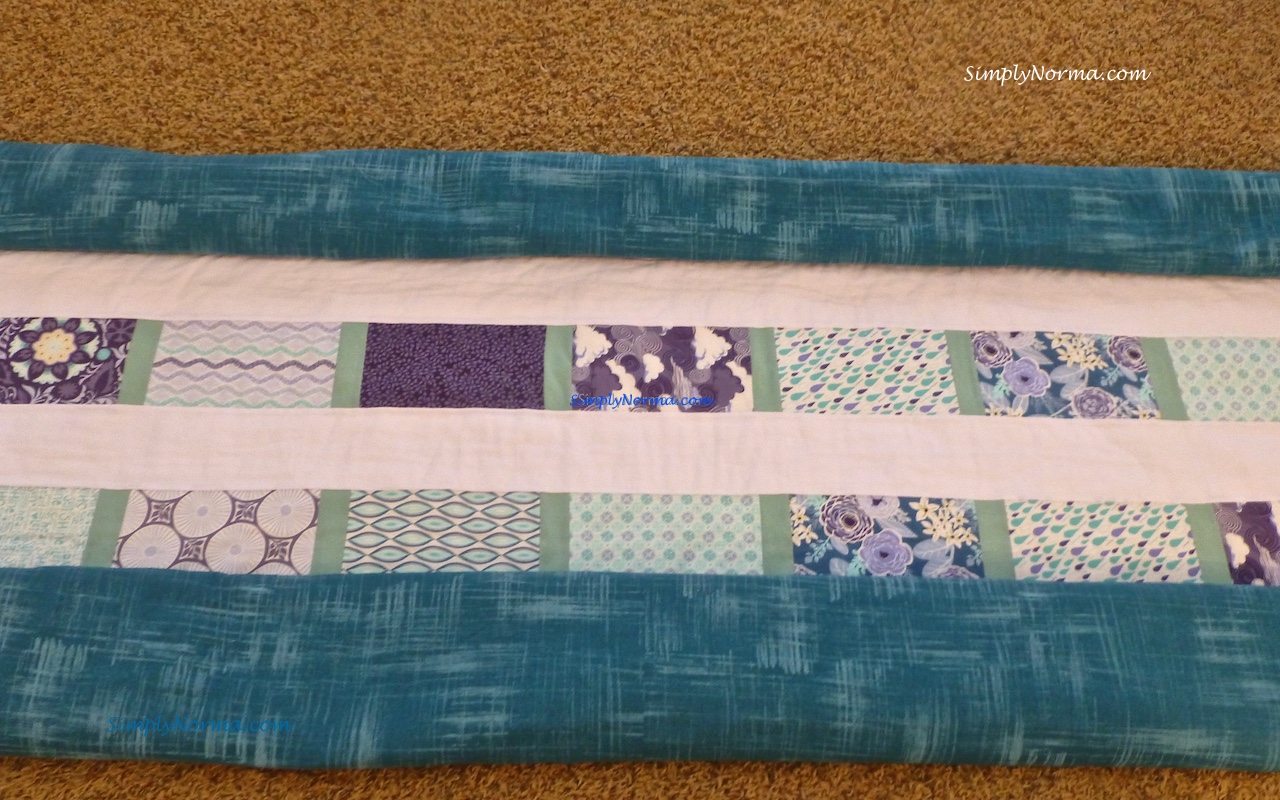
The larger fabric pieces came as a set and I purchased it on Etsy; the green “divider” fabric is from a sheet that a neighbor friend gave me when his wife passed away; the white fabric was purchased at JoAnn’s Fabric and the evergreen backing was purchased at a local fabric store.
To say I had problems making this quilt would be an understatement.
First, I should have practiced a LOT more before embarking on a quilt this size. My sewing was not quite straight in some parts. See?
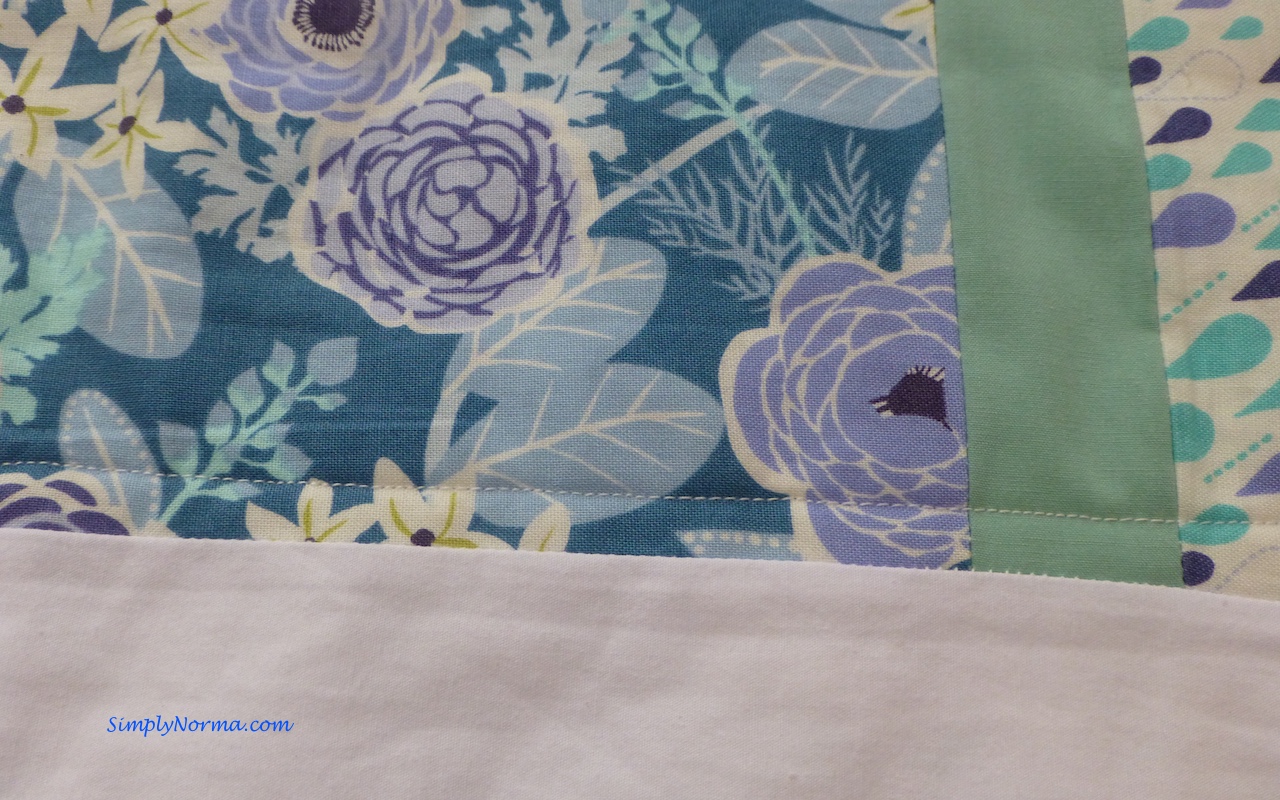
Can’t see much uneven-ness? Well, let me point out that this was supposed to be sewn “in the ditch” (along the seam line) and I missed by a long shot. I decided to leave it that way as I thought it looked pretty although it was a “line” that didn’t match the rest of the quilt.
Then I made what I call a “newbie” mistake. A HUGE newbie mistake. I should have made doubly and triply sure that the top of the quilt was sewn very securely but I didn’t do that so once I put the quilt together I decided to check and sure enough, I had a few places where I had to go back and sew this area by hand which is not easy to do. Sigh …
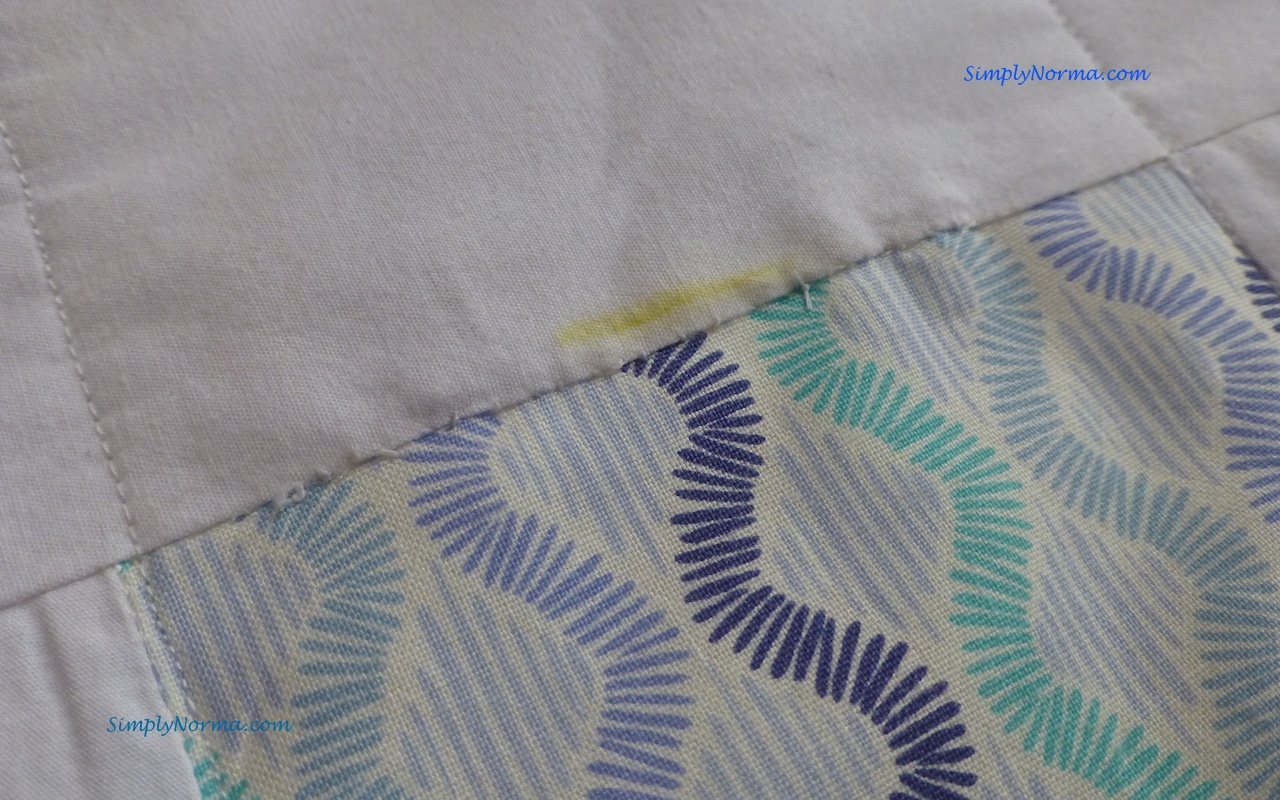
Mind you, these imperfections can’t be seen from afar but still … it was laziness on my part and a lesson well learned.
At the onset, I found myself saying “I really need more sewing practice” but instead of stopping to practice I continued to make the quilt. Â Learn from that mistake, will ya?
One of the hardest parts for me was putting the top, batting and backing together. I went to the store and bought myself some plastic clamps to hold everything together so I could pin it on a kitchen table.
Alas, this didn’t work well and the backing was crooked after I had pinned it, so I had to unpin the whole quilt and start over again.
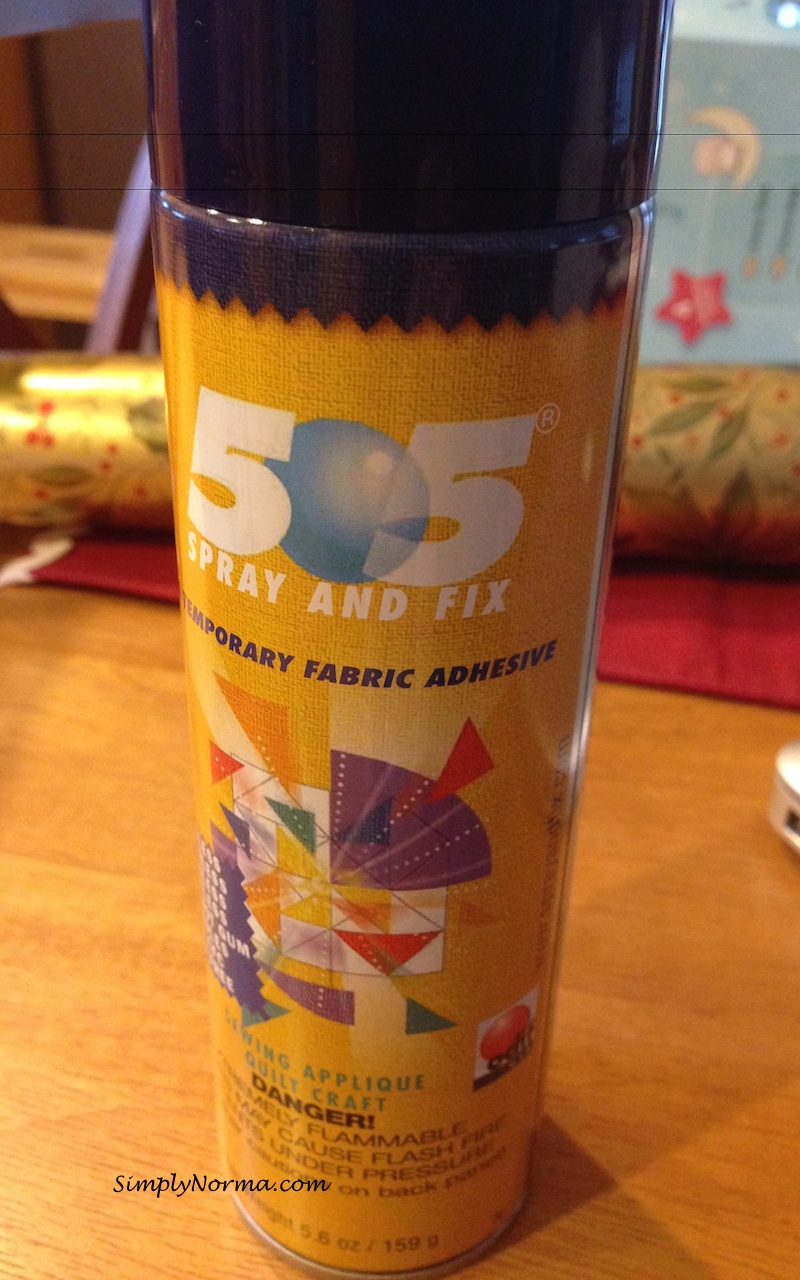
Then, I decided to use a temporary fabric adhesive called 505. It worked very very well although I had to lay everything out on the garage floor which is not hard in the summer but I was doing this in the Minnesota winter. I wound up using an old king size sheet under everything.
One fear that I’ve had as a new quilter is that the quilt will fall apart. I had visions of little pieces of thread coming out all over the place. Â (Such a phobia …)
Well, let me tell you, since I used small stitches, had “crooked” sewing then had to remove all the stitching, I can testify that this quilt will absolutely not come apart.
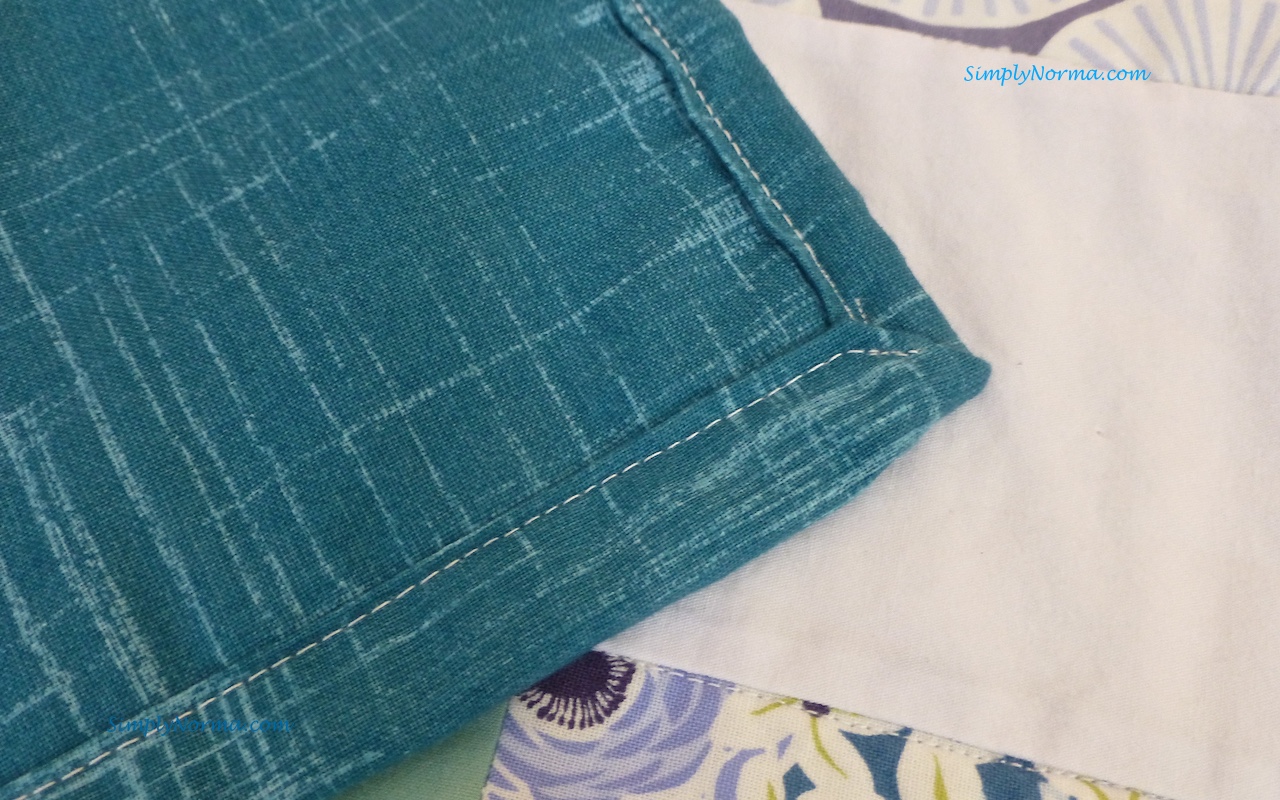
Surprisingly, the binding (edges) of the quilt came out quite well. (Let me take a moment to pat myself on the back here … hey! someone’s gotta do it.)
After I finished this quilt I tossed it in the washer in cold water, crossed my fingers and prayed that it didn’t shrink. Surprisingly, it washed beautifully and so I tossed it in the dryer. Another thumbs up!
And here it is ~ drum roll please!

I literally cried when I packed it to ship it to my sister for Christmas. I told her that it took a lot of blood, sweat and tears and I meant that literally as I didn’t use a sewing thimble and kept pricking myself when I was manually sewing it.
Surprisingly, I sweat when I sew. Weird, no? I’m not a sweater but the intensity of making this quilt must have had something to do with it.
I’m now in “practice” mode again. I’m practicing making different quilting designs and also purchased a kit to make table runners. That project is going quicker than what I thought and I’m almost finished with it. Soon, very soon, I’ll post it for you.

