We were having water “issues” for quite awhile ~ stinky smelling water, rusty water, etc. I knew in my gut something was wrong as our neighbor across the street told us his water is clear and good-tasting.
So it was that one morning my husband woke me up and said “We have no water.” Blearily I got up to check and, yes, we had no water (now, why would I have doubted him?). I’m not sure what type of help I could be but, hey, gotta support the husband. I called our home warranty company and they told me they would have a contractor call me to come take a look.
In the meantime, husband headed downstairs to where the water heater, water softener, etc. are located and turned the water softener on and off. Â Whala! Â The water came back. Â So, I sheepishly called the home warranty company back and canceled the appointment.
The water seemed to have very low pressure though and throughout the day I tried to conserve as much water as I could. The next morning we woke up to no water again. Â Bah!
A not-so-quick call to our home warranty company and within a couple hours I had an appointment for someone to come to see what the problem was.
Sure enough ~ the well water pump had to be replaced. Â And so our journey began.
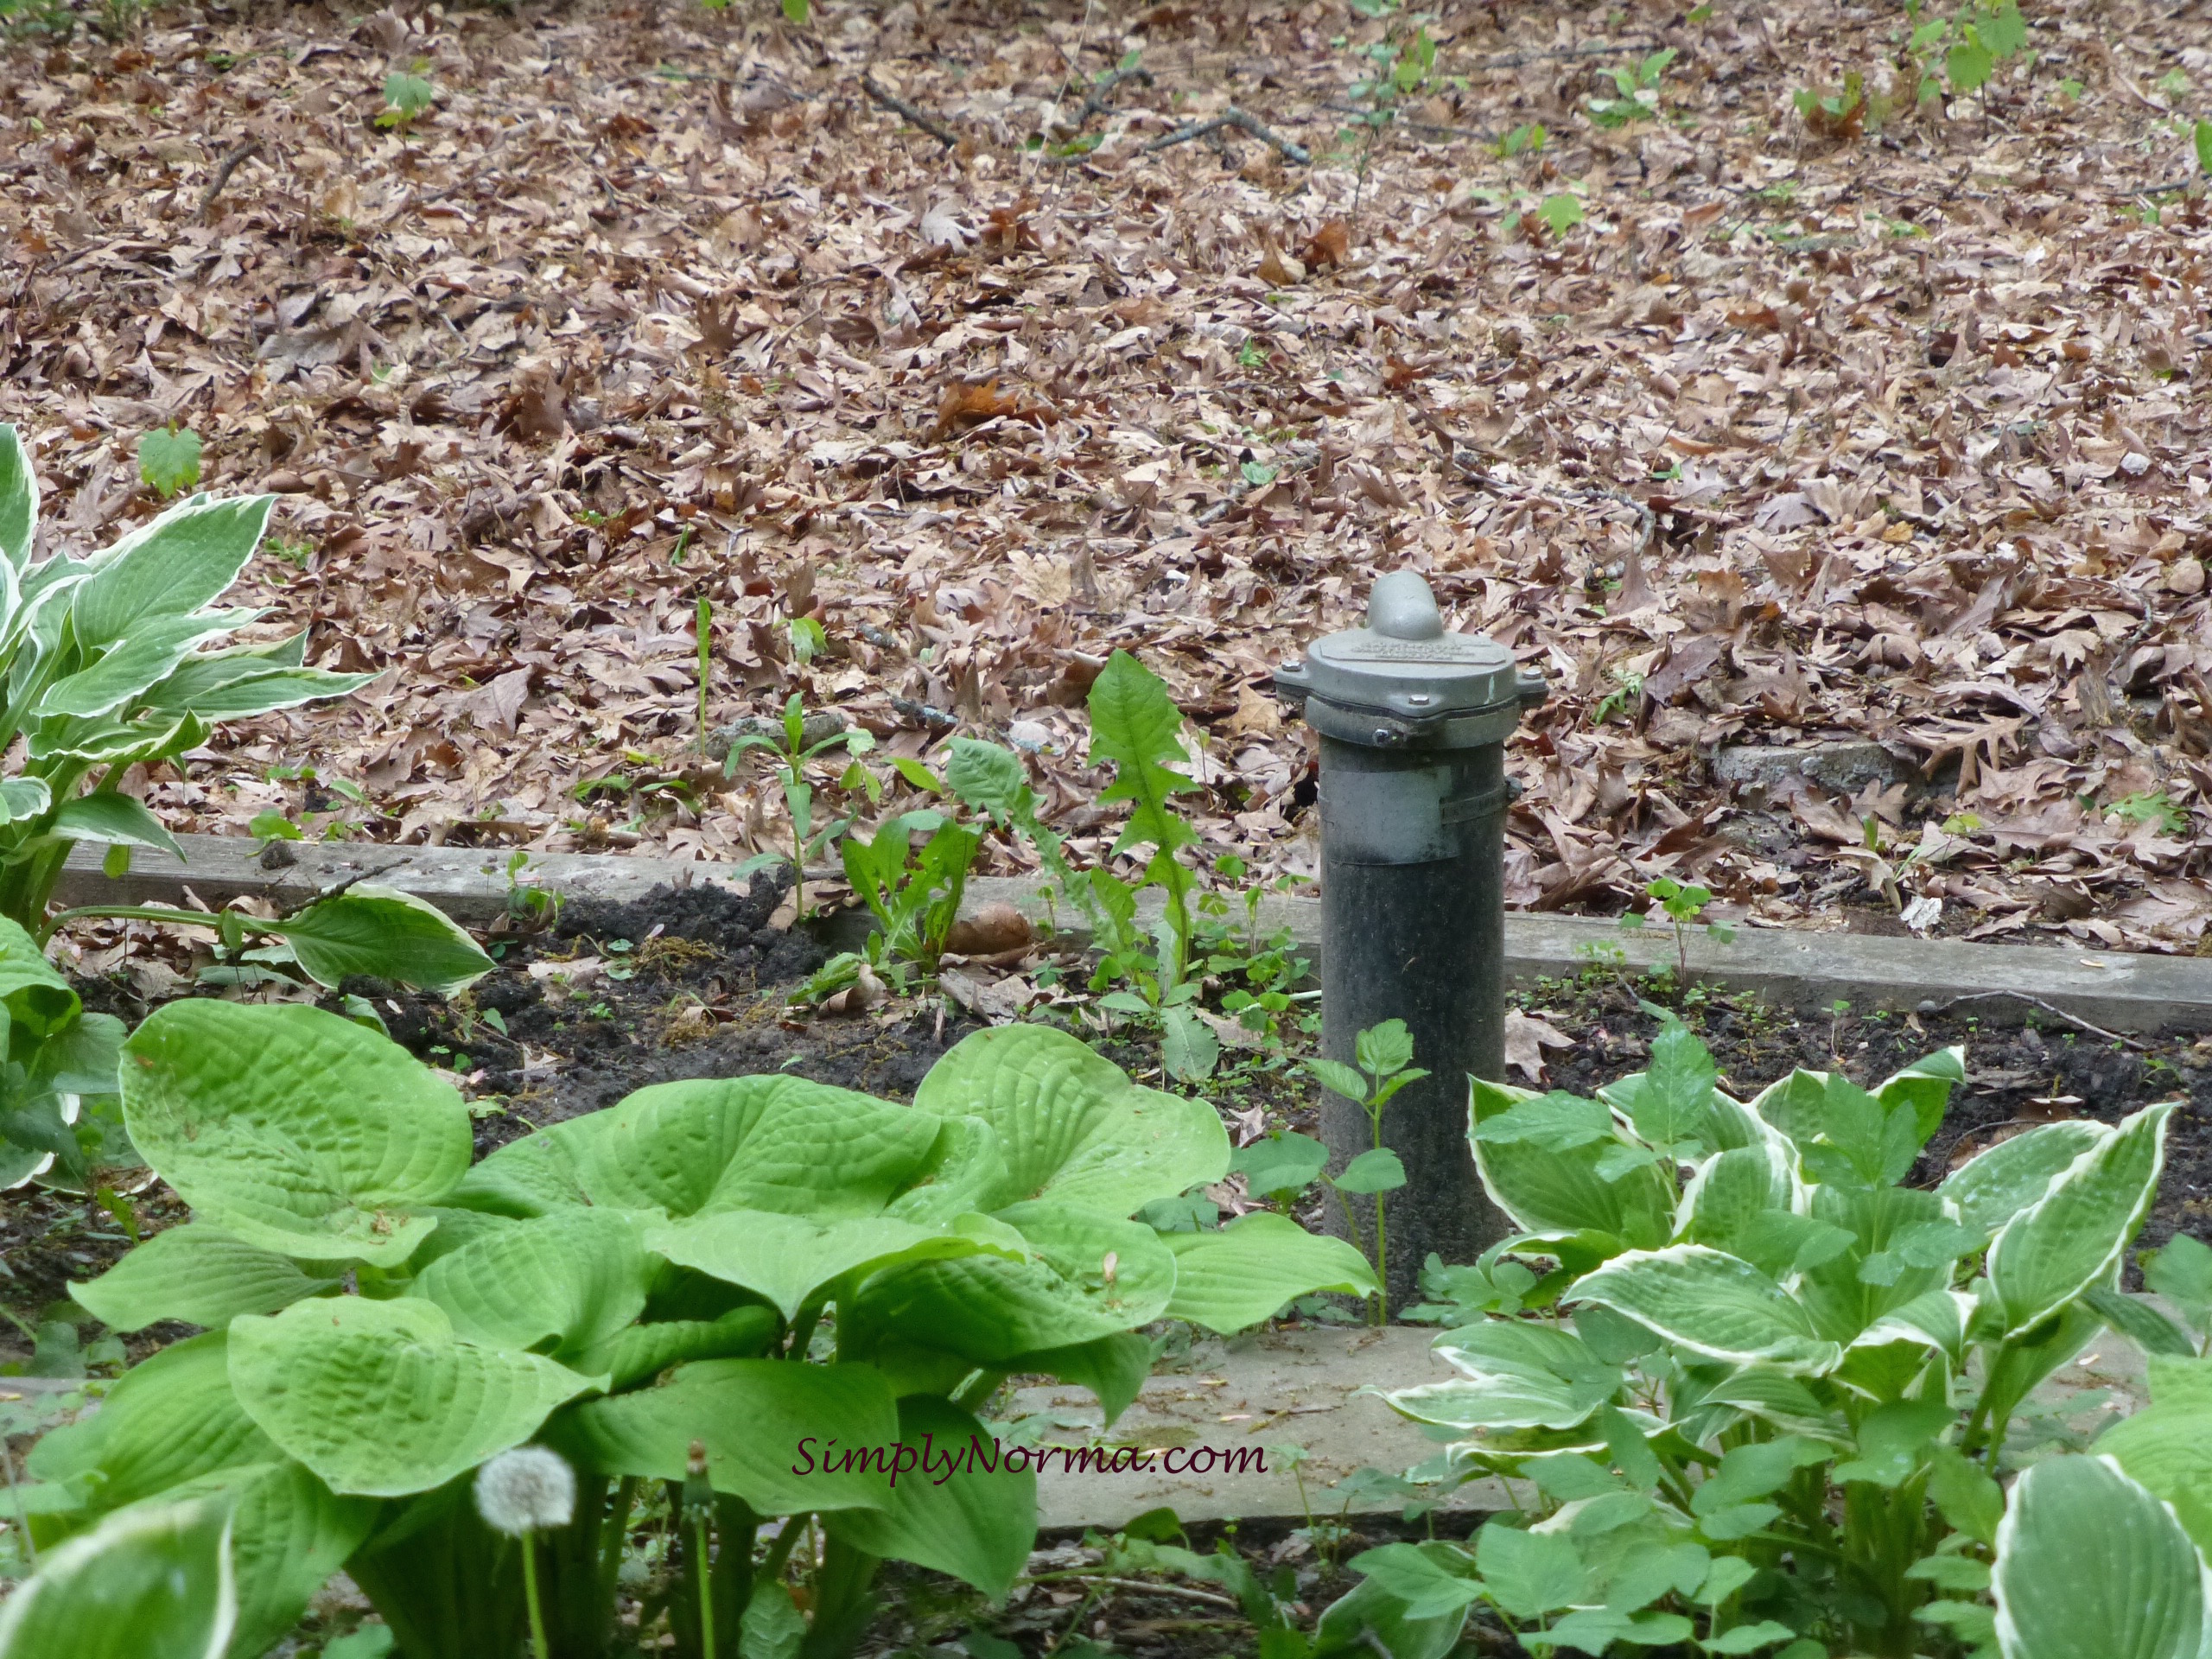
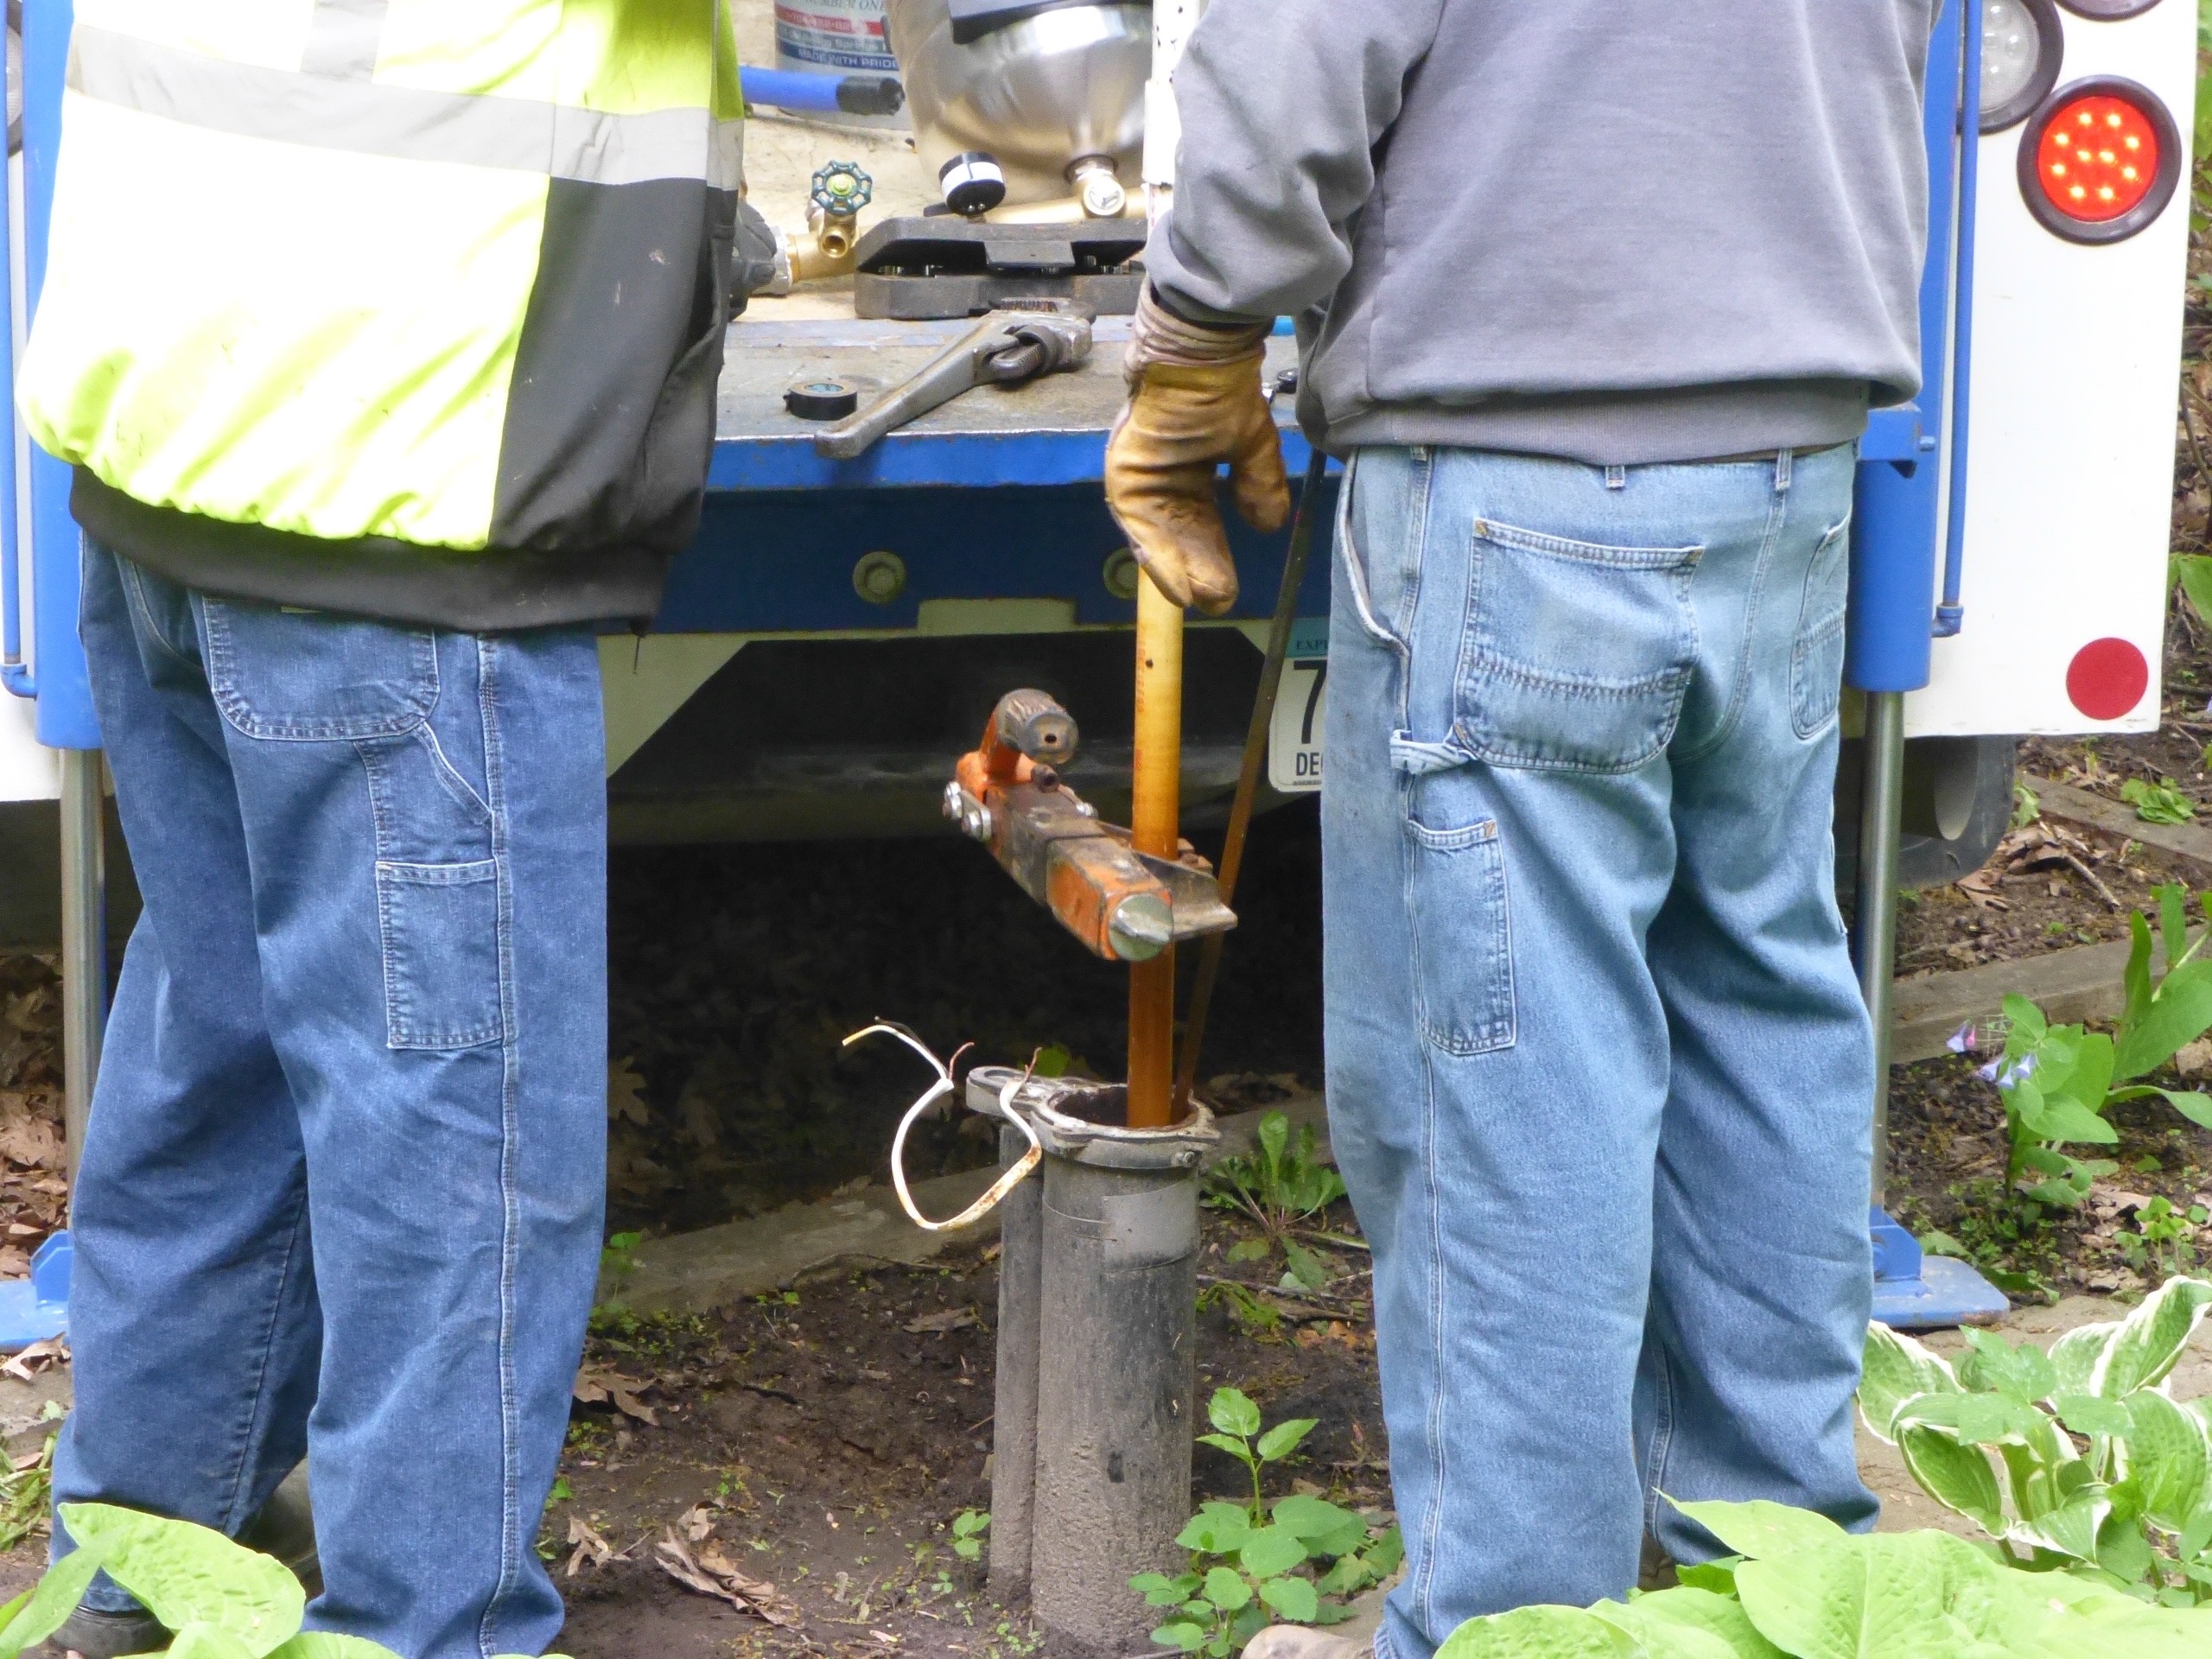
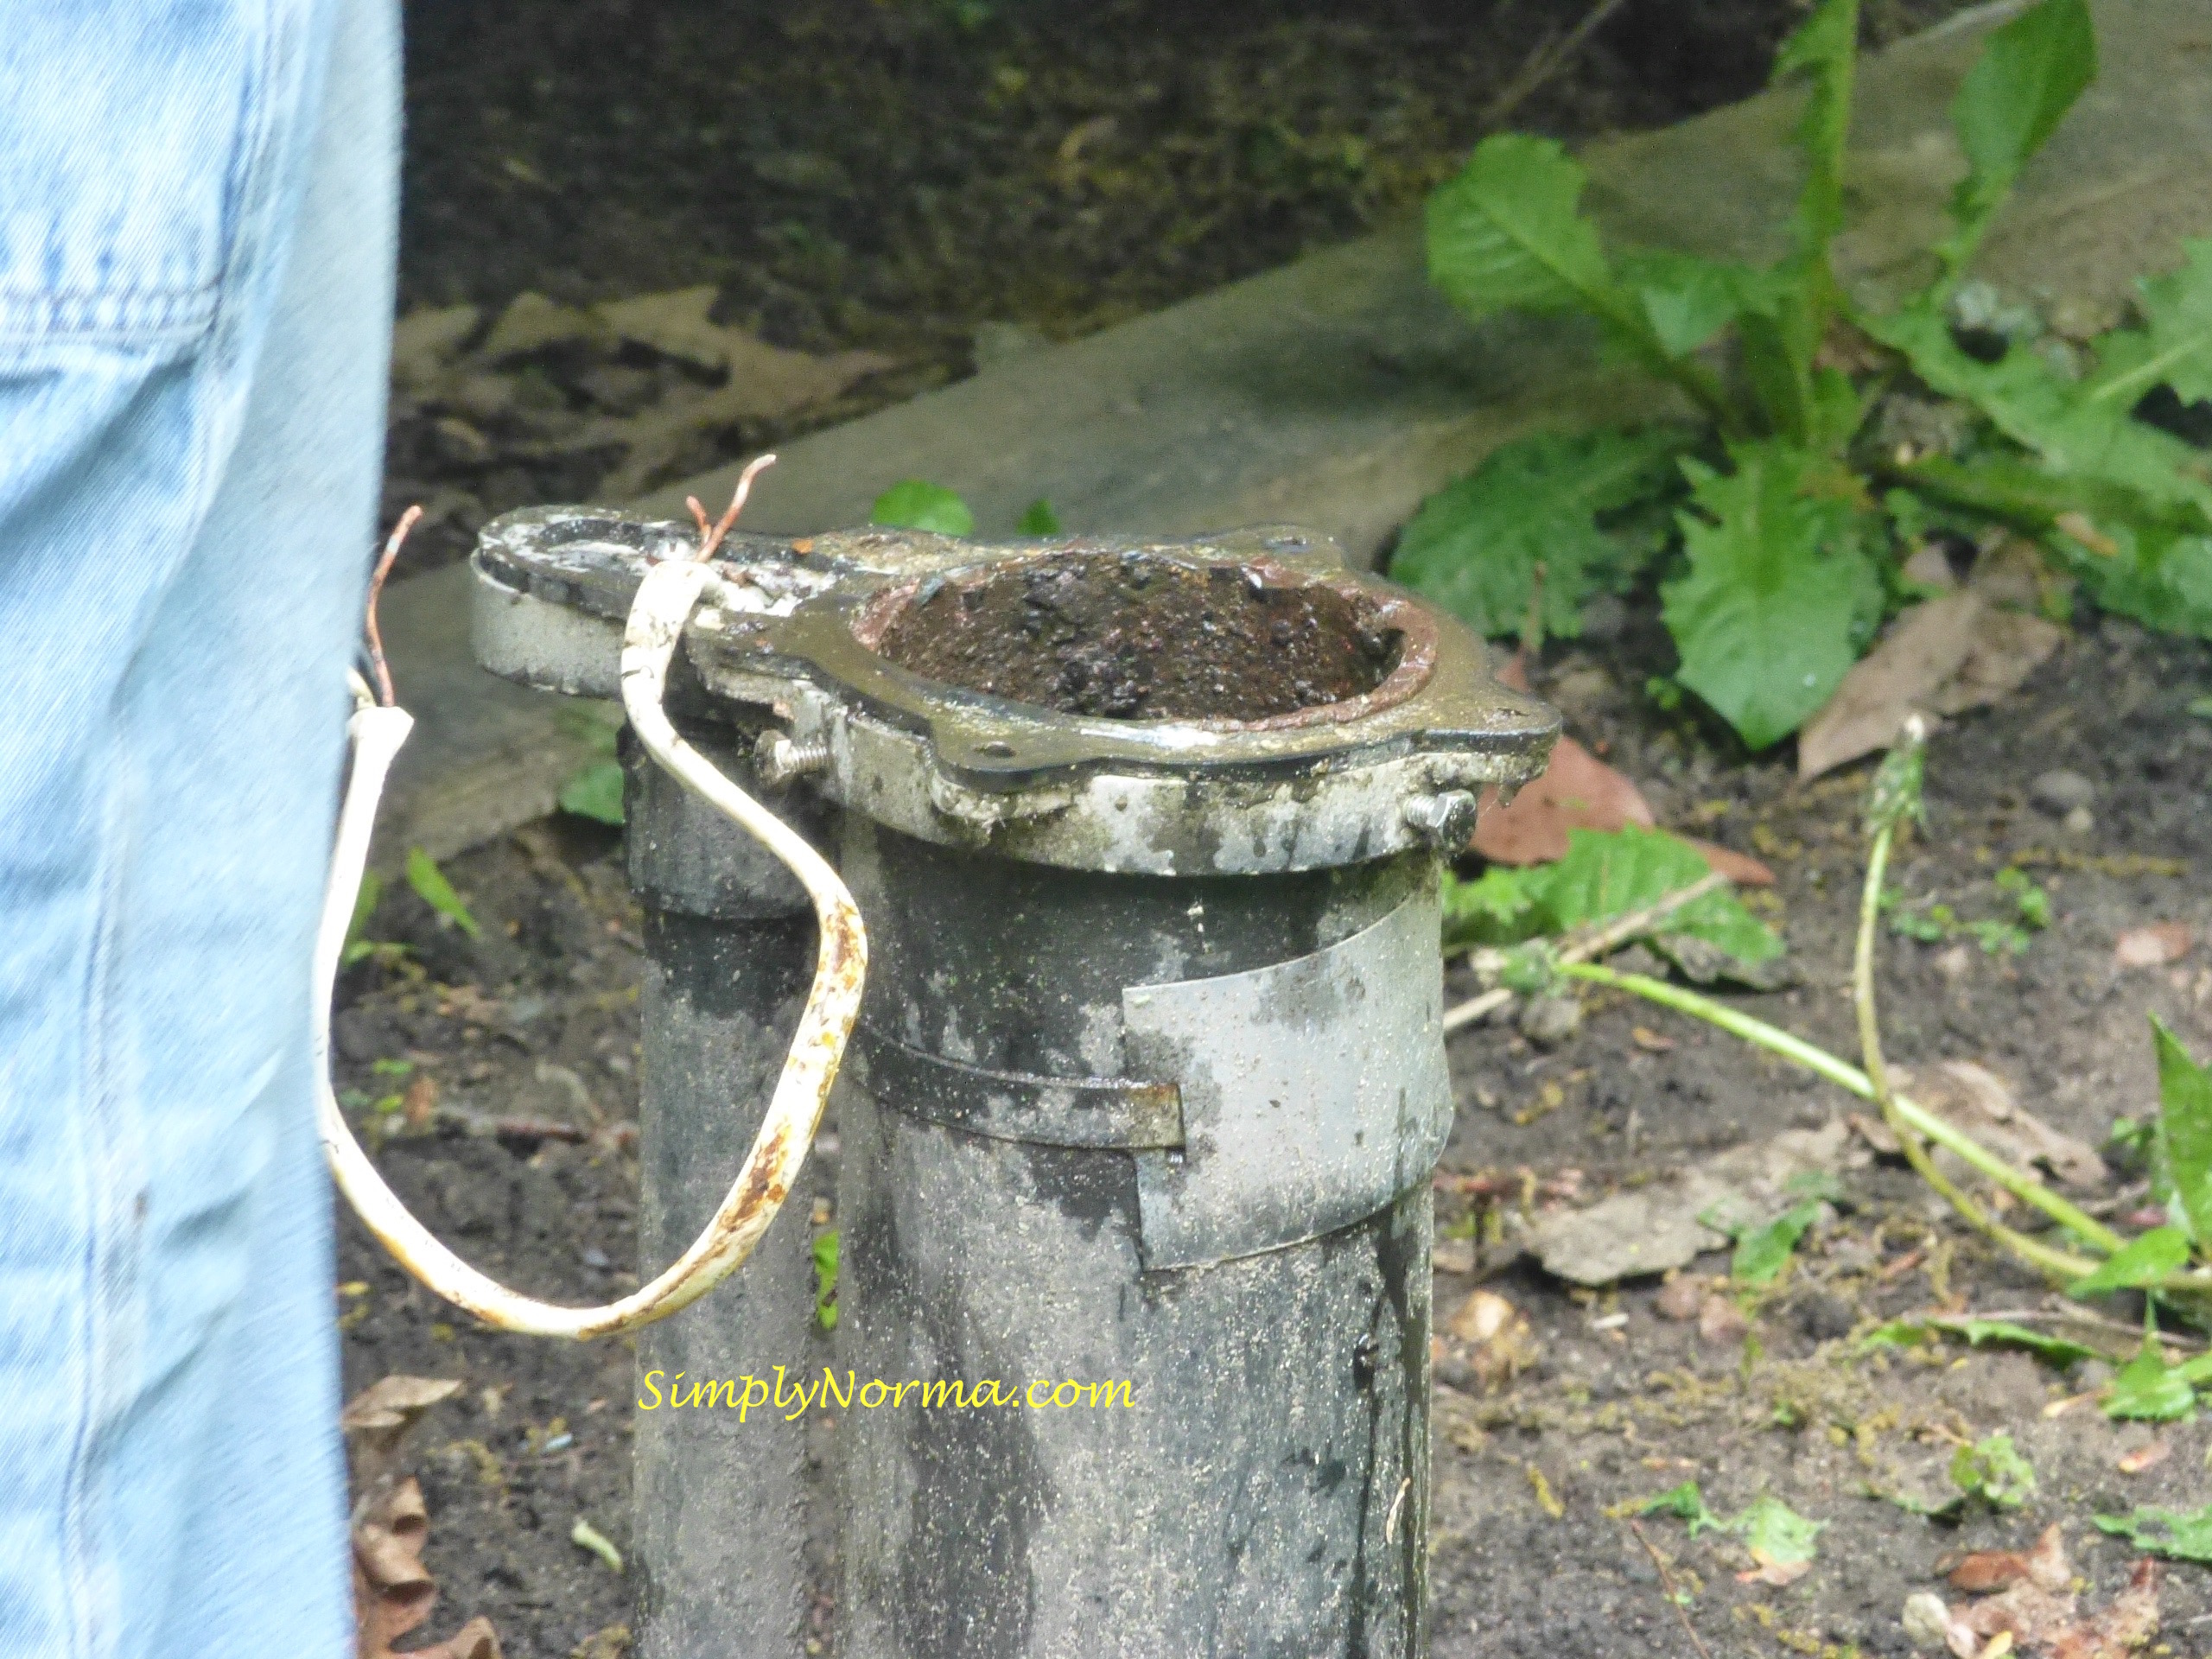
Below is a picture of the well cap which goes over the casing that has the pipes that go to the well pump. The company will remove this cap and have to pull pipes from here to get to the water pump.
Here’s a picture of the men working to remove the well cap and getting the truck ready to remove the pipes from inside the casing.
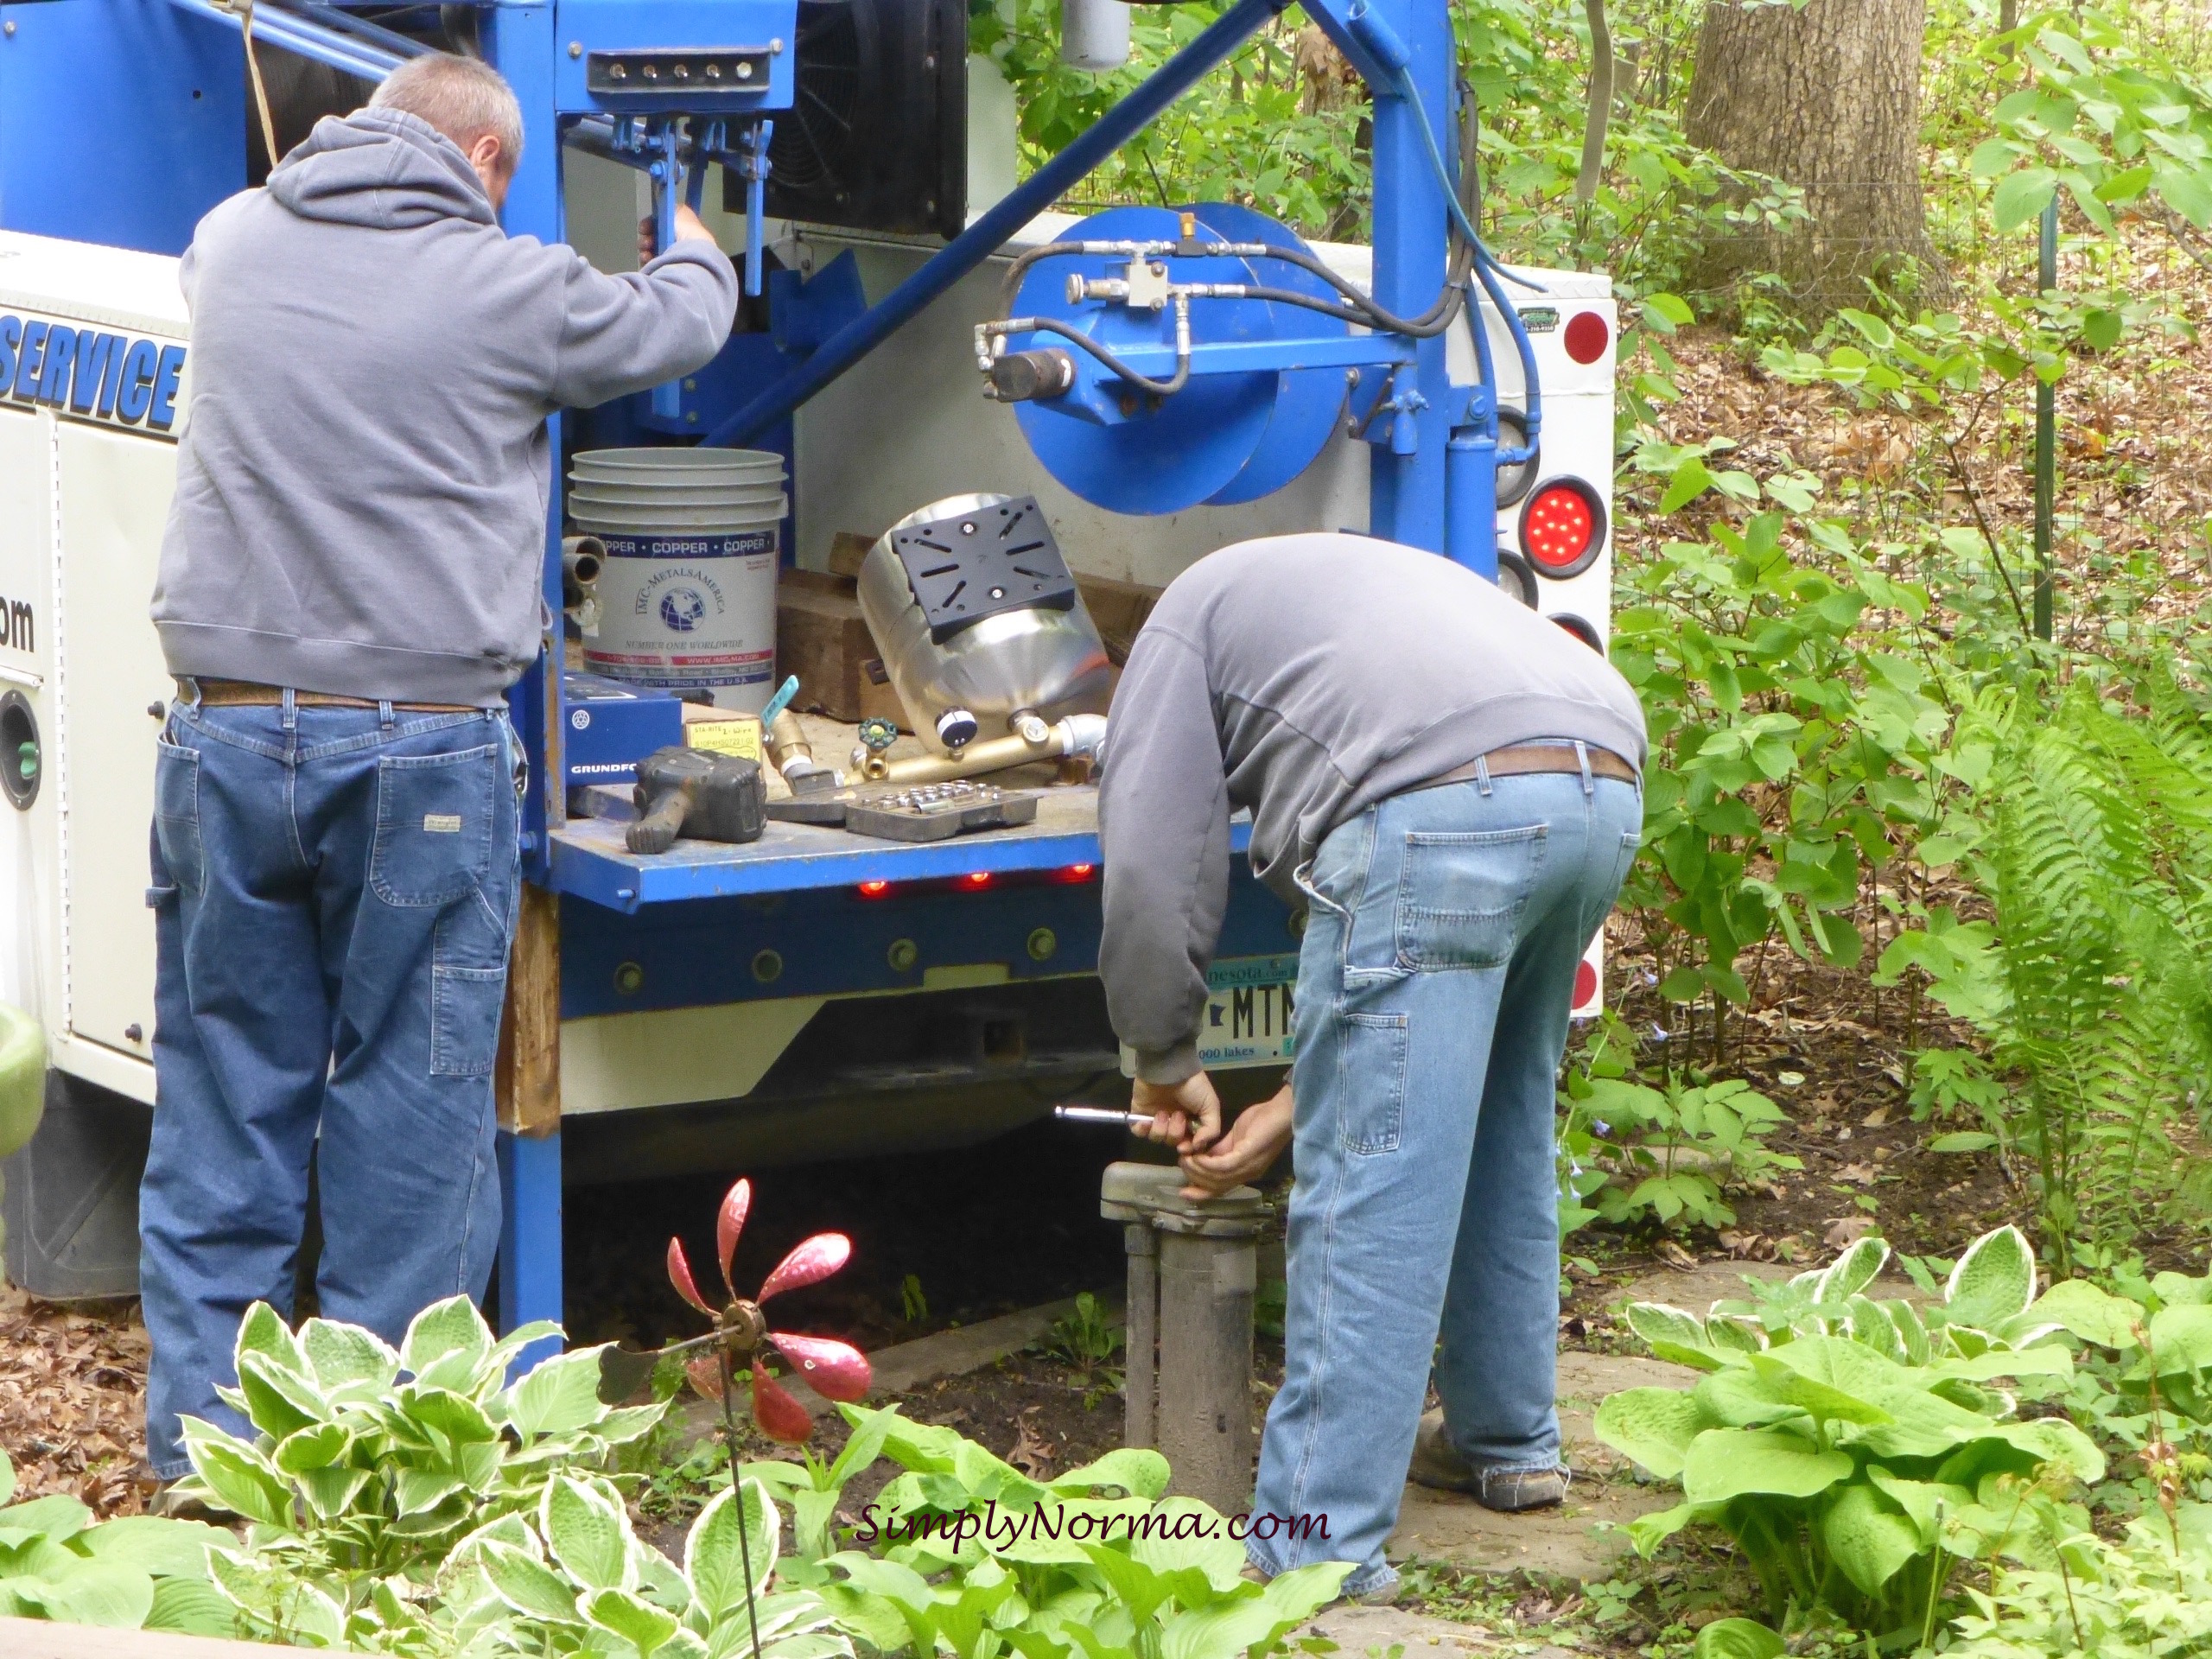
The top of the truck had this long “tower” that has a cable on it so each pipe can be pulled out since the well is approximately 179 feet deep.

The first pipe came out easily, was galvanized and looked quite clean.

A large wrench was used to turn the galvanized pipe to help with its removal.

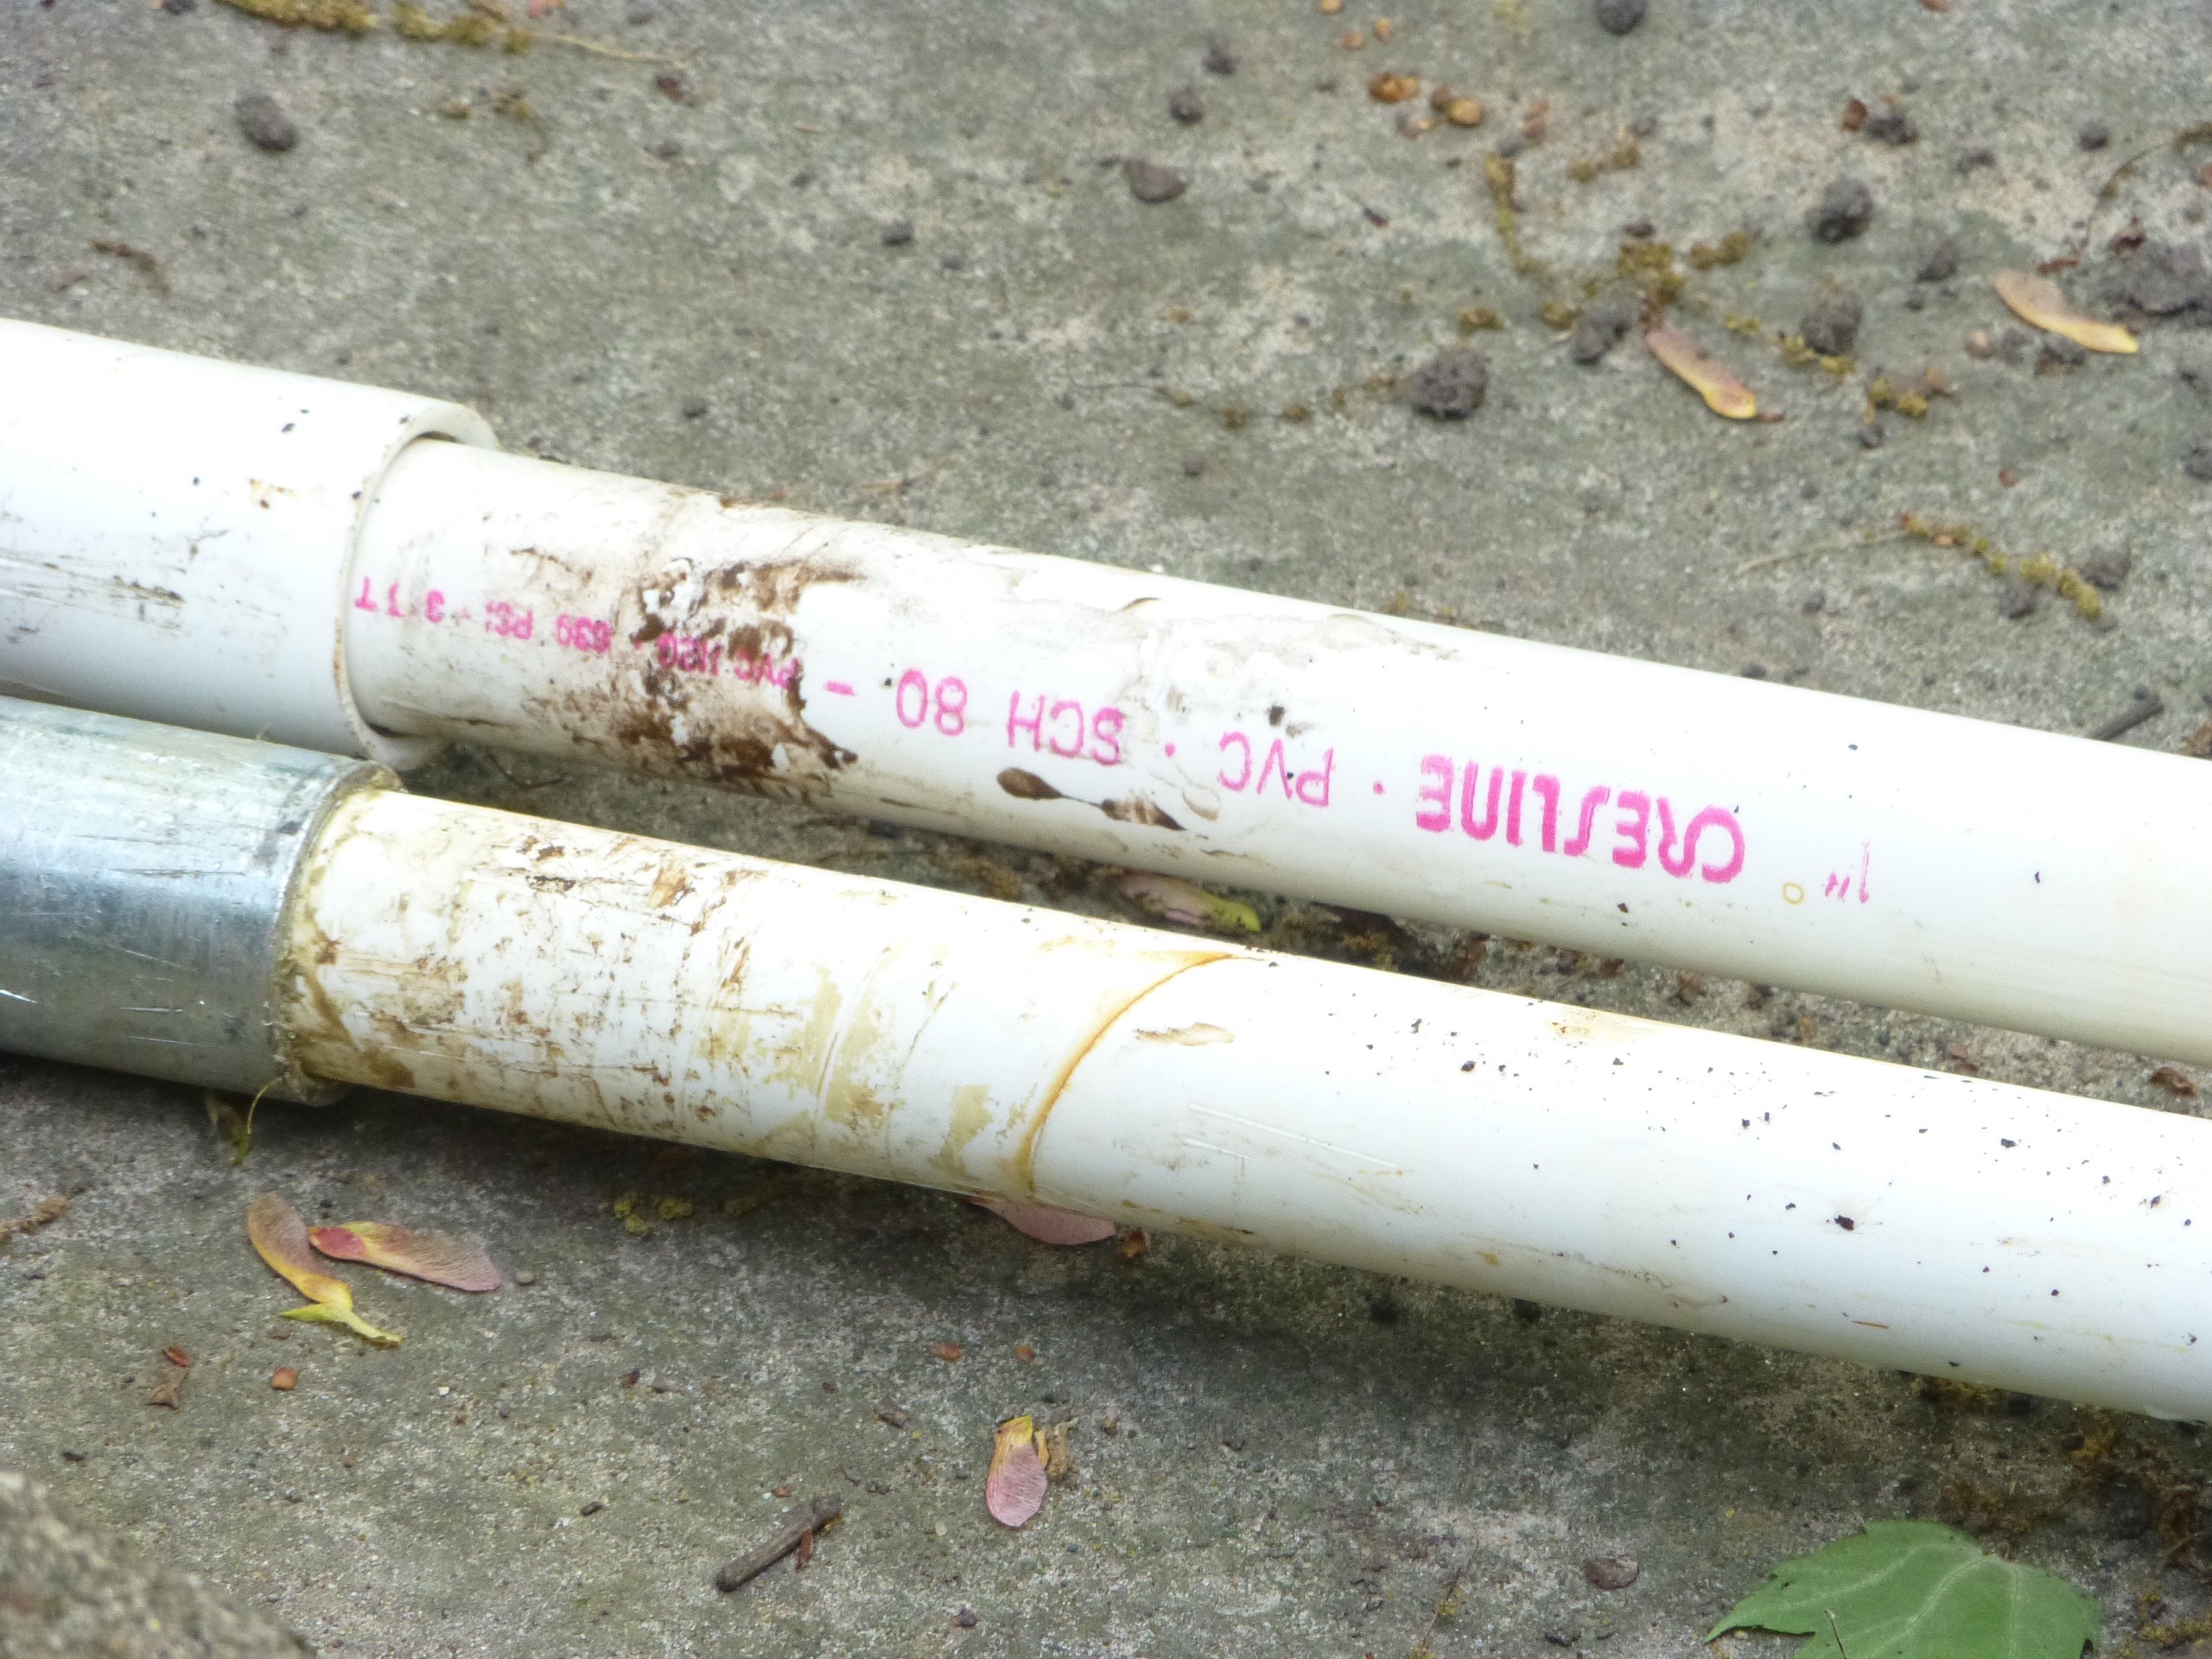
The rest of the pipes were made of PVC material.
The further down the pipe was the dirtier it looked as it was removed.
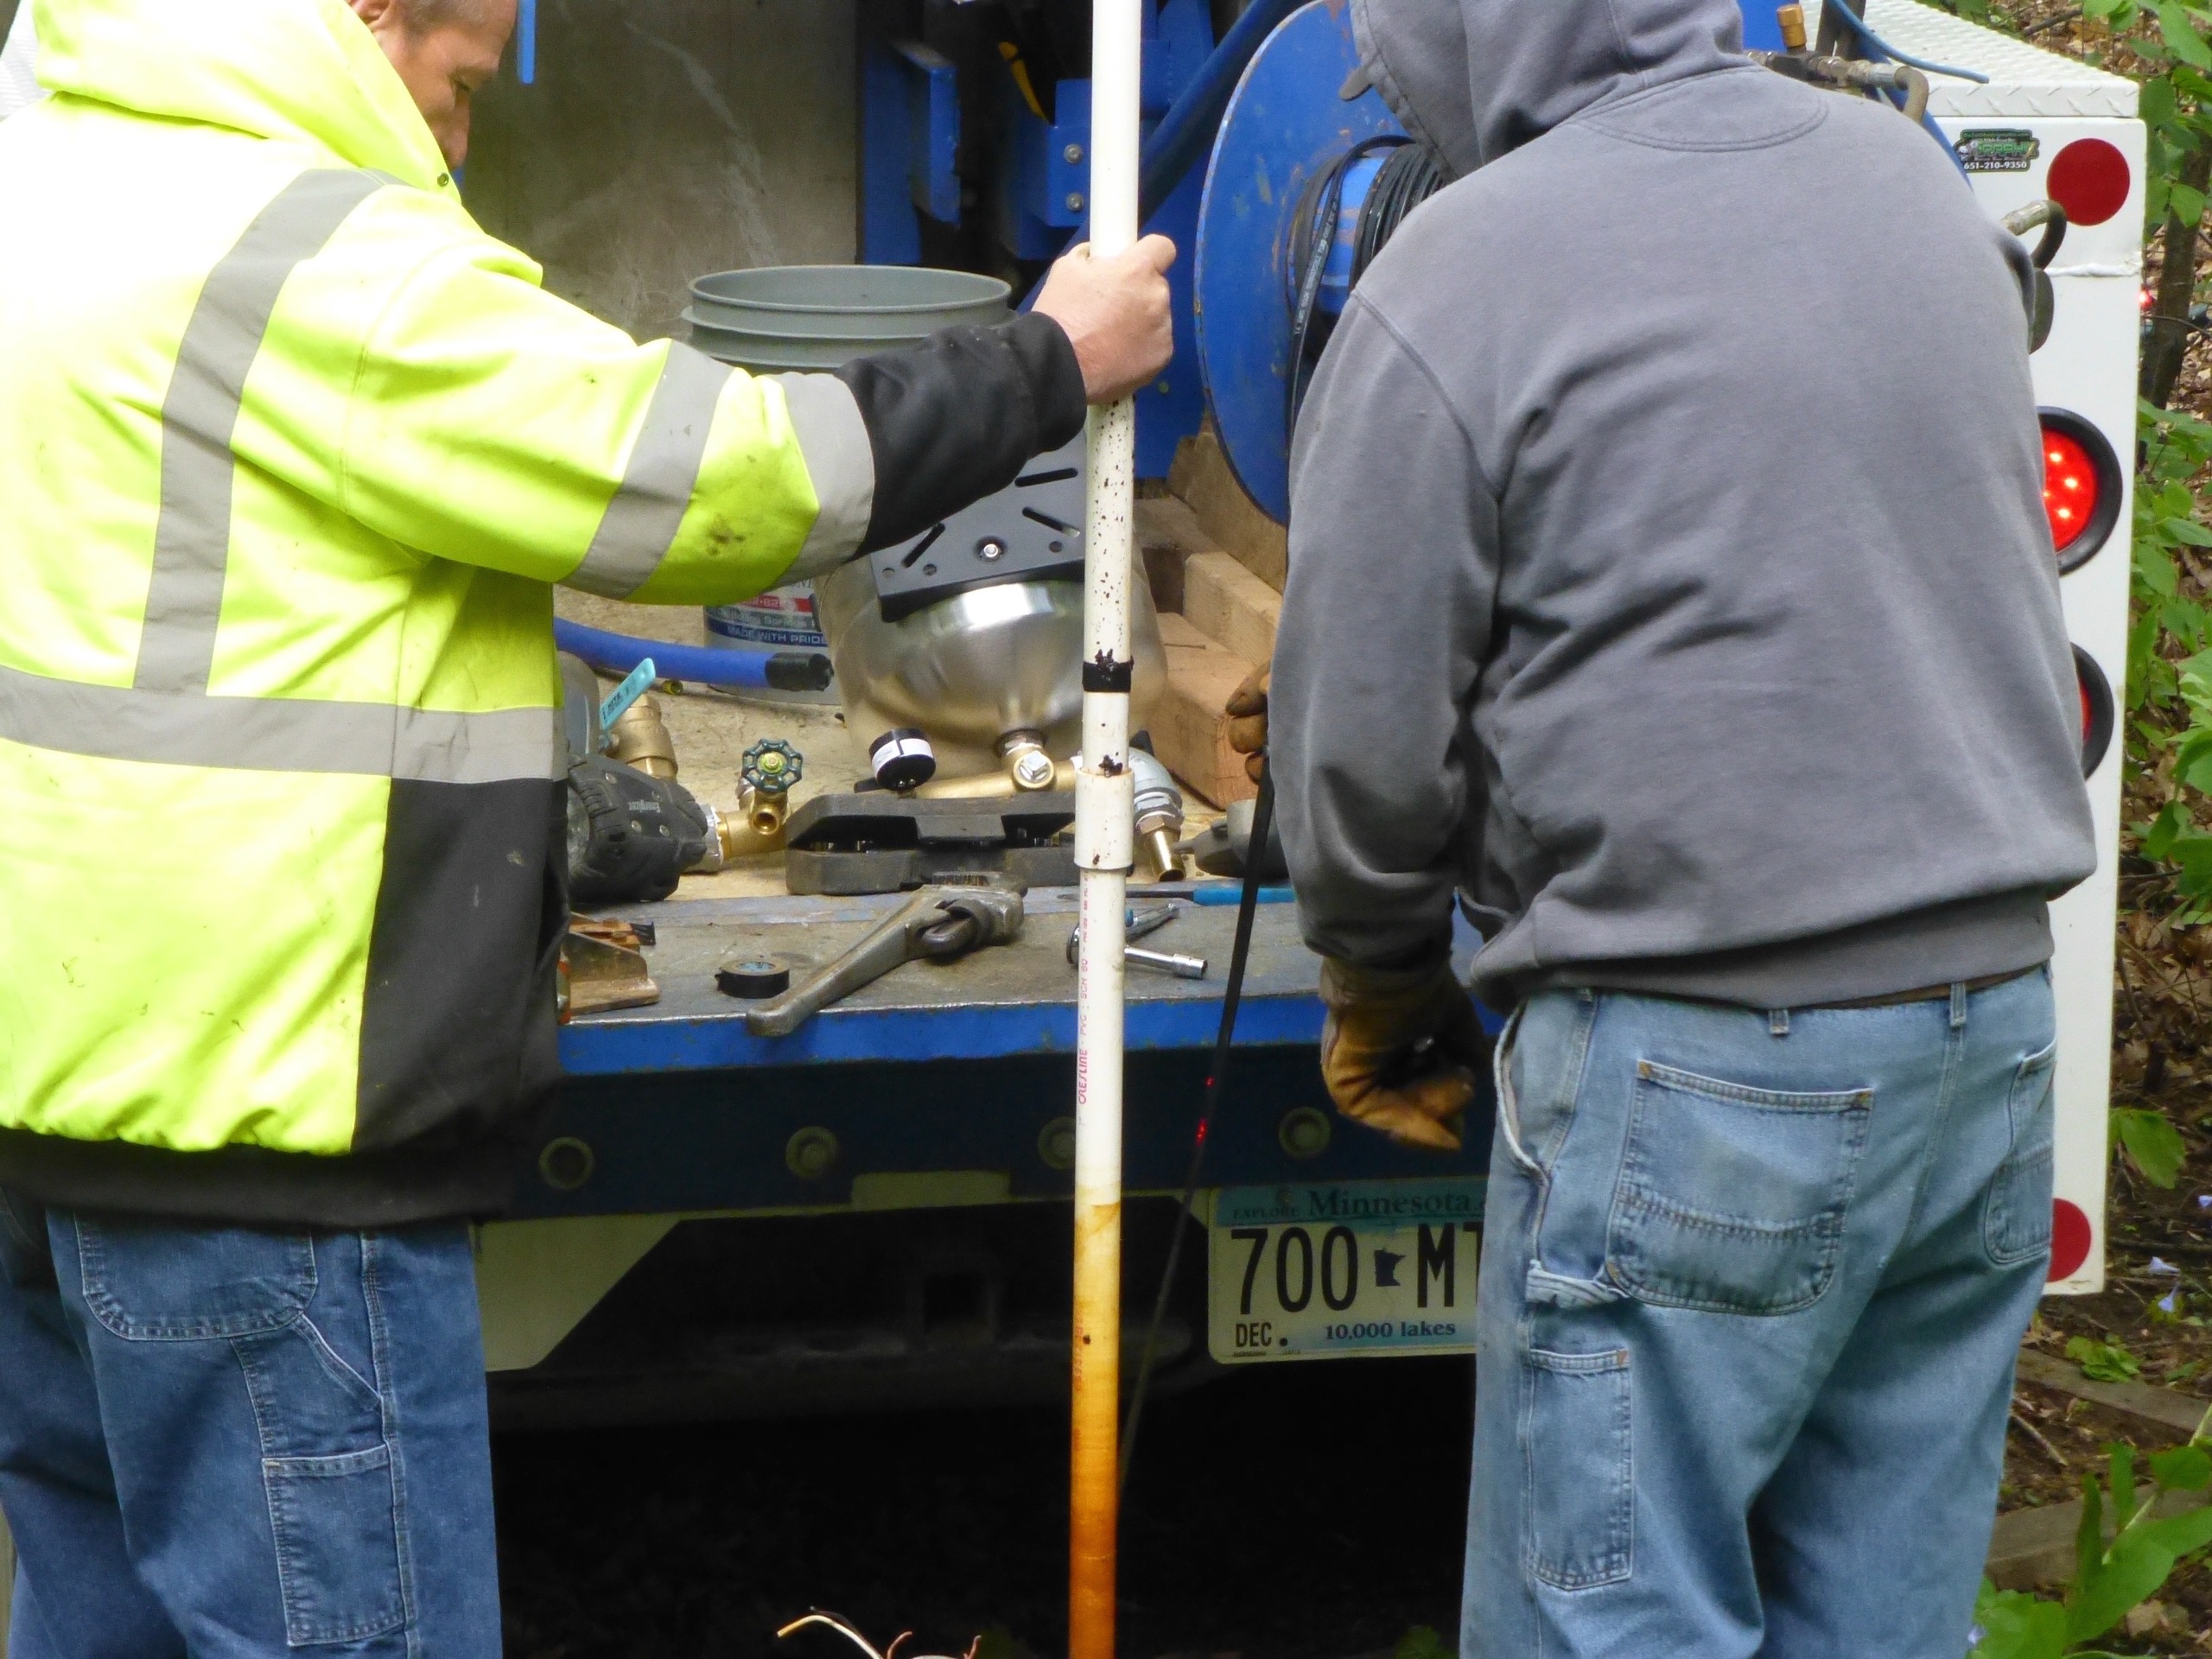
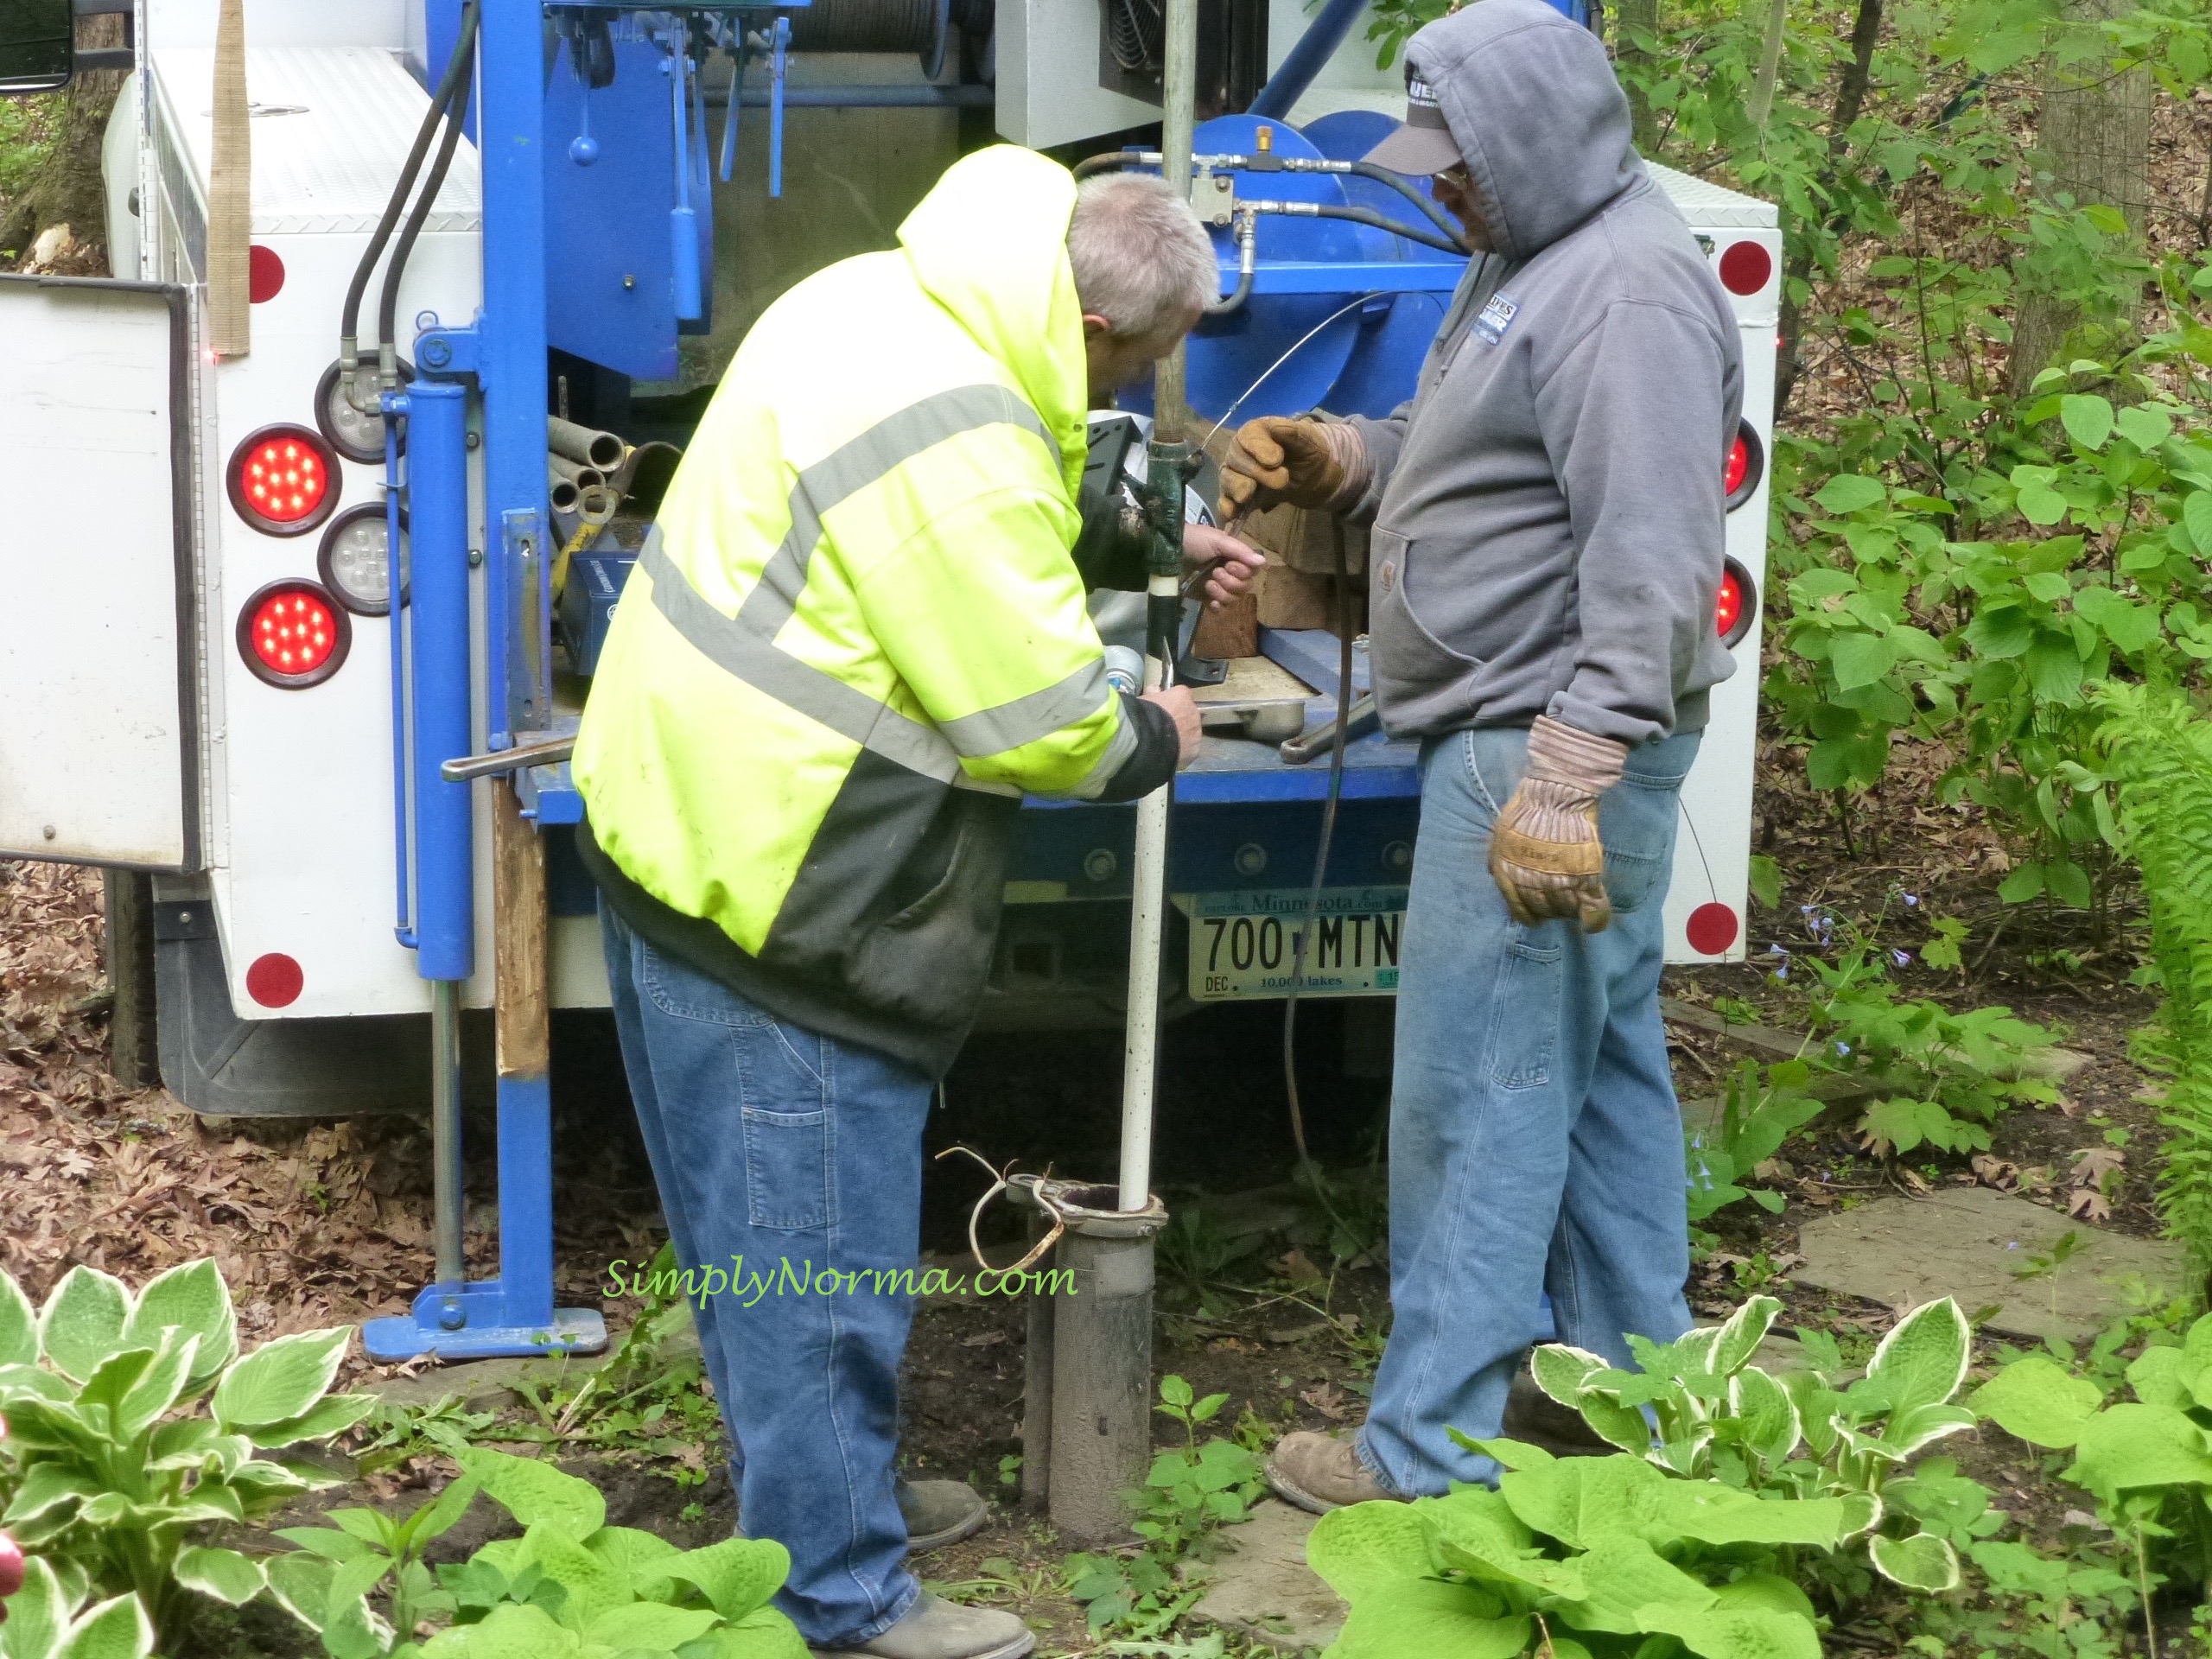
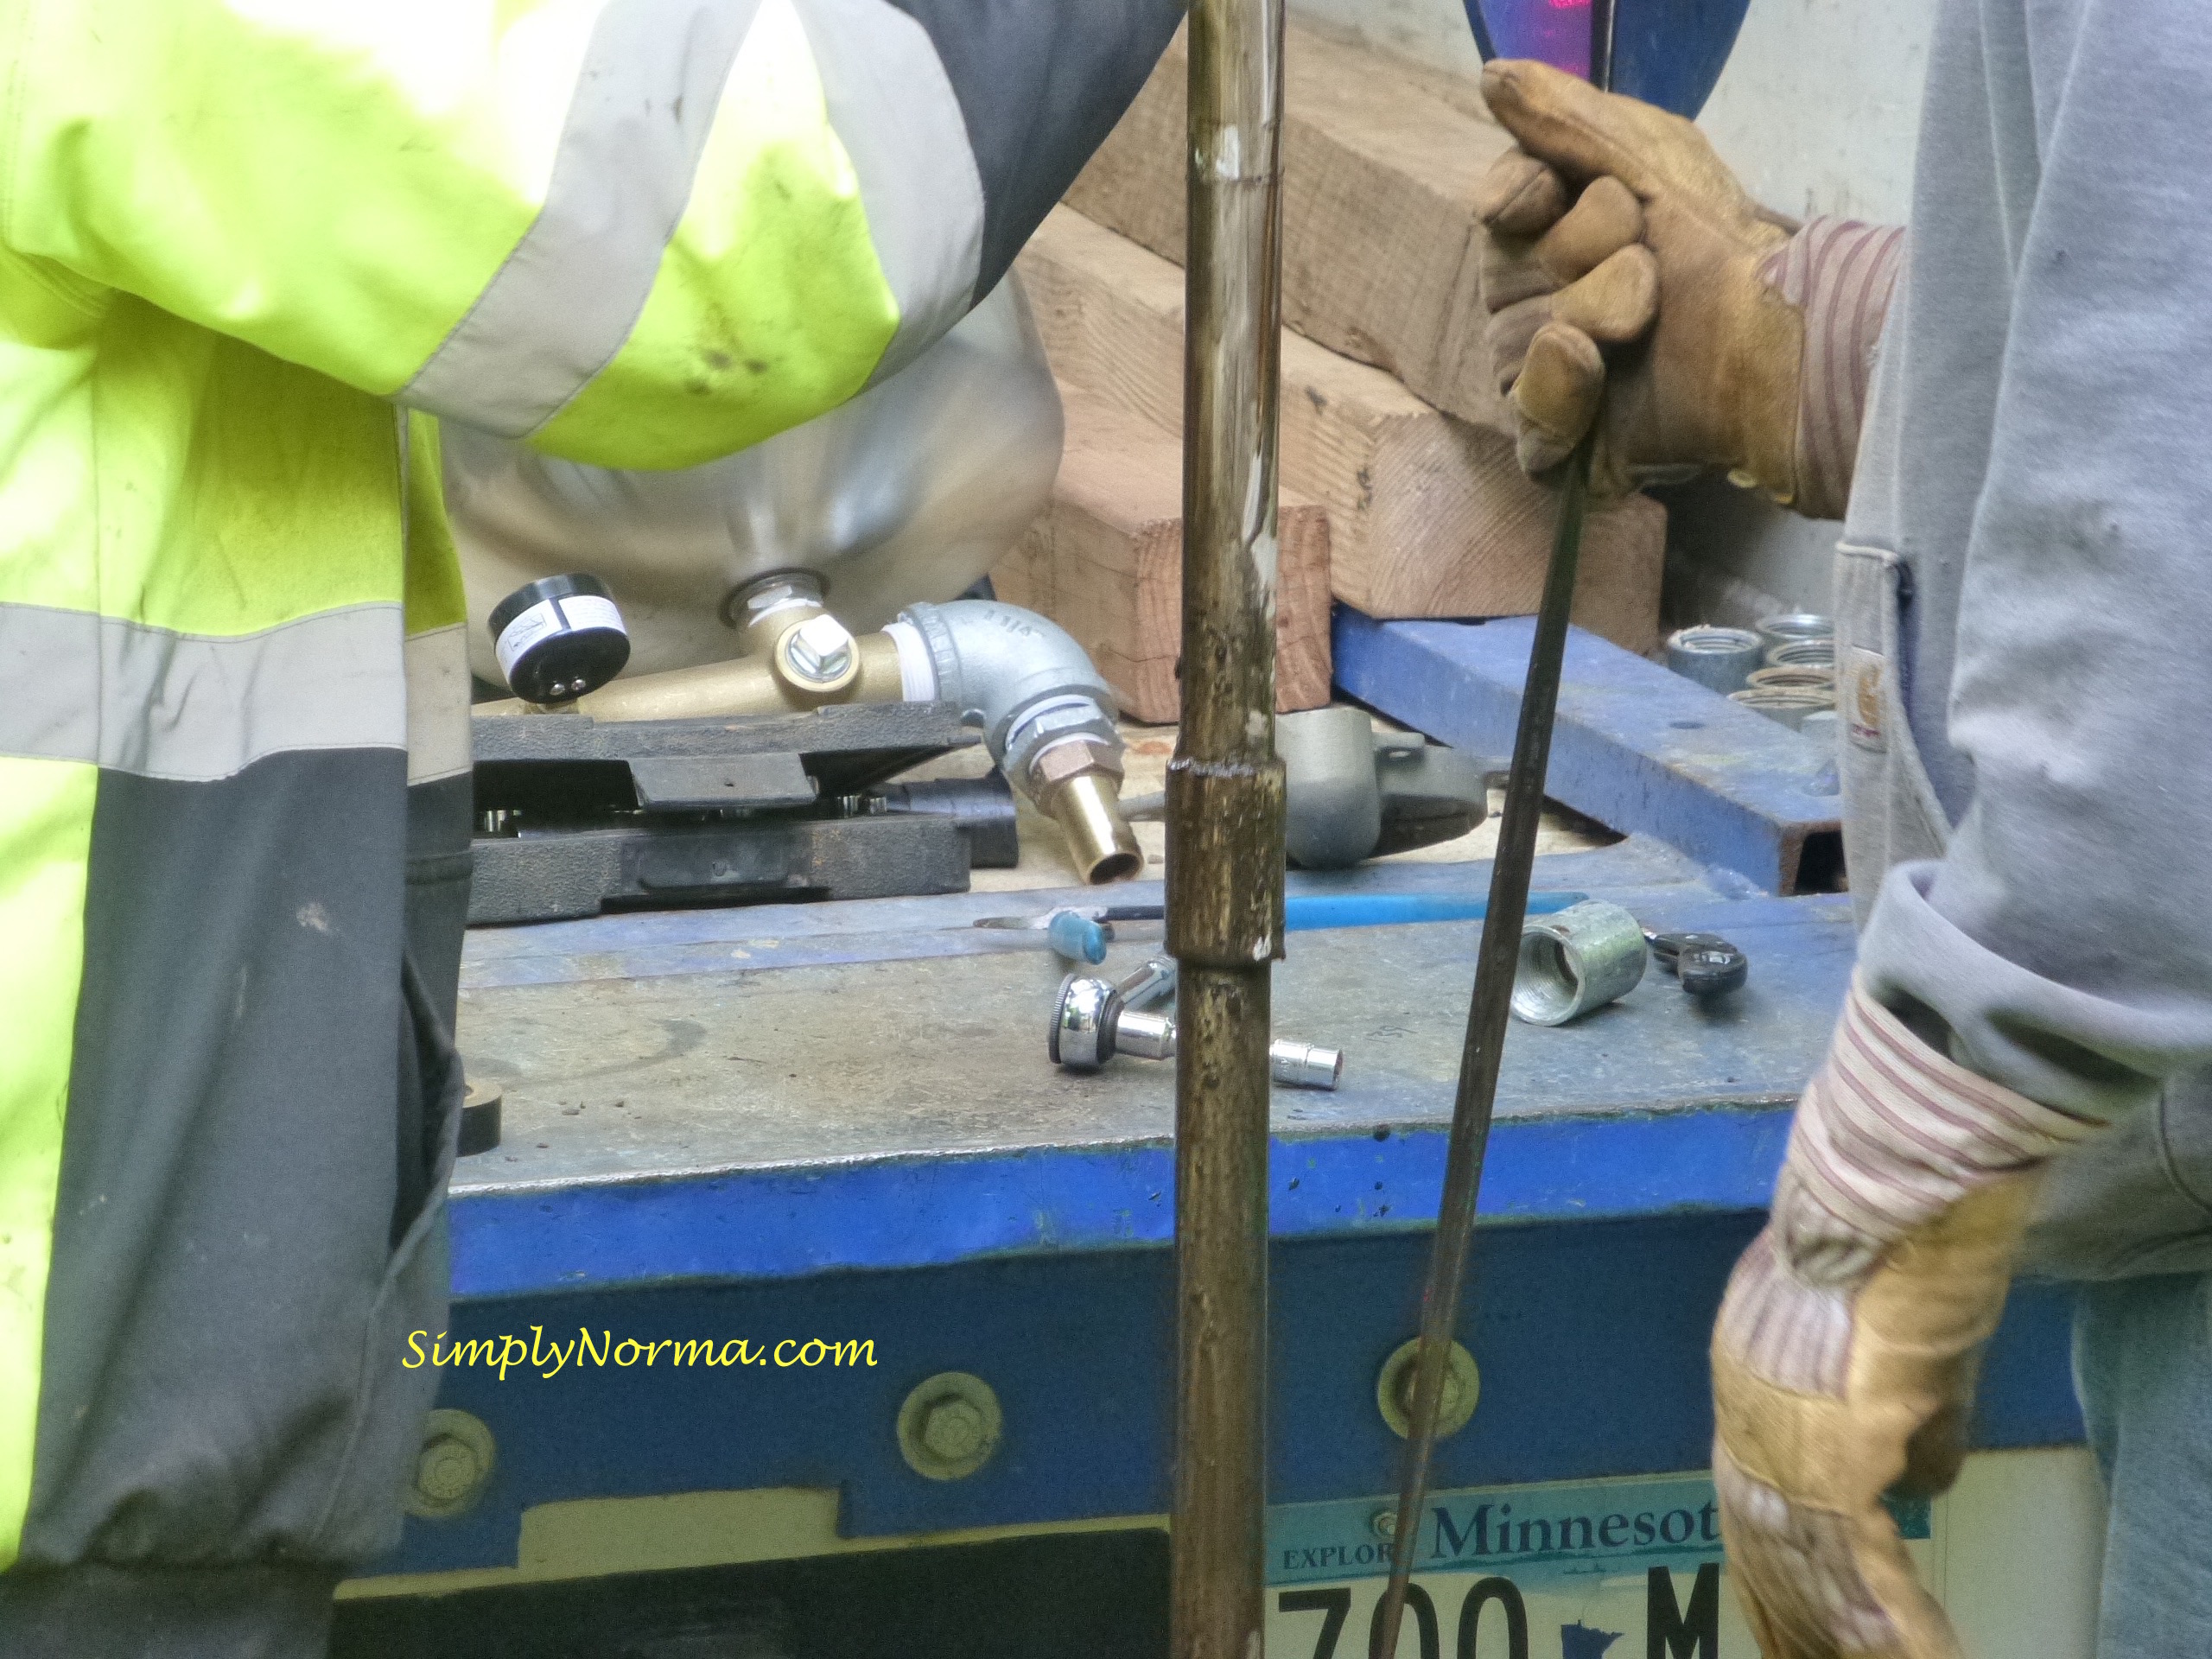
The wrench was quite helpful in removing one pipe from another.
And sometimes more than one wrench had to be used.

The cable was quite long and each time one pipe appeared it was removed from the cable and set to the side.

Notice how the pipes are joined together.
Here are a couple of the PVC pipes. Â As they were pulled up the men would use their gloved hand to remove the water & rust that came up with it.
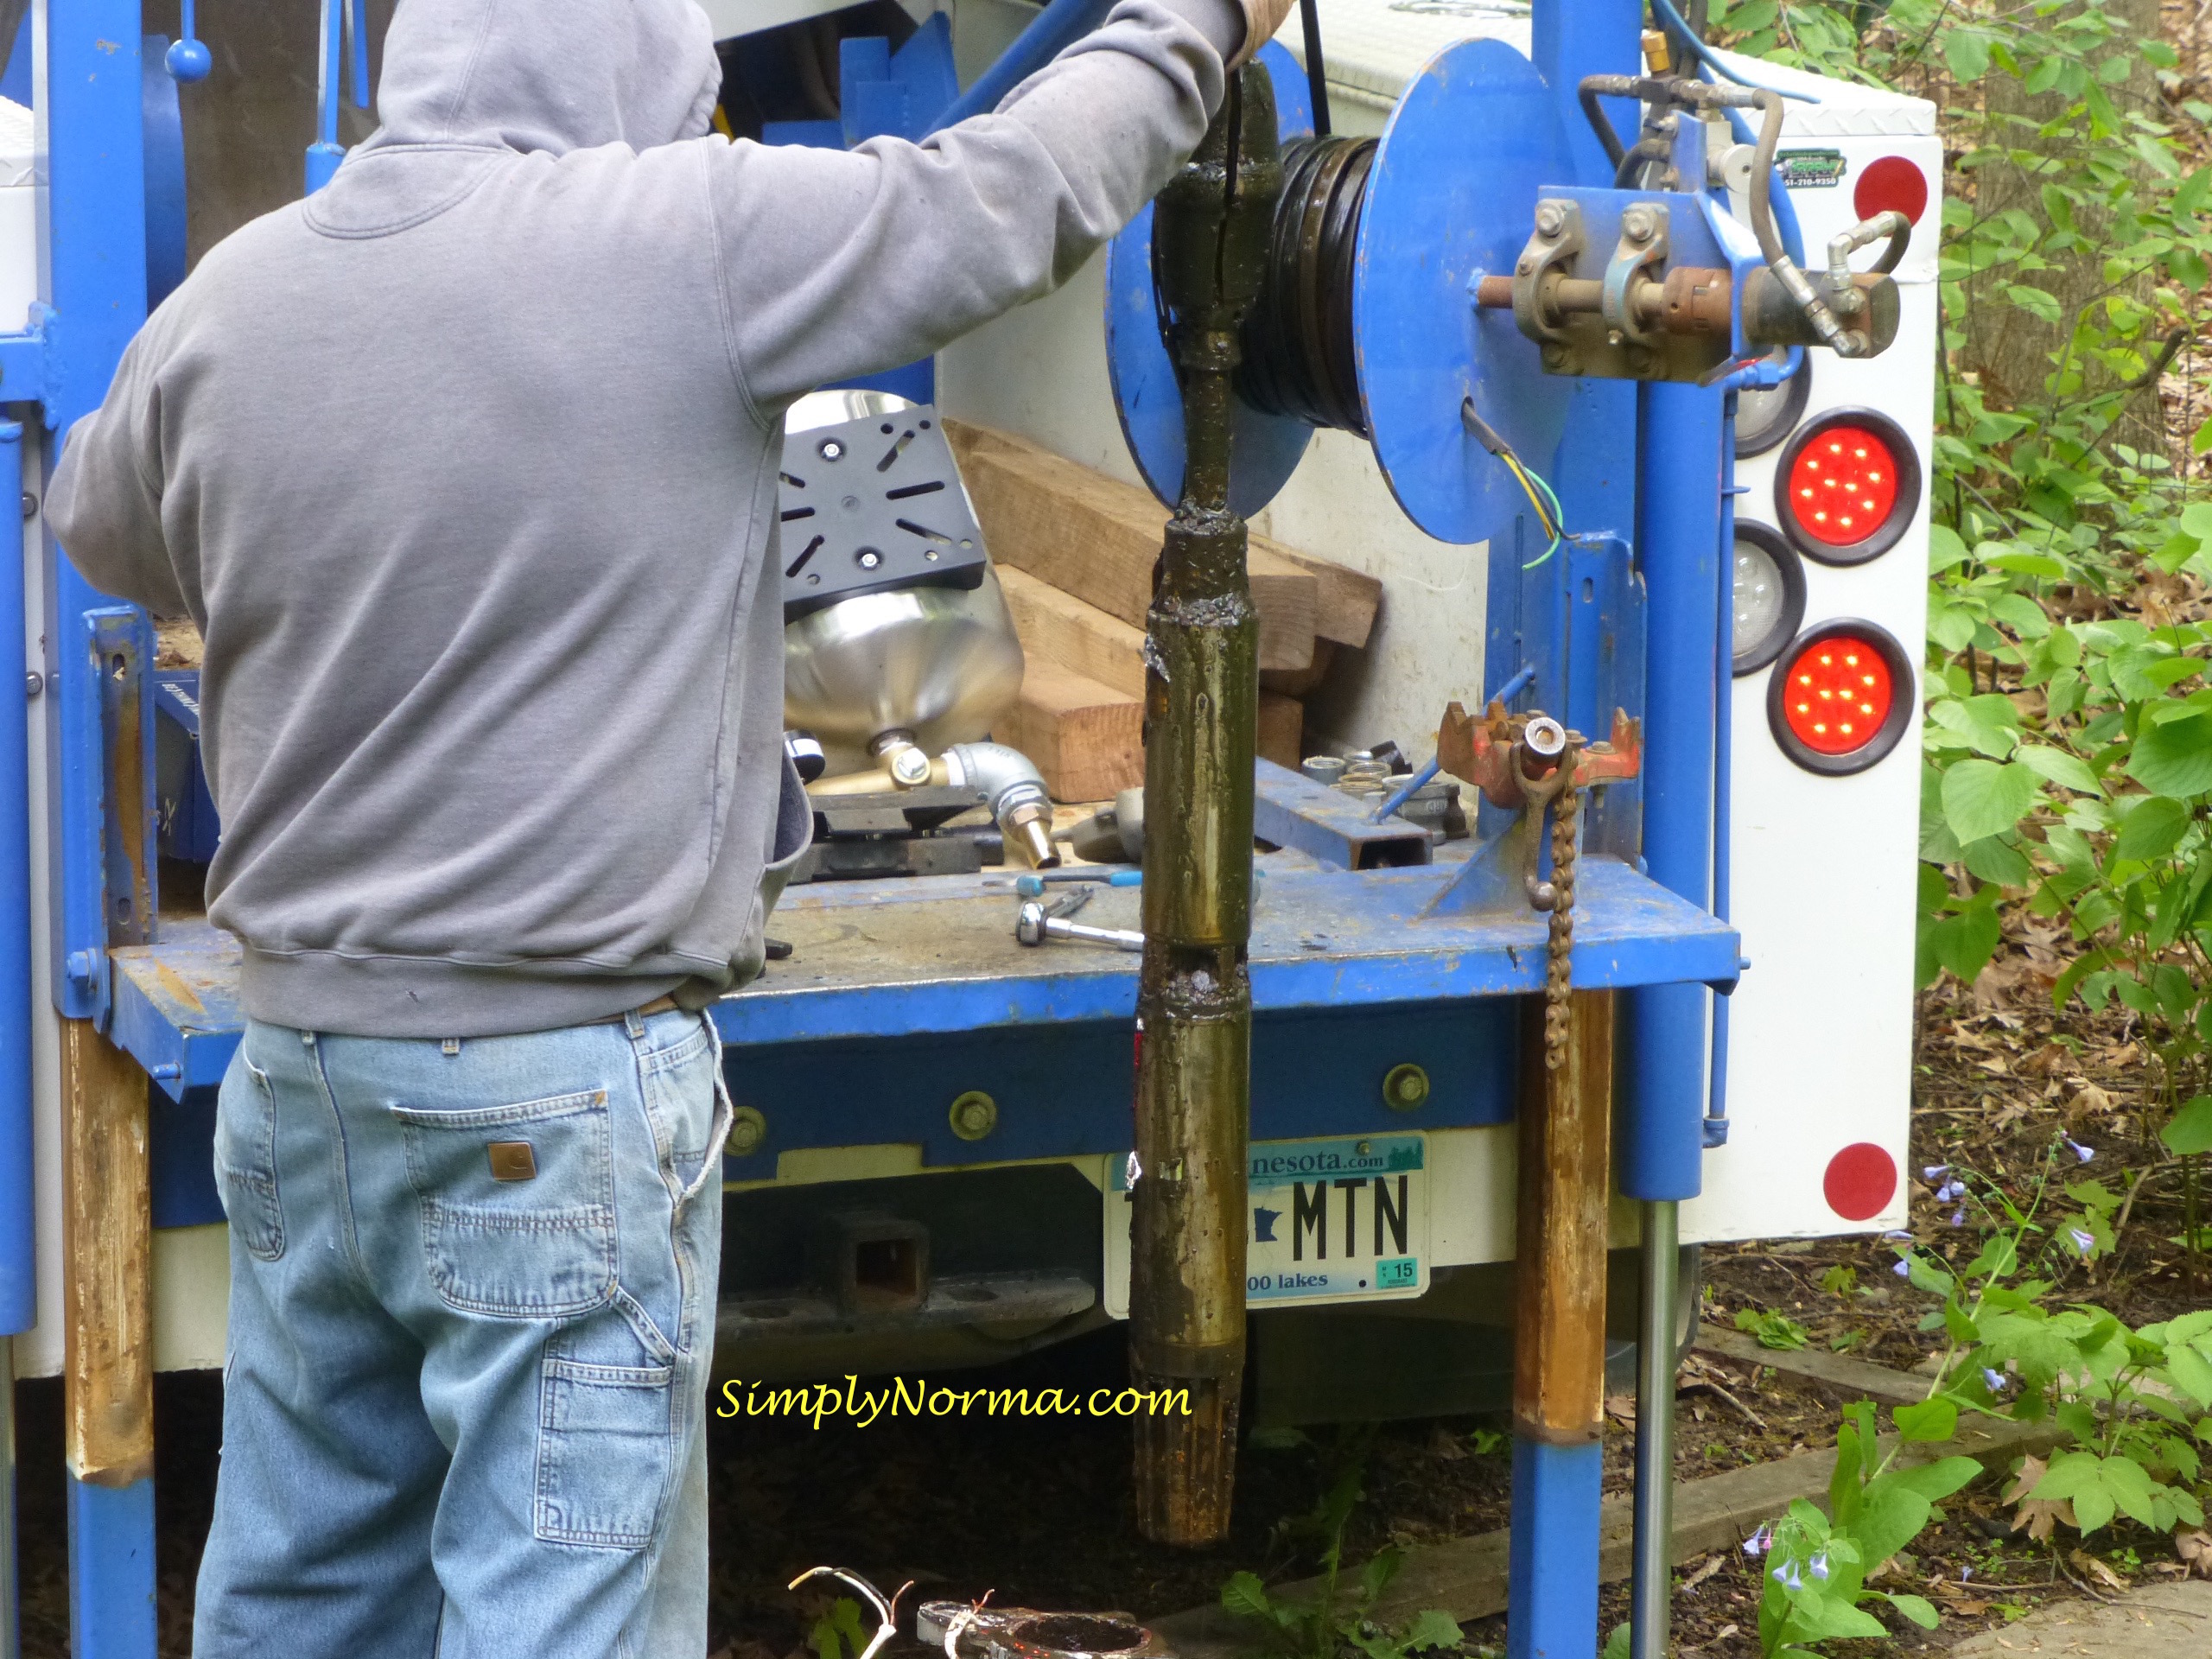
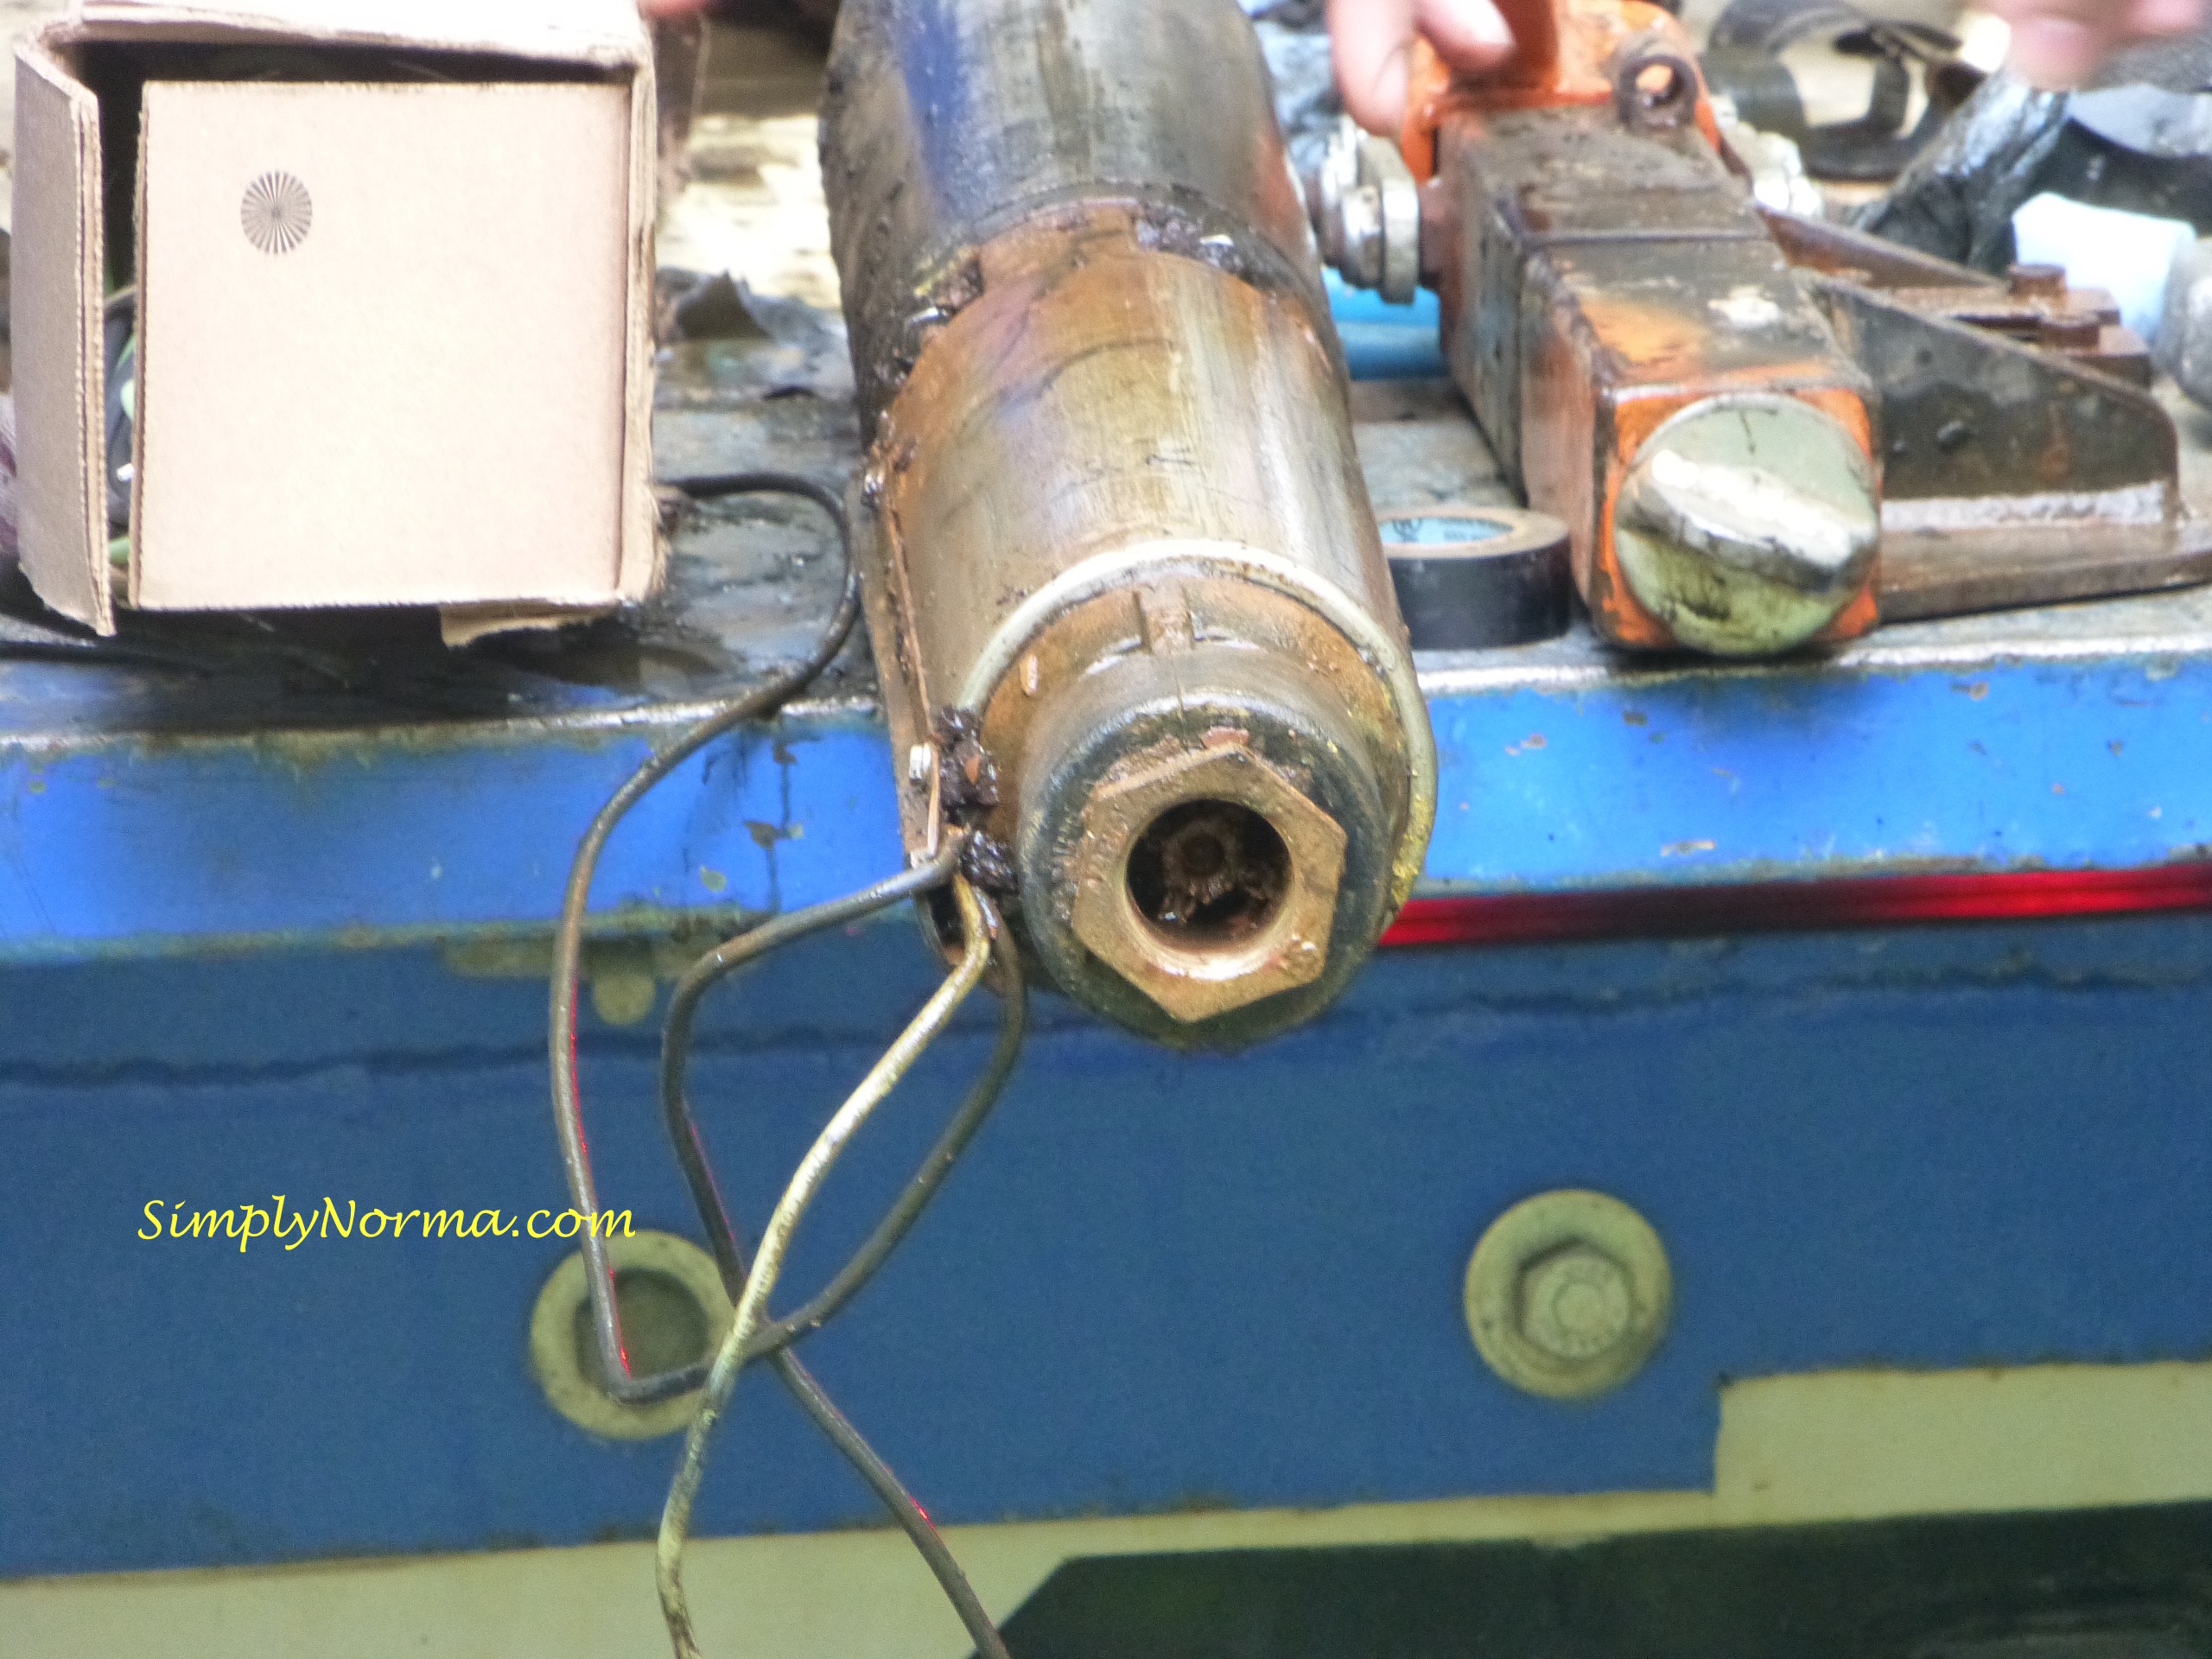
Look at how black the last pipe appears. Â It is attached to the well pump.

And here is the well pump which is 4 inches.
I guess after 22 years it’s bound to get dirty, no?

Here’s a close up of the well pump. Â In laymen’s terms ~ yuck!

Unfortunately, well pumps can’t be cleaned. Â I wonder why that is? Perhaps since it takes so long and costs so much to remove them it makes more sense just to replace them.
This is just gross looking to me. Â Normally (well, okay, maybe it’s not normal) I would ask a contractor to leave the part so I can inspect it but I wasn’t sure how I would dispose of it later so I didn’t keep the old well pump.

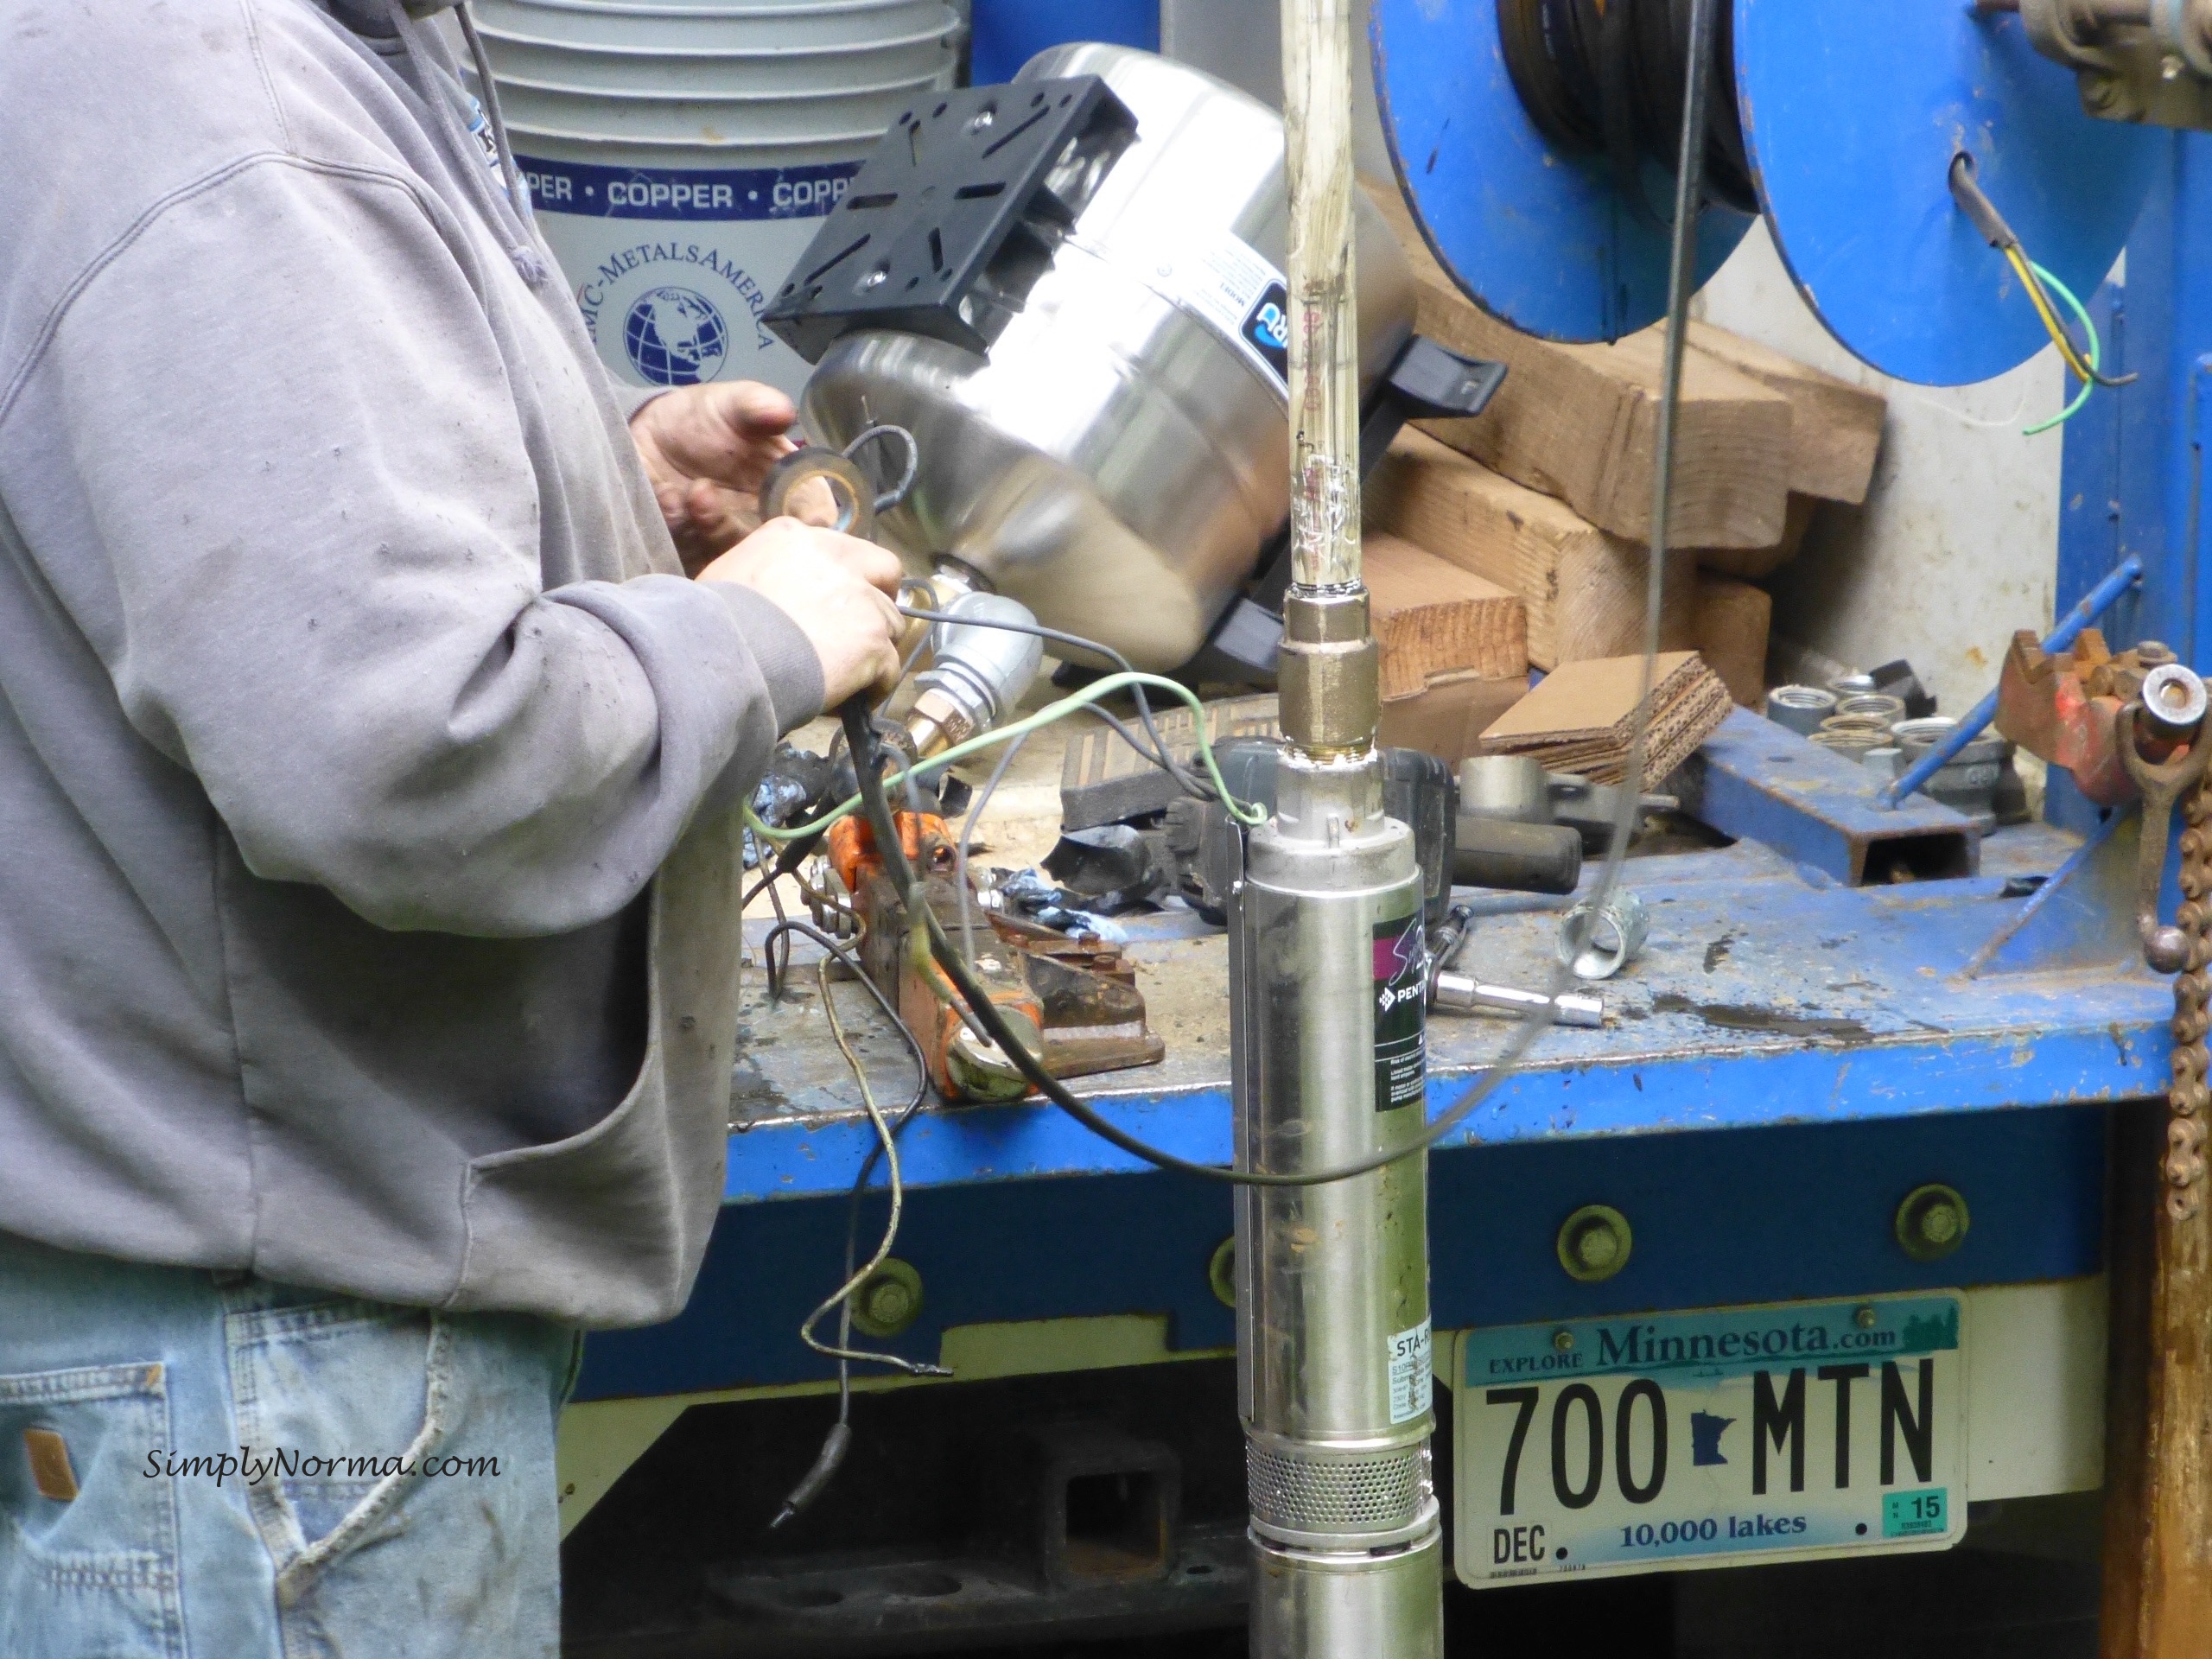
And tada! Â Here’s the new one.

The pump has to go back down in the casing along with the pipes they pulled out. Â Uh, of course! Â (laughing)
It looked so pretty I hated to see it go down into that deep dark pit …. (laughing)

But, down it went!

It had to be attached to the cable to guide it down the casing. And, wouldn’t you know it? Â It didn’t fit. Â Argghhhh!
Because of all the guck in the well casing, they had to change out the 4″ well pump for a 3″ well pump.

And down it went … I felt sorry for the gentleman on the phone with the home warranty company as he was on hold practically the whole time he was working which was over 45 minutes.

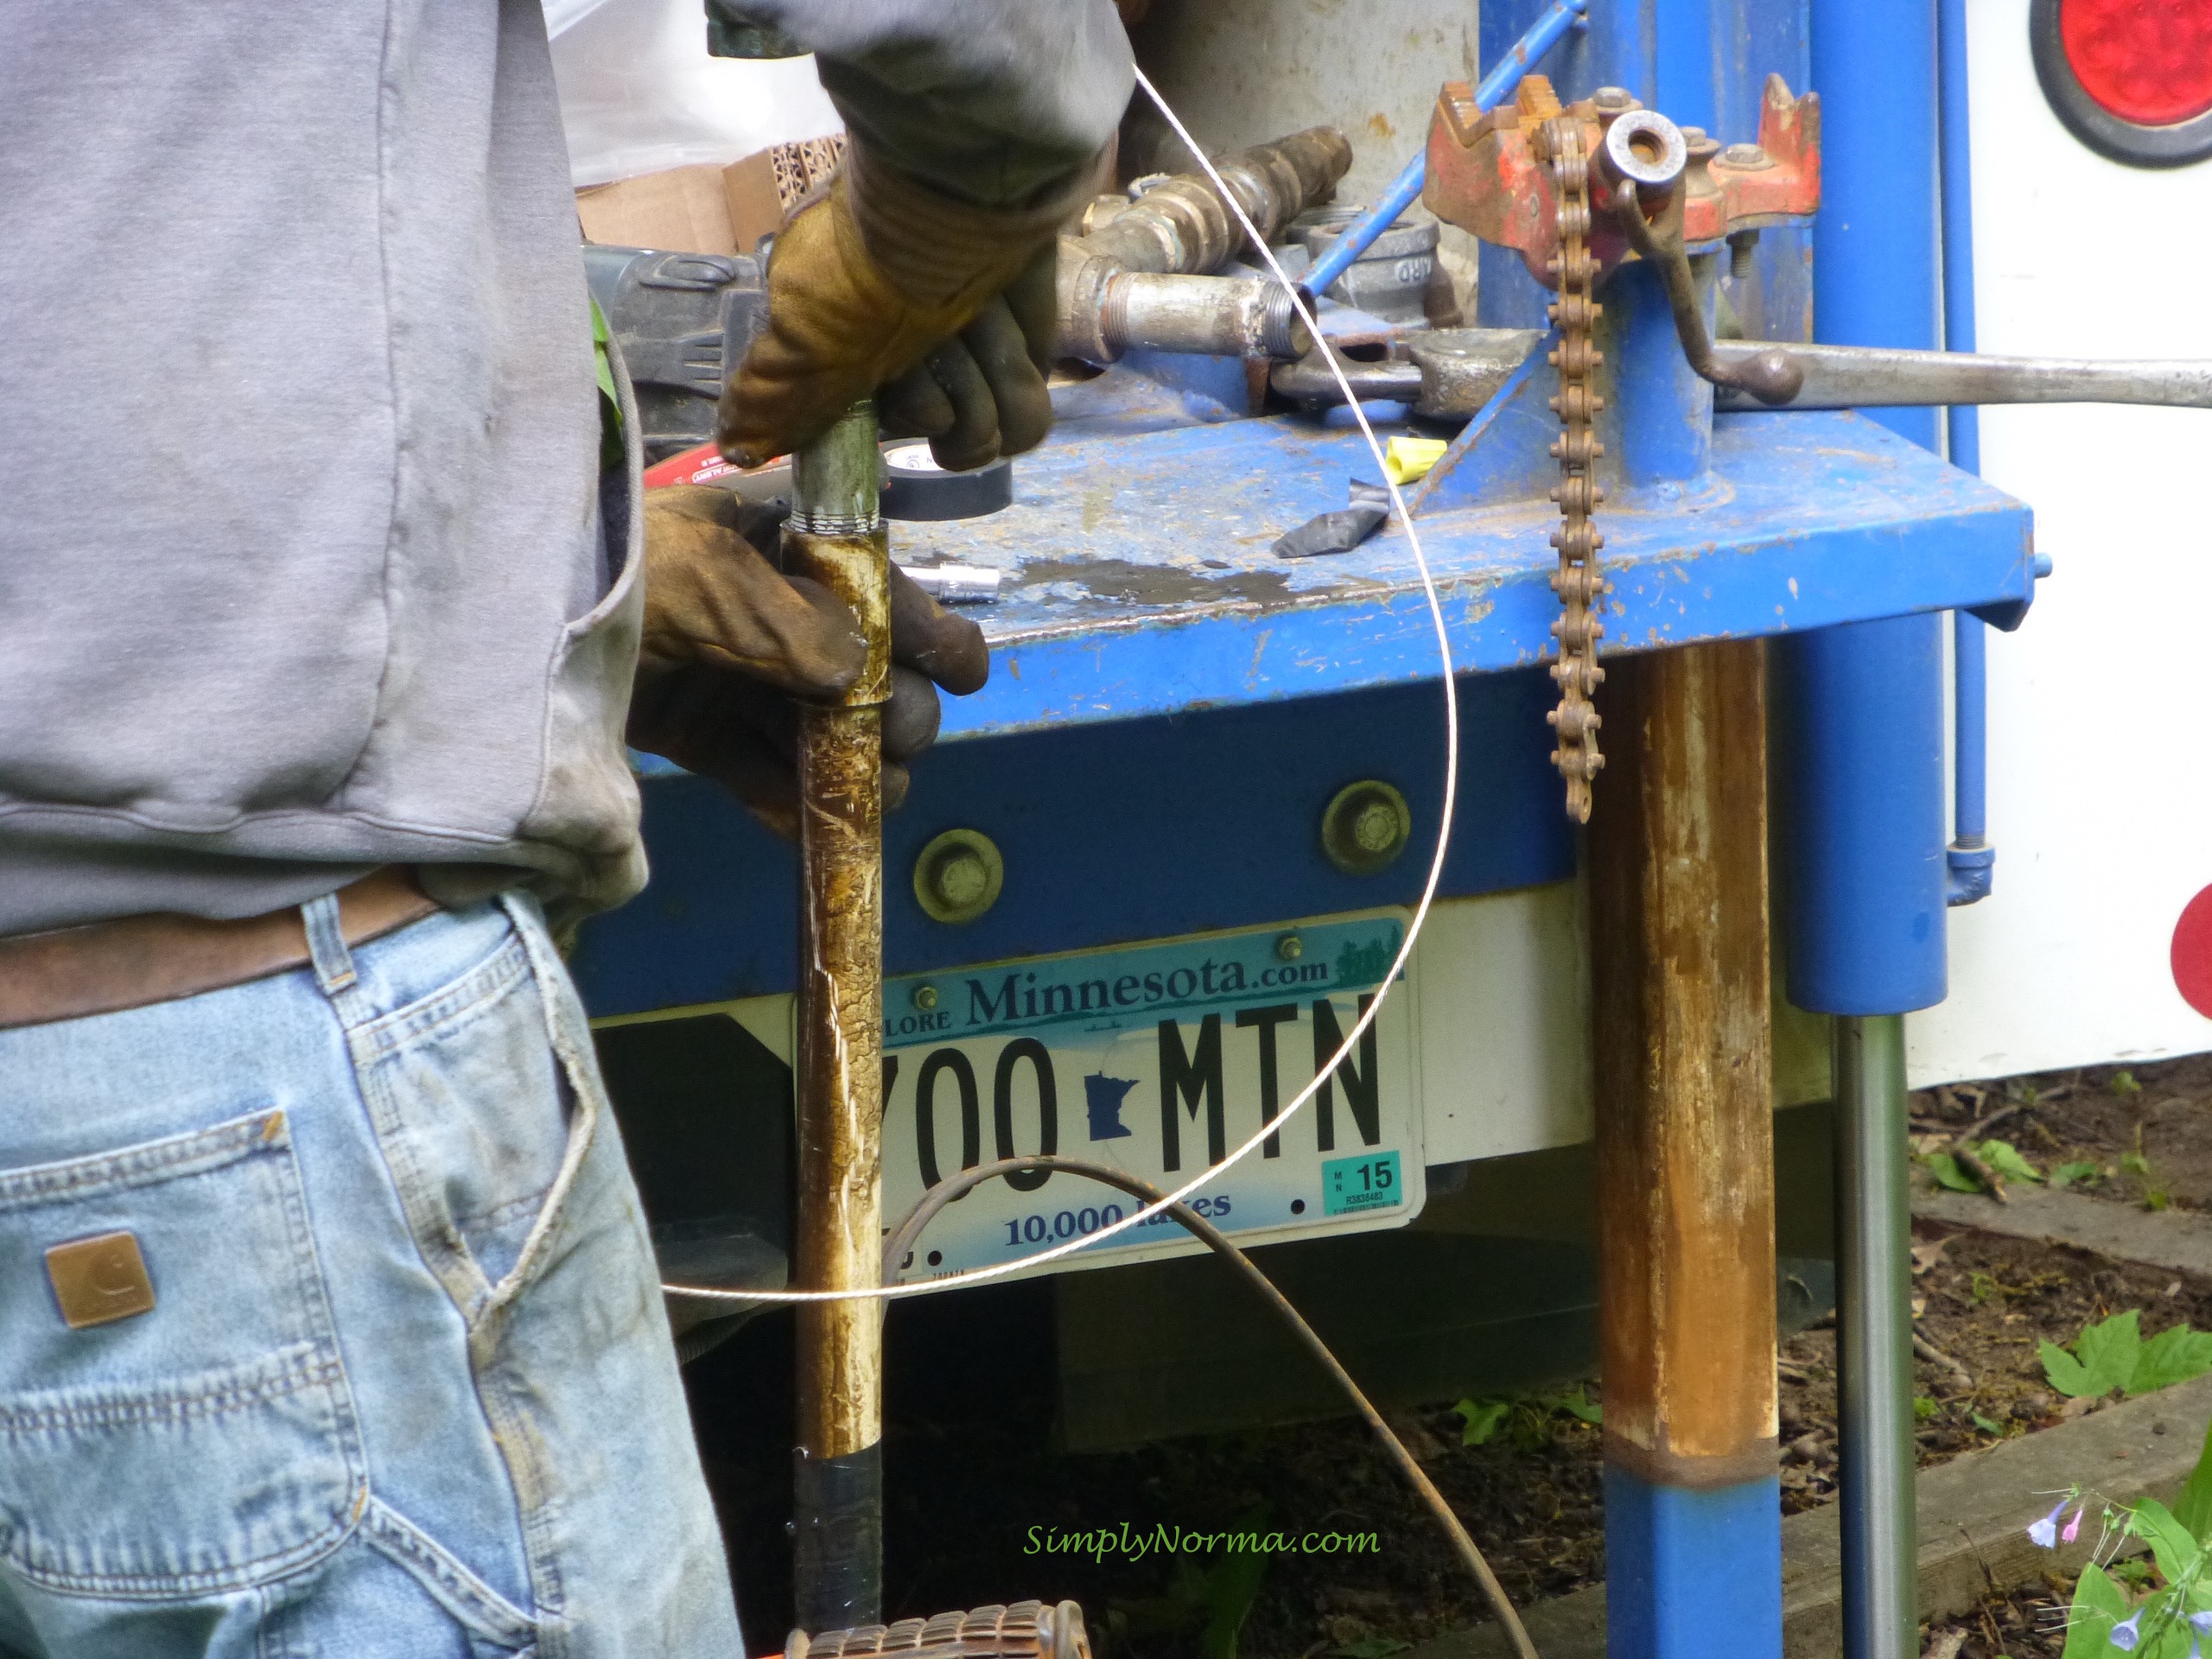
The PVC pipe now had to be connected to the well pump one pipe at a time.

They used what I believe to be electrical tape to make sure the pipes stayed together.

Here’s a close up of the cable contraption.

A hose was attached to a spigot so that they could make sure that all the nasty water was taken out.

They started pumping the water out of the well and …

Black gold! We struck oil! Â Naw, just kidding …

And now ~ it’s clear! Â Success! Â They allowed the water to flow for about 15 minutes to make sure it stayed clear.

The last pipe had to be placed before they put the well cap back on.


And that is how they replaced the well pump. Â Whew!!!
I told my husband this looked easy to do but who wants to pay for an expensive truck with a long cable that will sit around until you need it once every 15 or so years?
This was quite an adventure for me and I’m grateful that the contractors allowed me to take pictures. Â Quite fascinating!

