Lamb Chops with Herb and Garlic Sauce

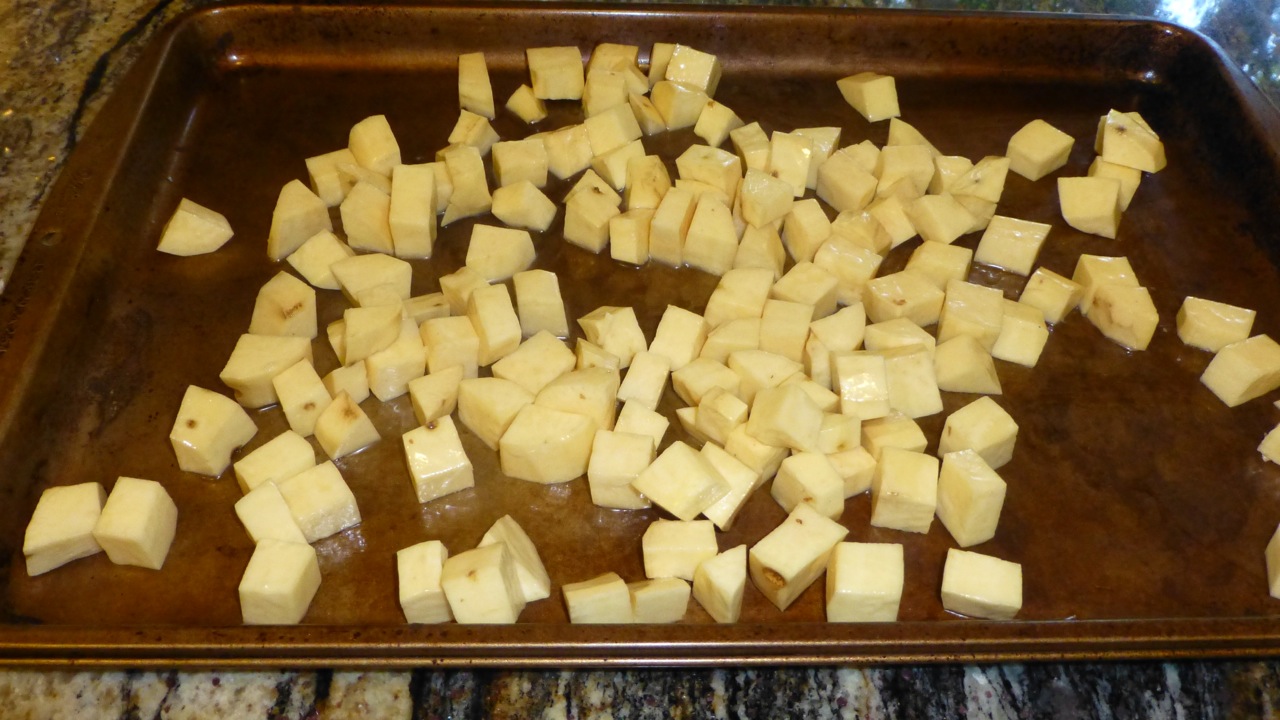
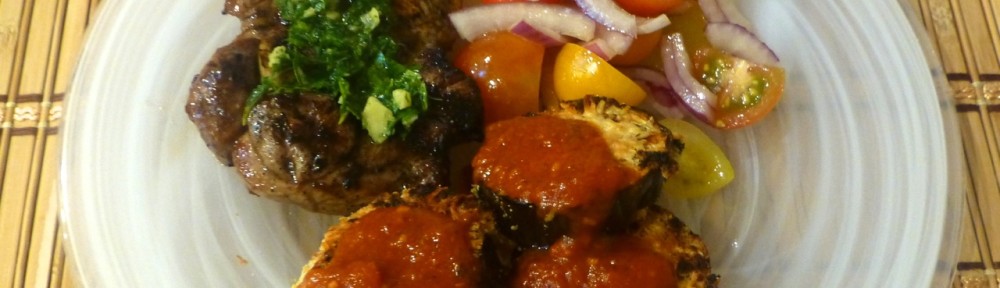
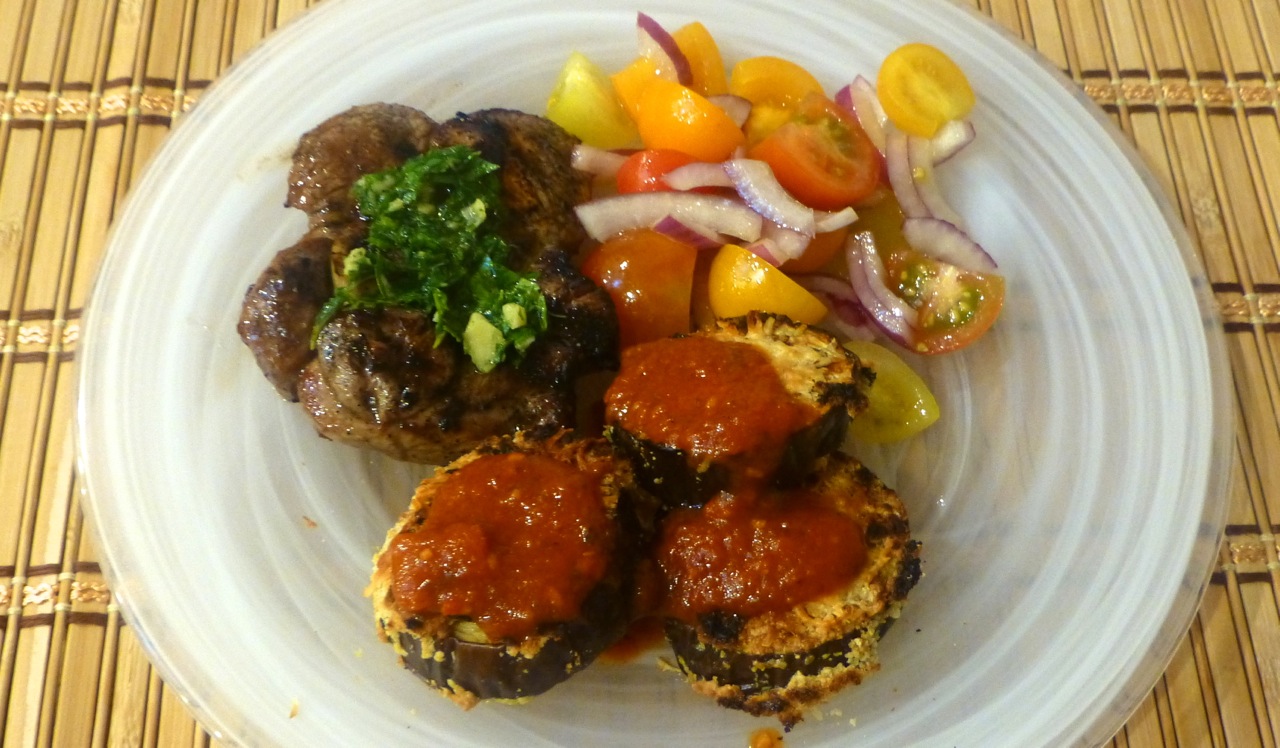
And … this recipe also had a Tomato and Onion Salad with Crispy Baked Eggplant Dippers.

I normally try to make only one new recipe for dinner but this evening I made three of them. Whew! Talk about coordination!

Fortunately for me, all three recipes turned out great.

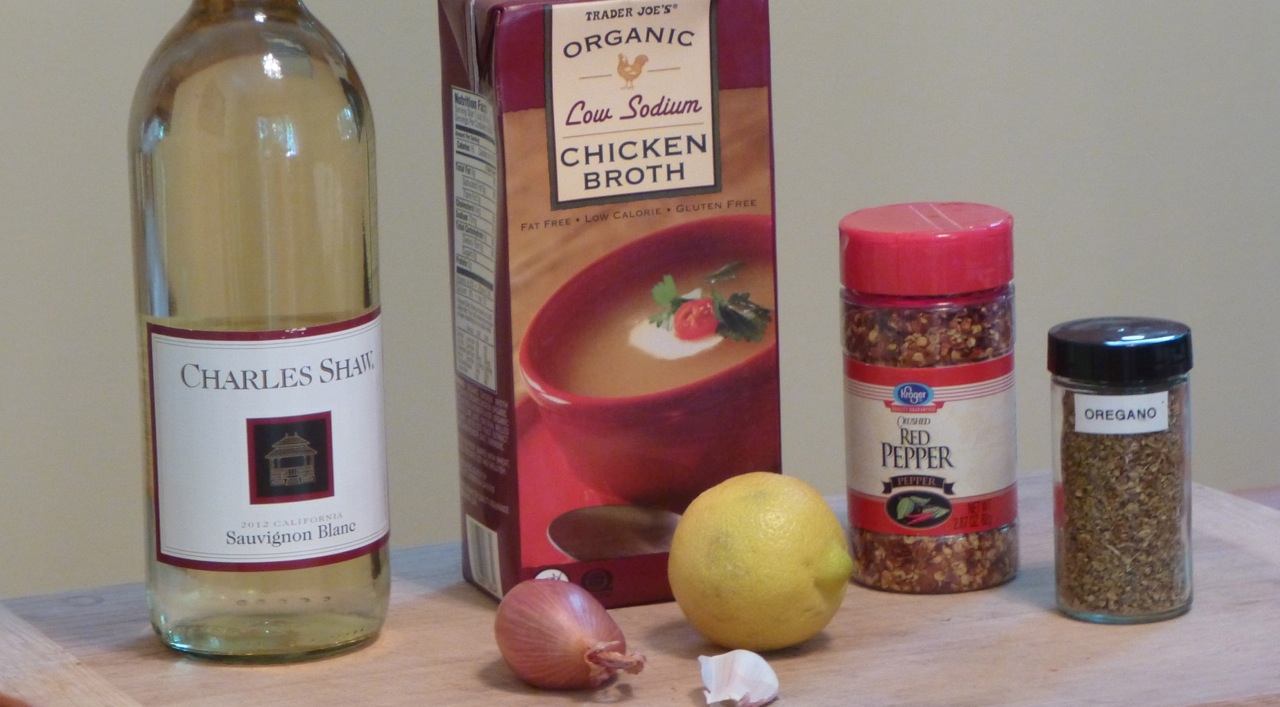
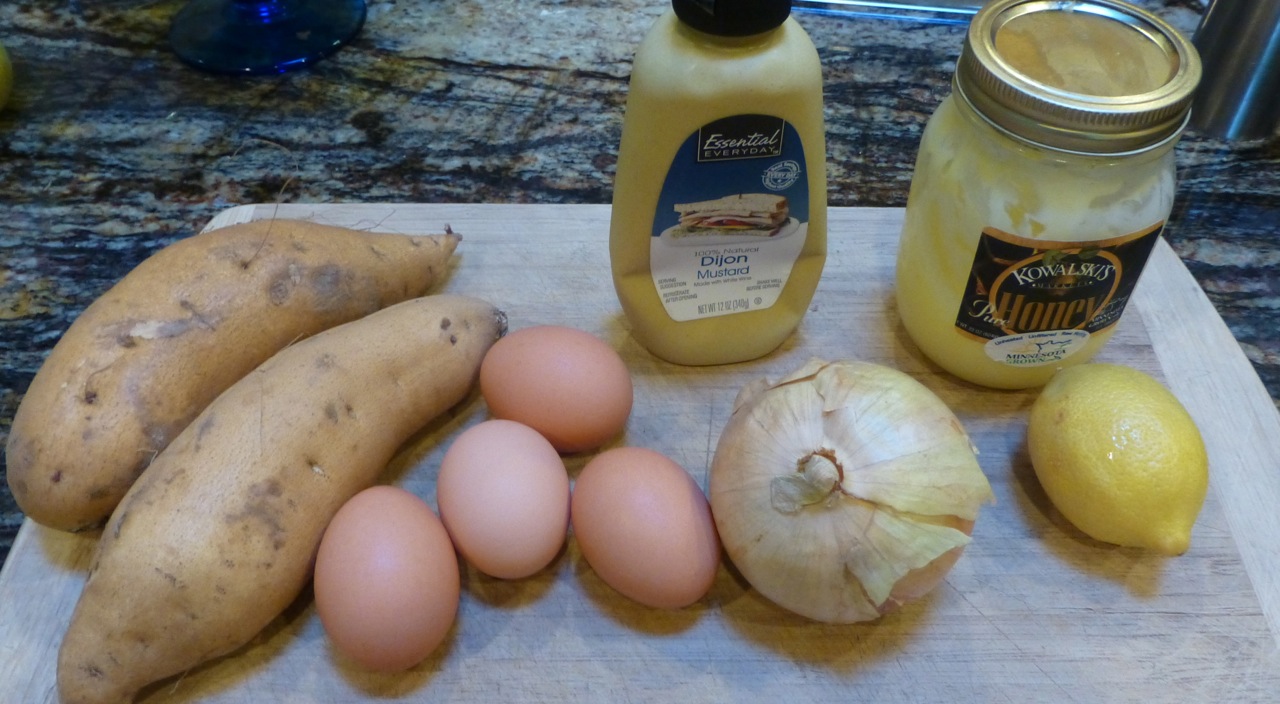
I started with the ingredients for the Herb and Garlic Sauce. The original recipe calls for 20 lamb chops and I only used two so I adjusted the recipe accordingly.

Ingredients for the Herb and Garlic Sauce
Ingredients for the Herb and Garlic Sauce (salt and pepper not shown)

Here’s the recipe for the sauce.
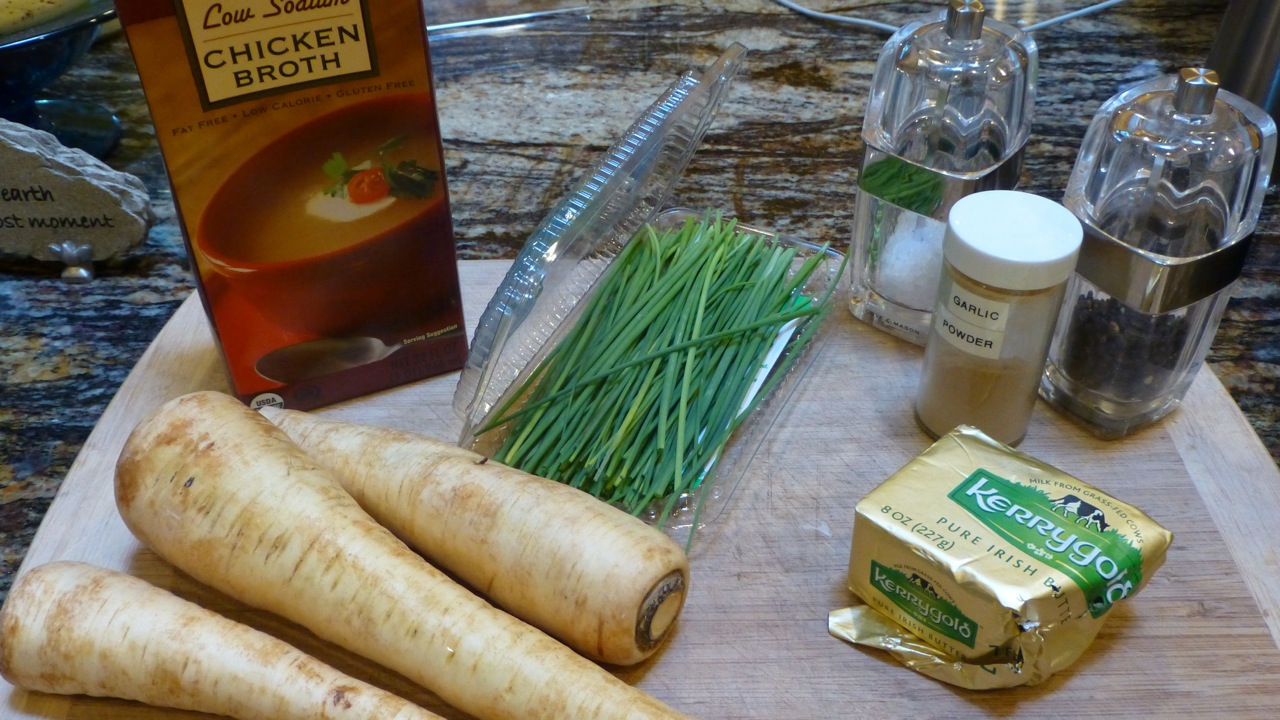
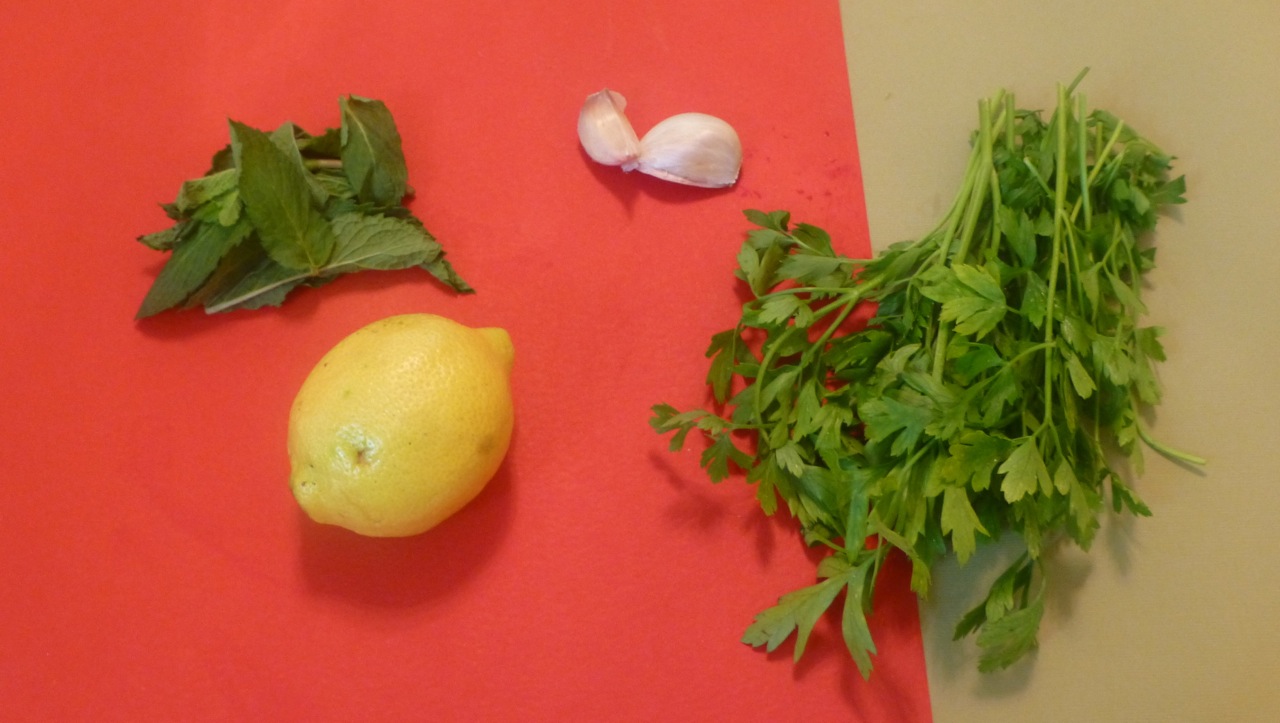
Ingredients

  • 1 handful fresh parsley leaves
  • 1/2 handful fresh mint leaves
  • 2 garlic cloves, mashed
  • 2 Tbsp extra virgin olive oil
  • 1/2 Tbsp lemon juice
  • Salt (to taste)
  • Freshly ground black pepper (to taste)

Directions

  1. Add the parsley and mint leaves to your food processor or blender, followed by the garlic, olive oil and lemon juice.
  2. Process these ingredients until you have a slightly coarse sauce then add salt and pepper to taste.
  3. Mix again and taste it, adjusting the seasonings as you see fit.
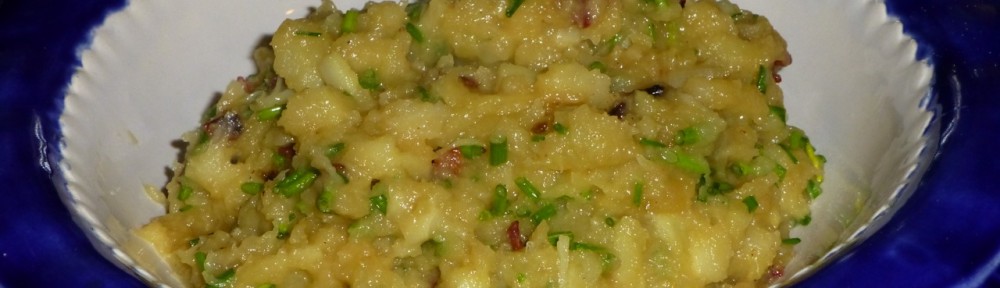
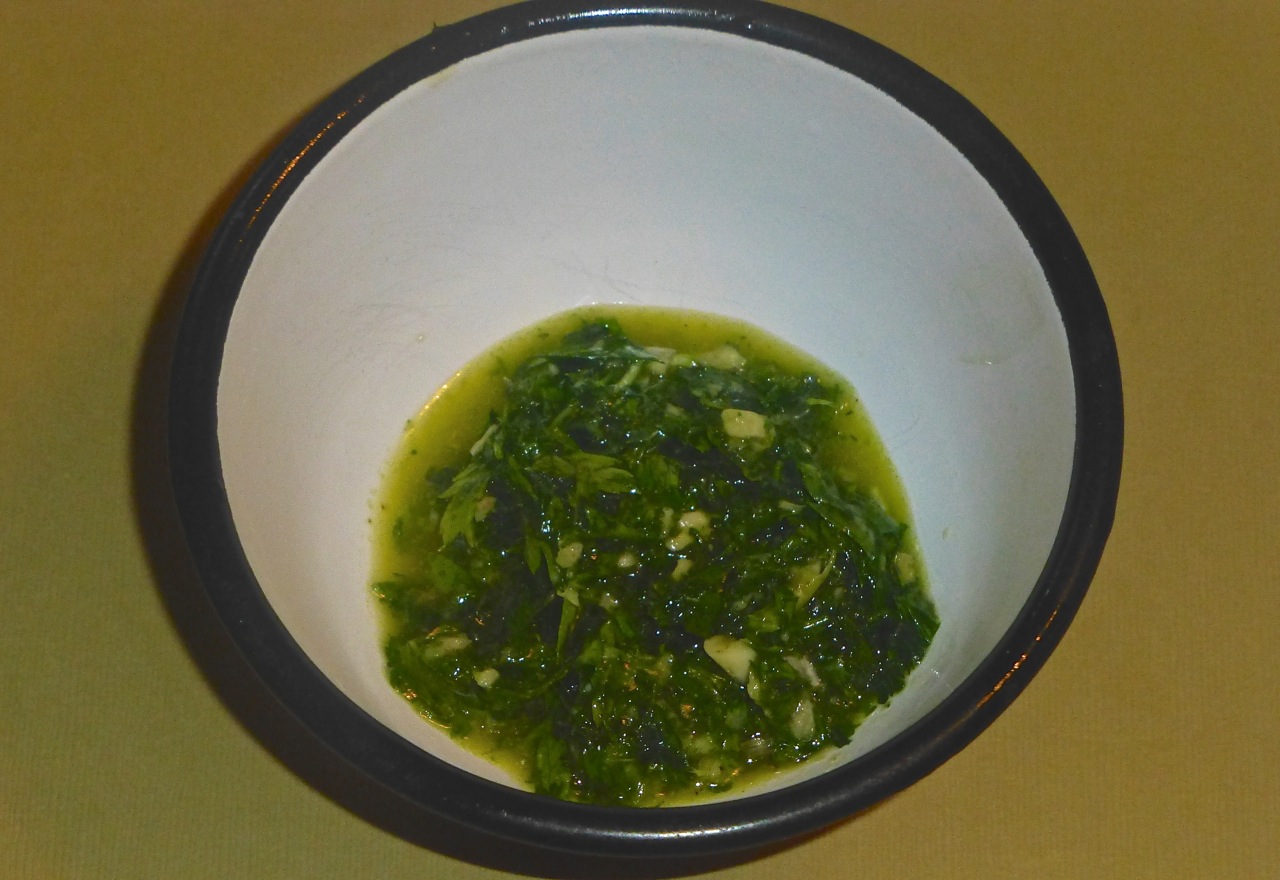
  4. Put the sauce in a small bowl and set this aside until ready to use.

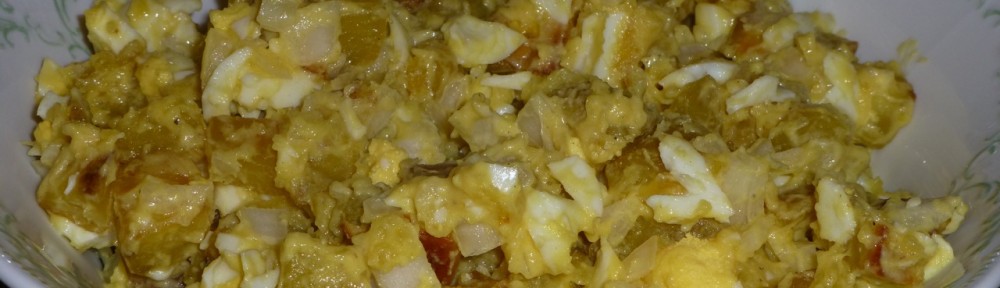
This is what it will look like.

Herb and Garlic Sauce

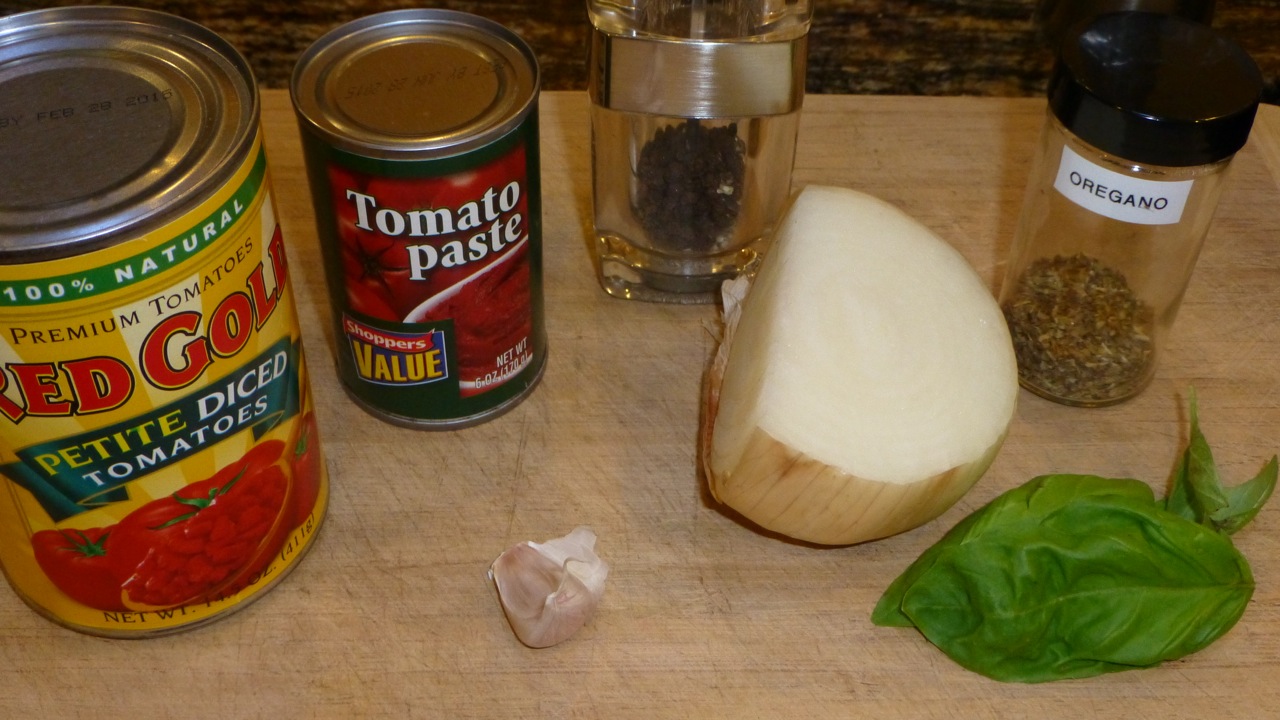
Next we’ll work on the Tomato and Onion Salad. Here are the ingredients — so simple and easy.
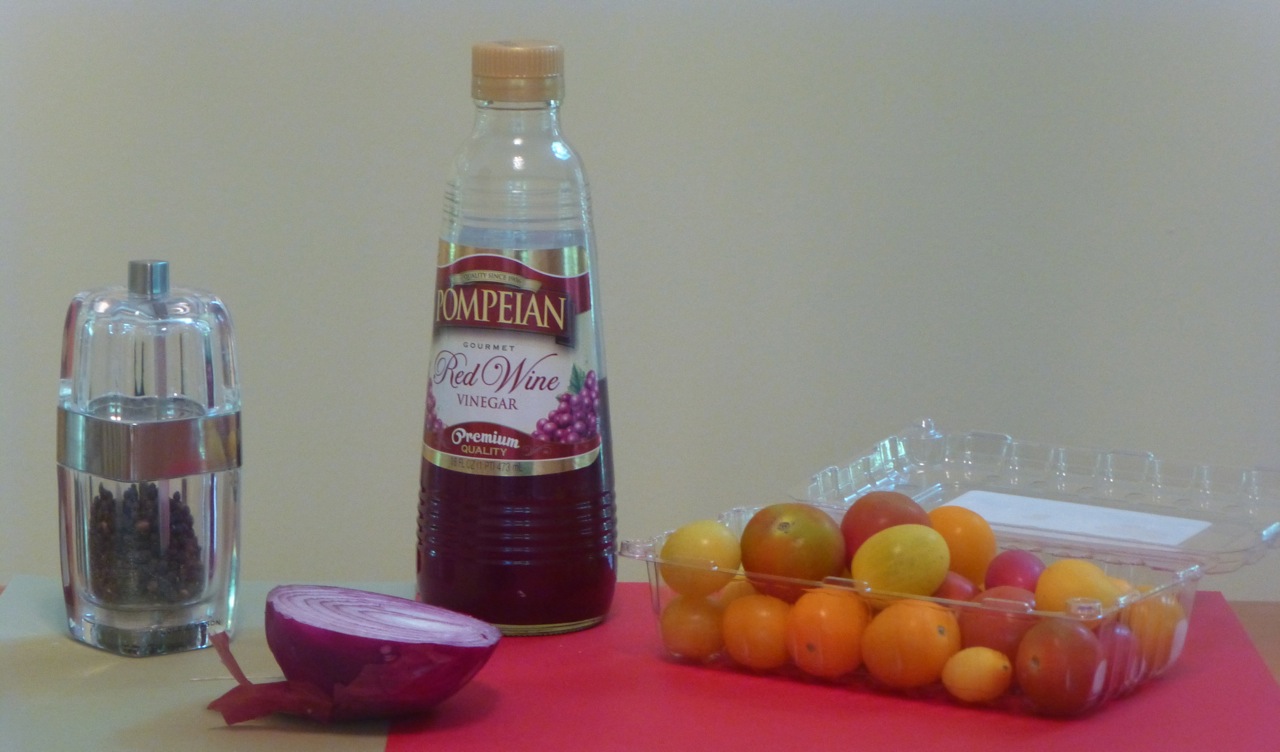
Tomato and Onion Salad
Tomato and Onion Salad (salt not shown)

Ingredients

  • A variety of cherry tomatoes, halved
  • Red onion, sliced
  • 3 parts extra virgin olive oil
  • 1 part red-wine vinegar
  • Kosher salt
  • Freshly ground black pepper

Directions

  1. Add all the salad ingredients into a big salad plate and toss it all together.
  2. Check the seasoning before serving.

That’s it!

Tomato and Onion Salad

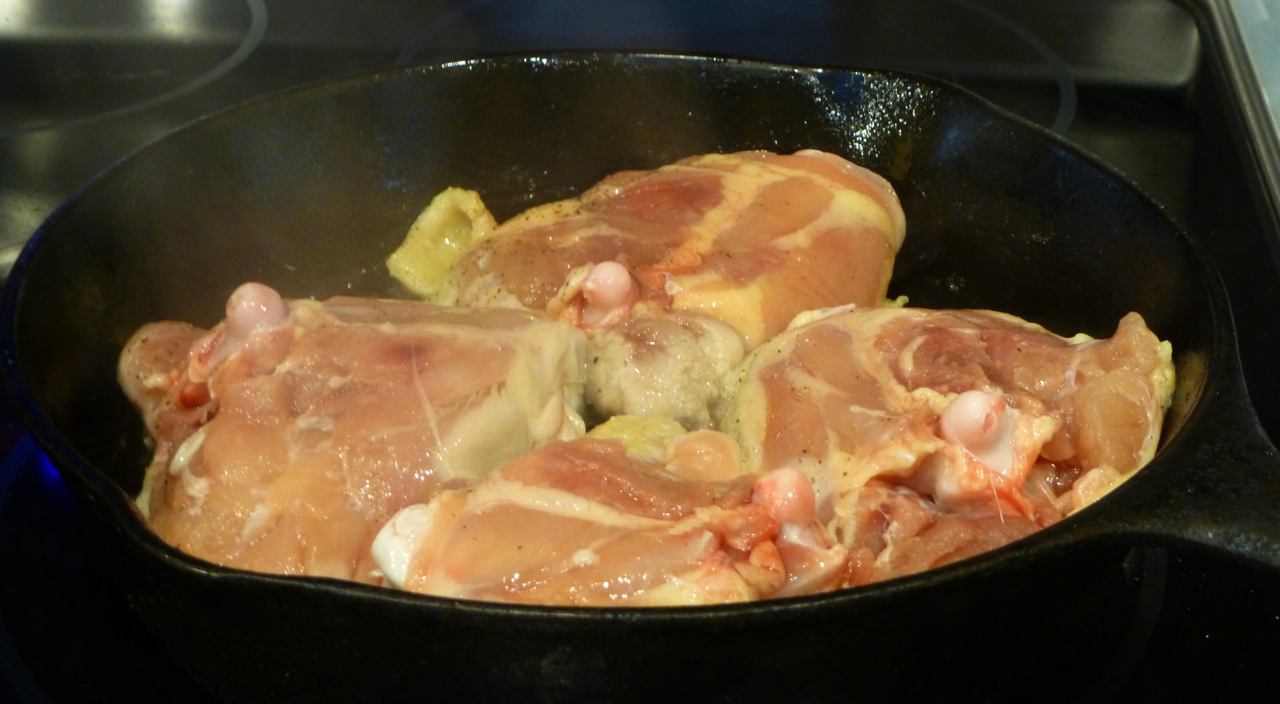
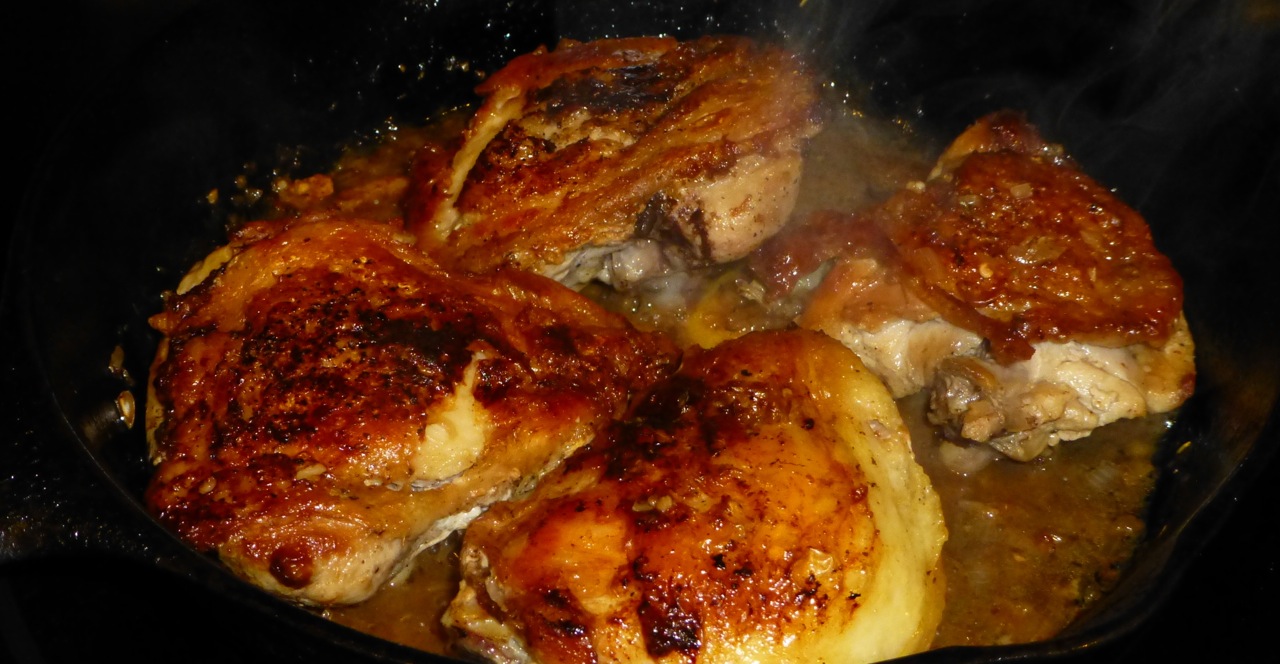
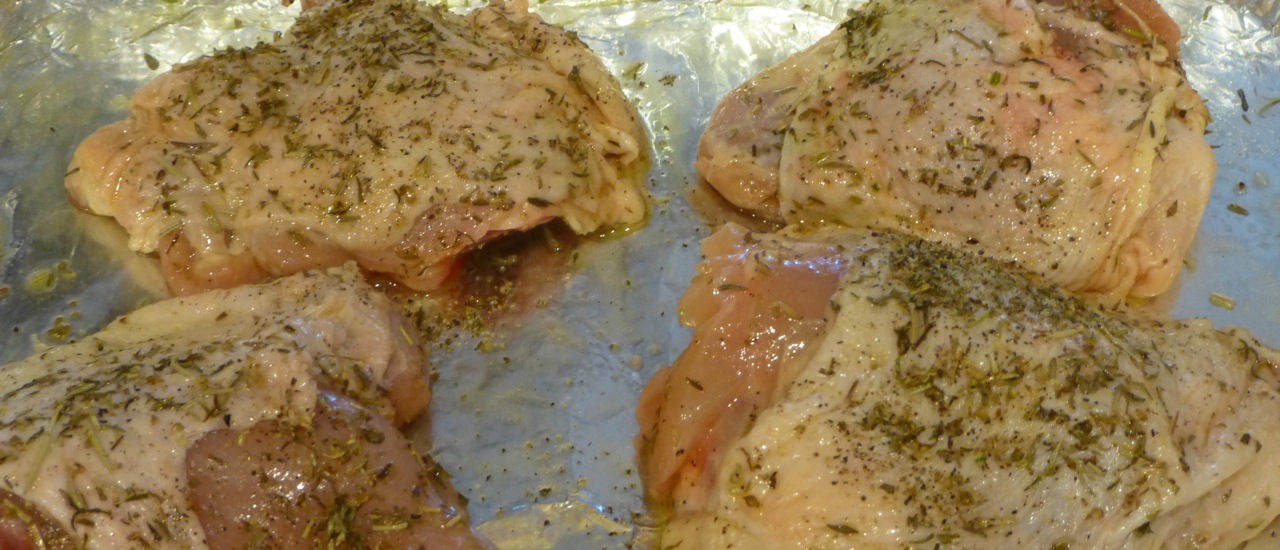
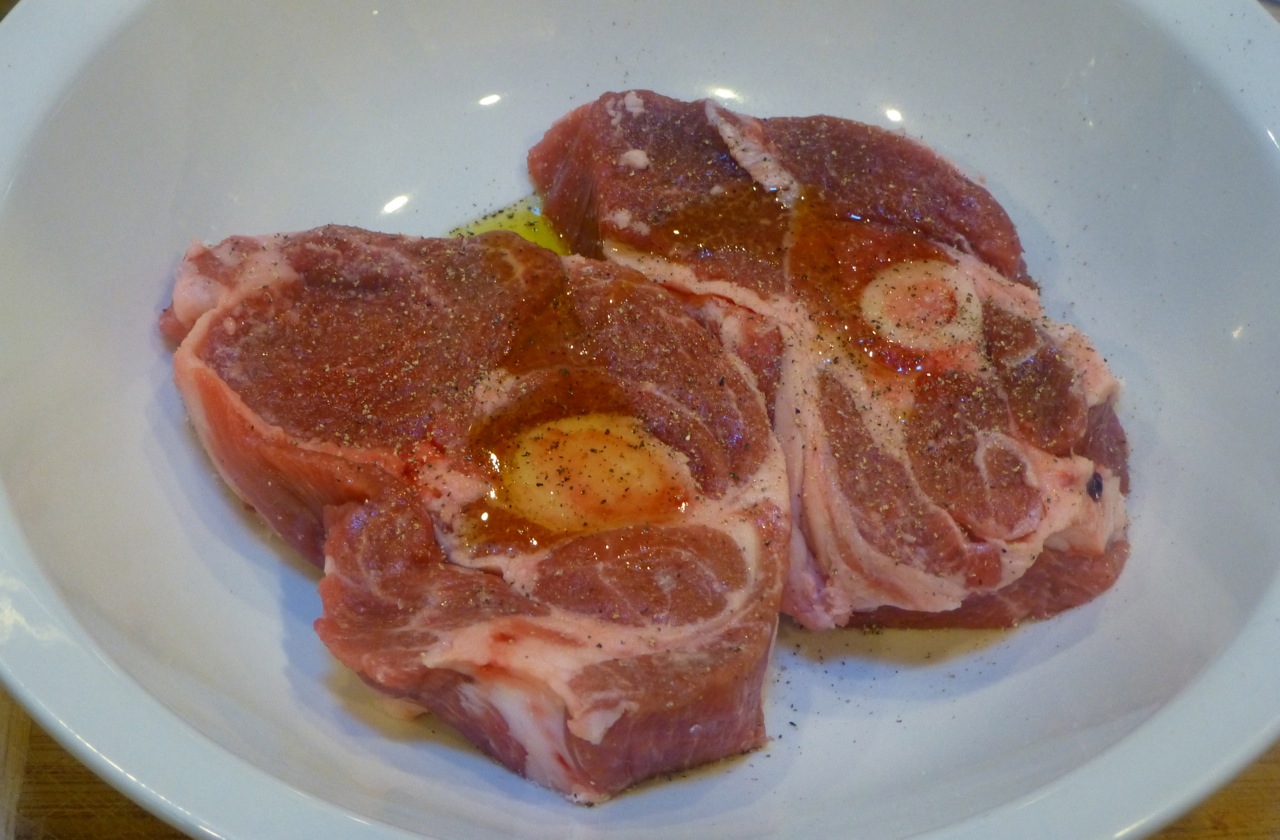
Next we’ll work on the lamb chops. Again, I only bought two of them – one for me and one for hubby.  You’ll be trimming off the fat then drying them on paper towels.

Lamb Chops
Lamb Chops

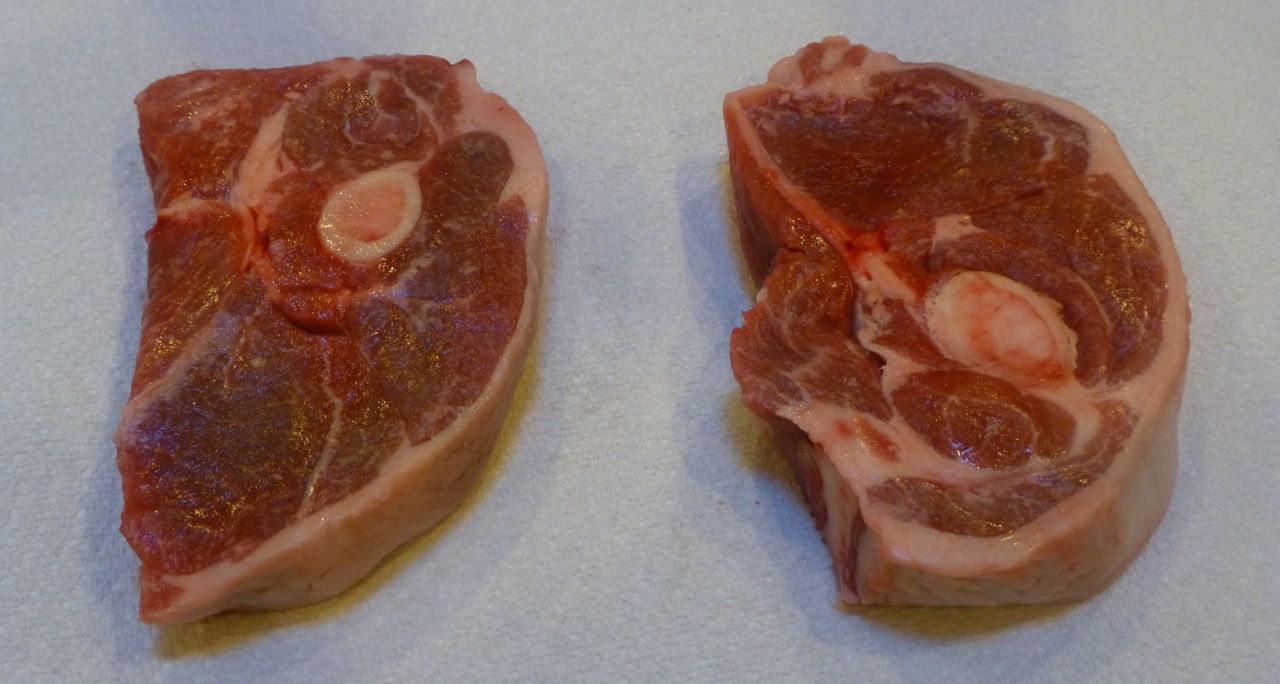
Next, pour the olive oil over them and rub it in the chops. Season them with salt and pepper.

Preparing Lamb Chops

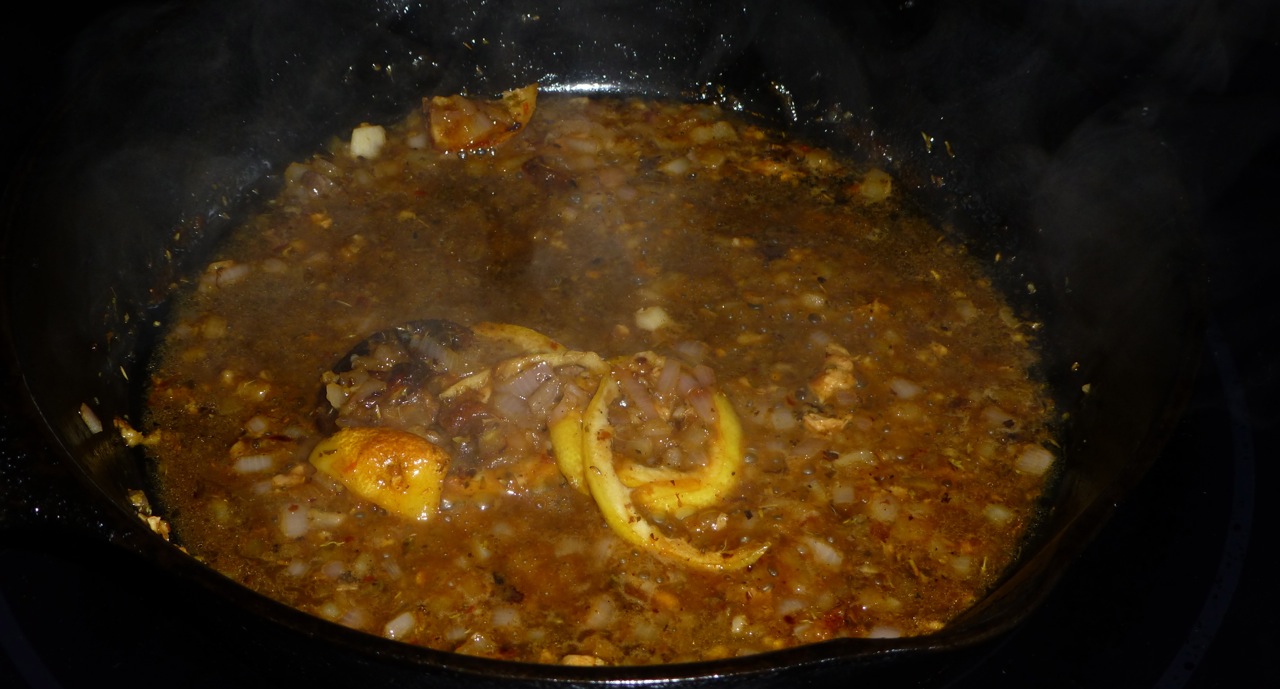
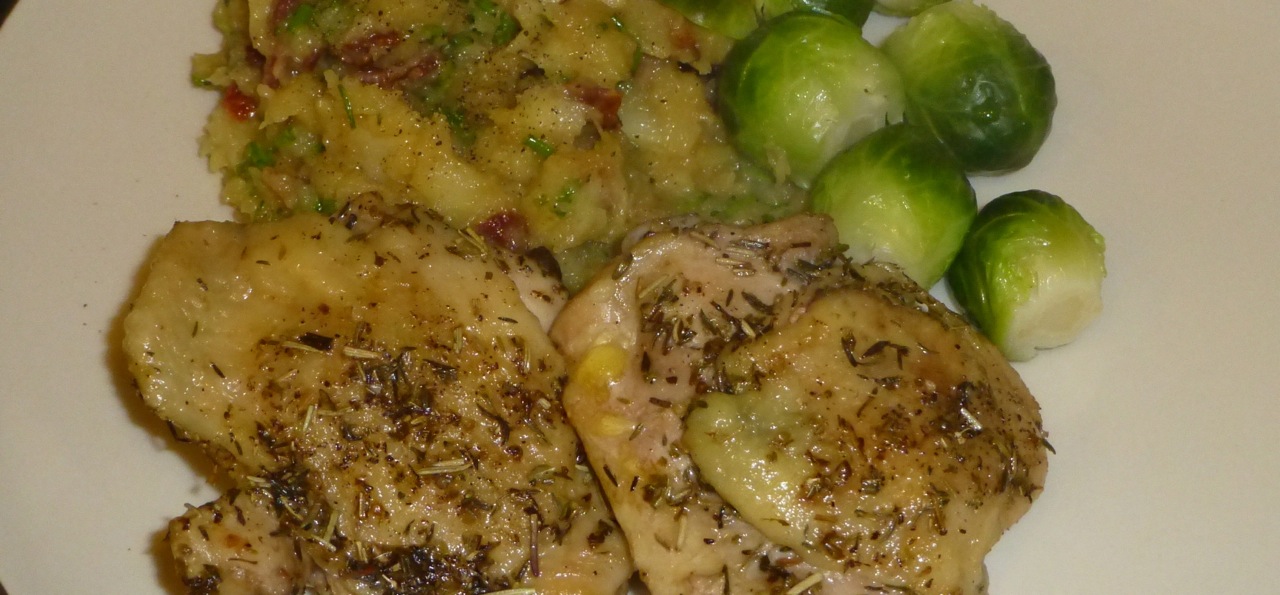
Heat your outdoor grill or your stovetop nice and hot. I like mine cooked well (no pink in the middle). The original recipe says you’ll be cooking them for 2 minutes on each side if you want them cooked medium so I doubled that time and they came out just fine.

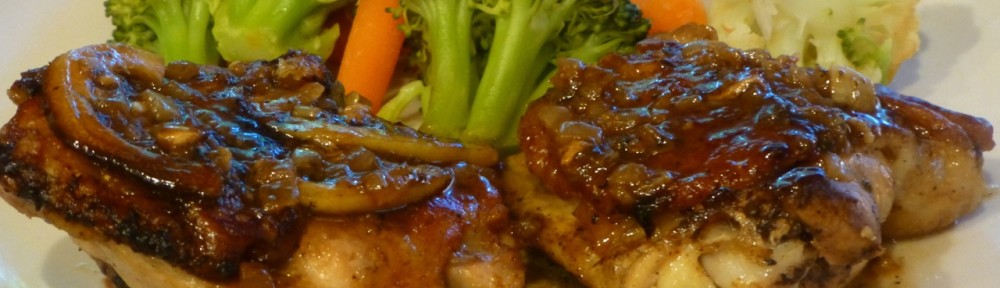
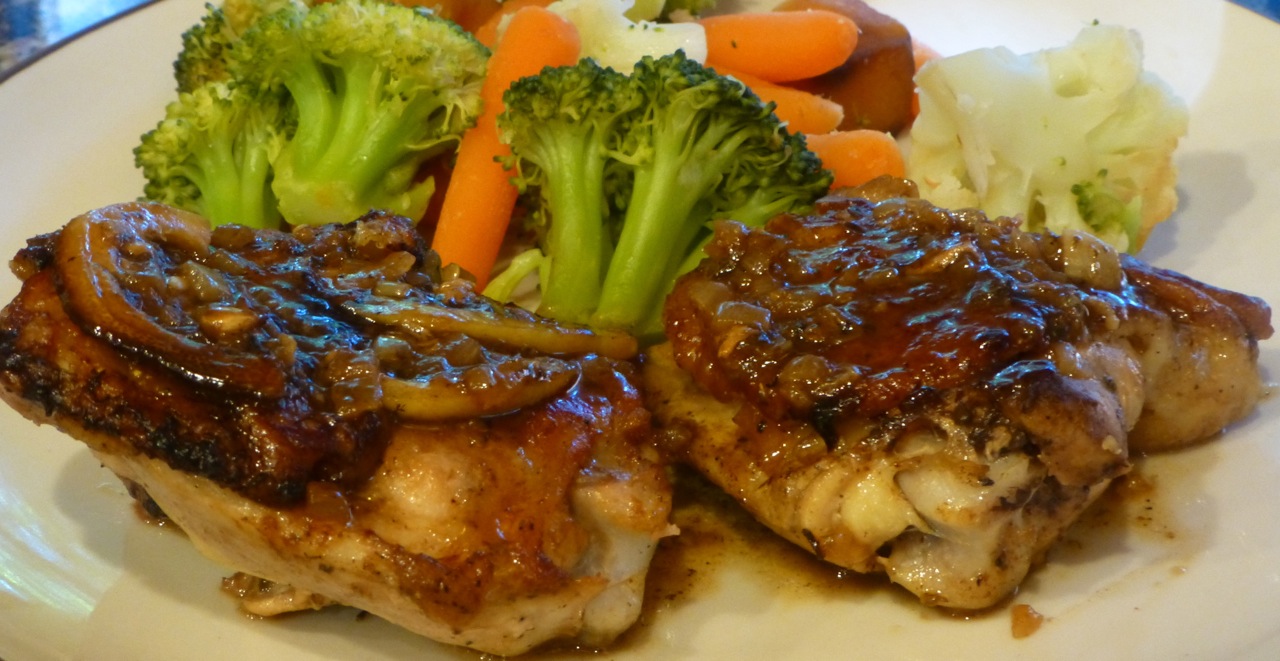
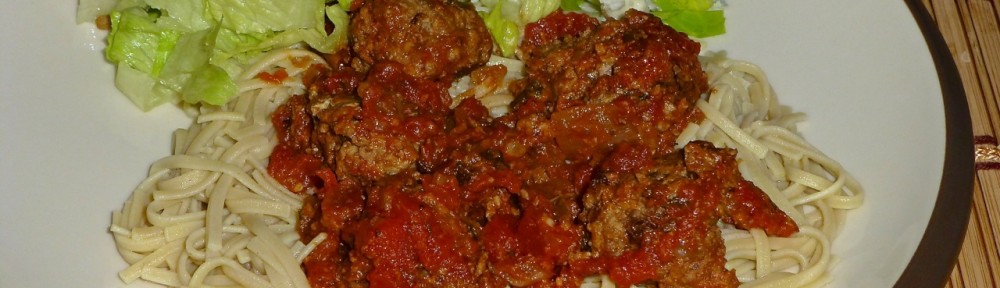
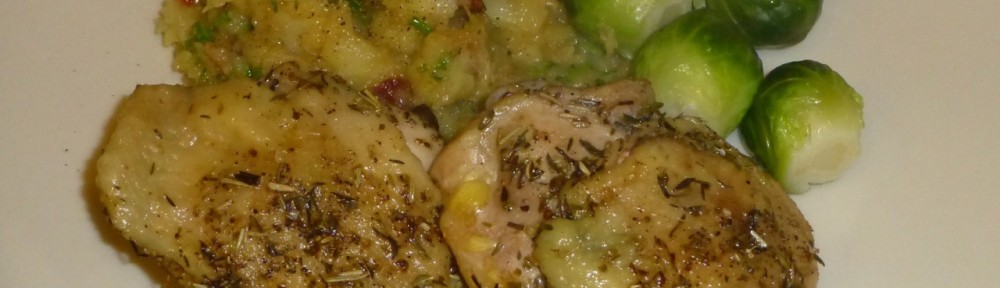
And … here’s the result. Totally delicious.  Click here to see the recipe for the Crispy Baked Eggplant Dippers. So delicious, so simple —

Lamb Chops with Herb and Garlic Sauce

Thanks to My Little Expat Kitchen for these two recipes. She has a wonderful blog with many new recipes to try and this one is truly paleo!

Converting Plastic to Oil

I couldn’t believe this when I saw it — a man invents a machine to convert plastic to oil.

What a genius he is!

[embedplusvideo height=”584″ width=”584″ editlink=”http://bit.ly/14Zgiiy” standard=”http://www.youtube.com/v/qGGabrorRS8?fs=1″ vars=”ytid=qGGabrorRS8&width=584&height=584&start=&stop=&rs=w&hd=0&autoplay=0&react=1&chapters=&notes=” id=”ep5611″ /]


Roasted Chicken Thighs with Lemon and Oregano

This Roasted Chicken Thighs with Lemon and Oregano is another great paleo recipe for chicken thighs.

Although the recipe is not labeled as paleo, I did not have to make any changes to it. I did have to, for the first time in my life, buy wine. Fortunately for me the recipe told me exactly which wine to get AND it was inexpensive. There are just a few ingredients to use besides the chicken thighs.

Ingredients
Ingredients (Chicken Thighs not shown)

You’ll be putting the chicken in a skillet skin side down and allowing the skin to render then baking it in the oven.

Rendering Chicken
Rendering Chicken

After the chicken is rendered, you’ll be baking it in the oven and when it comes out, you’ll be making a broth of sorts with the spices and some of the lemon.

P1050420After the chicken is baked and rested, you’ll be putting it back into the broth to warm it.

Return Chicken to Broth

Doesn’t it look beautiful?  It’s as beautiful as it is delicious.  Are you ready to try it?

Ingredients

  • 1 lemon
  • 4 large skin-on, boneless chicken thighs
  • Kosher salt and freshly ground black pepper
  • 3 teaspoons olive oil, divided
  • 3 sprigs oregano or 1 teaspoon dried oregano
  • 1 tablespoon minced shallot
  • 1 garlic clove, minced
  • 1/8 teaspoon crushed red pepper flakes
  • 1/4 cup dry white wine (such as Sauvignon Blanc)
  • 1/2 cup low-sodium chicken broth

Directions

  1. Preheat the oven to 425°.
  2. Very thinly slice half of the lemon discarding any seeds.  Next, cut the remaining lemon half into 2 wedges and season the chicken thighs with salt and pepper.
  3. Coat a large room-temperature skillet with 1 teaspoon oil.
  4. Add the chicken, skin side down.
  5. Place the skillet over medium heat and cook the chicken allowing the skin to render and brown. Pour off excess fat to maintain a thin coating in the pan until chicken is cooked halfway through, about 10 minutes.
  6. Scatter half of the lemon slices over the chicken and half on the bottom of the skillet (the slices on top of the chicken will soften; those in the skillet will caramelize).
  7. Transfer the skillet to the oven leaving the chicken skin side down.
  8. Roast until the chicken is cooked through, skin is crisp, and the lemon slices on the bottom of the skillet are caramelized, 6-8 minutes.
  9. Transfer the chicken pieces, skin side up, and caramelized lemon slices from the bottom of the skillet to a warm platter. (Leave softened lemon slices in the skillet.)
  10. Return the skillet to medium heat.
  11. Add oregano sprigs, shallot, garlic, and red pepper flakes to the skillet and cook, stirring frequently, until fragrant — about a minute or so.
  12. Remove the skillet from the heat.
  13. Add the wine then cook over medium heat until the liquid is reduced by half, 1-2 minutes.
  14. Add the broth then cook until the liquid thickens, about 3 minutes.
  15. Squeeze 1 lemon wedge over the chicken and season the sauce with salt, pepper and the juice from the remaining lemon wedge, if desired.
  16. Drizzle with 2 teaspoons oil (if you find this necessary — I did not).
  17. Return the chicken to the skillet, skin side up, to rewarm.
  18. Serve topped with caramelized lemon slices.

Wonderful meal! I served it with steamed vegetables.

Roasted Chicken Thighs with Lemon and Oregano

Enjoy!


Paleo Egg and Potato Salad

It’s still officially summer although the temperatures in Minnesota have been quite mild for August — in the 70’s. So, we’re still grilling (indoor and outdoors) and having “summer” food.

Here’s a new Egg and Potato Salad that I’ve revamped a wee bit. I used this recipe for the Paleo Mayonnaise instead of the one that the original recipe suggests as I didn’t want to buy avocado oil when I have plenty of olive oil in the cupboard. (The picture below shows a jar of honey but that’s because I haven’t re-labeled it to show that it has paleo mayonnaise in it.)

Egg and Potato Salad Ingredients
Egg and Potato Salad Ingredients (Coconut Oil not shown)

The hardest part of this recipe will be peeling and cutting up the potatoes into bite size pieces.

Dice Sweet Potatoes
Dice Sweet Potatoes

So — let’s try it and see how it goes. It tasted very good for having so few ingredients.

Ingredients

  • 2 sweet potatoes, diced
  • 4 tablespoons coconut oil, melted
  • 4 eggs, hard boiled and diced
  • 2 teaspoons Dijon Mustard (or more if you like the taste of mustard)
  • 1/2 yellow onion, finely chopped
  • 1 teaspoon Lemon Juice (I used fresh lemon juice)
  • Paleo Mayonnaise (you’ll be adding the mayonnaise a tablespoon at a time until it’s the right consistency for you)

Directions

  1. Preheat the oven to 400 degrees.
  2. Coat diced sweet potatoes in coconut oil then place them on a baking sheet and bake for 15-25 minutes until soft. After you remove them, let them cool.
  3. Place eggs in a saucepan filled with water and let them boil for 8-10 minutes. Let them also cool then peel and dice them.
  4.  Mix cooled sweet potatoes, eggs, onion, lemon juice and mayonnaise in a bowl.
  5. Taste and sprinkle with salt and/or pepper if you wish.

And — here’s the final product.

Paleo Egg and Potato Salad

I served this with baked salmon and it was a perfect side for it.

Egg and Potato Salad with Baked Salmon

Enjoy!

Buckthorn Pulling

For the last few mornings, I’ve pulled buckthorn. And pulled buckthorn. And pulled even more buckthorn. My yard waste container is more than full but tomorrow it will be empty and I get to start all over again.  Well, that is, if the weather holds up. I won’t be starting my buckthorn project again until next week and the weather will be hot.

Yesterday I worked in an area of the property that has massive amounts of buckthorn. Instead of a “field of dreams,” I call it a field of buckthorn. Here’s what it looks like … You see the area on the lower right corner where you can see dirt? That’s the edge of where I stopped working.

Field of Buckthorn
Field of Buckthorn

I believe that if I worked 8 hours a day, 5 days a week for 4 weeks, I would have a handle on the buckthorn. One of the problems I run into are all the branches on the ground that are intermingled with the buckthorn. I spend a lot of time clearing the branches so I can be on solid footing.

Once I get this cleaned up, I’m determined to keep it clear of buckthorn and branches. But — I’m starting to believe that I may have to hire someone to help me pull this weed out. Then, one of us could do the branch clean up while the other one pulls buckthorn. It sounds like a good plan. I’ll have to see how I feel about it next week.

Paleo Bread

Finally! A paleo bread that tastes and can be used like “real” bread. I am overjoyed — truly! I have not had much luck making bread products (although the rosemary biscuits I made came pretty close).

I am so excited to share this recipe with you. I made one loaf and have already made sandwiches for lunch and toast for breakfast. Oh boy oh boy!  Bread!

In addition, I was reading about the benefits of a couple of the ingredients that are used, i.e. arrowroot powder and flaxseed meal. There are a few links I gathered below on that topic so you can do some reading on your own.

I must warn you — my picture did not come out the best but don’t let that deter you from trying this recipe. You will enjoy this gluten and grain free bread as much as I did.

Paleo Bread Ingredients

You’ll be mixing the ingredients all together.

Mix Ingredients Together

And you’ll get this wonderful loaf!

Paleo Bread
Paleo Bread

Ready to try this recipe? No, no, you don’t have to thank me for finding it for you.

Ingredients

  • 1 1/2 cup Arrowroot Powder
  • 1 cup Golden Flaxseed Meal
  • 4 Eggs
  • 4 Egg Whites
  • 4 Tablespoons Walnut Oil
  • 1 1/2 teaspoons Coarse Sea Salt (I used Kosher Salt)
  • 4 teaspoons Baking Powder
  • 2 teaspoons Cider Vinegar (I used Apple Cider Vinegar)
  • Olive Oil Spray (for the bread loaf pan you’ll be using)

Directions

  1. Preheat the oven to 350 degrees Fahrenheit.
  2. Combine all the dry ingredients in a bowl then use a whisk to blend them together.
  3. Combine all the wet ingredients and whisk them together to blend them also.
  4. Then add the wet ingredients to the dry ingredients and blend it all together.
  5. Spray the bread loaf pan down with the oil.
  6. Bake for 30-35 minutes or until a toothpick inserted in the middle of the bread comes out clean.

You can also make muffins with these although I haven’t tried that yet. The directions for the muffins would be to bake 20-25 minutes then remove them from the oven when a toothpick inserted in the middle of one of them comes out clean.

The ideas for variations on this bread are endless. Perhaps I’ll try using cinnamon and raisins one day.

Benefits of using Arrowroot Powder

Benefits of using Flaxseed Meal

Hope you enjoy it as much as I did.  And a special thank you to Meghan at Paleo Effect for this recipe. You are a gem!

Paleo Meatballs

I never like to say that food is “heavenly” because I know there is no comparison with the food that will actually be served in heaven. So, let’s not call them heavenly but … hmmm … sublime.  (Not bad, eh?)

This recipe is called No Breadcrumbs Meatballs and the substitution of the almond meal/flour worked very well. I halved the recipe as I didn’t want to have a bunch of leftovers although my husband took some for lunch the next day.

Here are the two sets of ingredients that you’ll need. The first one is for the sauce, the second is for the actual meatballs.

Meatball Sauce Ingredients
Meatball Sauce Ingredients (Olive Oil not shown)

I did not use the Italian Seasoning that the recipe called for as it usually has too much salt so I simply used oregano in its place and it turned out fine. You could use other seasonings and the only thing it will affect is the taste. I also used 1 pound of beef instead of 1/2 beef and 1/2 pork.

Meatball Ingredients

Ready to start making these wonderful meatballs?

Ingredients For the Sauce

  • 14 oz. can of diced tomatoes
  • 1/2 small can of tomato paste
  • 1 tablespoon extra virgin olive oil
  • 1 clove of garlic, minced
  • 1/4 medium onion, chopped
  • 1 teaspoon oregano
  • 1/2 teaspoon black pepper

Ingredients for the Meatballs

  • 1 lb. ground sirloin
  • 1 egg
  • 1/4 cup almond meal
  • 1 clove of garlic, minced
  • 1/4 medium yellow onion, chopped
  • 1/4 carrot, shaved
  • 1/2 teaspoon red pepper flakes
  • 1/2 teaspoon black pepper

Directions

  1. For the sauce — in a large saucepan, heat the olive oil and then add the garlic and onion and saute.
  2. Once the onion is clear, add the diced canned tomatoes, tomato paste, oregano and the black pepper then stir and cook on low heat.
  3. In a large mixing bowl combine the ingredients for the meatballs. (It works really well if you use your clean hands.)
  4. Once all the ingredients are mixed together, form the mixture into balls about an inch or two around.
  5. In a skillet, brown the meatballs (add some olive oil to the skillet if necessary). Be sure to turn the meatballs slowly and often. I did not have any problems with the meatballs falling apart which I thought might happen because I wasn’t “real” breadcrumbs.
  6. Make sure the meatballs are well browned.
  7. Once the meatballs are done, add them to the sauce.
  8. Cook the meatballs in the sauce on low heat stirring occasionally for at least one hour.

Absolutely scrumptious!

No Breadcrumb Meatballs

Oh — did you notice I served the meatballs on noodles? We haven’t had noodles in awhile  because of the paleo diet but I decided to try these gluten free noodles. They were thin — very similar to the ones you would eat if you were eating Pad Thai (if you’ve had that dish before).

I was pleasantly surprised that they were good! Other gluten free noodles I’ve tried in the past tasted gummy but these Pumpkin, Ginger & Rice Noodles by King Soba tasted just like good ‘ol noodles.  Yum!

King Soba Pumpkin Ginger and Rice Noodles

Enjoy!


Herb Roasted Chicken Thighs

Bleh — I don’t know what happened to all of the pictures I took while making this Herb Roasted Chicken Thigh recipe. I have the “before” picture of what the thighs look like when they are prepared and ready to go into the oven.

Herb Roasted Chicken Thighs - Preparation
Herb Roasted Chicken Thighs – Preparation

And — they were very very good as the recipe is a definite “keeper.” So — forgive my lapse in taking pictures (or deleting them).

Here’s the recipe for you to try. They were very very tasty. The original recipe calls for 8 boneless, skinless chicken thighs but I used what I had a lot of — bone-in, skin on chicken thighs AND I only used 4 of them. I did not change the rest of the ingredients though.

Ingredients

  • 4 bone-in, skin-on chicken thighs
  • 2 tablespoons extra virgin olive oil
  • 1/2 teaspoon gried oregano
  • 1/2 teaspoon dried rosemary
  • 1/2 teaspoon dried thyme
  • 1/4 teaspoon sea salt
  • 1/4 teaspoon fresh ground pepper

Directions

  1. Preheat the oven to 350℉.
  2. Line a roasting pan with aluminum foil.
  3. Rub about 1 tablespoon of the olive oil on the bottom of the pan.
  4. Place the chicken, in a single layer, in the pan.
  5. Drizzle the remaining olive oil over the chicken thighs.
  6. Turn the chicken thighs once to make sure they are evenly coated with the oil.
  7. In a small bowl, combine oregano, rosemary, thyme, salt and pepper.
  8. Sprinkle half of the herb mixture over the chicken thighs then turn each thigh over and sprinkle the remaining herb mixture over the thighs.
  9. Place the pan in the oven and cook for approximately 45 minutes or until juices run clear and chicken is cooked throughout. (It takes longer for it to cook when you use bone-in thighs.)
  10. Remove from the oven and let rest for approximately 5-10 minutes before serving.

That’s it. Easy, delicious and paleo friendly. Those are always my kind of recipes (although I do try the harder ones every now and again). I served this with Mashed Parsnips and steamed brussel sprouts.

Herb Roasted Chicken Thighs

Enjoy!

Mashed Parsnips

These Mashed Parsnips are a good side to any meal — even served at a picnic in place of mashed potatoes or potato salad.

The ingredients are fairly straightforward. Oops, I forgot to show the turkey bacon but it is listed in the recipe below.

Ingredients for Mashed Parsnips
Ingredients for Mashed Parsnips (turkey bacon not shown)

You’ll be peeling, slicing then cutting the parsnps in half if they are large pieces. I like to have most of my pieces be the same size so they all are done around the same time.

Sliced Parsnips
Sliced Parsnips

Next put them in a medium pot and boil them.

Boil Parsnips
Boil Parsnips

Outside of frying the bacon, those are the major instructions so it’s pretty simple.

The one thing I would do differently (so I’ve adjusted the recipe) is to use less chicken broth as 2 cups of broth made the mashed parsnips taste more like chicken than parsnips. Not good if you happen to like the taste of parsnips. And, it made them taste really heavy in the belly.

With that change, I think this recipe would be really really good. Ready to try it?

Ingredients

  • 1 lb parsnips, peeled skin and cut into 1 inch chunks
  • 1 cup chicken broth plus enough water to cover the parsnips
  • 2 Tablespoons butter
  • 3 pieces of bacon, cooked and crumbled
  • 2 Tablespoons chopped fresh chives, chopped
  • 1/4 – 1/2 teaspoon garlic powder
  • salt and pepper, to taste

Directions

  1. Place the parsnip chunks in a medium sized pot.
  2. Pour the chicken broth and water over the parsnips.
  3. Bring the parsnips to a boil over medium high heat.
  4. Keep boiling over medium high heat until all or most of the liquid has evaporated — about 20 – 25 minutes.
  5. Once all or most of the liquid has evaporated, turn off the heat then add your butter, salt, pepper and garlic powder.
  6. Mash the parsnips until you reach your desired consistency.
  7. Add in the bacon and chives and stir until all is blended together.

That’s it! Here’s the finished product.

Mashed Parsnips
Mashed Parsnips


The Buckthorn

I recently spent an evening at a woman’s house, in a nearby city, who had transformed her 3 acre property into a “parklike” setting. It was quite beautiful. There were many master gardeners there answering questions about flowers to rain barrels to water ponds. In addition, a representative from the Washington Conservation District was there and they were offering a free walk-through of our property with the possibility of grant money being awarded if we qualified for their program.

So –I signed up. Free money is free money, right? (Yes, I know it’s taxpayer money and I’m a taxpayer but it’s still “free” in an odd sense) A couple of weeks ago I had two representatives come out. They walked almost all of my property with me pointing out and naming this plant and that plant.

They also pointed out the “buckthorn.” I used to think that I had wild bushes growing through my property that I had to trim back and maintain. Alas! I have the “buckthorn” – a “restricted noxious weed.”

Another noxious weed! I have to shake my head because I spent hours and hours pulling out the garlic mustard plant — another noxious weed — from our property. And the seeds from that plant are starting to grow again.

I’m sure I’ll be weeding the rest of my life!!!

Anyway, the buckthorn is everywhere I walk on the property — even on the paths that I made last year. This is what the back part of my acreage looks like — and, outside of the ferns, most bushes there are buckthorn.  Sigh.

Back Yard
Back Yard

This is what the leaf of the buckthorn looks like. It also has branches that have these “spikes” that come out of them (although they aren’t prickly).

Buckthorn Leaves
Buckthorn Leaves

Here’a another picture of the leaf. Notice that the leaves are egg-shaped, pointed at the tip, dark, glossy and finely-toothed. There are 3-5 pair of curved leaf veins. It’s important to know about the leaf veins because there are other bushes/plants that look similar to the buckthorn. You don’t want to take out the good with the bad.

Buckthorn Leaf
Buckthorn Leaf

So — back to the Washington Conservation District. I am eligible for at least one of the grants that will give me $500 to buy plants to replace the buckhorn that I remove. It’s a one year program so I’ll have to remove as much buckthorn as I can, buy and install the new plants, keep my receipts, turn them over to the Conservation District, have an inspection then get reimbursed.

There is also another 5 year program that would give me an additional $1000. They are checking to see if I am eligible for that grant as I would have to be within a certain number of feet from a lake to qualify.

Shortly after all this happened, I received a large box in the mail that my brother had sent me — a gift.  (Don’t you like surprise gifts? — I do!!!)  The box contained a weed remover that is working very well in getting to the root of the larger buckthorn plants. When the plants are small, you can yank the plant (root and all) from the ground. Larger plants require a little more oomph! and this Friskars Weed Remover works very well.

Friskars Weed Remover
Friskars Weed Remover Claws

Buckthorn and garlic mustard plants, uh, weeds.  The story of my life.

Hmmm … winter is not looking so bad right about now …

(For more information on the buckthorn, please click on this link … Minnesota Department of Natural Resources.)

Other articles on buckthorn …

Buckthorn Pulling

Buckthorn Progress