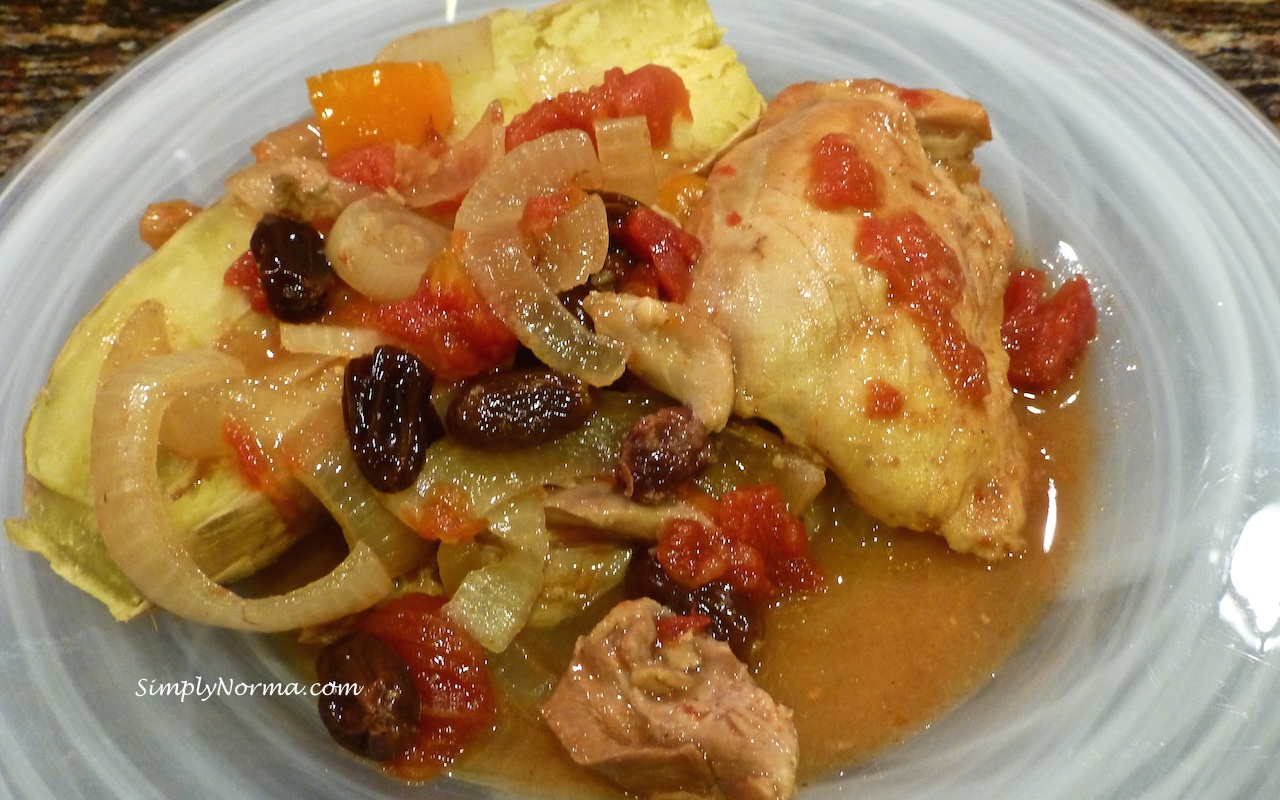
You’ll need a crockpot for this paleo Chicken with Tomatoes recipe.
It’s quite an easy recipe to make and in winter, I especially like to use the crockpot.
Crockpot cooking also frees up time for me to do other activities in the afternoon. It’s a win-win all around. Quilting ~ here I come!
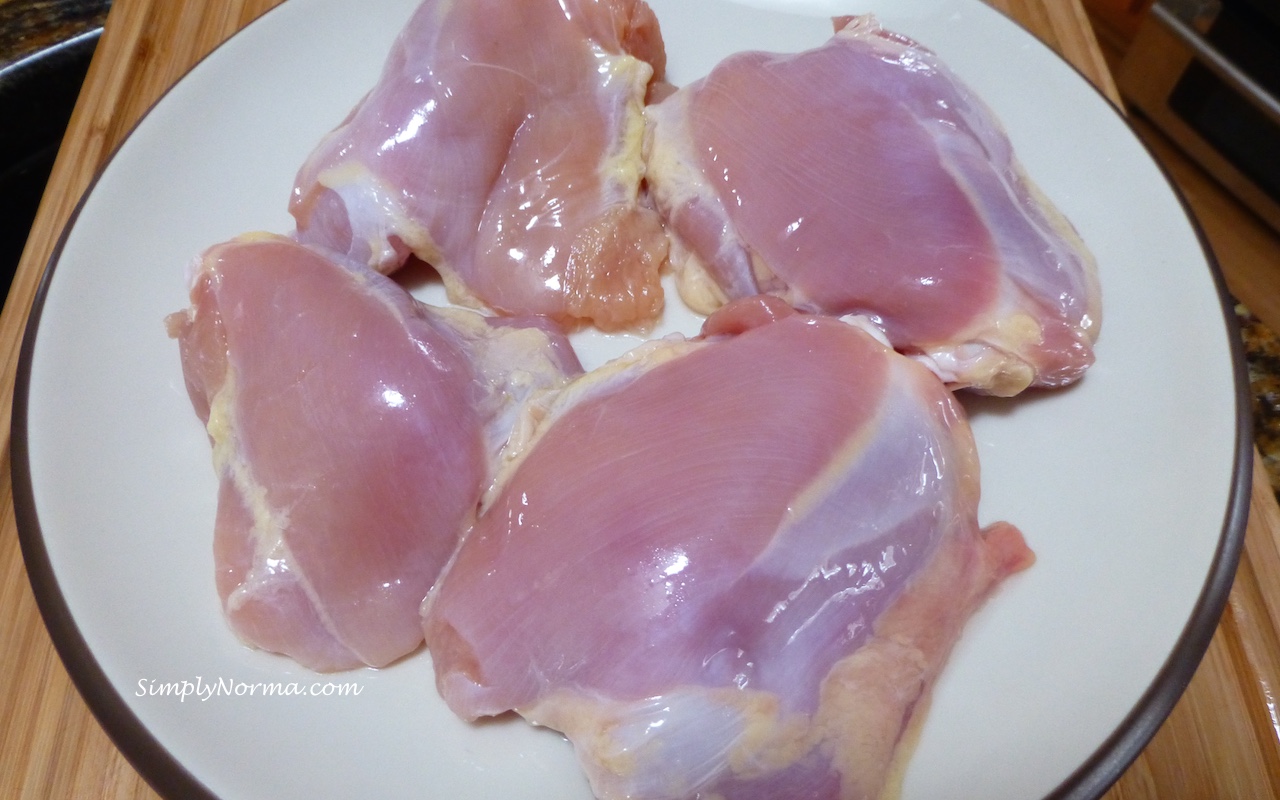
For this recipe, I had skin-on bone-in chicken thighs in the freezer, but, after thawing, I removed the skin from the chicken. Â Did you know that it’s cheaper to buy chicken with the skin on? Helps the budget out to spend just a little time removing the skin for a recipe that calls for no skin.
No charge for the tip ~ (laughing).
Four Skinless Chicken Thighs
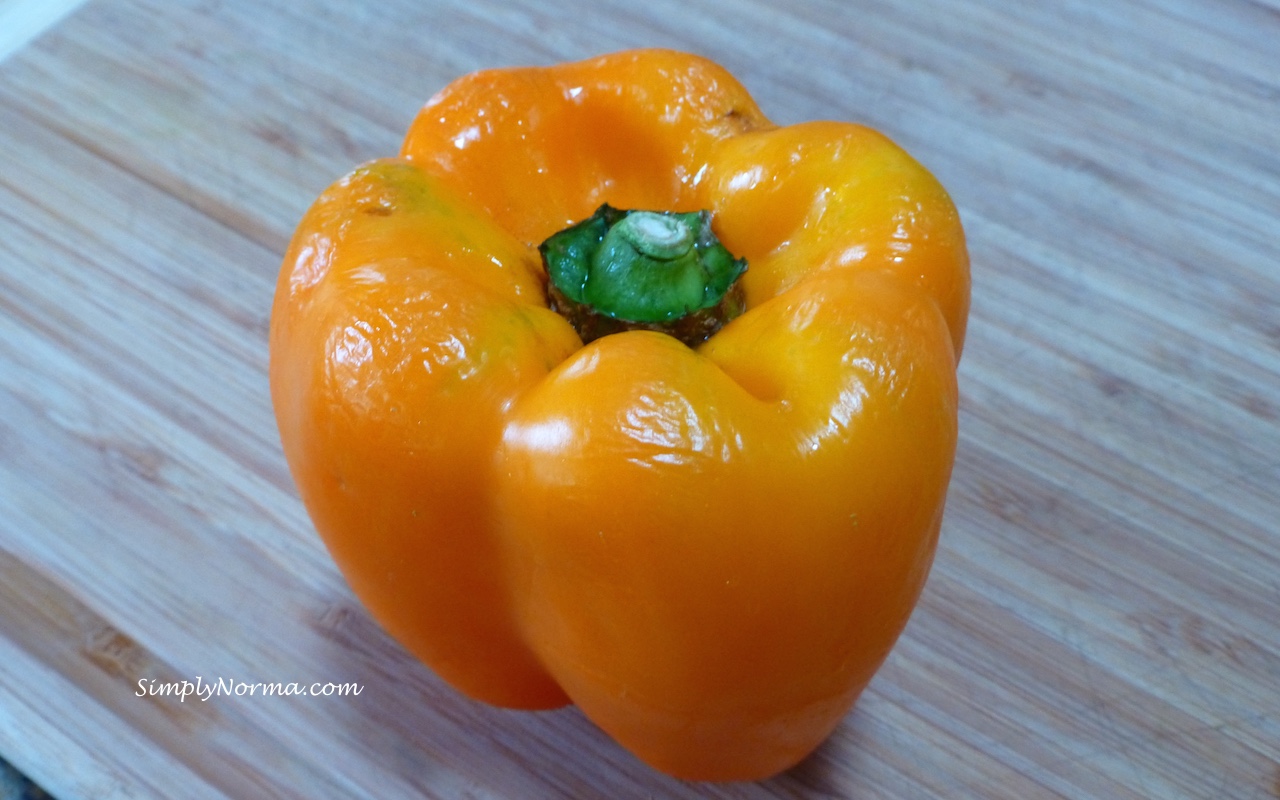
I used an orange pepper ~just to make it more pretty. This one looks like it was almost on its last leg (laughing) but it worked out fine.
Orange Pepper
Well, here’s the recipe without any more fanfare …
Ingredients
1 medium onion, cut into thin slices
4 skinless chicken thighs, cleaned and dried
1Â orange pepper, sliced
2 tablespoons tapioca flour
1/4 cup raisins
2 cloves garlic, minced
One (1) 14 ounce can diced tomatoes, undrained
1 teaspoon curry powder
1/2 teaspoon celery salt
1/2 teaspoon ground cumin
Directions
In a crockpot, add the chicken, onion, pepper, raisins and garlic.
In a bowl, add the tomatoes, tapioca flour, curry powder, cumin and celery salt, mix it together then pour this over the crockpot ingredients.
Cook on low heat for 5 hours or on high for 2.5 hours.
Recently, I decided to use a Christmas gift that was given to me, uh, 2 Christmases ago. Yeah, I know, I know. I just wasn’t ready for it.
The gift is a Timex “watch” that measures your heart rate and allows you to stay in the correct heart rate “zone” so you can exercise in the range you want to be in.
I hadn’t been able to figure out how to work it so my ever handy logical husband figured it out and explained it to me. Ever feel really dense when something is a lot easier than you thought? Â Yeah, yeah …
So, it was finally THE day. Â I put on the heart monitor and started the timer for 15 minutes. Since it was a little icy outside I decided I would “train” (I’m really using the word loosely here) indoors.
I came up with an idea ~ I would go up and down one stair step until I reached my target heart rate and then walk around the house marching until I reached the lower part of the range, then back to the step until my heart rate went back up. Easy enough, no?
After 15 minutes I felt great! This was going to be easy, I said to myself.
The next morning I woke up and my right knee was bothering me. How odd. My left knee felt fine.
As the day progressed my right knee was having increased pain. Later in the evening I decided to take a nice hot bath. That would “soothe” the knee for sure. (Have you ever been so sure about something and then been so wrong? ~ sigh)
That night I went to bed and tossed and turned because I couldn’t get my knee in a position where it wasn’t in pain. So, I headed downstairs to the comfortable sofa in the family room where I tossed and turned til 4 a.m. (Any sympathy for me yet?)
The next morning I woke up and decided I would not go to church but would instead ice my knee every hour on the hour, keep it elevated and see what happened.
By the end of the day, I had a bump on the knee that was fluid-filled on the right side about an inch from the knee bone (I’m sure there’s a medical term for that bone but let’s just call it a knee bone for right now, okay?).
I slept a little better Saturday but was still in a lot of pain on Sunday.
The thought of going to the doctor on Monday crossed my mind. No, I told myself. I am NOT going to the doctor as it will go away by itself.
I spent a couple more days limping and decided to go see my chiropractor instead. He’s cheaper than the doctor and has a machine called a PEMF 4000 that they use on athletes to get them back on the playing field.
Sure enough, after two treatments on this machine my knee was pretty much back to normal. Â Here is what it looks like ~
PEMF 4000
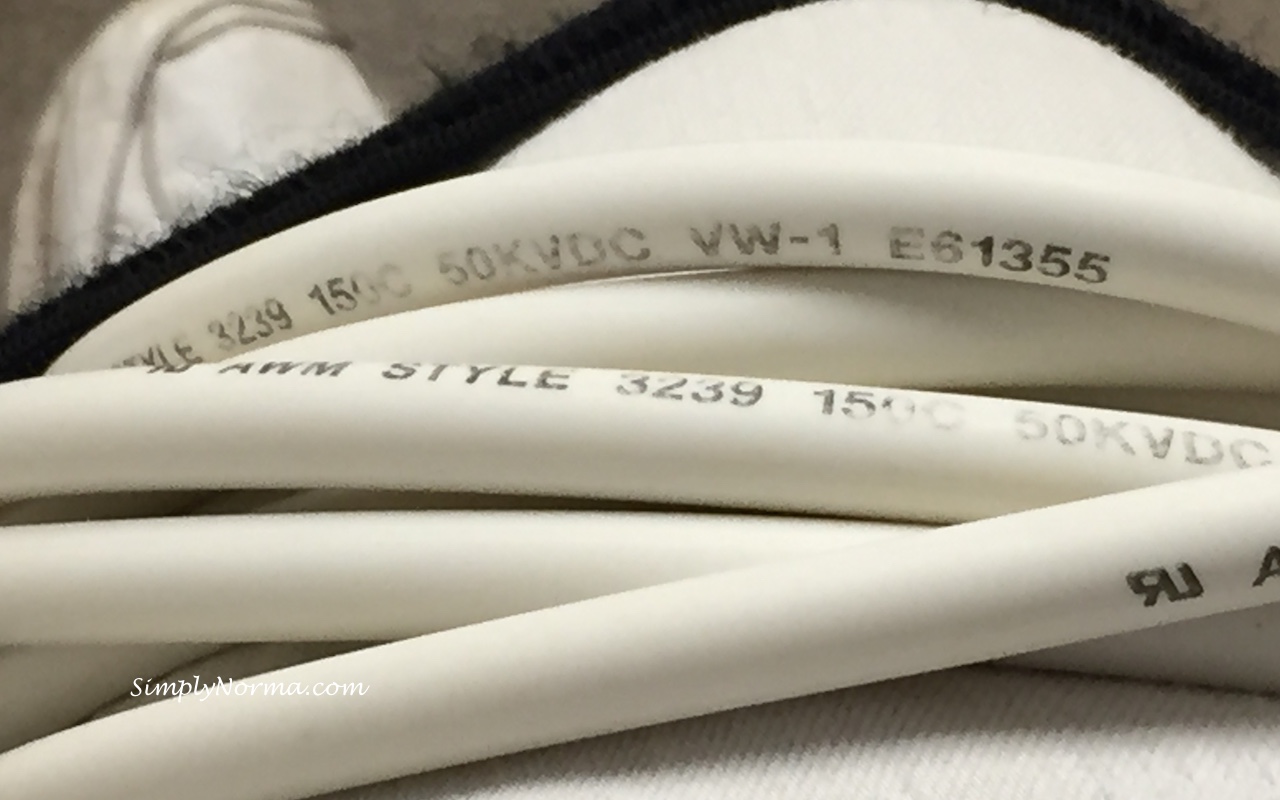
The “procedure” is simple and painless ~ you simply sit in a chair, they take wires from the inside of the machine and just lay them on the knee and start the machine.
PEMF 4000
The machine makes a clicking sound but there is absolutely no pain associated with it ~ none, nada. Did I mention that there is NO pain when they use this machine? It’s amazing. You simply feel a pulsing that comes from an electromagnetic field. (Click here to read more.) No, I don’t own one of these machines nor do I have stock in it. It simply worked ~ for me.
So, I thought I’d share that with you. Just in case you have pain that hasn’t gone away yet. Perhaps there’s a chiropractor in your area that can help you out also.
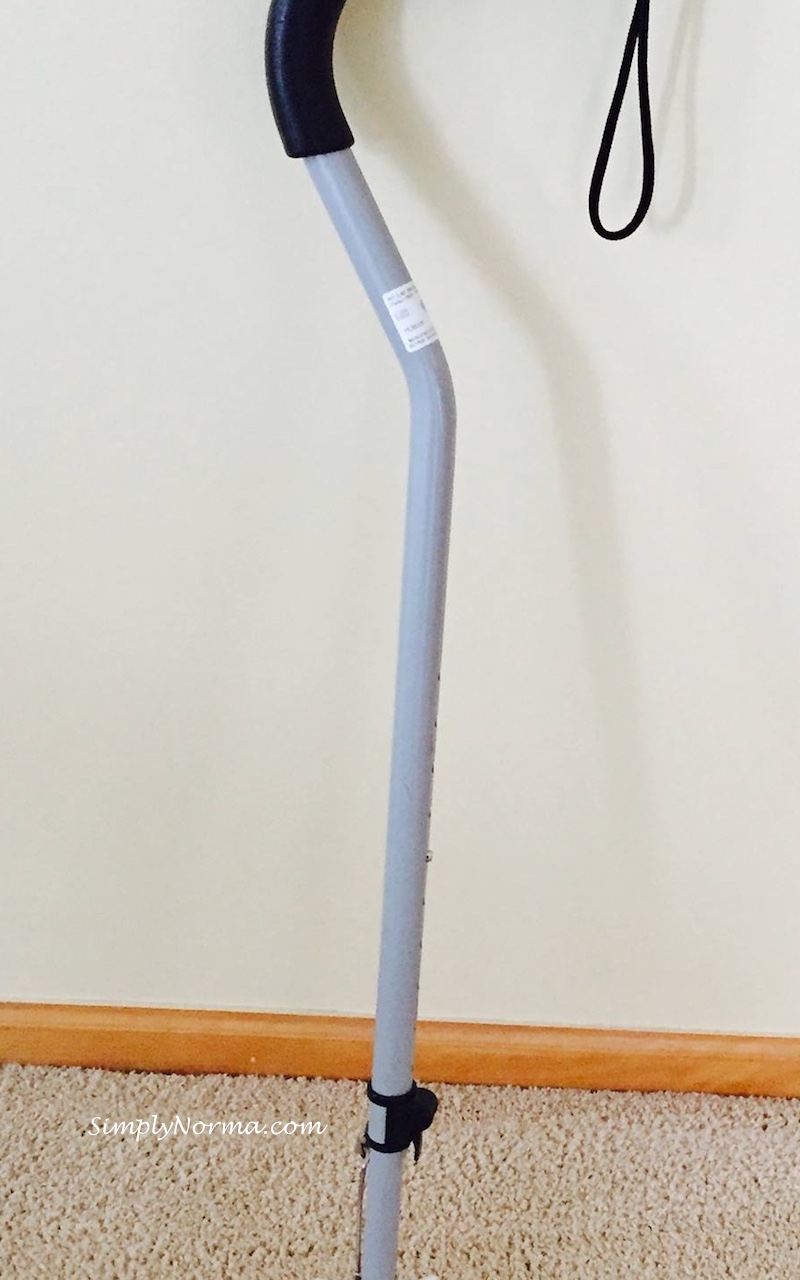
Sure beats having to use a cane (my 90 year old neighbor loaned me one of his) ~
This post is long overdue as I started writing it in mid-January. What a slow start I’m having this year. Well, here it goes …
After making a lap quilt from a kit that I had in the house from a few years ago, I finally decided to take the plunge and try a larger quilt.
About 10.5 years ago  (I know, I know, it was a long time ago …), my sister had asked me to make her a quilt for her king size bed. At that time, I didn’t have my own sewing machine so it had to wait until ~ now.
I knew deep inside my gut though that tackling such a large quilt would be too overwhelming for me so I decided to make it a tad smaller. When I finally finished it, it came out to 96×64. Not quite king size, but …
The good news is I found out that my sister bought a platform bed and this size would fit quite well. It would also fit on a king size bed that has a tall footboard. So, I was quite happy with it.
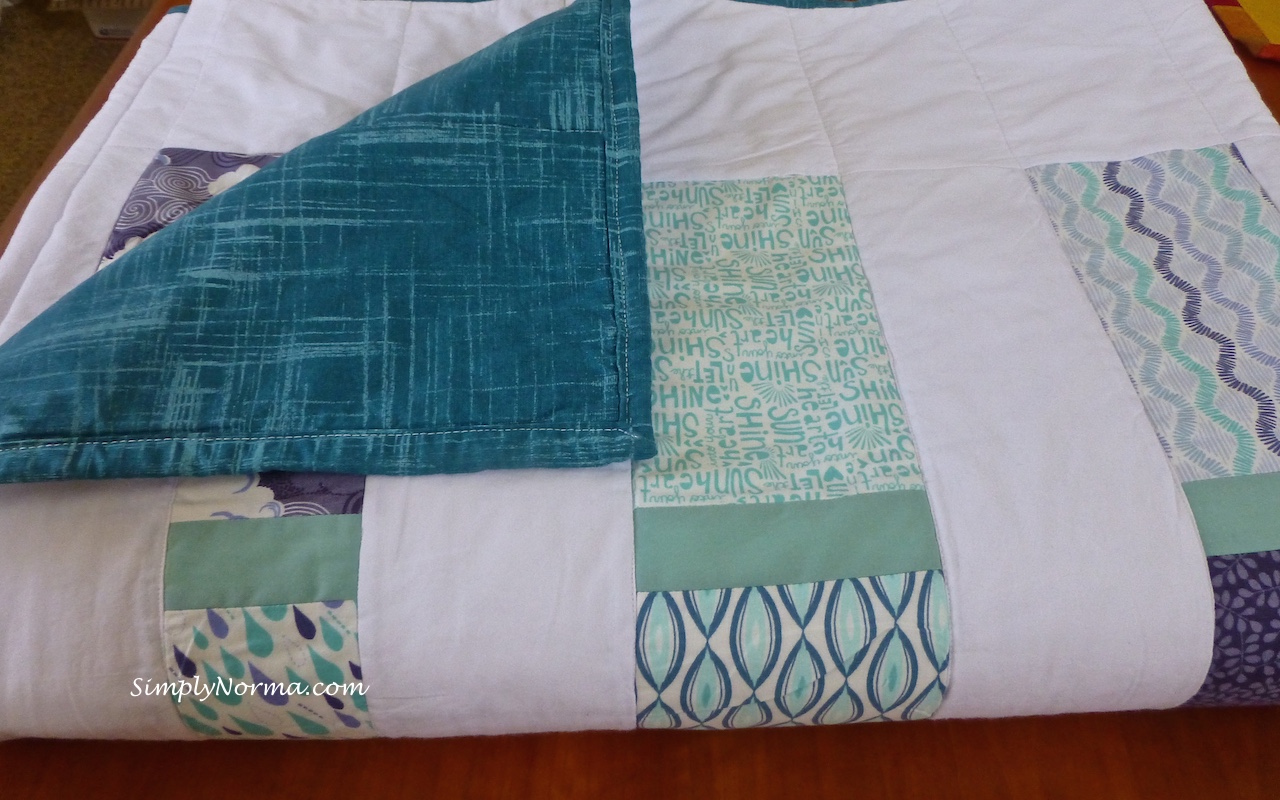
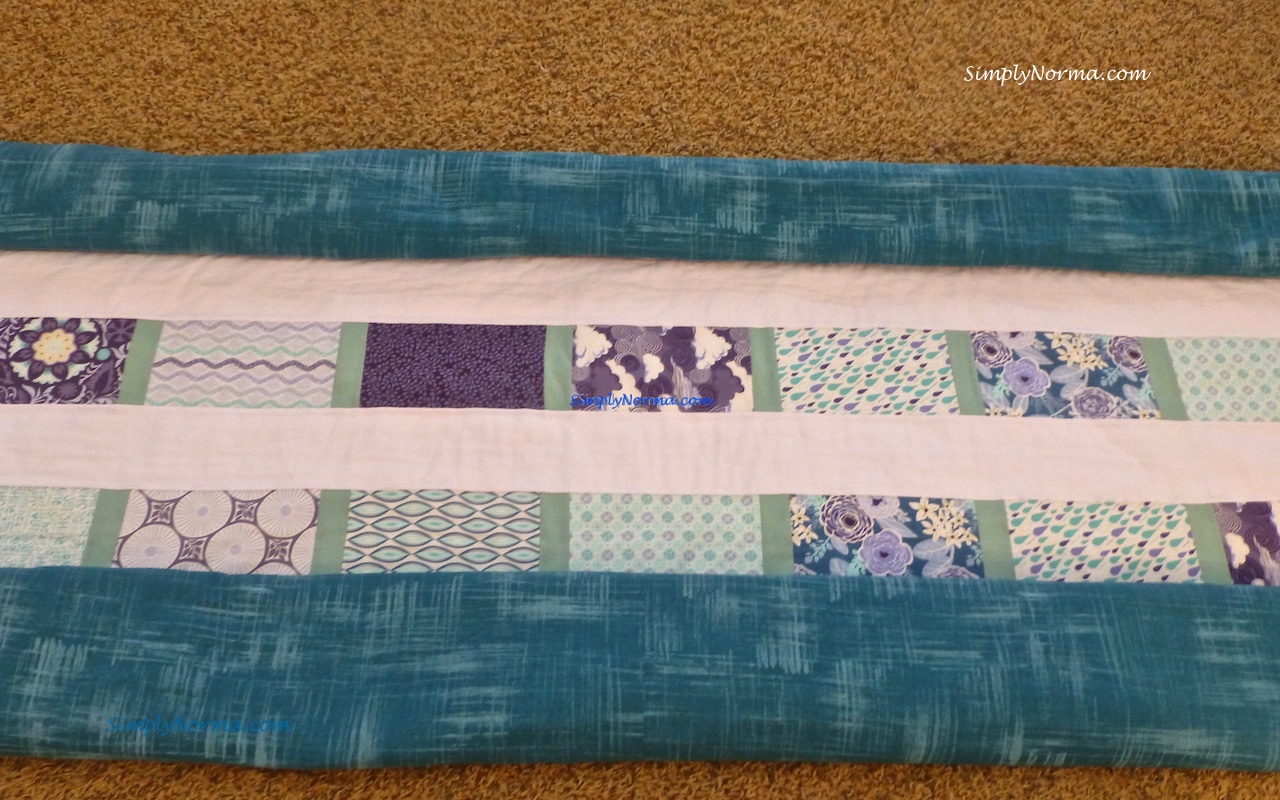
I had happened to come across some really pretty blue material that I thought would match the color on the walls she recently painted. Here’s a look at the fabric I used.
Quilt Fabric
The larger fabric pieces came as a set and I purchased it on Etsy; the green “divider” fabric is from a sheet that a neighbor friend gave me when his wife passed away; the white fabric was purchased at JoAnn’s Fabric and the evergreen backing was purchased at a local fabric store.
To say I had problems making this quilt would be an understatement.
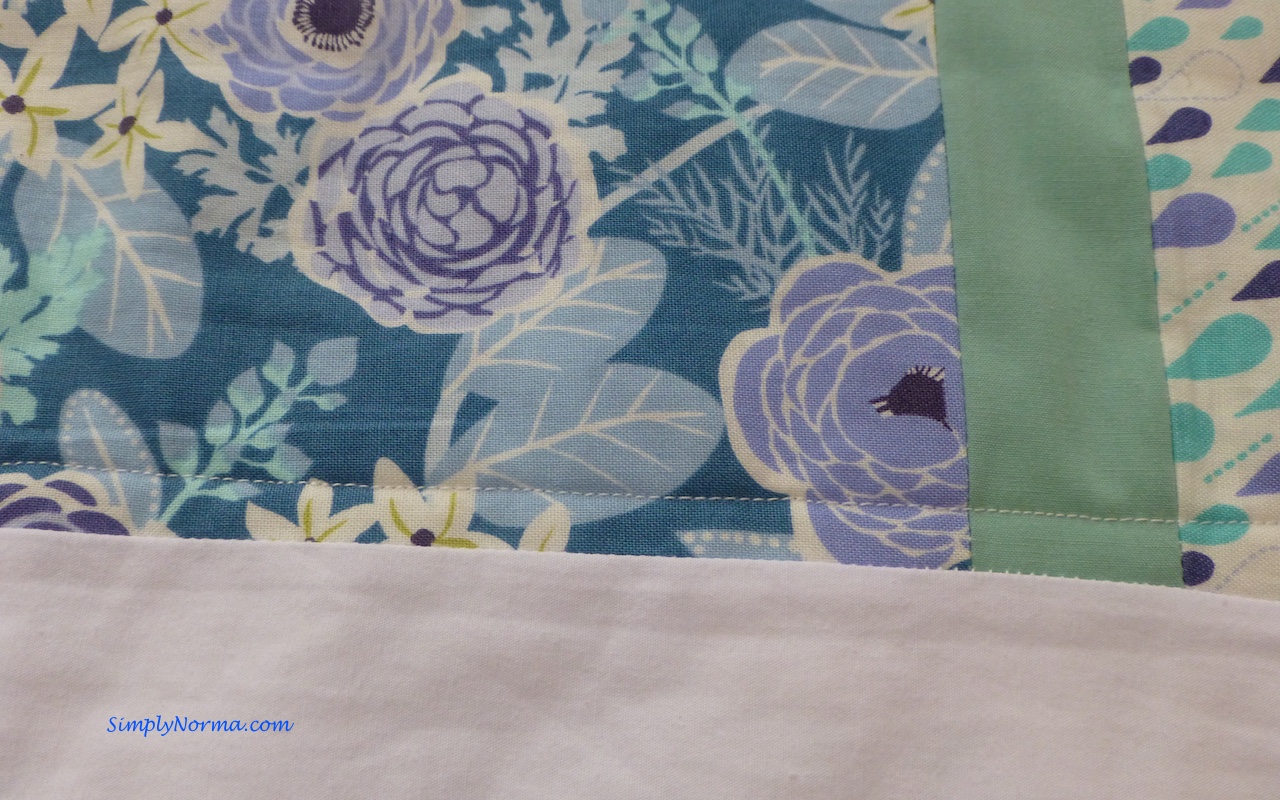
First, I should have practiced a LOT more before embarking on a quilt this size. My sewing was not quite straight in some parts. See?
Uneven Sewing
Can’t see much uneven-ness? Well, let me point out that this was supposed to be sewn “in the ditch” (along the seam line) and I missed by a long shot. I decided to leave it that way as I thought it looked pretty although it was a “line” that didn’t match the rest of the quilt.
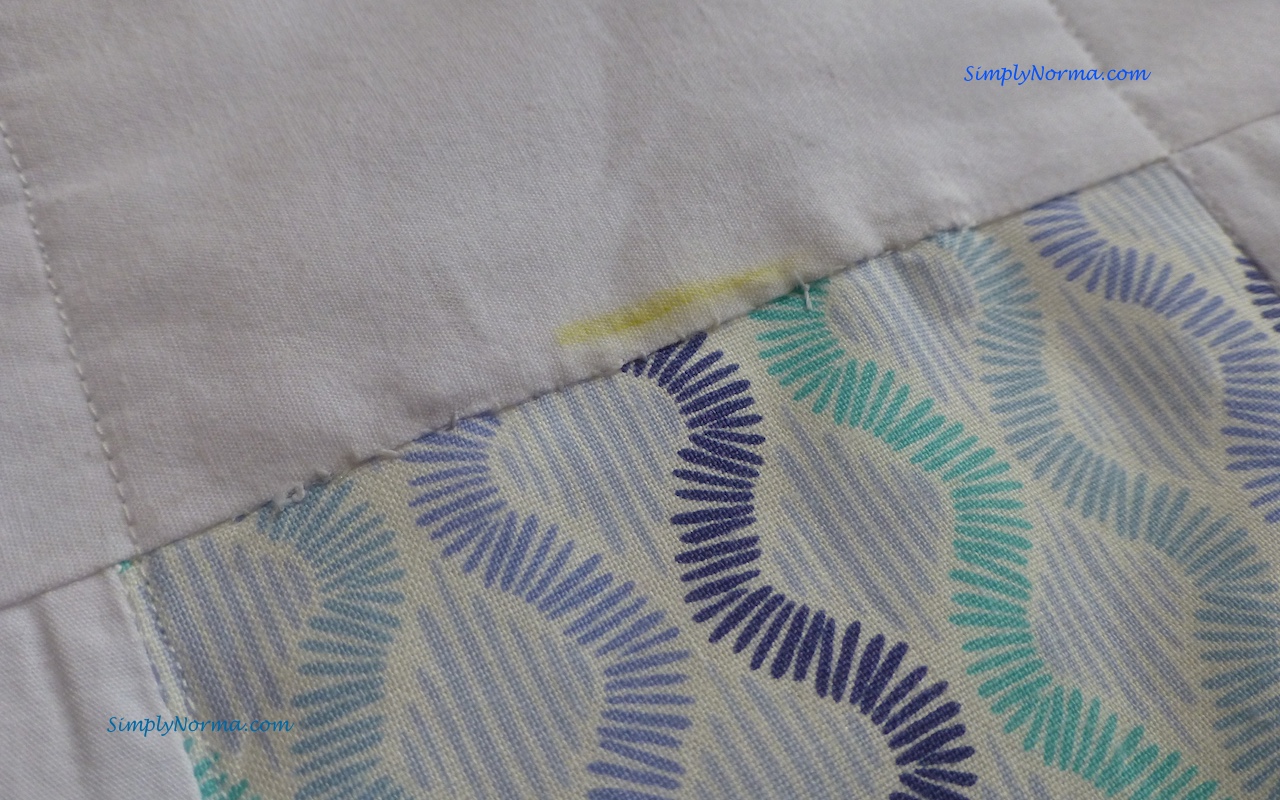
Then I made what I call a “newbie” mistake. A HUGE newbie mistake. I should have made doubly and triply sure that the top of the quilt was sewn very securely but I didn’t do that so once I put the quilt together I decided to check and sure enough, I had a few places where I had to go back and sew this area by hand which is not easy to do. Sigh …
Make sure all seams are sewn together on top
Mind you, these imperfections can’t be seen from afar but still … it was laziness on my part and a lesson well learned.
At the onset, I found myself saying “I really need more sewing practice” but instead of stopping to practice I continued to make the quilt. Â Learn from that mistake, will ya?
One of the hardest parts for me was putting the top, batting and backing together. I went to the store and bought myself some plastic clamps to hold everything together so I could pin it on a kitchen table.
Alas, this didn’t work well and the backing was crooked after I had pinned it, so I had to unpin the whole quilt and start over again.
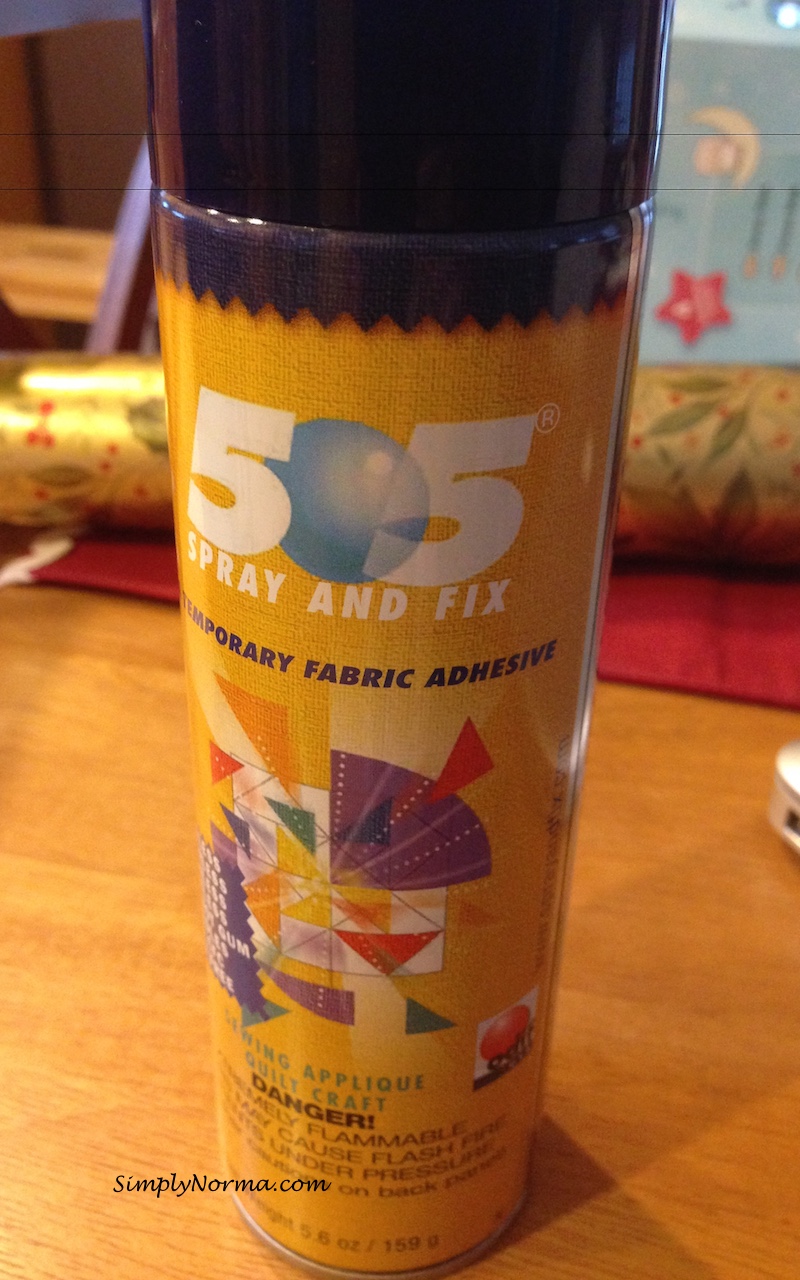
Then, I decided to use a temporary fabric adhesive called 505. It worked very very well although I had to lay everything out on the garage floor which is not hard in the summer but I was doing this in the Minnesota winter. I wound up using an old king size sheet under everything.
Temporary Fabric Adhesive
One fear that I’ve had as a new quilter is that the quilt will fall apart. I had visions of little pieces of thread coming out all over the place. Â (Such a phobia …)
Well, let me tell you, since I used small stitches, had “crooked” sewing then had to remove all the stitching, I can testify that this quilt will absolutely not come apart.
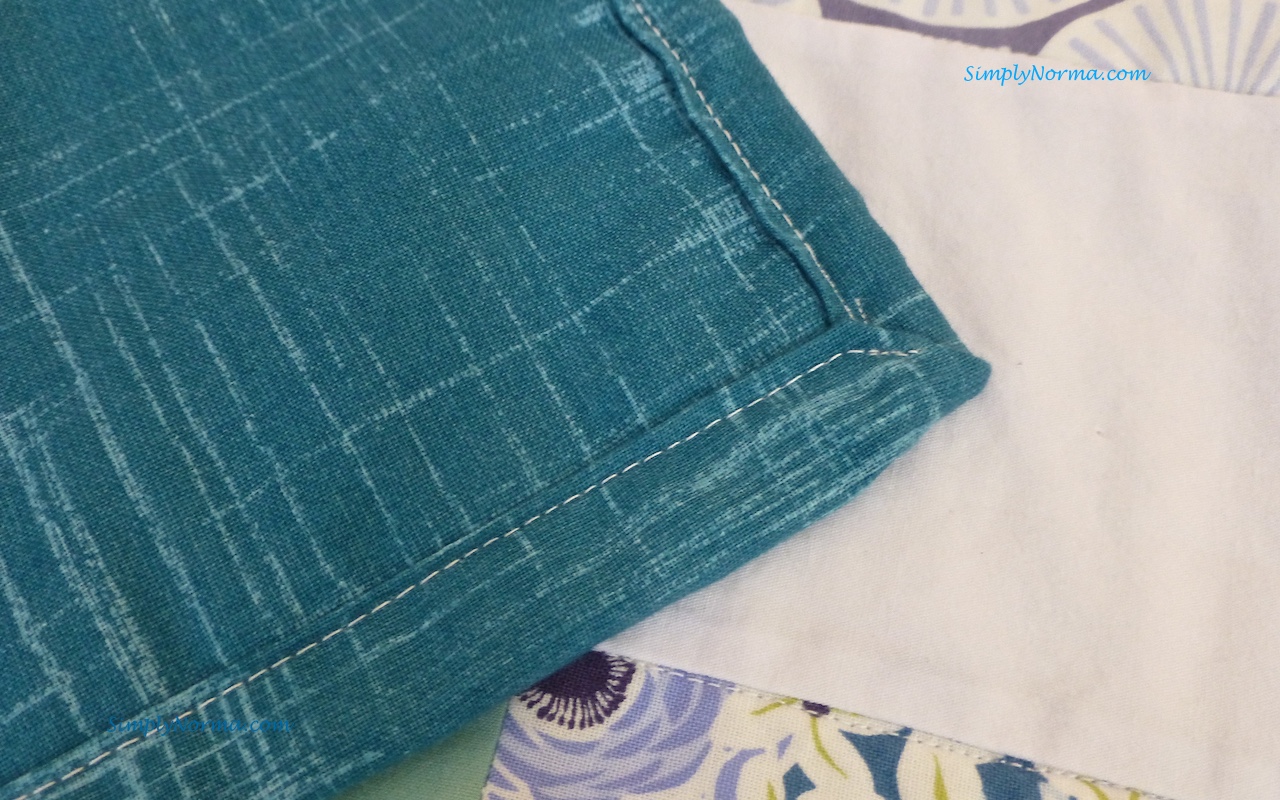
Surprisingly, the binding (edges) of the quilt came out quite well. (Let me take a moment to pat myself on the back here … hey! someone’s gotta do it.)
Quilt Binding
After I finished this quilt I tossed it in the washer in cold water, crossed my fingers and prayed that it didn’t shrink. Surprisingly, it washed beautifully and so I tossed it in the dryer. Another thumbs up!
And here it is ~ drum roll please!
Finished Quilt
I literally cried when I packed it to ship it to my sister for Christmas. I told her that it took a lot of blood, sweat and tears and I meant that literally as I didn’t use a sewing thimble and kept pricking myself when I was manually sewing it.
Surprisingly, I sweat when I sew. Weird, no? I’m not a sweater but the intensity of making this quilt must have had something to do with it.
I’m now in “practice” mode again. I’m practicing making different quilting designs and also purchased a kit to make table runners. That project is going quicker than what I thought and I’m almost finished with it. Soon, very soon, I’ll post it for you.
It’s been well over a month since I’ve posted any new recipes. The “new” year just hasn’t been kind to me even if I am able to keep my optimism up, well, at least somewhat.
I seem to have developed “panic attacks.” Have you ever had them? They are unnerving.
But, I digress and will talk more about that another time. Right now, let’s get a new recipe for you to try. You’ve been waiting so patiently.
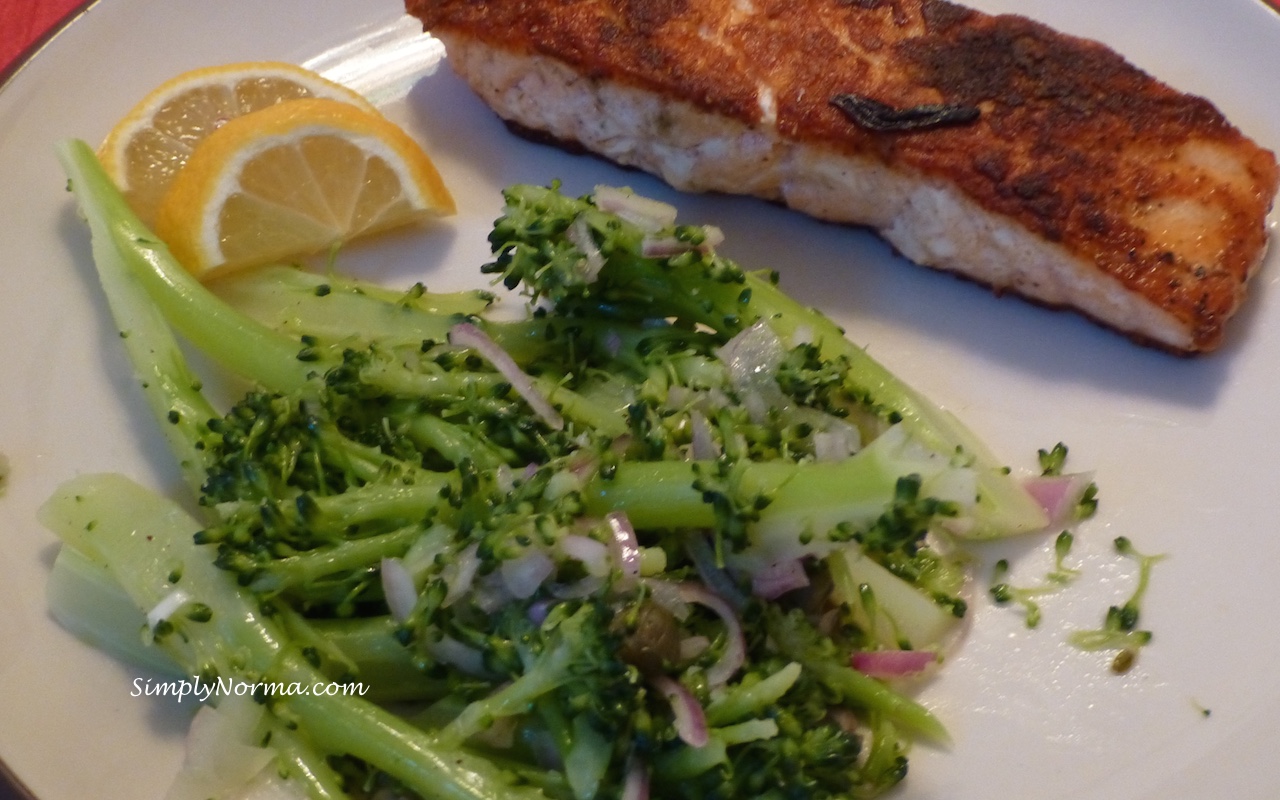
My husband made this paleo Coriander Salmon with Caper Broccolini one day when I was feeling lazy although I had made it before yet never posted it. It’s quite good!
Ingredients
1 shallot, thinly sliced
Salt and Pepper
2 bunches broccoli, sliced thinly (no point in paying extra for the broccolini when you can just slice regular broccoli up)
2 tablespoons capers
2 tablespoons olive oil
2 6-ounce salmon fillet
1 tablespoon ground coriander
lemon wedges (optional)
Directions
Combine the shallot, 1/2 teaspoon salt, and 1/2 cup water in a small bowl.
Allow the shallot to soften for a few minutes, then drain it.
Slice the broccoli into thin strips and steam it in water until it’s tender.
Once the broccoli is cooked, toss the broccoli with the capers, shallot, 1 tablespoon of olive oil, and a dash of pepper in a bowl.
Season the salmon with the coriander, a dash of salt, and a dash of pepper (add more if you want it a little kick to it).
Heat the remaining tablespoon of oil in a large nonstick skillet over medium-high heat then add the salmon and cook until it looks opaque throughout, 2 to 3 minutes per side.
Serve with the lemon slices if you wish.
That’s it! The salmon came out absolutely perfect. Â Hope you enjoy it.
I’ve had a really rough two months so I need all the inspiration I can get.
One thing I’ve learned in my short life (yeah, I consider almost 60 to still be “short”), is that when I focus on others I feel better. And so it was that I went to Hallmark and found a beautiful card that had a poem in it and mailed them off to two people who are struggling right now.
I could have sent this card to myself but, hey, that would have been a little weird, no?
Instead, I’ll share it with you. Â If life is battering you and it feels like something is sitting on top of you and you’re barely able to get up, this poem is for you.
The Oak Tree
A mighty wind blew night and day It stole the oak tree’s leaves away Then snapped its boughs and pulled its bark Until the oak was tired and stark
But still the oak tree held its ground While other trees fell all around The weary wind gave up and spoke. How can you still be standing Oak?
The oak tree said, I know that you Can break each branch of mine in two Carry every leaf away Shake my limbs, and make me sway
But I have roots stretched in the earth Growing stronger since my birth You’ll never touch them, for you see They are the deepest part of me
Until today, I wasn’t sure Of just how much I could endure But now I’ve found, with thanks to you I’m stronger than I ever knew.
Johnny Ray Rider, Jr.
It reminds me of an Old Testament Scripture …
“But blessed is the one who trusts in the Lord,  whose confidence is in Him. They will be like a tree planted by the water    that sends out its roots by the stream. It does not fear when heat comes;   its leaves are always green. It has no worries in a year of drought   and never fails to bear fruit.†Â
Jeremiah 17:7-8
As a friend of mine would say: Keep your chin up ~ all three of them.
So here’s another really really good recipe for chicken ~ Balsamic Chicken ~ which is also paleo.
Have you ever used balsamic vinegar with chicken before?  I had tried a different recipe called Balsamic and Rosemary Chicken Breasts which also came out very good and was quite simple also.
Here are the ingredients you’ll be needing (olive oil not shown):
Balsamic Chicken Ingredients
I coarsely chopped the vegetables.
Slice the veggies up
Next I added the veggies to the skillet …
Add veggies to skillet
I cut my chicken into smaller pieces so they are more manageable and you don’t have to use a knife. Then I seasoned them with the salt and pepper.
Cut chicken into smaller pieces
Once the veggies are almost cooked through, I moved them to the side and added the chicken to the skillet.
Add chicken to the skillet
When one side of the chicken was browned, I turned it over to the other side.
Cook everything through
Then I added the balsamic vinegar and the canned tomatoes.
Ahhh … this is going to taste really good. I can smell it …
Ready to see the recipe?
Ingredients
1 large yellow onion, coarsely sliced
2Â bell peppers, sliced
4 cloves garlic, minced
1/8Â teaspoon red pepper flakes (more if you want it spicy)
4Â pieces skinless, boneless chicken thighs, cut into smaller pieces
1/4 teaspoon salt
1/4 teaspoon ground white pepper
1/3 cup balsamic vinegar
1Â – 15 ounce can diced tomatoes, drained
Directions
Coat a large skillet with olive oil and heat it over medium heat.
This paleo Celery and Cilantro Salad with Raisins is a very very interesting recipe and you do have to enjoy eating celery which is the main ingredient but I don’t believe you’ll be sorry you tried it. I made it in a small quantity since it’s just my beau and I.
The white balsamic vinegar and cilantro give it a great kick. And, since I really really like raisins it was just a good fit for my palate.
So ~ let’s take a look at what ingredients you’ll be needing:
Ingredients for Celery and Cilantro Salad with Raisins (olive oil not shown)
There are different ways to cut your celery for this recipe. I chose to cut my celery strips in 4 pieces width wise and then slice those in 4 lengthwise. I thought it would look pretty that way.
Cut Celery into Thin Strips
Most of the time, people use whatever raisins are in the cupboard and sometimes, yeah ~ it does happen ~ the raisins are old-er. So (unless you have fresh raisins), we need to plump those raisins back up and there are two ways to do this. One way is to simply put them in cool water for 20 minutes or so, drain them, add the white balsamic vinegar to them and let that sit for a little while.
Or, I chose to go with adding the white balsamic vinegar to the raisins and then putting them in the microwave for a minute or so until they came back to life (this idea was on the original recipe which I adapted). Either way will work.
And, to make things more varied, I used a medley of raisins instead of just one kind.
The cilantro  will be cleaned, leaves removed from the stems and then coarsely chopped.
So … let’s take a peek at the whole recipe, shall we?
Ingredients
1/4 cup medley of raisins
2 1/2 tablespoons white balsamic vinegar
7 stalks of celery, cleaned and sliced thinly into bite size pieces
A handful of cilantro, stems removed and chopped coarsely
1/4 teaspoon kosher salt or to taste
1/4 teaspoon black pepper or to taste
4 teaspoons extra-virgin olive oil
Directions
Combine the raisins and vinegar in a small microwave-safe bowl then microwave for about a minute.
Drain the raisins in a sieve over a bowl. Discard all the liquid except 1 tablespoon for the salad.
Combine the raisins, celery, and cilantro in a medium size bowl.
Add the salt and pepper to the reserved vinegar and blend everything together.
Add the olive oil to the salt mixture and blend it all together.
Add the olive oil mixture to the salad a little at a time tossing it until you get the right amount of dressing on the salad.
This recipe is quick, has a nice crunch to it and tastes great. I served it with Paleo Cabbage with Beef and slices of cucumber.
Do you like cabbage? I’ve grown to like it very much and this recipe, which is adapted for paleo folks, makes me enjoy eating it even more. It doesn’t even taste like “cabbage” ~ not that there’s anything wrong with the taste of cabbage.
So, let’s take a look at it shall we? Here are the ingredients:
Ingredients for Paleo Cabbage with Beef (Olive Oil not shown)
I used 1/2 green cabbage and 1/2 purple cabbage as I wanted to vary the color in the recipe. That’s the only reason.
Next, in a large pot, I added olive oil and let that warm before adding the shallots, salt, turmeric, and the red pepper flakes (a little for a mild taste and a lot for spicy). Â I allowed this to cook through for a few minutes before I added the beef which I cooked until it was browned.
Brown the Beef
Next I added the sliced cabbage and the tomato wedges. I added the nuts once everything was cooked through.
See how easy that’s going to be? Shall we look at the recipe in its entirety?
Ingredients
2 tablespoons olive oil
2 whole shallots, sliced thinly
1 teaspoon salt or to your taste
1 teaspoon turmeric
1/2 teaspoon red pepper flakes
1 pound ground sirloin
1/2 green cabbage, sliced thinly
1/2 purple cabbage, sliced thinly
2 Roma Tomatoes, sliced thinly
1/3 cup slivered almonds
Directions
In a large pot, add the olive oil and let it get warm.
Add the shallots, salt, turmeric and the red pepper and mix this together until the shallots are soft.
Add the beef and mix everthing together frequently until the beef is browned.
Next, add the cabbage and the tomatoes and stir everything together a few times.
Reduce the heat to a medium low, cover the pot and cook everything through for 10-15 minutes until the cabbage has softened.
Stir in the almonds and cook for a few more minutes.
I made this recipe when I was in a hurry so there’s only one picture. (I had a date with my husband to go see a movie ~ now, that’s something to hurry for.)
But, I wanted to share it with you because it was quick and came out quite delicious. Baking it in foil made this salmon come out nice and moist.
It’s already paleo so there are no adjustments that need to be made.
Ready to see the recipe for this paleo Baked Salmon with Leeks and Peppers?
Ingredients
2 salmon fillets
1 Tablespoon butter
2 Tablespoons olive oil
1 large red pepper, sliced
1 large yellow pepper, sliced
2 medium leeks, cleaned and sliced
1/2 teaspoon salt or to taste
1 teaspoon dried tarragon
4 teaspoons dry white wine (optional)
Lemon wedges, optional
Directions
In a large skillet, heat the butter on medium heat until it’s melted.
Stir in the leeks and bell peppers.
Add the salt and tarragon and stir to combine.
Cook this through until everything is soft.
While the vegetables are cooking, preheat the oven to 375°.
Cut 2 12×12 inch foil pieces – one for each salmon fillet.
When the vegetables are ready, pour half of the mixture into the middle of each piece of foil.
Add the salmon to the top of the vegetables and sprinkle with the dry wine if you’re using it.
Surround/close the fish with the aluminum foil in a tent style but make sure no steam can escape.
Bake on a cookie sheet for approximately 13 minutes in a convection oven.
If you’re so inclined, squeeze a little bit of lemon juice on the top of the salmon when baked.
Brussels Sprouts? There aren’t too many people I know who like Brussels Sprouts and I used to be one of them. I have found that the “trick” is to not overcook them as when you do they have a higher chance of tasting bitter.
This Brussels Sprouts with Toasted Almonds recipe, from Simply Recipes, needed no changes to “make” it paleo. So, I followed the recipe almost to a “t.”
Here are the ingredients needed (salt and pepper not shown):
Ingredients for Brussels Sprouts with Toasted Almonds
My brussels sprouts were pretty large so I didn’t need too many of them. When choosing them, try to get ones that are similar in size so the cook time will be the same. Otherwise you’ll either have some that are over or under cooked.
Prepare the slivered almonds by toasting them in the oven.
You’ll be parboiling the brussels sprouts which means you’ll be adding them to boiling water for a few minutes til they are almost cooked but not quite.
Parboil Brussels Sprouts
After about 3 minutes, you’ll be taking the brussels sprouts out of the boiled water with a slotted spoon and putting them in a bowl of ice water. This will allow them to keep their pretty green color and stop the cooking process.
Next, in a skillet on low heat, add half the butter and saute the onion. After the onions are clear, add the remaining butter, almonds and the brussels sprouts. Season this with salt and pepper.
Saute Onions in Butter then add the Brussel Sprouts
Toss everything together until it’s well mixed and raise the heat up to medium to allow the mixture to heat through together for a few minutes.
Next you’ll be removing the skillet from the stovetop and adding the lemon juice to the brussels sprouts mixture.
And that is how easy this recipe is. Ready to see it?
Ingredients
1 lb brussels sprouts, cleaned and trimmed
6 Tablespoons butter
1/2 onion, chopped
Salt
Pepper
1 teaspoon lemon juice
1/4 cup toasted slivered almonds
Directions
In a medium pot, bring 2 quarts of salted water to a boil.
Add the brussels sprouts and parboil them for 4 minutes. They should be almost cooked but not completely.
Prepare a bowl of ice water and when the brussels sprouts are ready, transfer them over and let them sit in the ice water for 1 minute. This will help them retain their flavor.
Transfer the sprouts to a cutting board and cut them in half.
Next, in a skillet on low heat, add half the butter and saute the onion.
After the onions are clear, add the remaining butter, almonds and the brussels sprouts then season this with salt and pepper.
Toss everything together until it’s well mixed and raise the heat up to medium to allow the mixture to heat through together for a few minutes.
Lastly, remove the skillet from the heat and stir in the lemon juice and stir it all together one last time.