Paleo Chicken Pot Pie

My husband had been a hankering for pot pie (he really needs to stop looking at commercials). He used to love the Marie Callender’s frozen pot pies but that was many moons ago and we try to eat a more “fresh” food these days.

In my hunt for a paleo chicken pot pie, I came across this recipe. It looked good except that I didn’t “like” the recipe part of the crust so I decided to try a different paleo one.  That was a mistake. I don’t know if the one associated with this recipe would have been any better so next time I’ll have to try it instead of dickering around.

The recipe came out great! However, as far as paleo goes there is a huge cheat — the crust.  I was so frustrated with the paleo crust recipe that I found online (it fell apart) to replace the one that came with this recipe so I went to my cupboard and used my “old” ingredients for making a crust and used a Martha Stewart recipe instead.

So — this is a semi-paleo recipe.  (laughing)  I know, I know.  There is no such thing as a semi-paleo recipe — it’s either paleo or it’s not but, well, I had to improvise.

So — ready to see what I did?

First the ingredients …
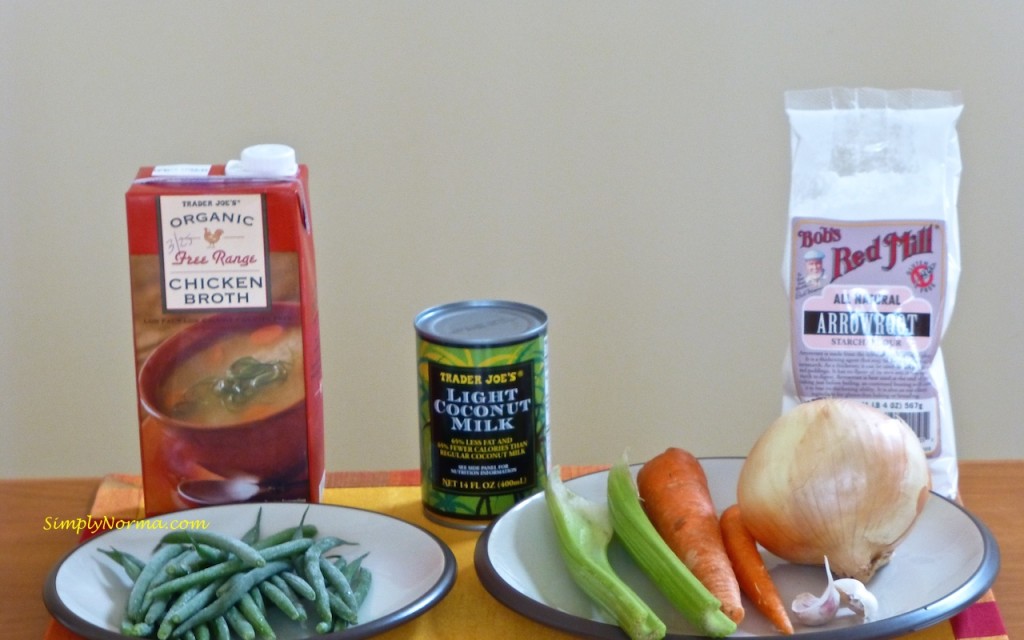
Ingredients for Chicken Pot Pie
Filling Ingredients for Chicken Pot Pie (Chicken, Salt and Pepper not shown)

You’ll be adding the celery, carrots, onions and garlic to a large pot and cooking the veggies until they are semi-soft.
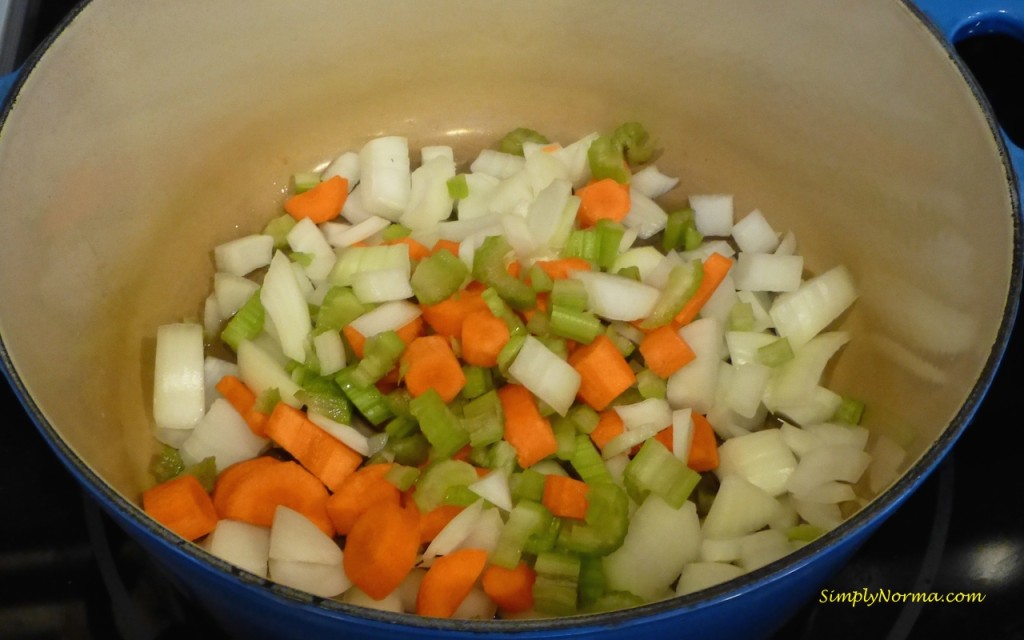
Add veggies to a large pot

Next you’ll be adding the rest of the ingredients to finish up your pot pie filling including about 2 cups of cooked chopped chicken. Then add salt and pepper (to your taste). That’s all that’s needed for my me.

However, my husband said he thought the filling was a bit bland but keep in mind that my husband likes spicy food. If you want more of a “kick” to this recipe, add a little bit of cayenne pepper — just a wee bit at a time until it tastes good for you — or even curry powder.

Add the rest of the ingredients

Here’s how it looks before I added the crust — just before I put it in the oven.

Chicken Pot Pie Filling
Paleo Chicken Pot Pie Filling

And here is a picture after the pot pie is baked –with the Martha Stewart crust. (Stop laughing at me!)
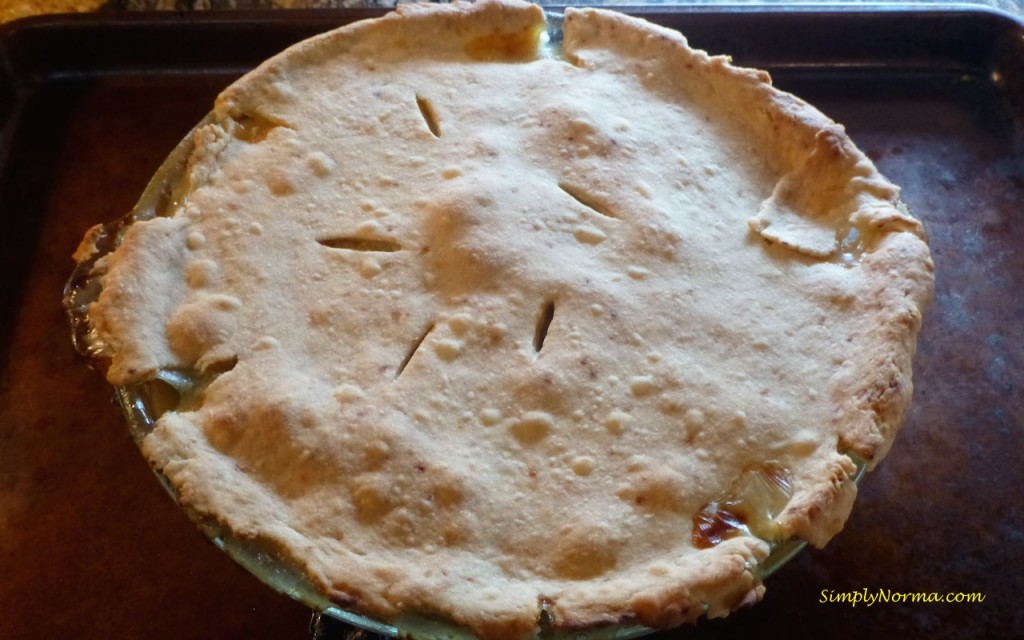
Chicken Pot Pie
Chicken Pot Pie

And — drum roll please!

A Slice of Chicken Pot Pie

The filling looks a little “soupy” and it was just a tad liquid-y. It needed a little more arrowroot to help thicken it up more.

I served the pot pie with a Spinach Orange Blue Cheese Salad that I created. I don’t have the recipe put together for that yet so you’ll have to wait on it. It looked quite beautiful though — see?
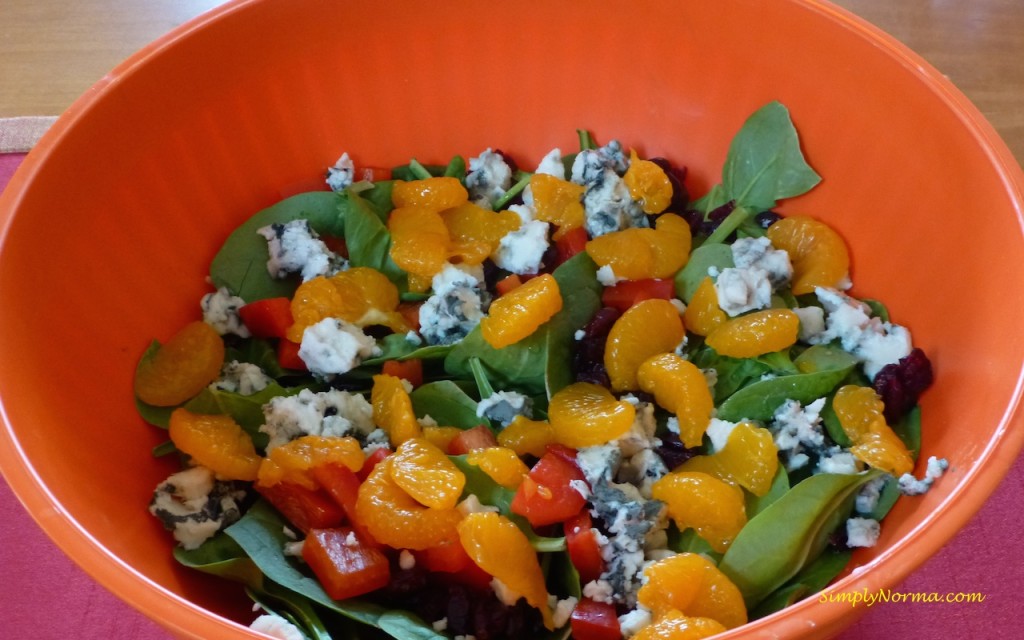
Spinach Orange Blue Cheese Salad

Here’s the recipe for the chicken pot pie filling that I adapted just a bit …

Ingredients

  • 1 tablespoon olive oil (for bottom of pot)
  • 1 onion, chopped
  • 1 carrot, sliced
  • 1 stalk celery, sliced
  • 2 cloves of garlic, minced
  • 1/4 cup green beans
  • 1 cup chicken stock
  • 14 ounce can light coconut milk
  • 3 tablespoons arrowroot (for thickening)
  • 1-2 teaspoons salt
  • Pepper, to taste
  • 2 cups cooked chicken, chopped into bite size pieces

Directions

  1. Preheat oven to 400° Fahrenheit.
  2. In a large pot, add the olive oil and heat it through.
  3. Add the onion, carrot, celery and garlic then cook through until the vegetables are semi-soft.
  4. Add the chicken stock, coconut milk, salt, pepper, green beans and chicken then bring this all to a boil.
  5. Reduce the heat to low and then add the arrowroot little by little until it’s all dissolved and the liquid is thick.
  6. Pour the filling ingredients into a greased pie plate.
  7. Lay the pie crust over the filling and crimp the edges so the filling is trapped inside.
  8. Using a knife, make a few slits in the crust.
  9. Place the pie plate in the oven and bake for approximately 10-15 minutes making sure to check that the pie crust doesn’t burn.

To make the pie crust, click here for the recipe.

Original chicken pot pie filling — click here.

Enjoy!


Beef Taco Salad with Avocado Dressing

This is a really easy meal to make, Paleo Beef Taco Salad — for lunch or dinner, your pick.

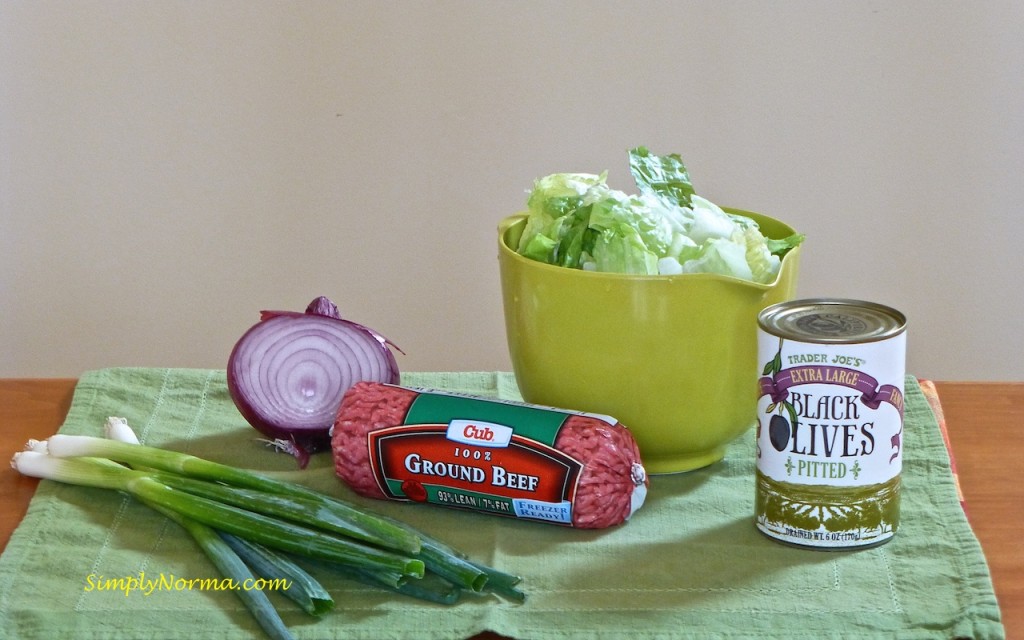
Here are the sets of ingredients you’ll be needing …

Ingredients
Ingredients

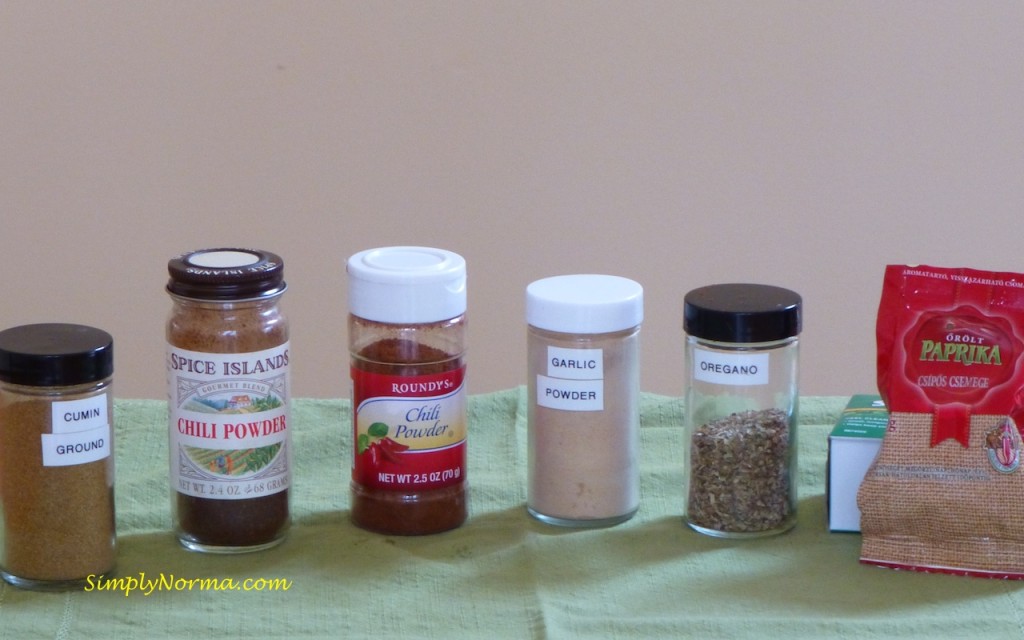
And the spices …

Ingredients - Spices
Ingredients – Spices (Salt and Pepper not shown)

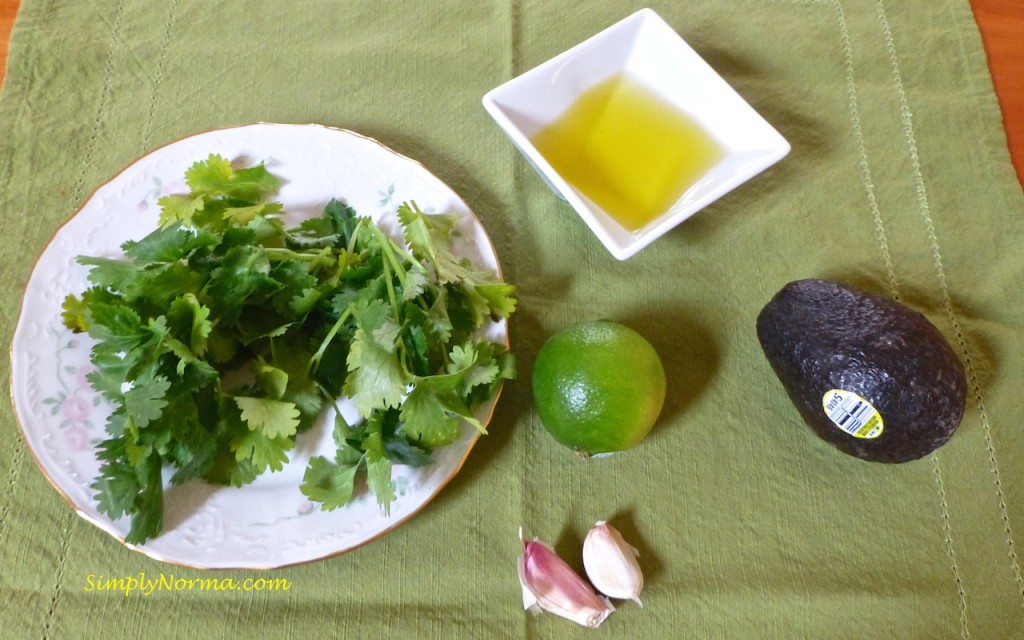
To make the avocado dressing, you’ll be needing the following …

P1090379
Avocado Dressing Ingredients

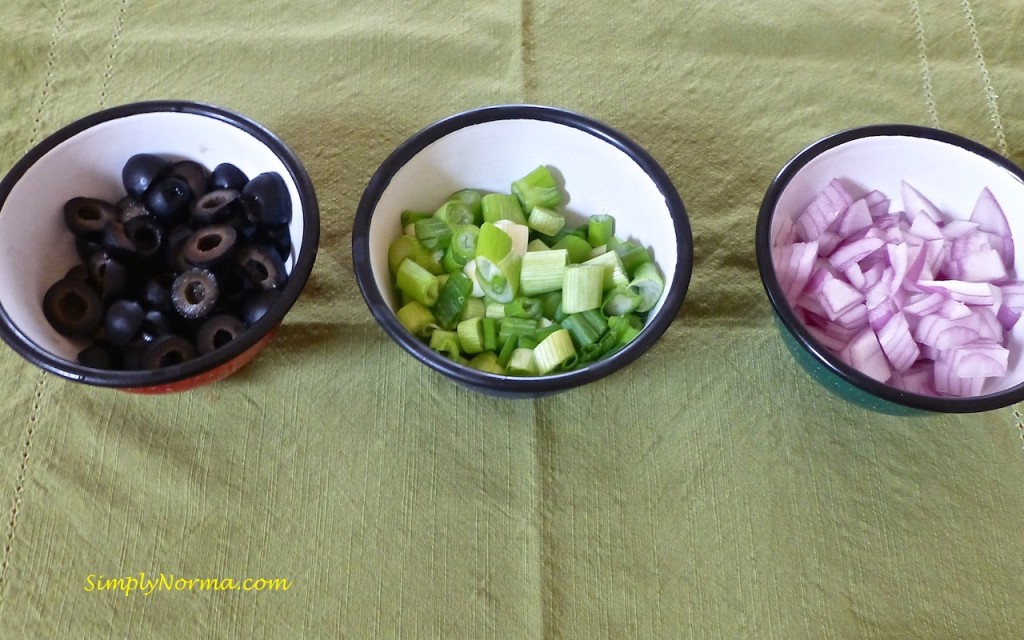
Next you’ll be cutting up the vegetables that you’ll be using as toppings.

P1090382
Toppings

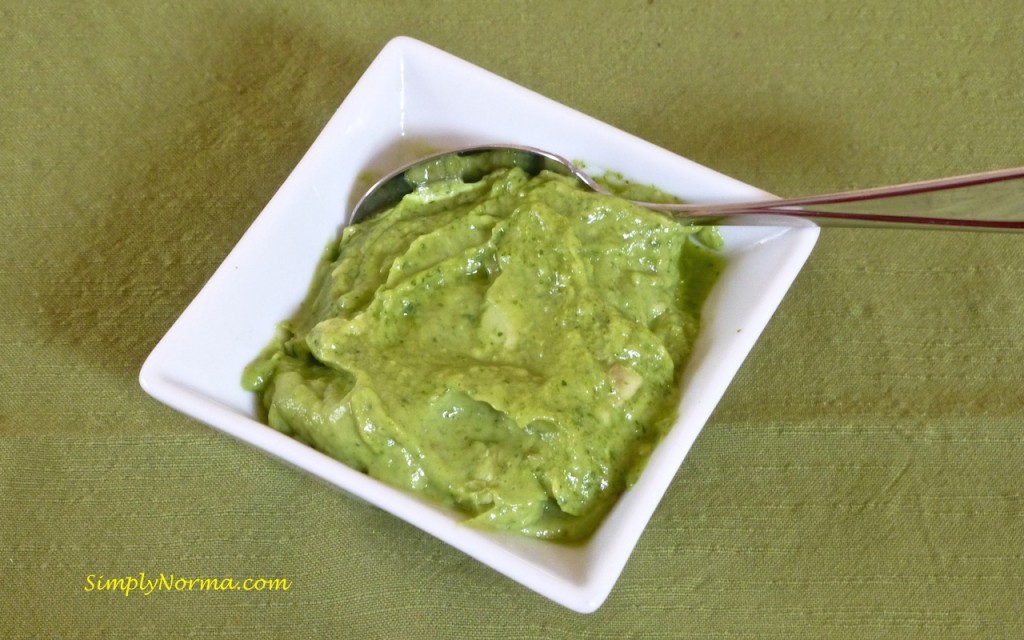
The avocado dressing is quite creamy … and green. Green tastes delicious!

Avocado Dressing
Avocado Dressing

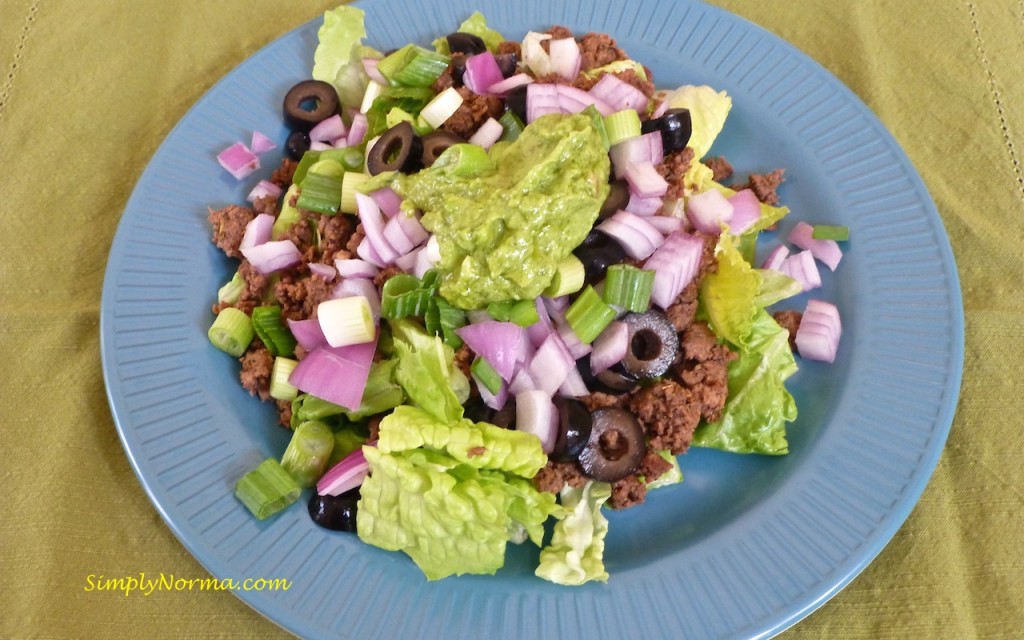
Lastly — this is what your Beef Taco Salad with Avocado Dressing will look like.

P1090393

Thanks to Paleo Grubs for sharing this recipe online. Head over there if you need more directions.


La Cocinita Mexican Restaurant

Not too far from Lake Elmo, tucked away near the St. Croix River, is a small town called Bayport.

My husband decided to find a new restaurant and, because he’s a Mexican food lover, he chose this place.  No — it is absolutely not paleo. No where near — not even a hint of paleo. Remove the word paleo from your brain.  This is more than a “cheat” — this is Mexican food.

The restaurant is small on the inside and I  imagine it can be quite noisy when it’s full of people. There was only one other couple there when we arrived.

The sign on the outside said they were looking to hire a bus “person,” waitress and dishwasher. In spite of that, we were greeted and served right away.

They serve chips and salsa — the salsa was really good but you have to pay for more than one bowl (not that we needed or wanted more than one).

The food was — well, to be frank, it was quite cheesy.  I ordered the White Sauce Enchilada and it had more cheese than anything else.  Too much cheese and I was a cheese lover before paleo entered my life.

I had to order the black beans instead of the refried beans because the refried beans are made in lard (ugh!).  Not having had beans in ages, I didn’t like them but that could be because my taste buds have changed.

Here’s a picture of my meal –

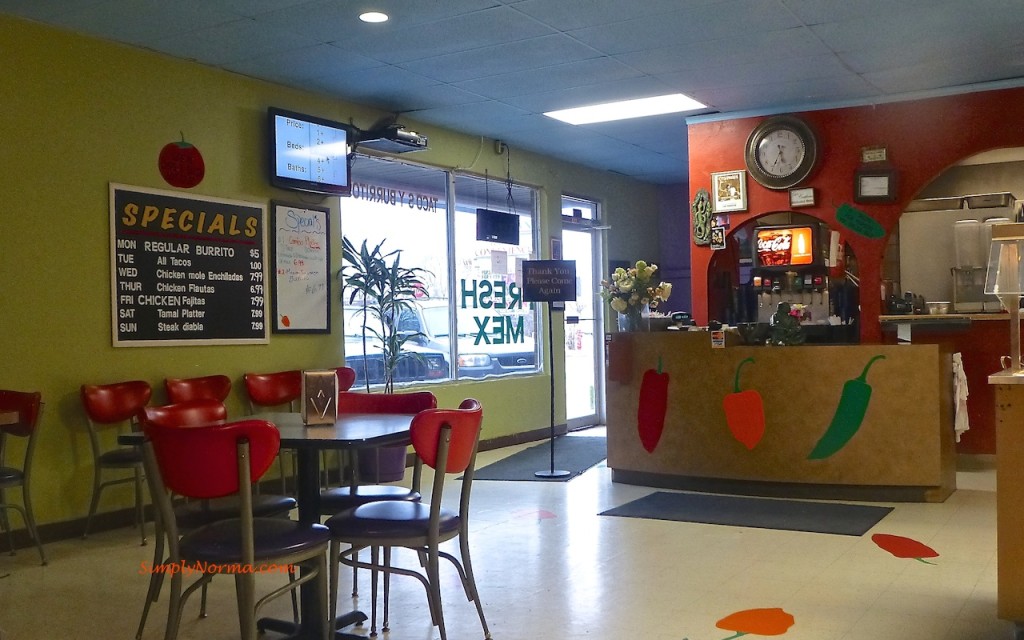
La Cocinita Mexican Restaurant

So — we won’t be heading back to La Cocinita.  We’ll have to find a simpler “cheat” for our paleo palettes.


Of Tree Loppers and Angels

While gathering yard supplies in the garage, I picked up the pruners and walked towards the garage door.

Within seconds I felt a quick breeze to my right. The loppers, that had been put upright against the garage wall, plopped down right beside me onto the floor.

Tree Loppers
Tree Loppers

What a near miss!  If they had fallen just half a foot over, the blade would have hit me on the back of my head and you might not be reading this post — or any other post for that matter.

But let all who take refuge in You be glad; let them ever sing for joy. Spread Your protection over them, that those who love Your name may rejoice in You.”  Psalm 5:11

I am thankful for the protection I receive as God sends His angels to watch over us.  Imagine how many other times I’ve been protected and wasn’t aware of it.


Beef Short Ribs in Chipotle Sauce

Beef Short Ribs — sounds good, doesn’t it?  This paleo Beef Short Ribs in Chipotle Sauce came out really good. I adapted the original recipe (see below) to use ingredients that I already had at home. It does take a while for it to cook through although it’s simple to make and is quite tasty.

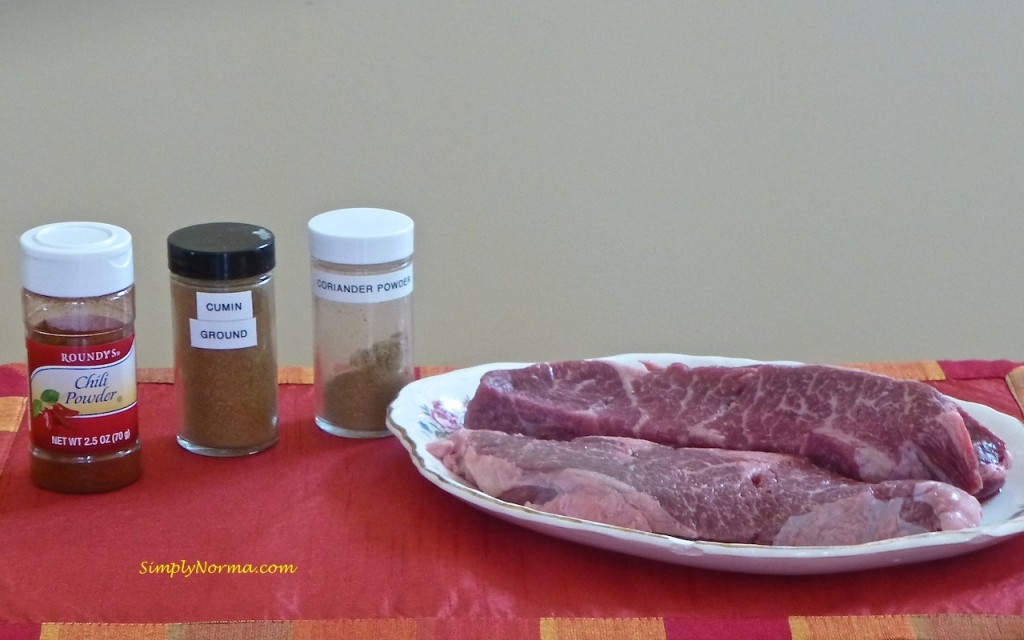
There are a couple sets of ingredients you’ll be needing … here’s the first one.

Ingredients
Ingredients (salt and pepper not shown)

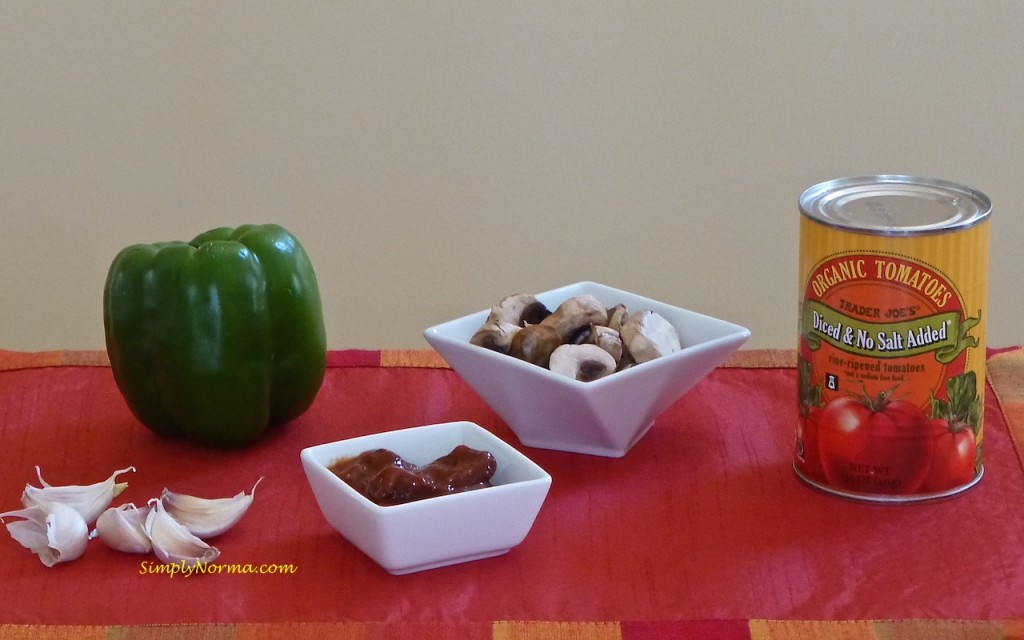
And here’s the second one. I used canned red chili peppers and took out the seeds so it wouldn’t be so spicy.

Ingredients
Ingredients

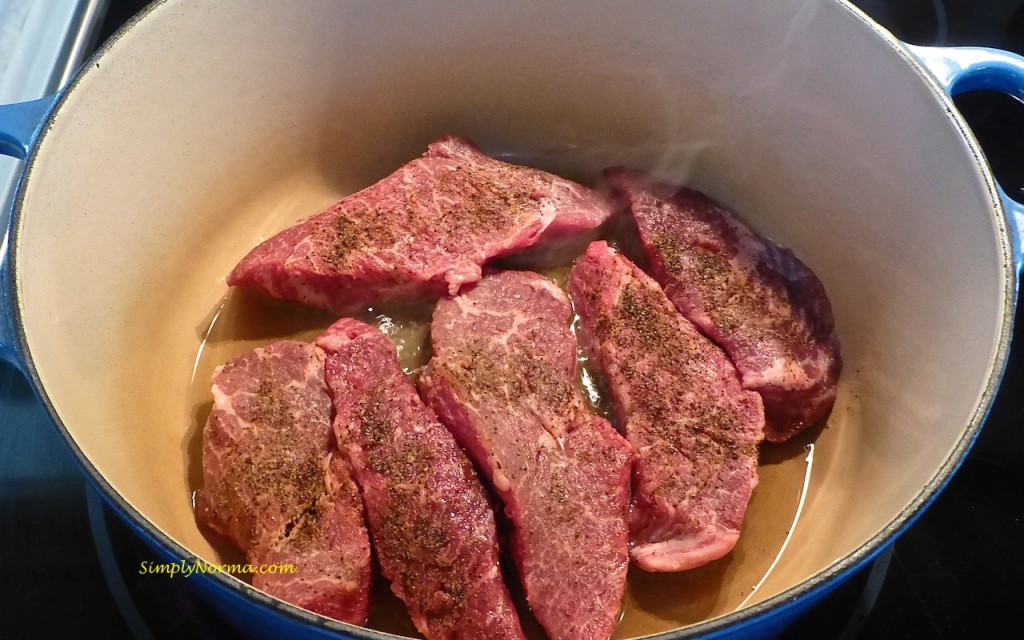
After preparing the short ribs, you’ll be browning them in an oven proof pot.

Brown the short ribs

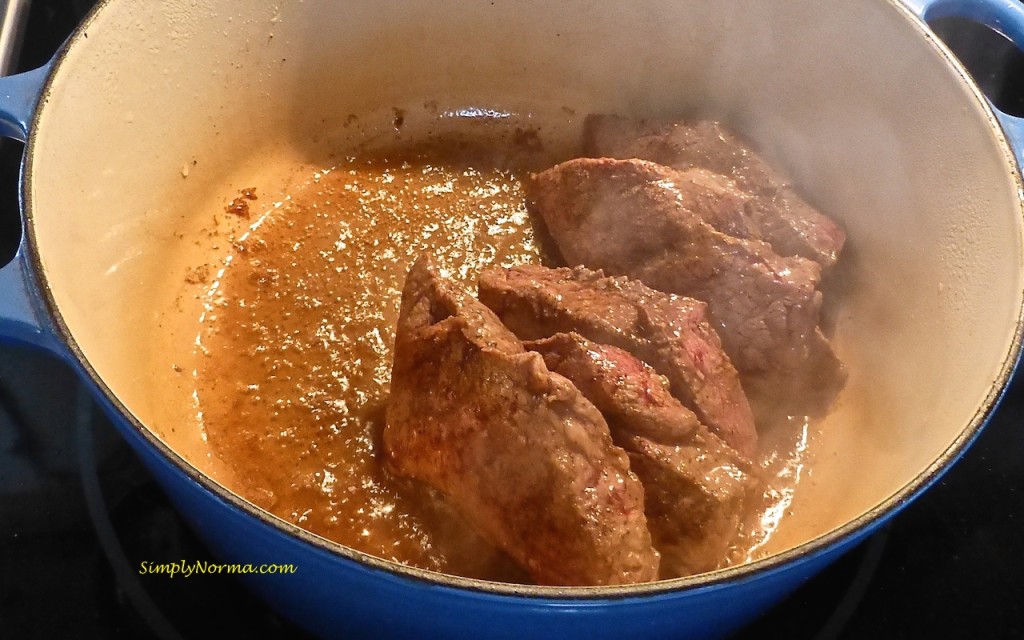
Make sure you brown the edges also.

P1090196

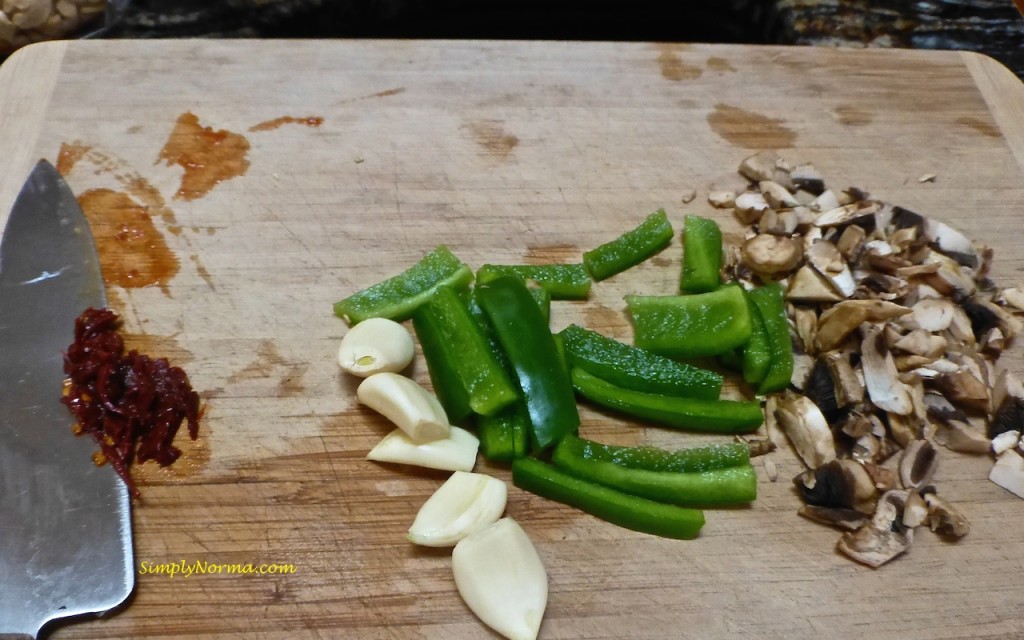
While the meat is browning, prepare the rest of the ingredients.  I like lots of garlic.

Prepare Ingredients
Prepare Ingredients

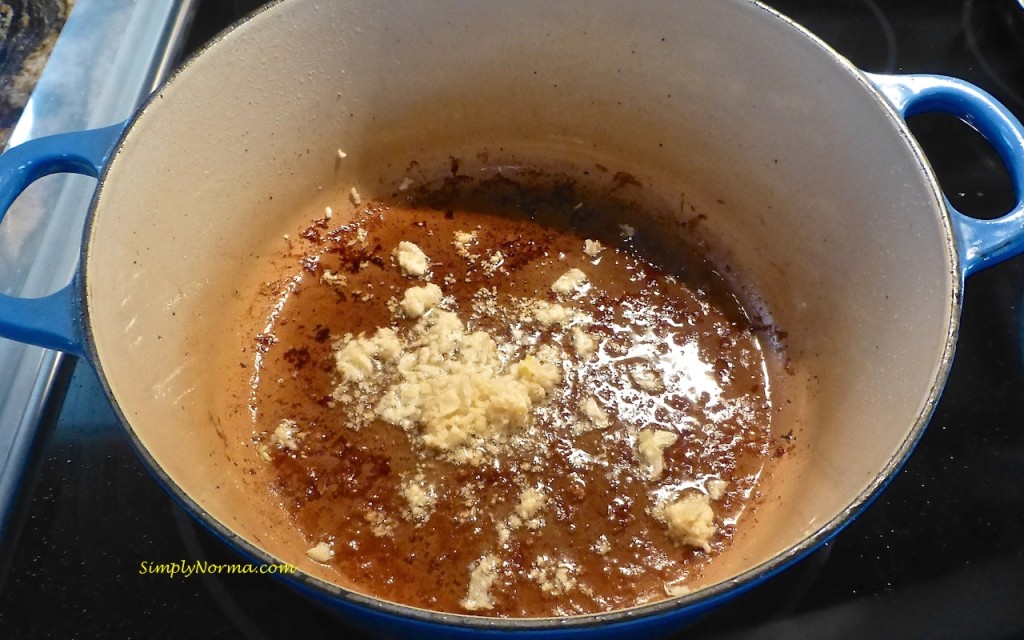
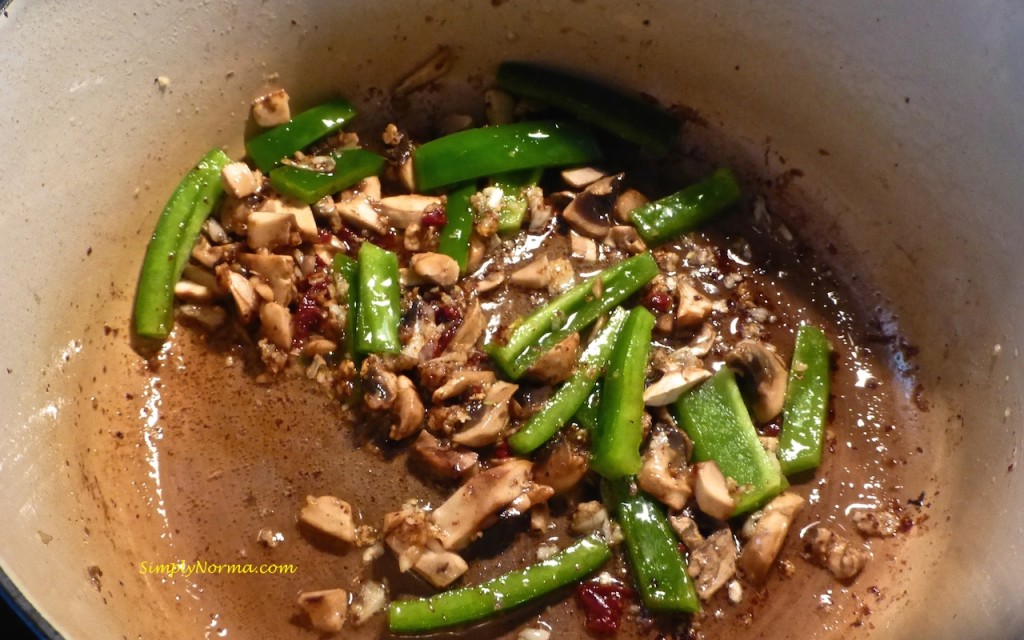
Once the meat is browned, you’ll be removing it from the pot then adding the garlic and chipotle chilies in the “sauce” that’s left in the bottom of the skillet.

Add garlic and chili peppers to skillet
Add garlic and chipotle chilies to skillet

Next add the chopped mushrooms and sliced green pepper.  Are you getting hungry yet?

P1090199

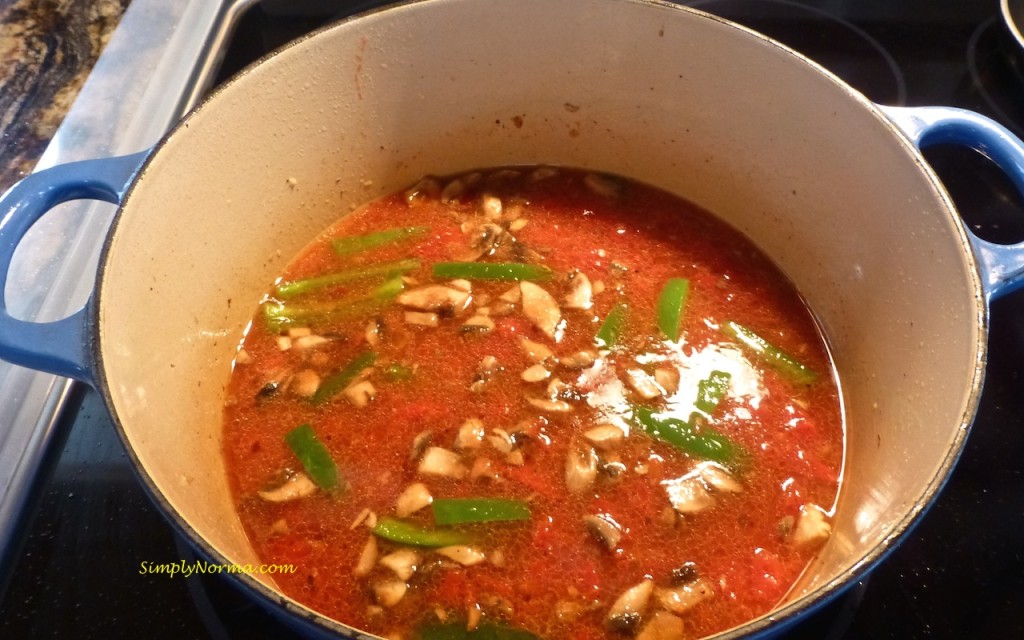
Then you’ll be adding the water and the canned tomatoes.

Add broth and tomatoes
Add water and tomatoes

It looks quite soupy, doesn’t it? Don’t worry — a lot of the liquid will evaporate.

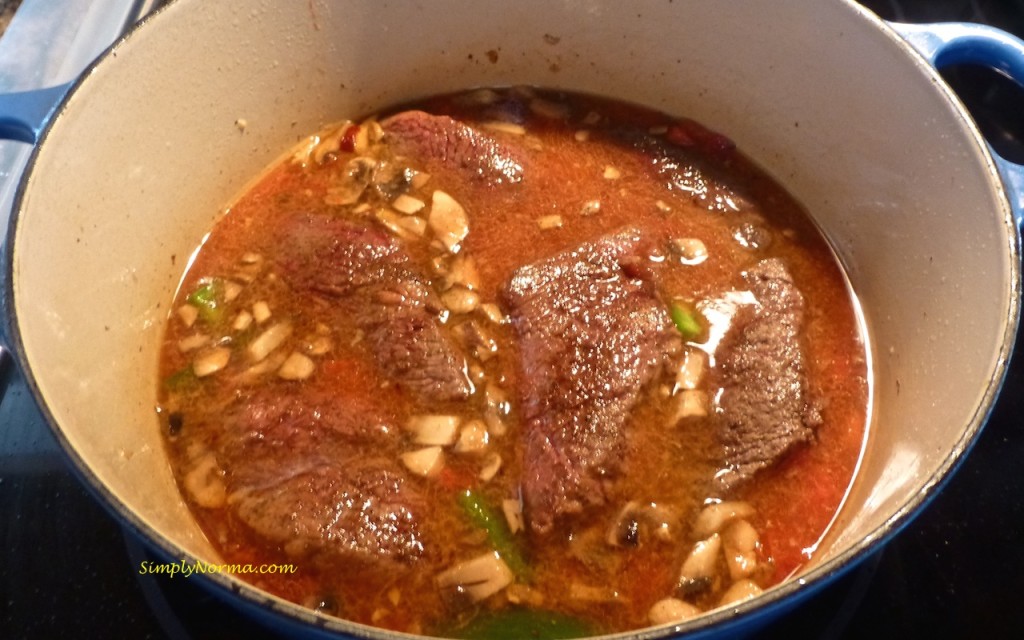
Next you’ll be adding the beef short ribs back into the pot, stirring it all together and bringing it to a boil.

Add short ribs back in
Add short ribs back in the pot

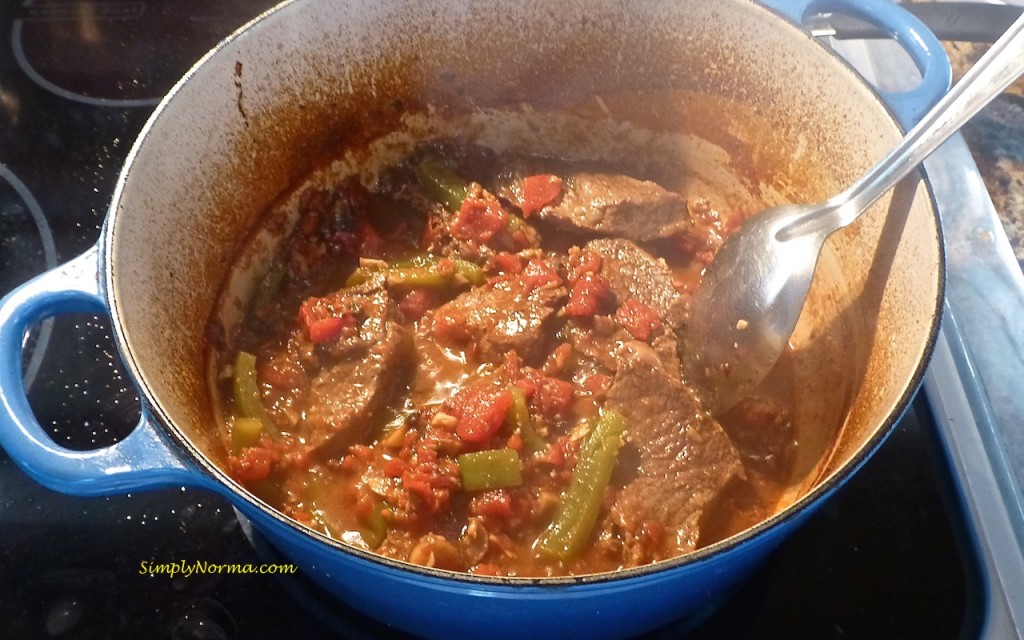
You’ll be popping this in the oven for about an hour or so then bringing it back on the stove for another half hour where a lot of the liquid will evaporate.

See how pretty it’s coming out?

P1090204

Ready to try the recipe?  Good for you!

Ingredients (Beef Rub)

  • 1 teaspoon salt
  • 1 teaspoon ground black pepper
  • 1 teaspoon ground cumin
  • 1 teaspoon red chili powder
  • 1/2 teaspoon ground coriander
  • Beef short ribs

Ingredients

  • 2 tablespoons olive oil
  • 1/2 cup sliced green pepper
  • 4-6 large garlic cloves, chopped
  • 2 tablespoons canned chipotle chilies (seeds removed and diced)
  • 1 – 14 ounce can of diced tomatoes
  • 1 – 14 ounce can of water (use the tomato can)
  • 1/2 cup sliced mushrooms

Directions

  1. Mix the overnight “rub” ingredients together then cover the beef ribs with it.
  2. Place the ribs on a plate, cover with plastic and chill in the refrigerator for 1 hour or up to overnight.
  3. When ready to cook, preheat the oven to 350° Fahrenheit.
  4. Heat the olive oil in a large ovenproof pot over medium heat.
  5. Add half of the ribs and brown them on all sides then transfer them to a plate and add the other half of the ribs until all the ribs are browned then add them to the plate.
  6. Reduce your heat to between medium low.
  7. Add the garlic and chipotle chilies to the pot and cook through.
  8. Next add the mushrooms and green pepper.
  9. Add the water and canned tomatoes to the pot and stir it all together.
  10. Bring everything to a boil and scrape the bottom of the pot to make sure you get everything from the bottom mixed in.
  11. Return the beef ribs back to the pot and place them in a single layer.
  12. Bring the mixture to a boil then remove from the stovetop and place in the oven until the ribs are almost tender which could take 1 to 1-1/2 hours. (It takes less time in a convection oven so check, check and check.)
  13. When the meat is ready, remove the pot from the oven and skim the liquid fat off that’s sitting on top.
  14. Place the pot on the stovetop and simmer uncovered until the ribs are very very tender — another 20-30 minutes.

I served this over white rice — we really didn’t need anything else for this meal.  It was quite scrumptious.

Beef Short Ribs in Chipotle Sauce

This recipe was adapted from Beef Short Ribs in Chipotle and Green Chili Sauce.


Free Ferns

I spent part of yesterday morning digging up ferns.  Yup. Ferns.

It feels like I have thousands in my backyard. Okay, probably not thousands but I would venture to guess 300-400.

This is what my backyard looked like last July. Now, truly, that’s a LOT of ferns, isn’t it? I was not looking forward to it looking like this again.

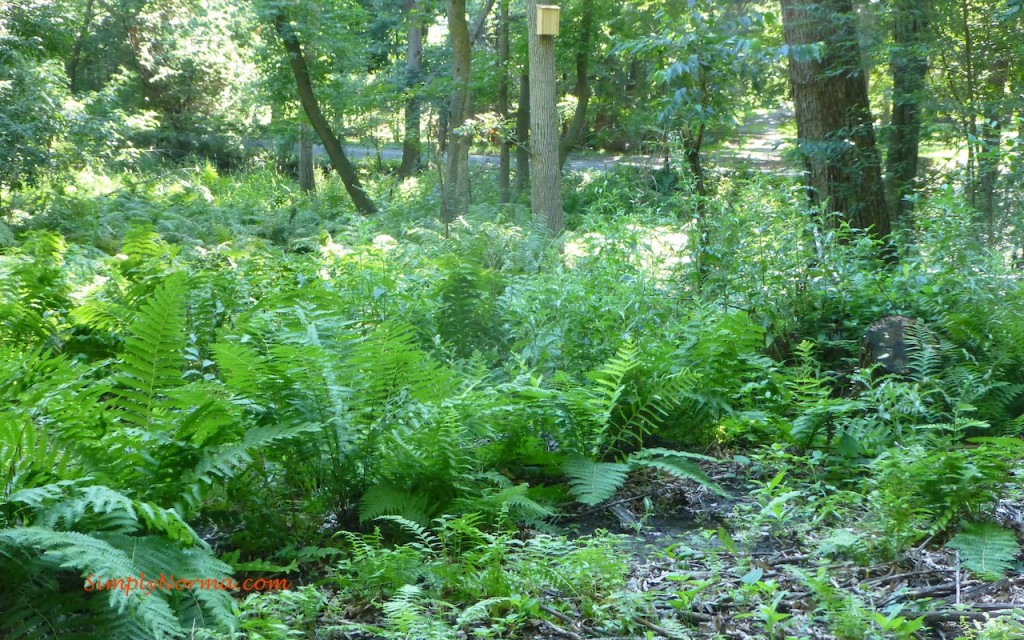
Backyard
Backyard

So I decided to thin them out a bit. Yeah, so, here’s this mid-50 year old woman with a soft cast on her right hand due to a sprain along witha bulging disc in her back that causes sciatic pain with a shovel in her hand. Can you see her? Uh, me?

Last week I decided to pace myself and pull “only” 20 ferns. Once I reached 20 I stopped and worked on something else.  I’m not superwoman — ya know? I was able to re-plant about 12 of those ferns.

Today, I had leaves to clean up from yesterday’s yard work before I started working on fern pulling. I must’ve pulled another 15 ferns.

I really think I could pull 50 ferns a day and still have enough on our one acre. Don’t worry about me though — I’m not insane — yet.

Okay so — I thought to myself “What am I going to do with these ferns? Should I just throw them out?” I couldn’t do it. The ferns looked at me with their baby green eyes … Naw, just kidding. But seriously, I couldn’t throw them out. It seemed so wasteful.

So — I did what any normal eco friendly person would do. I posted them for free on Craigslist.  Within 10 minutes I had one person willing to pick up 10 of them in the next 20 minutes.  Not bad, eh? I waited for her outside and gave her a box to take whatever and whichever ones she wanted.

When I came back inside, I got back on my computer and lo and behold!, I received another email. This woman wanted ALL the ferns I had.  Really!  Her email said “I will take all of them” and she also was willing to come right away. Ferns must be in demand.
I took my Craigslist ad down immediately.  I will be calling this woman and letting her know she and I can both go and dig up as many ferns as she wants.

Not bad for a day’s work, eh?

Las Teresitas Mexican Restaurant

We recently had a relative come through the Minneapolis Airport with a 3 hour layover before heading on to their next destination.

Hmmm … what should we do with that time with them?

We decided to head out to a late lunch/early dinner with them. At first we thought we’d eat at the airport but it didn’t appear there were many options outside of the TSA security line.

There were a couple of options at hotels near the airport but they were a bit pricey.

So — we decided we’d go Mexican. It’s not often we have Mexican food as it’s not paleo friendly what with all the cheese they use — and who can pass up the nacho chips and warm tortillas? This was definitely going to be a “cheating” meal.

The restaurant is only 10-15 minutes from the Minneapolis airport. It looks small on the outside but has a good space on the inside.

Las Teresitas Mexican Restaurant, Minneapolis

We were waited on promptly so the service was good. There is a salad bar (see picture below) but none of us tried it so I’m not sure if it was good or not.

Las Teresitas Mexican Restaurant, Minneapolis

Besides booths, there are tables and the restaurant feels “open” and not crowded.

Las Teresitas Mexican Restaurant, Minneapolis

I had the Huevos Rancheros — it’s always a “safe” meal to have.

Overall, Las Teresitas is a nice restaurant with pleasant folk.

Here’s a link to their website:  Las Teresitas

And here is their address and phone number — just in case you decide to go try it.

5748 34th Ave S, Minneapolis, Minnesota – 612.727.1791.

Enjoy if you go!
5

Sleep Cycle – The App

A couple or so months ago I decided to try a new app (application) on my iPhone5 called Sleep Cycle.

The app has an alarm that wakes you up during the “best” time so as not to interrupt you when you’re in a deep sleep. You have the ability to set a “window” of time for it to do so. I set the alarm before I go to bed and put it under the fitted sheet next to my pillow.

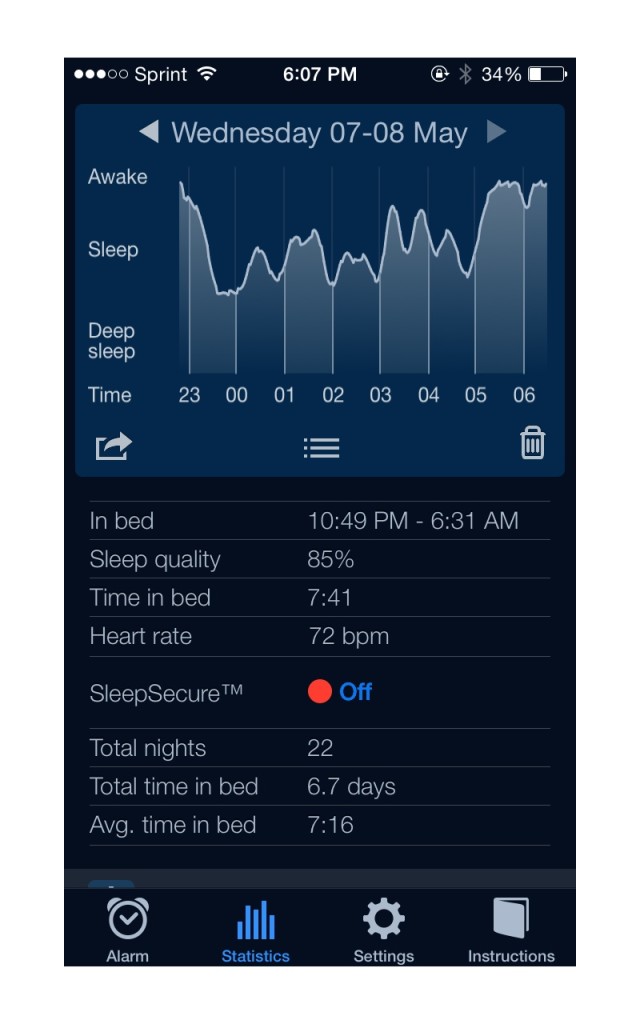
The app is supposed to be able to tell when I’m in a deep sleep, regular sleep or awake. If you look at the snapshot I took below, it shows I started my sleep cycle at 10:49 p.m. — right before I went to bed. I turned it off at 6:31 a.m. On this particular day, I turned the alarm off before it actually went off because, well, I was awake. On the day shown below, the app said:

  • My sleep quality was 85%. I’ve noticed that the longer I sleep the better my sleep quality seems to be. I’m not sure if that’s a good indication of my sleep quality though.
  • I was in bed 7 hours and 41 minutes
  • My heart rate (when I woke up) was at 72 bpm (beats per minute). The app uses the camera on the phone to determine my heart heart. I simply put my finger over it and it calculates the bpm.
  • I have 22 days of data so far on the app.
  • It’s calculated that in those 22 days I’ve slept 6.7 days. Hmmm … is that good?
  • My average time in bed is 7 hours and 16 minutes. This number can be manipulated because you can delete days you don’t like — for instance, I had one day when I didn’t fall asleep until 2 a.m. and woke up at 6 a.m. I deleted that particular day because it was not a “true” measure of how much I normally sleep.

Sleep Cycle App

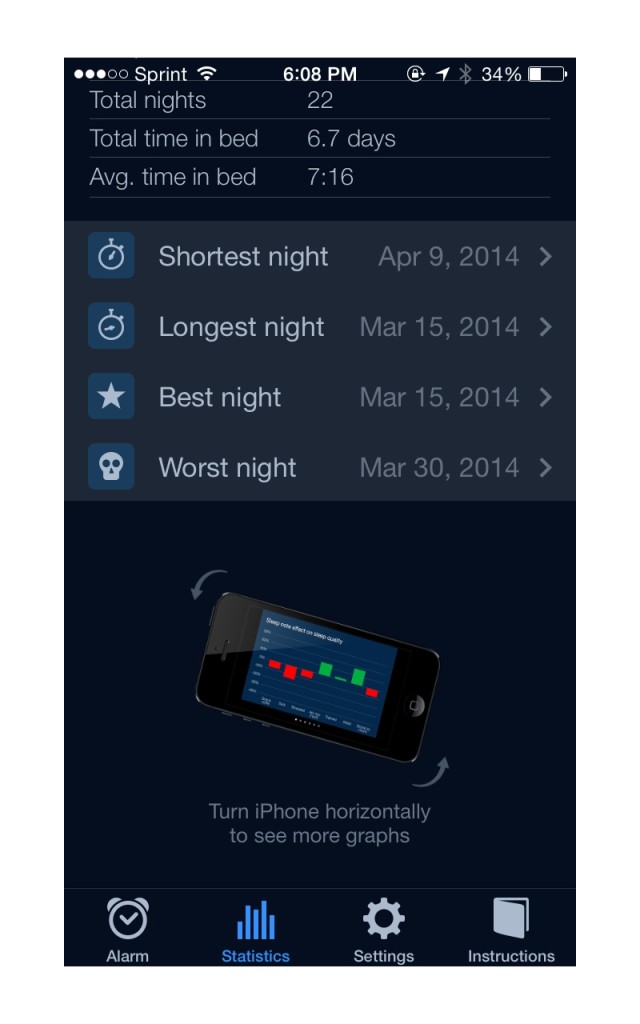
If you scroll further down on the main screen, it shows your shortest, longest, best and worst night. Sleep Cycle App

On the settings page you can:

  • turn the alarm off or on
  • select what kind of sound you want to wake up to and how loud you want it to be
  • set your wake-up phase (the amount of time you want the app to consider before waking you up at your “peak” time, etc.)

Sleep Cycle App

If you keep scrolling down, this is the rest of what you’ll see on the settings screen. The Sleep Cycle app also gives charts that show:

  • Sleep quality per day of the week
  • Time in bed per day of the week
  • What time you went to bed
  • How long you were in bed
  • Your heart rate

Here is an example of a “list” the app makes that shows how I slept each day. According to the chart below, Saturdays are my best sleeping days — I usually sleep in on Sundays.

Sleep Cycle App

This app does have what I believe is a flaw. Since I don’t sleep alone (hello husband!) and if my husband should get up to go to the bathroom, the app must feel his movement also, don’t you think? And — what if I can’t sleep and decide to go some place else to read? Will the app assume I’m in deep sleep because I’m not moving around much?

Overall, it’s an okay app — especially because when I got it, it was free.    I like free!

Has anyone else tried it?

Spring Has Sprung

Finally! The weather is spring-like here in Minnesota.  Never mind that it’s been 2 months since spring started.

I felt energized today working outside re-planting ferns. It’s hard to believe I worked 3.5 hours — and that with a bum right hand. (The soft cast I’m wearing to help with the sprain seems to be working wonders so I’m planning on keeping it on for a week or so. It’s called a Futuro For Her — I didn’t even know women’s wrists were that much different from men’s – did you?)

The tulips (so far) have not been eaten by the deer and look absolutely beautiful. I don’t know what type they are but they are gorgeous.

Tulips
Tulips
Tulips
Tulips

I’ve also found a young man who is able to come help me pull weeds and clean up our yard. Yea! I’m so excited for that to happen as the garlic mustard plant is starting to grow aggressively in parts of the yard.

Today I went to a home owner’s association meeting and met a neighbor who is offering me some plants from her yard — I just need to go and dig them up.

Two things have made a big difference in my attitude — the weather and my hand starting to feel better. Thank you God for both!

Walking home from the neighbors house I listened to the birds chirping in our wooded neighborhood. I “saw” stillness. Suddenly my mind started “humming” the song called “Country Roads” by John Denver.

Country Road
Country Road

This place really is beautiful — sometimes. I will miss it when we decide it’s time to move on but hopefully we’ll find another place that has the quiet solitude that is so important for the heart to have.

Salmon Spring Paleo Salad

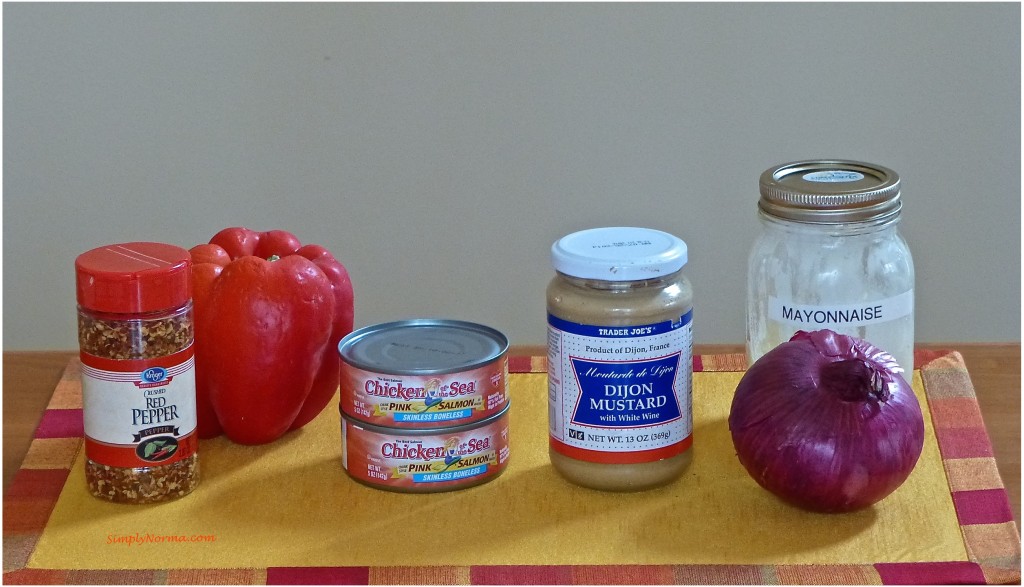
Now that spring has truly sprung in Minnesota, I’ve been inspired to try new recipes — some of my own and some that I’ve found interesting. This Salmon Spring Salad is of my own paleo creations. It is quite tasty and I thoroughly enjoyed it. Here are the ingredients …

Ingredients
Ingredients (salt and pepper not shown)

Feel free to vary your ingredients with other ones that you might enjoy better — for instance, if you prefer green pepper or a white onion instead of a red onion. Ingredients

  • 1 Red Repper, diced
  • 2 tablespoons Dijon Mustard
  • 1/4 of a Red Onion, diced
  • 1/4 teaspoon Red Pepper Flakes
  • 2 cans Pink Salmon
  • 2 tablespoons Paleo Mayonnaise
  • Salt
  • Pepper

Directions

  1. In a medium sized bowl, combine all ingredients.
  2. Add salt and pepper — as little or as much as you’d like.
  3. Serve immediately or store in the refrigerator.  Will keep for a few days.
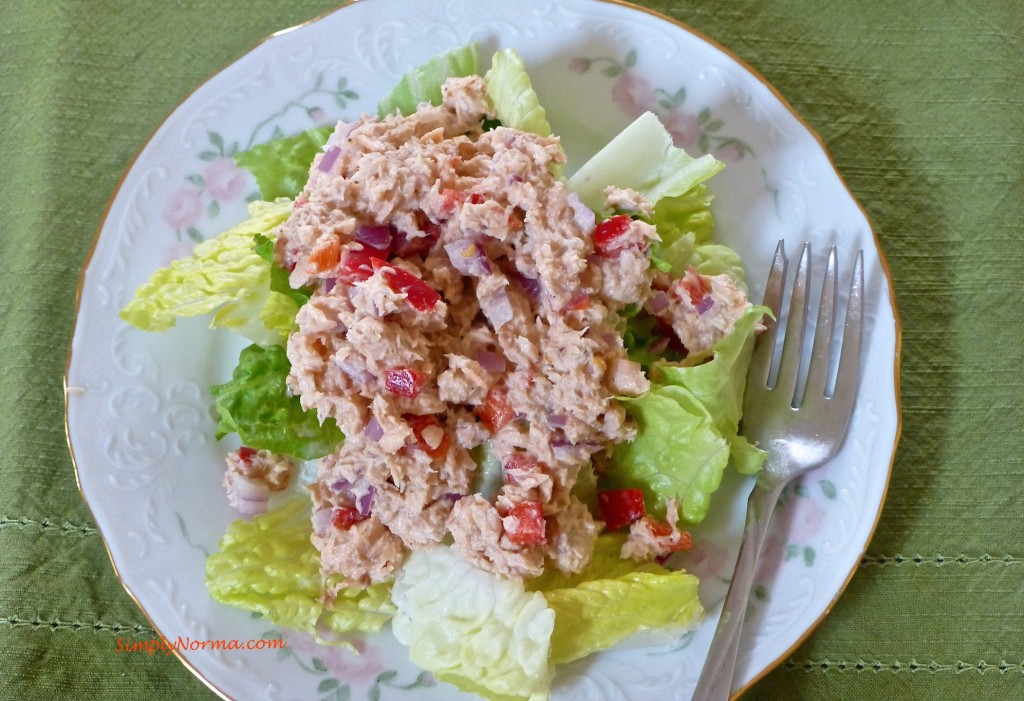
Salmon Paleo Spring Salad

I served the salad on a bed of romaine lettuce and it was quite delicious. Enjoy!