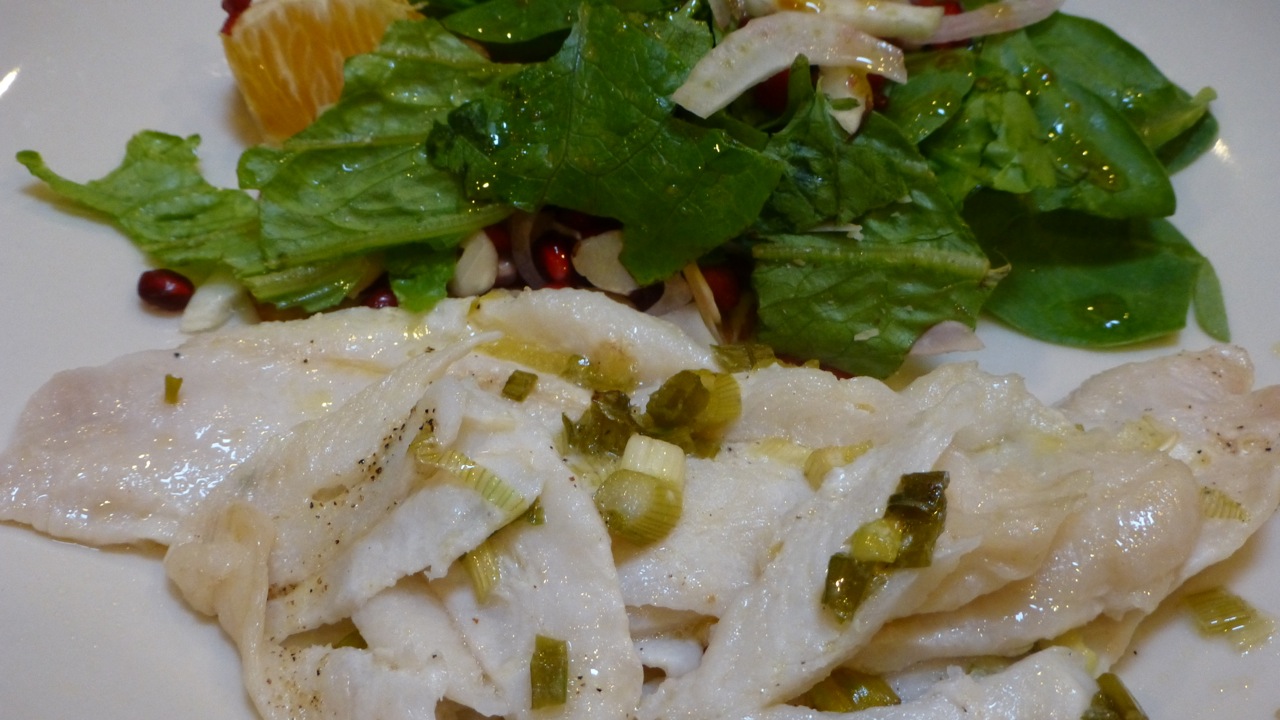
I was so glad I tried this Baked Sole recipe. The fish came out moist and delicious and it required very few ingredients. It’s also a paleo recipe and no substitutions had to be made.
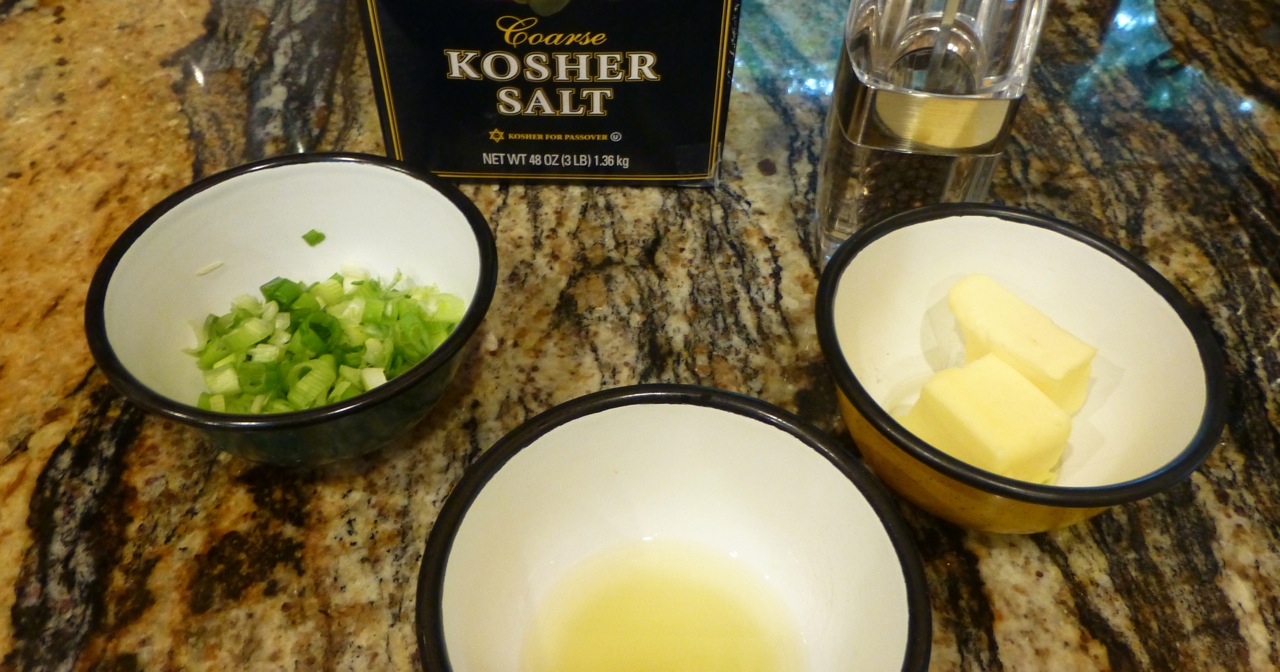
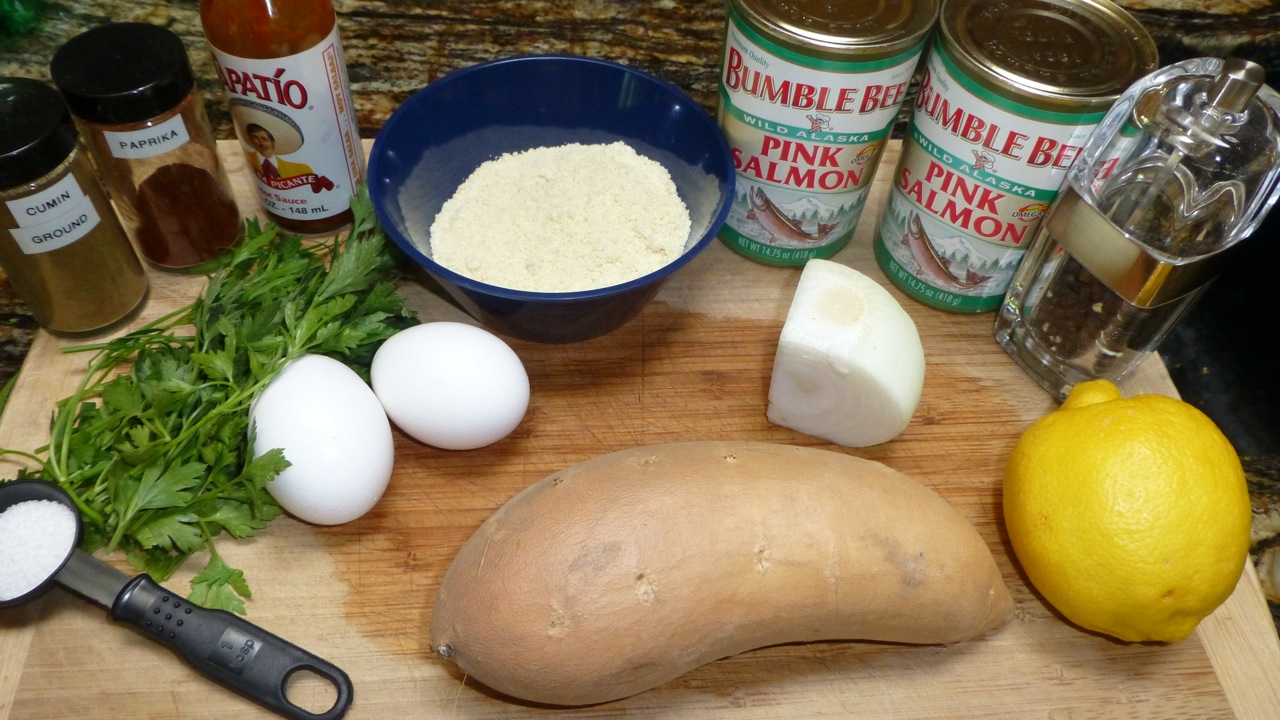
Ingredients (minus the Sole)
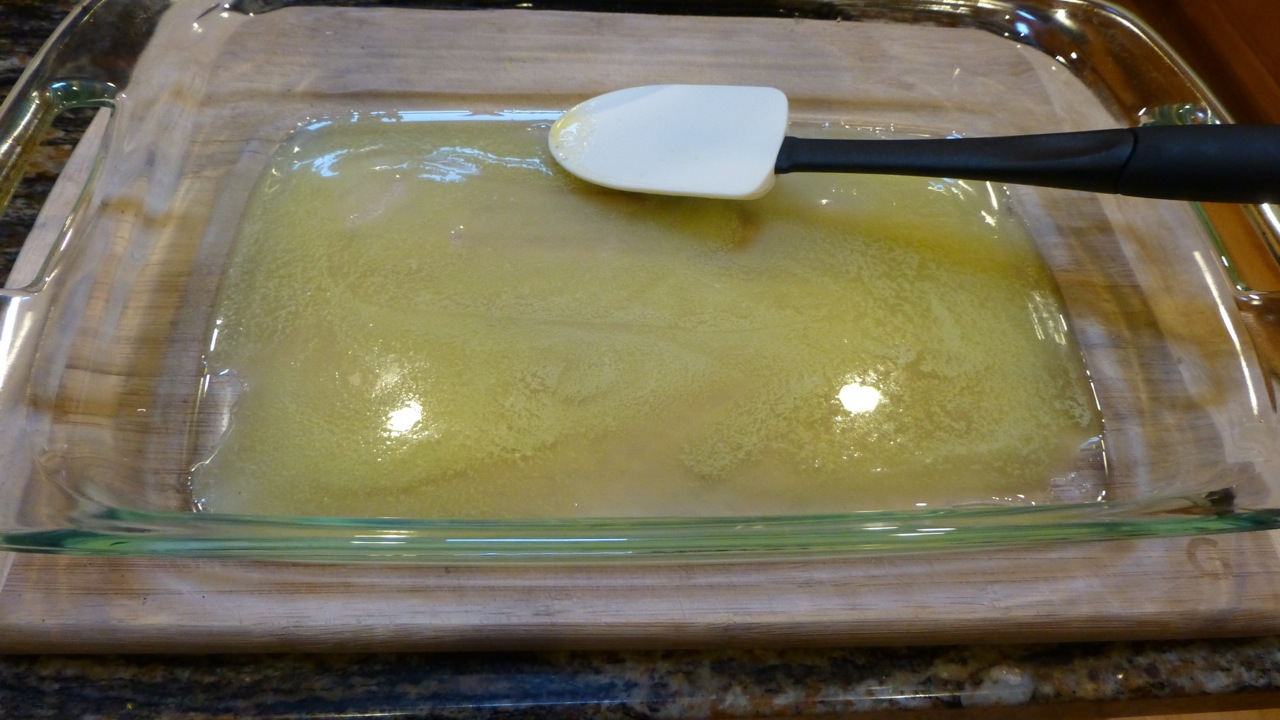
The 1/4 cup of butter is melted then spread out in the bottom of a casserole dish.
Buttered Casserole Dish
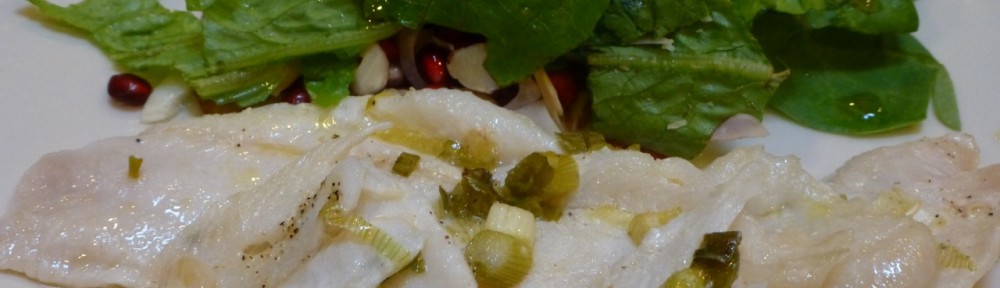
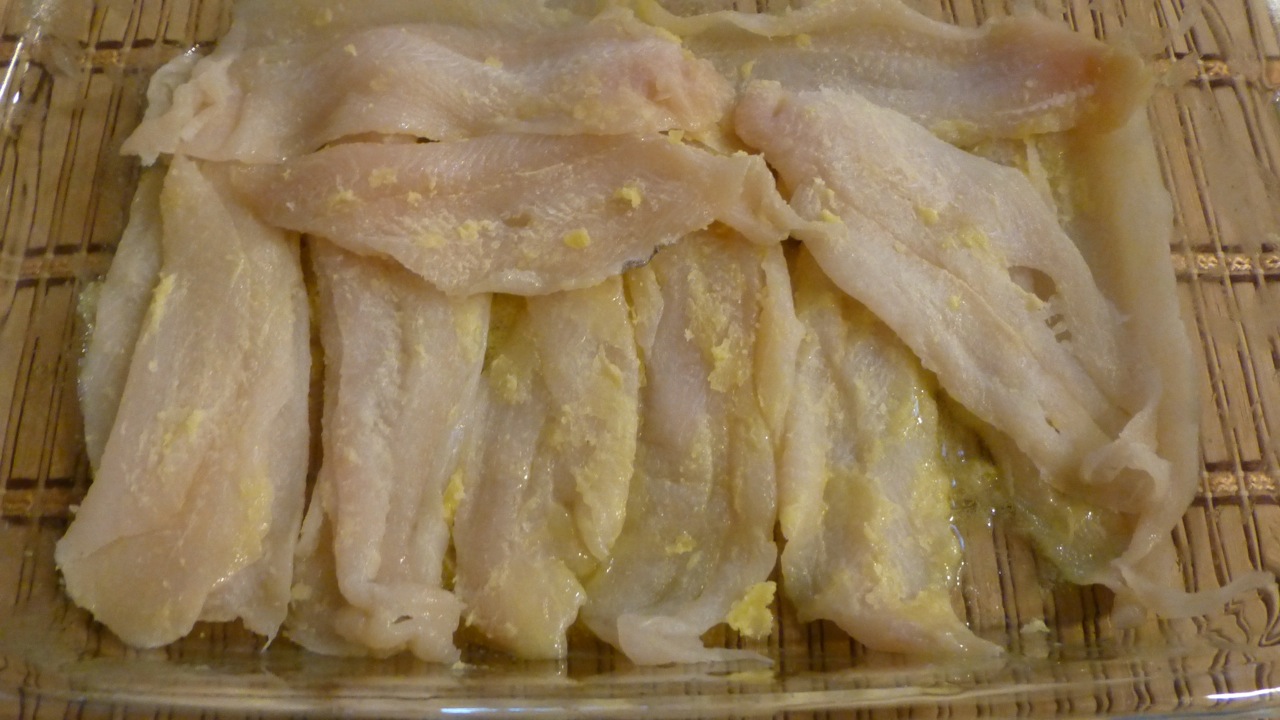
The sole is then laid out on top of the butter and turned to make sure both sides are buttered.
Sole
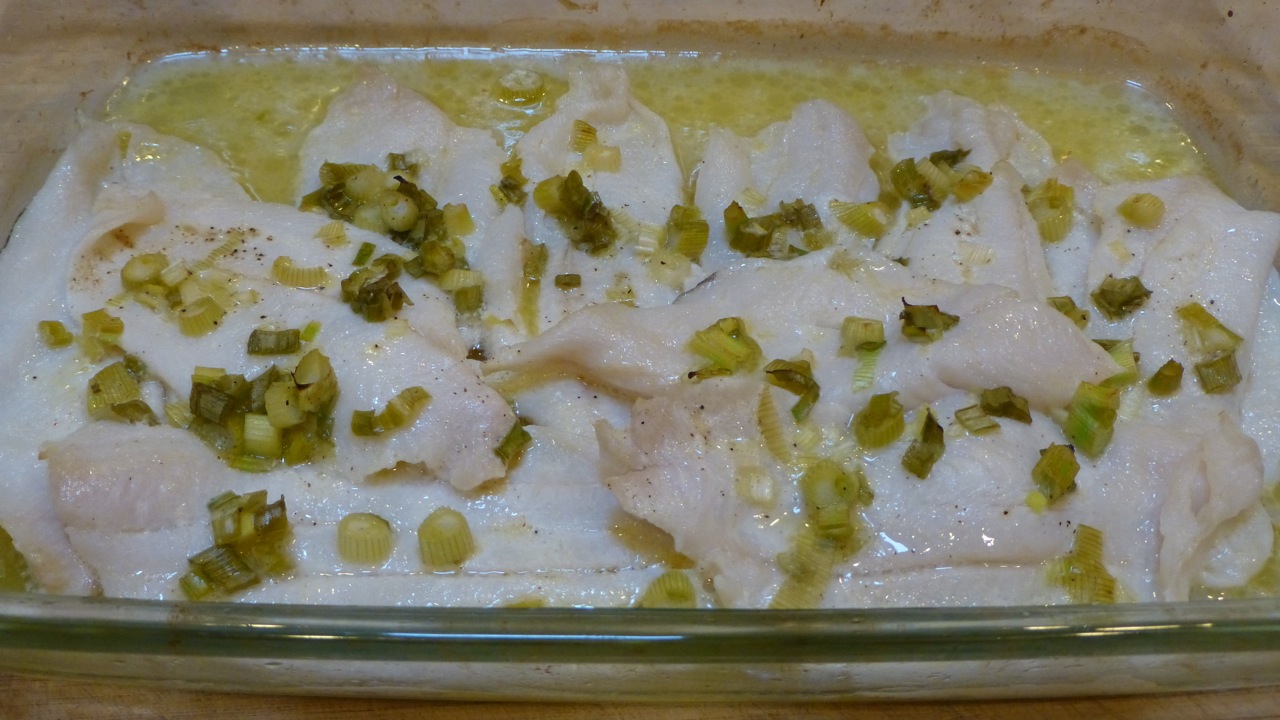
The onion/lemon mixture is then added to the top of the sole, put in the oven and baked.
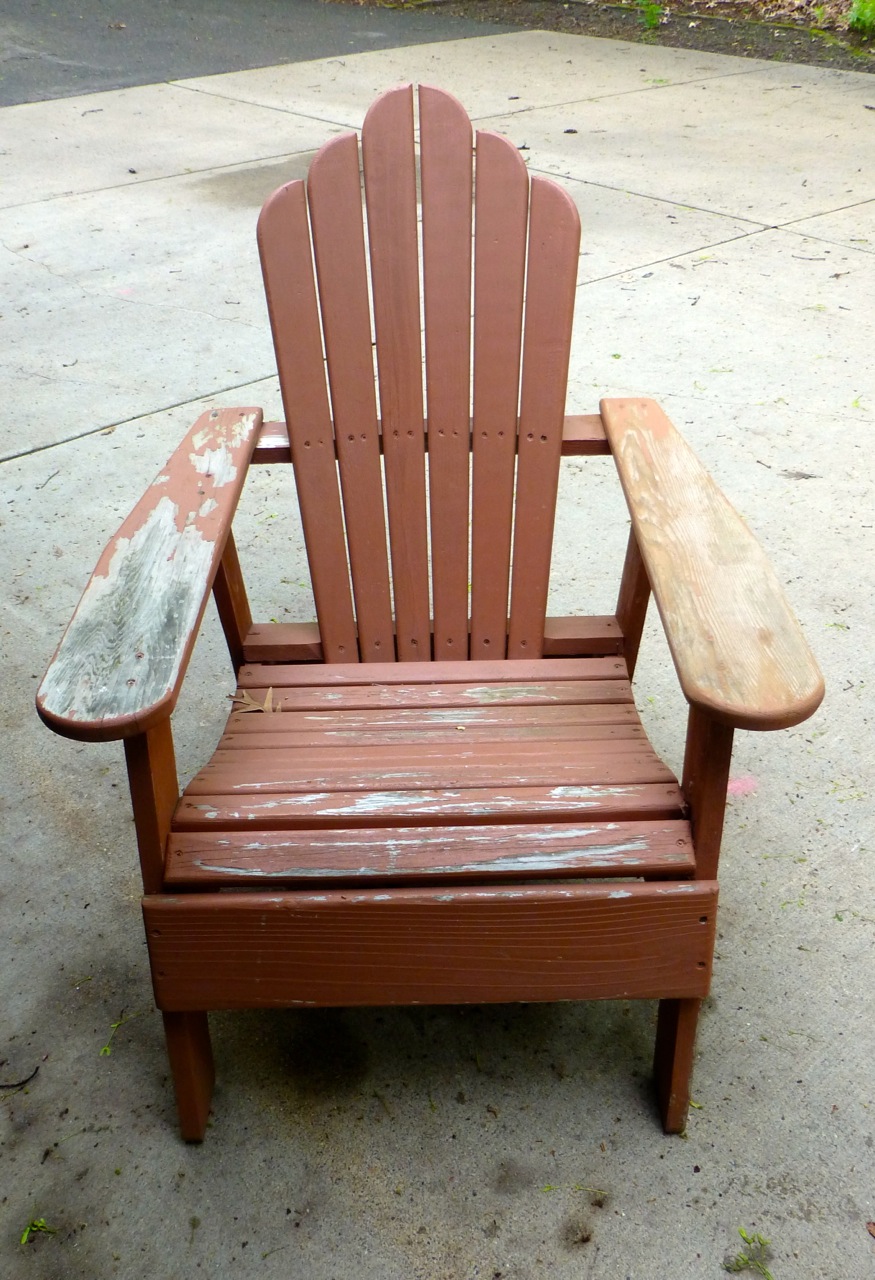
Our outside adirondack chair had gotten to look pretty raggedy. Parts of it were peeling and other parts were okay. What’s a woman to do?
Adirondack Chair
Of course! I decided to make this one of my summer projects and it came out beautifully!
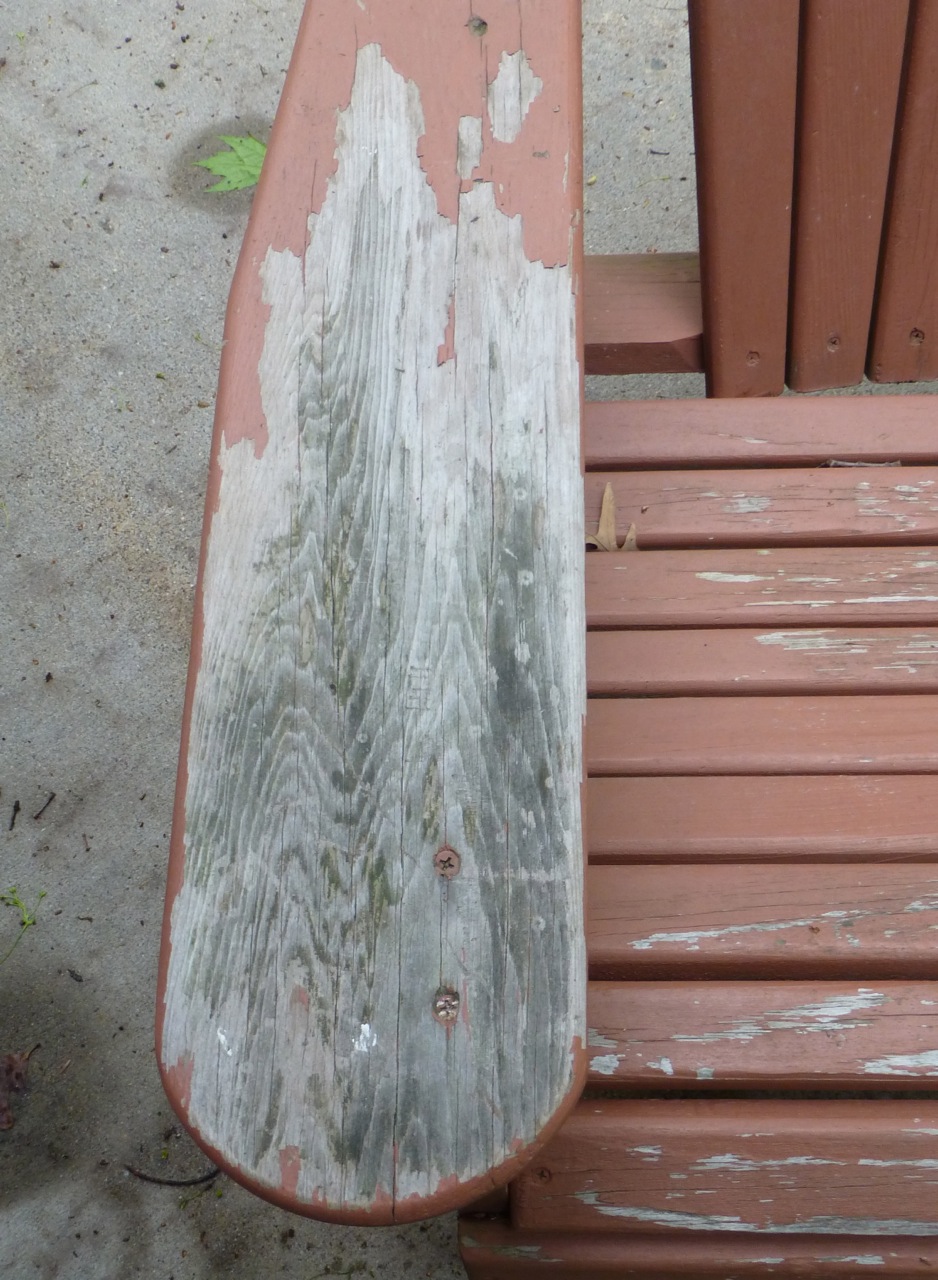
After reading all the “google” suggestions, I put most of the suggestions together (they didn’t seem to agree) and go with my gut. My chair had water damage from being neglected for so long.
Adirondack Chair – Water Damage
I was told by a friend whose a carpenter that I should strip the whole chair. Uh, no. That’s not what I decided to do. Instead, I used different grits of sandpaper on different parts of the chair. On the parts that didn’t have any peeling or were semi-peeling, I used 80 grit sandpaper  to roughen up the stain so the new stain would adhere to it. I was not looking to sand the old stain off — just “rough it up.” (This is one of those times in my life where I can say I “roughed” something up. – laughing)
On the arm of the chair that had the water damage, I used the 80 grit sandpaper then 100 grit then I finished it off with a 220 grit to make it very smooth.
After I finished all the sanding (including the underneath) I took a clean almost wet rag and wiped off the sand from the chair. Then I let the chair dry overnight.
The next day, I took my hand and felt the wood to make sure that nothing needed to be redone. Now I was ready to stain the chair.
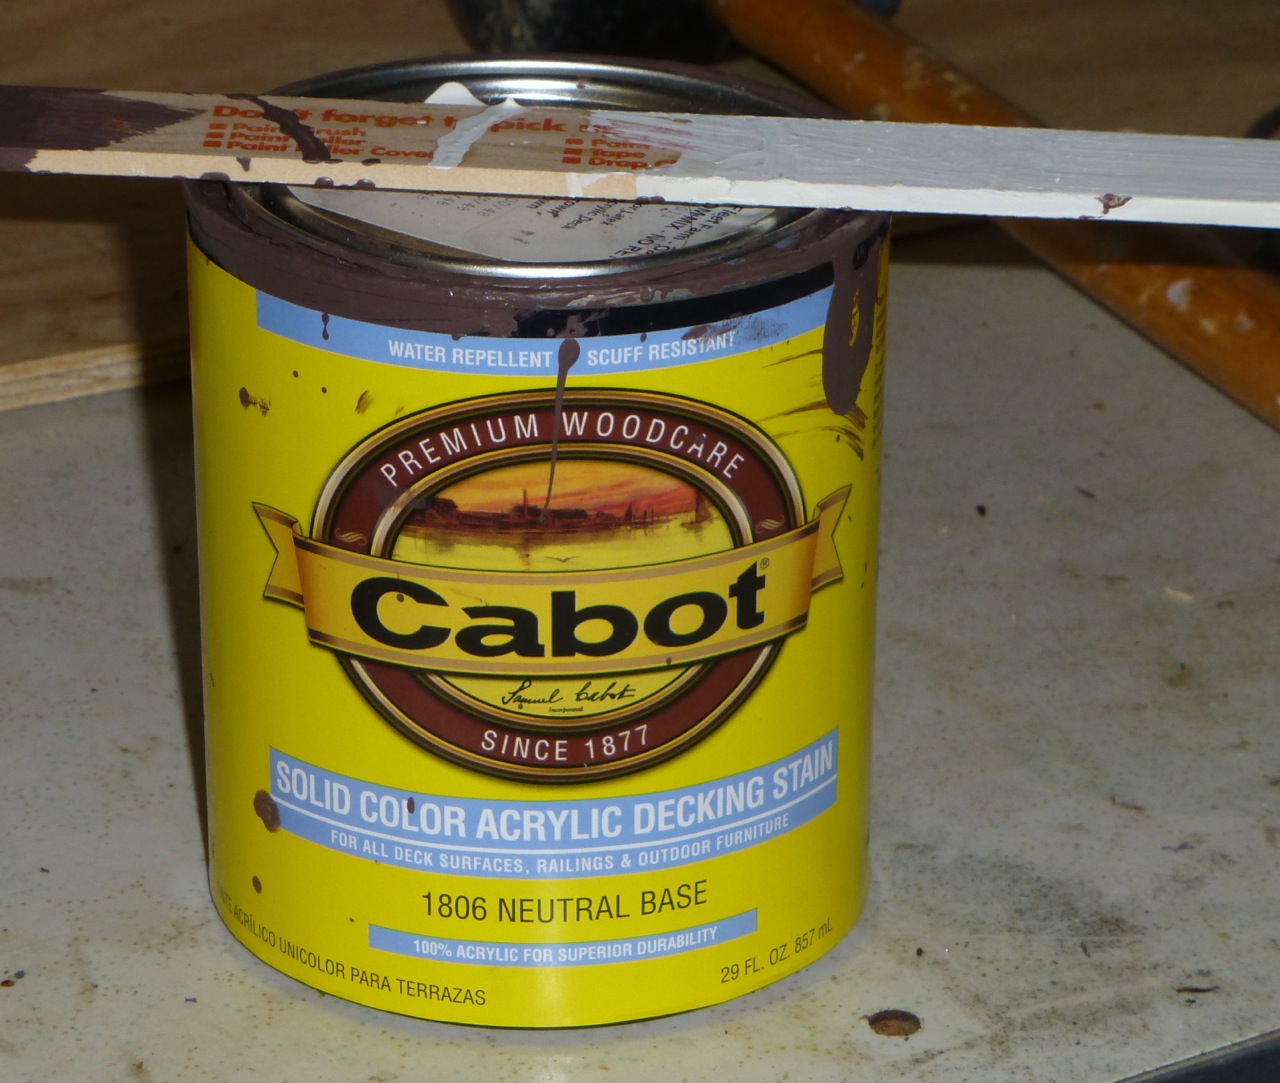
In the garage, I had some leftover Cabot deck stain and pondered whether to use it on this chair. The color was much darker and that would be a good thing as it would cover the “reddish” color stain very well.
Cabot Decking Stain
Using a natural bristle brush, I stained the top of the chair and allowed it to dry. The next morning I stained the bottom of the chair and allowed it to dry.
I stained each side three times and allowed overnight drying each time. It appears to have worked perfectly.
Refinished Adirondack Chair
I could have applied a clear polyurethane varnish on top of the stain but I decided not to as I think three coats should be plenty. Overall, the project took 3 weeks because I had to have a “life” outside of working on the adirondack.
Now — on to another summer project. And I bet  you thought all I did was cook, eh?
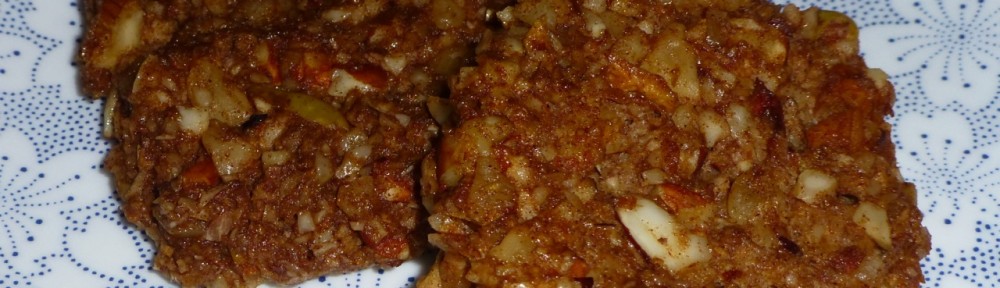
Paleo cookies? Yep. These Apple Banana Cookies came out just okay simply because they were “floppy.” What do I mean by floppy? They weren’t firm enough and when I picked one up it felt like it might fall apart — very fragile.
Apple Banana Cookies
When I make them next, I’m going to try adding one less egg so they aren’t as moist. We’ll see what happens then.
Not sure when baking will happen again though as I’m trying to keep my head above water doing yard work and cooking dinner in the afternoon.
Back in May, yes, yes, I know … I’m a tad bit behind. I try to get out in the yard as much as I can in between the Minnesota rains. One would think we were living in Seattle. Â Oh well …
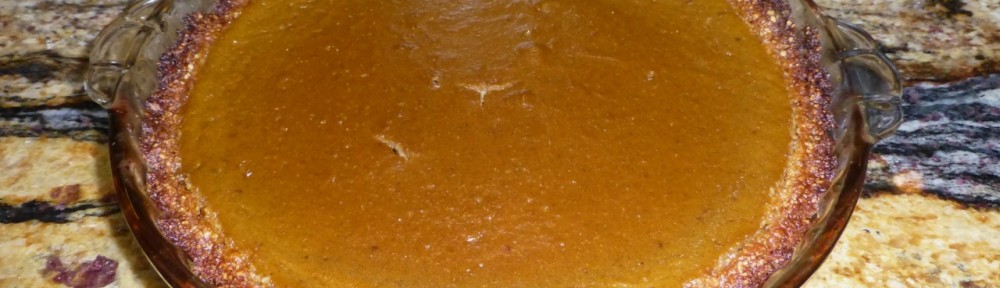
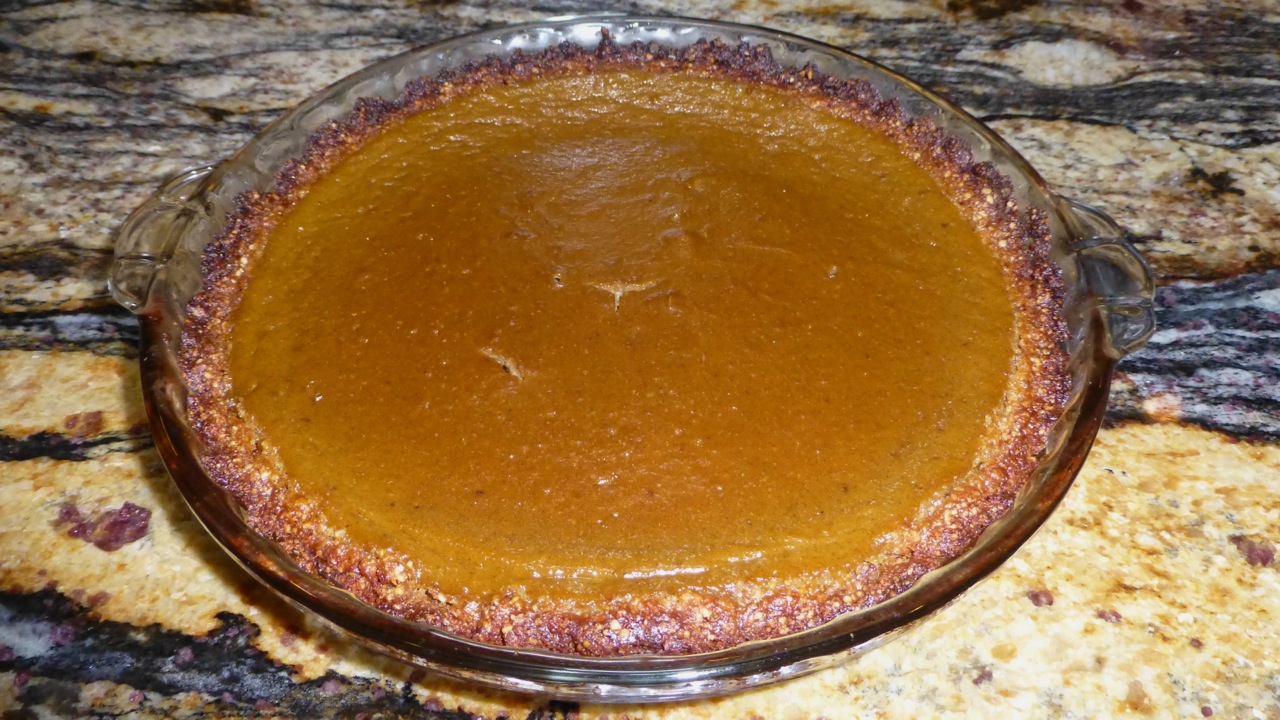
Anyway, back in May, my son made a Paleo Pumpkin Pie which turned out to be quite scrumptious.
It had just the right amount of coconut taste as the recipe uses coconut milk and coconut oil. This is a great substitution for “regular” pumpkin pie and will be made again once Thanksgiving rolls around.
This past week I made three recipes that flopped. Count them — 1, 2, 3. Â How’s that for a successful week?
The first recipe was for zucchini fritters. The fritters fell apart quite easily. I made a mash out of them just to save the dinner. Bummer.
The second recipe I thought for sure would be wonderful — Chocolate Maple Crunch Banana Muffins. This recipe flopped because of user error — me. I should have allowed the muffins to cook through another 5-10 minutes but I was afraid they would burn so took them out early.
The third recipe was for Curry Turkey Meatballs. The recipe used ground turkey. It flopped. The meatballs wouldn’t stick together.
I’m new to paleo cooking so perhaps all of these were my fault but I doubt it. Okay, okay. Can it really be that they were all user error? I really don’t think so as I follow recipes to the “t” so …
Anyway — I’ll be posting more recipes soon. I didn’t want to post three flops for you although maybe someone could learn from my mistakes. Hmmm … as Thomas Edison would say “Our greatest weakness lies in giving up. The most certain way to succeed is always to try just one more time.”
In addition to my cooking blunders, this week also brought lower back pain which was probably due to all the garlic mustard plants that I pulled out by hand. But I’m happy to say that my chiropractor has me back on the mend. One adjustment and I almost feel like new.
I also refinished an adirondack chair. I’ll post on that soon. It was a success! Now I have a bamboo table to refinish. The summer projects are just beginning!
Wash the sweet potato and use a fork to poke holes in it.
Bake the sweet potato in the oven at 375 degrees Fahrenheit for approximately 30-45 minutes. A fork should pierce through easily when done.
After removing the potato from the oven, let it sit for 15 minutes or so to cool then mash it.
Add the almond meal, chopped parsley, onion, lemon juice, hot sauce, salt, cumin, paprika, black pepper and eggs to the mashed potato.
Open the cans of salmon and slowly turn the can upside down and dump the salmon in your hand. With the other hand, halve the salmon and remove the bones from the inside. At this point, you should remove any skin that’s on the outside also.
Add the salmon to the other ingredients and mix thoroughly.
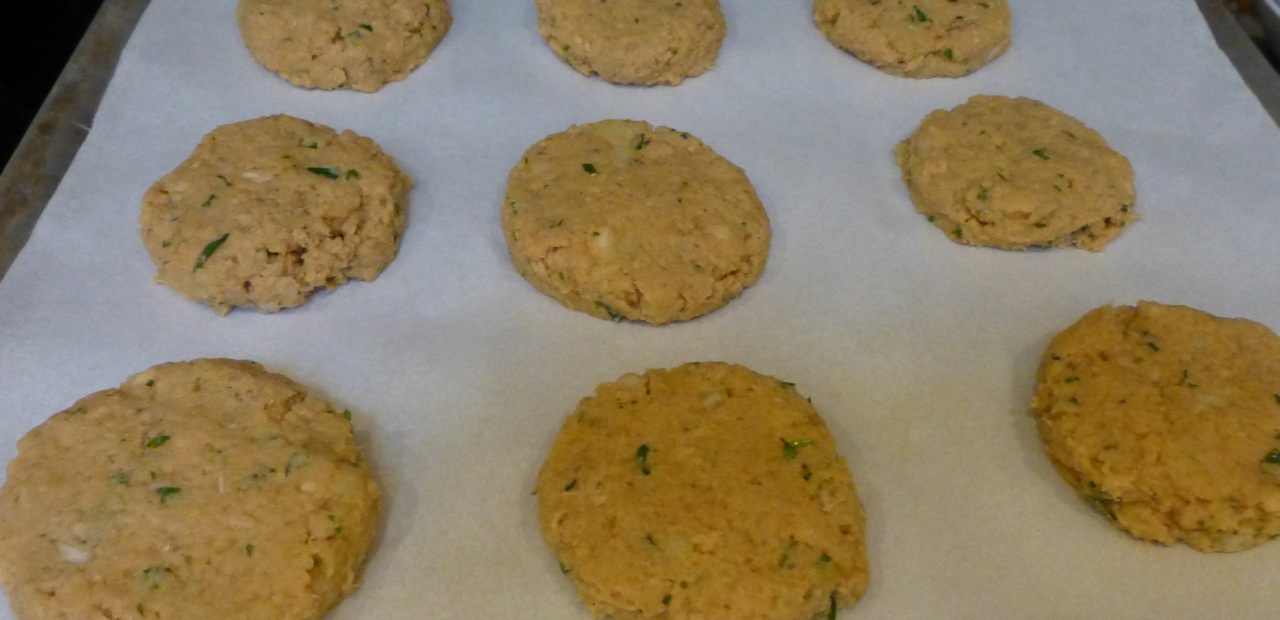
Using a 1/3 measuring cup, scoop out evenly sized salmon cakes until you have approximately 12 patties.
Chill the mixture in the refrigerator for a minimum of 30 minutes.
Heat a large frying pan over medium high heat. When it’s hot, add 1 tablespoon coconut oil for every six patties. Let the oil completely melt until the pan is very hot then slowly add the patties and cook for 4 minutes on each side.
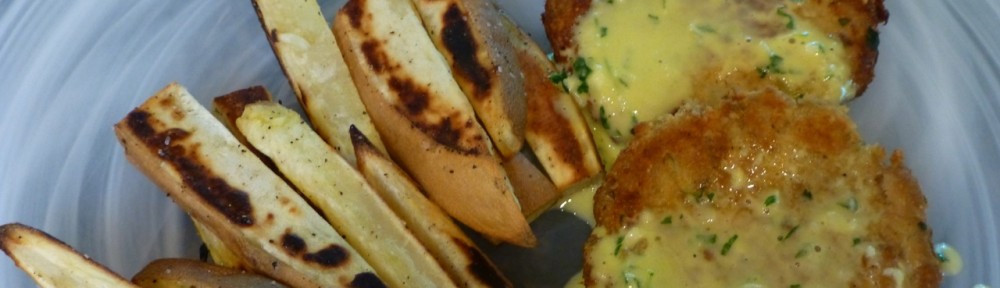
This was truly a great recipe! I made 6 and froze 4 patties. My patties were a little larger as once I had them in the frying pan, I flattened them out. Very very good.
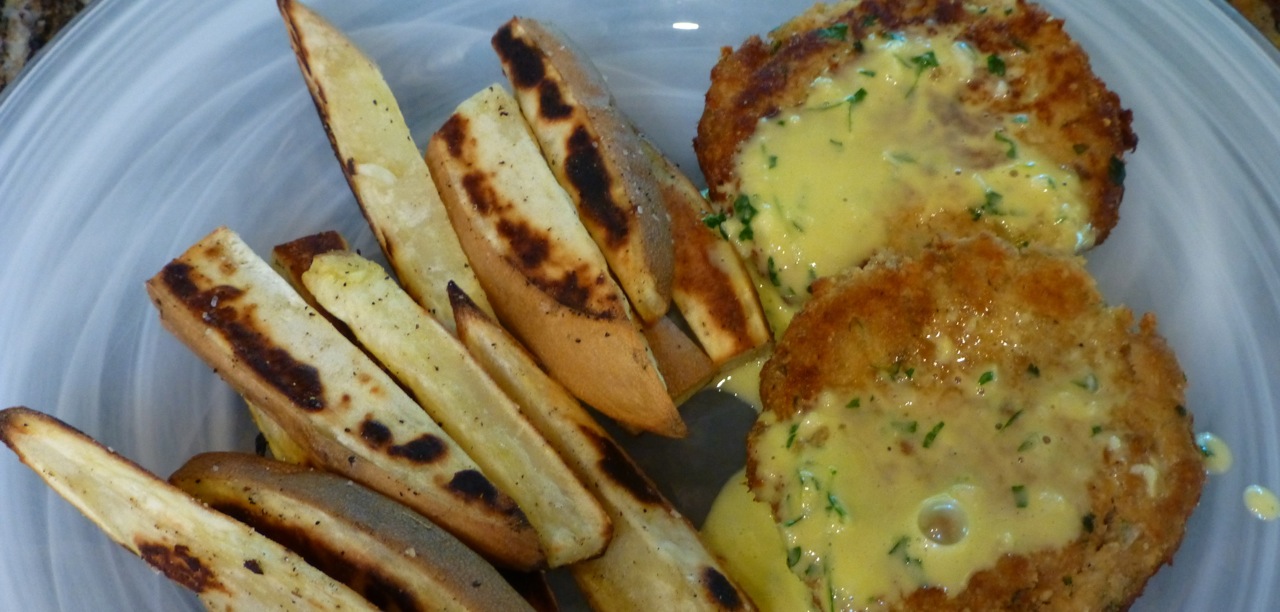
I served these with Sweet Potato Fries. Another simple but goodly recipe.
Salmon Patties with Fries
Special thanks to EverydayMaven for these delicious salmons!
On occasion, the need to have a “snack” rears its head in our household.
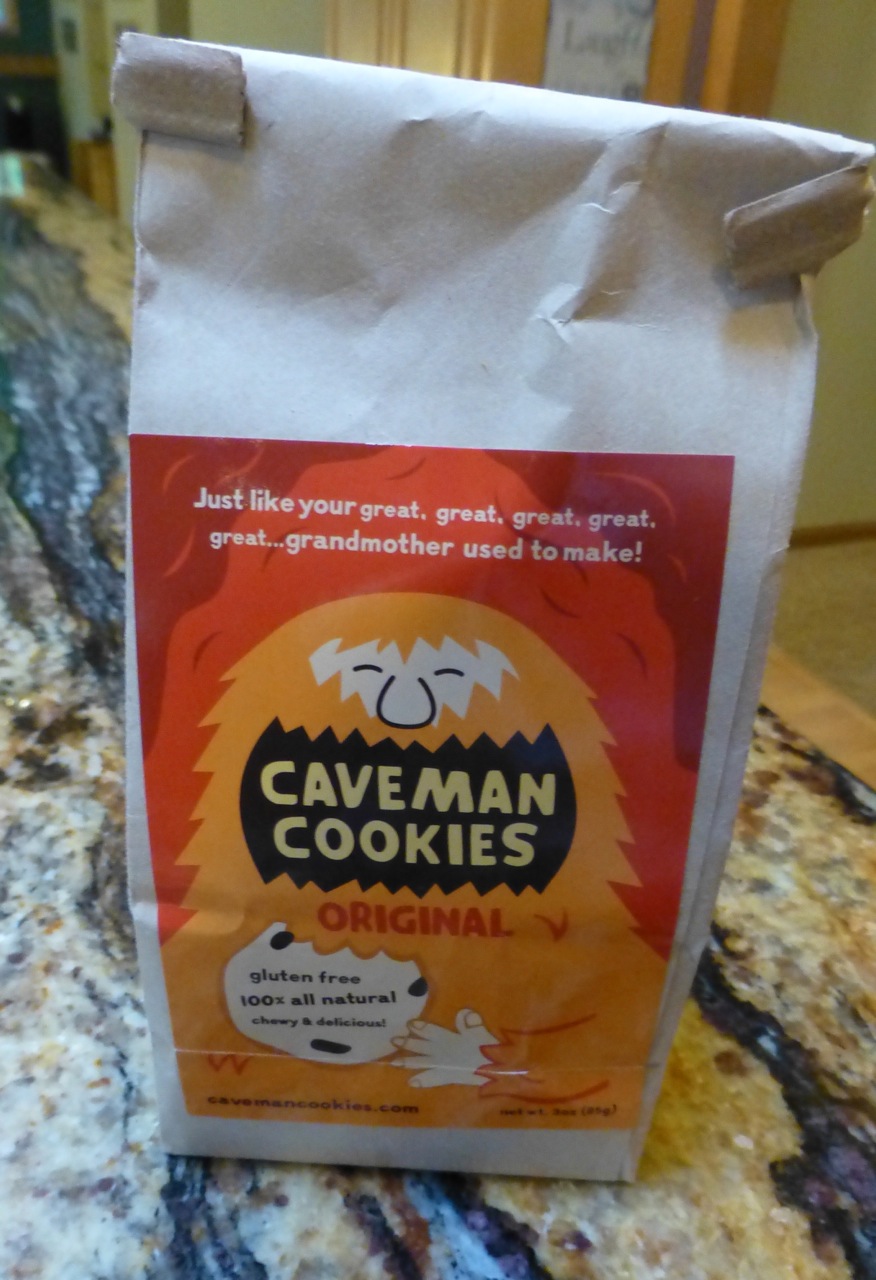
There are many things we can snack on while on a paleo diet. This time though, our choice was a Cave Man Cookie.
Caveman Cookies
These cookies can’t be readily found. I was able to find them at a health food store called Tailor Made Nutrition in Woodbury, Minnesota.
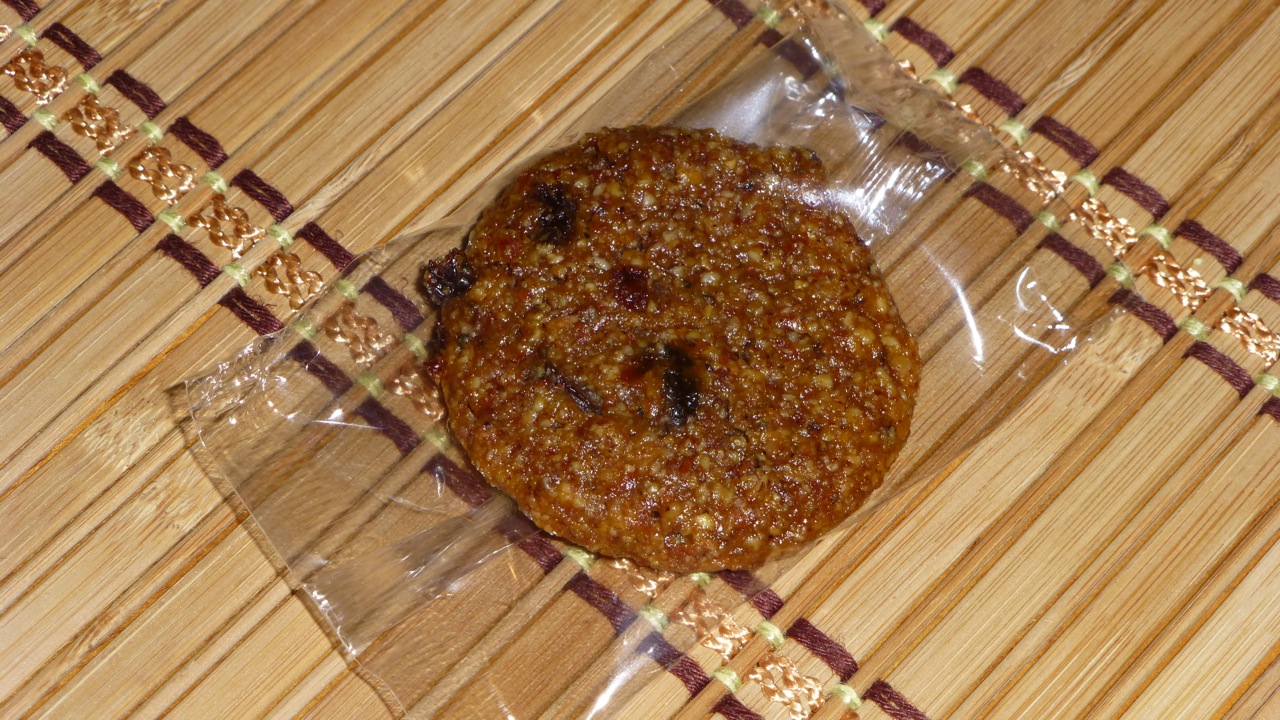
This package has six cookies and each one is individually wrapped so they stay “fresh” even when you open the bag.
Caveman Cookie
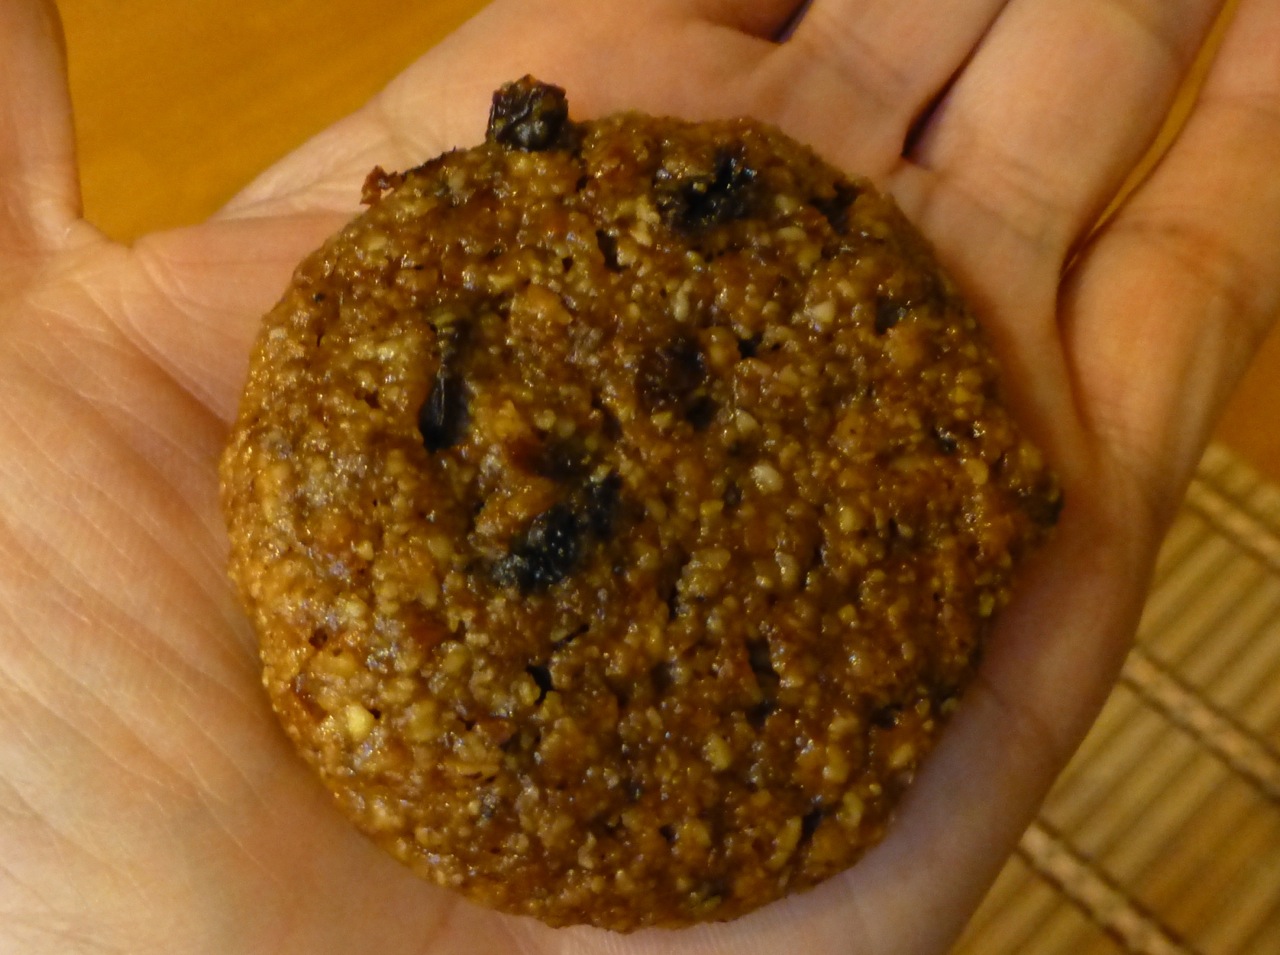
They DO NOT taste anything like a “regular” cookie as they use honey instead of cane sugar. They are about the size of a Chips Ahoy Chocolate Chip Cookie. The texture is soft and kind’ve gooey but not in a bad way. I really like them.
One cookie fit in the palm of my hand.
Caveman Cookie
The first time I tasted them I thought they were a little bland. But, by the second batch (yes, I went back for more) I had already grown accustomed to them and like them quite well.
Alas! They are a bit pricey — $4.29 for 6 cookies. I guess that’s not too bad considering you can get a cookie at Starbucks for $2.50 or so and, although it’s bigger, it’s not as healthy.
So — perhaps a once or twice a week treat is enough, eh?
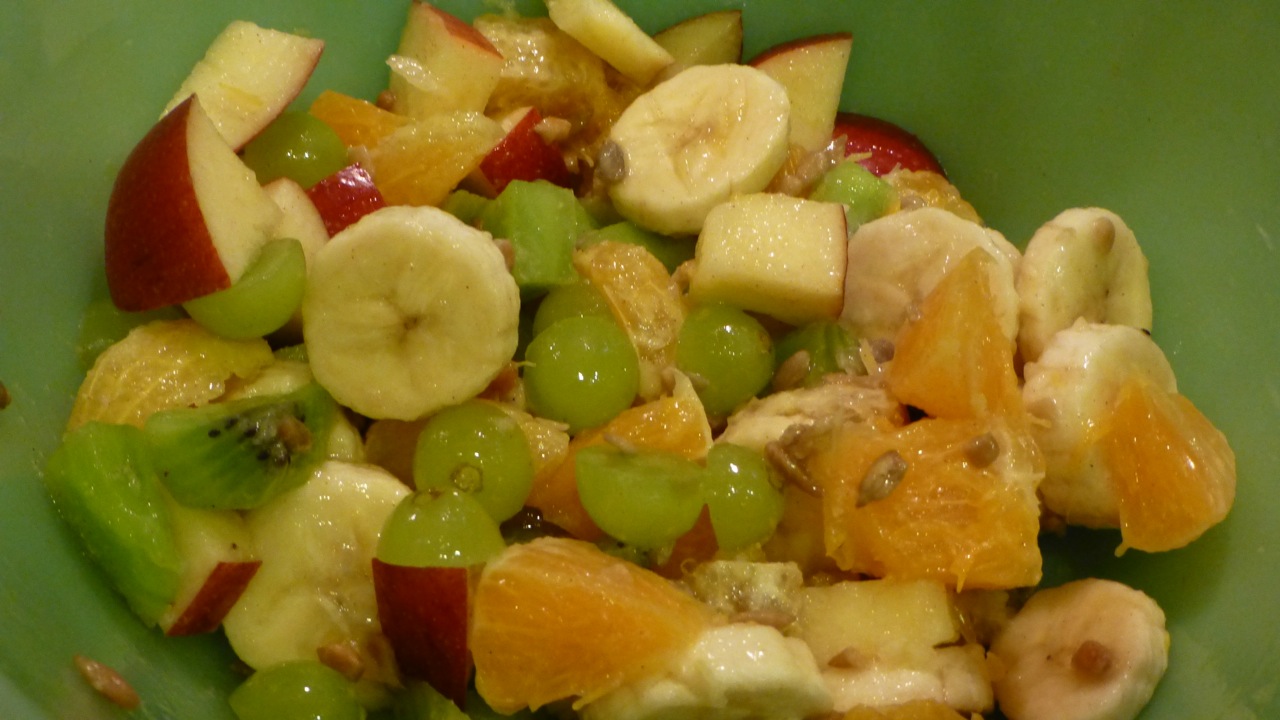
This is a really easy Cinnamon Fruit Salad with a hint of coconut. Very good to have as a snack, side or “just because” you feel like it.
Ingredients
1Â medium navel orange
1Â kiwi, peeled, sliced and quartered
1Â medium ripe banana, sliced
1Â medium apple, sliced
6Â seedless grapes, halved
2Â tablespoon sunflower kernels
1/4Â cup coconut milk
1/8Â teaspoon ground cinnamon
Directions
In a large bowl, combine fruit and sunflower kernels.
In a small bowl combine coconut milk and cinnamon then mix well.
Pour over fruit and toss to coat.
Serve immediately. This yields approximately 8 servings.
See how easy that was?
Now, I have a confession to make. I didn’t grow up in the kitchen whipping up food from whatever was in the pantry. As a matter of fact, when I was a single mother I would make baby cereal for me and my son for dinner. I just didn’t have the “cooking” instinct in me. Later in life, I developed a desire for cooking but with mostly tried and true recipes like this one.
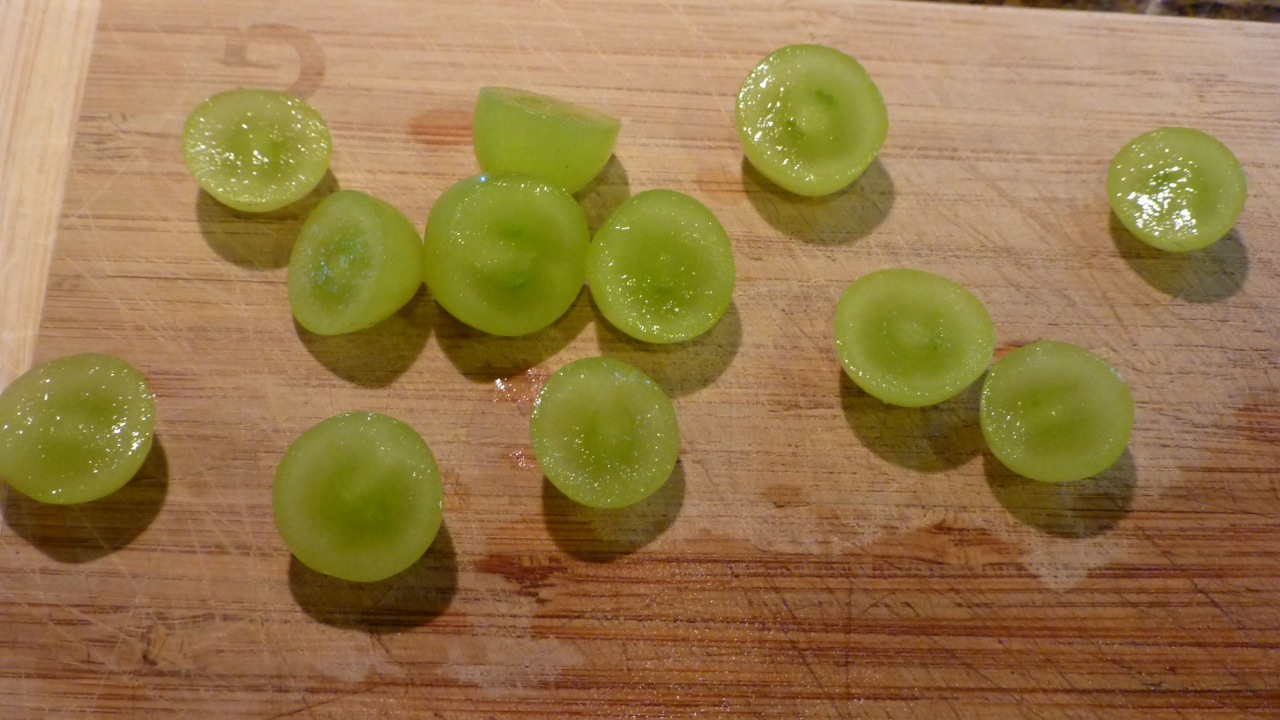
But, having said that, I follow most recipes right to the letter. So … wanna have a nice laugh today? Here goes. What do you see in the picture below?
Six Green Grapes Sliced
Are you laughing yet? The recipe called for 6, count them, six green grapes halved. So, that’s what I sliced. After I did this, I laughed out loud and just about rolled over on the floor. I became a rebel and doubled the green grapes to twelve! Â (I have to be careful what I write because I’m sitting at a coffee shop right now laughing out loud and people might think I’m nuts.)
The only reason that I can think of to stick with the quantities in this recipe is because of the coconut milk. Add too much fruit and you won’t have a good coconut-cinnamon taste.
So — let’s all be rebels in the kitchen. I don’t know why I reverted back to my “really old” days of making sure I stick by the recipe, especially with a recipe like this one which has lots of room for flexibility.
Oh — it was good! I loved it — my non-coconut-loving husband thought it was just okay. I served it on the side with Orange Chicken as my entree.
Cinnamon Fruit SaladOrange Chicken with Cinnamon Fruit Salad
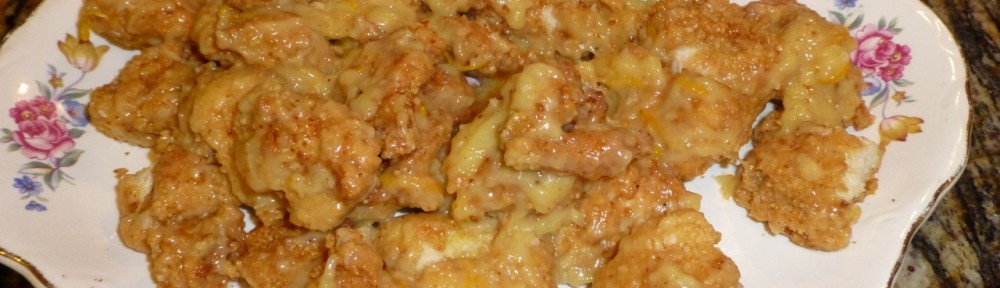
Wow! This Orange Chicken recipe that I made is wonderful and will be on my “must have again” list. Served with a Cinnamon Fruit Salad, it fit the bill to satisfy an empty stomach. I imagine that one could make these vegetarian by using FriChik by Worthington (although I haven’t made them that way yet).
I did have a “learning” moment while going through it so I’ll share that with you later in this post. So — here goes!
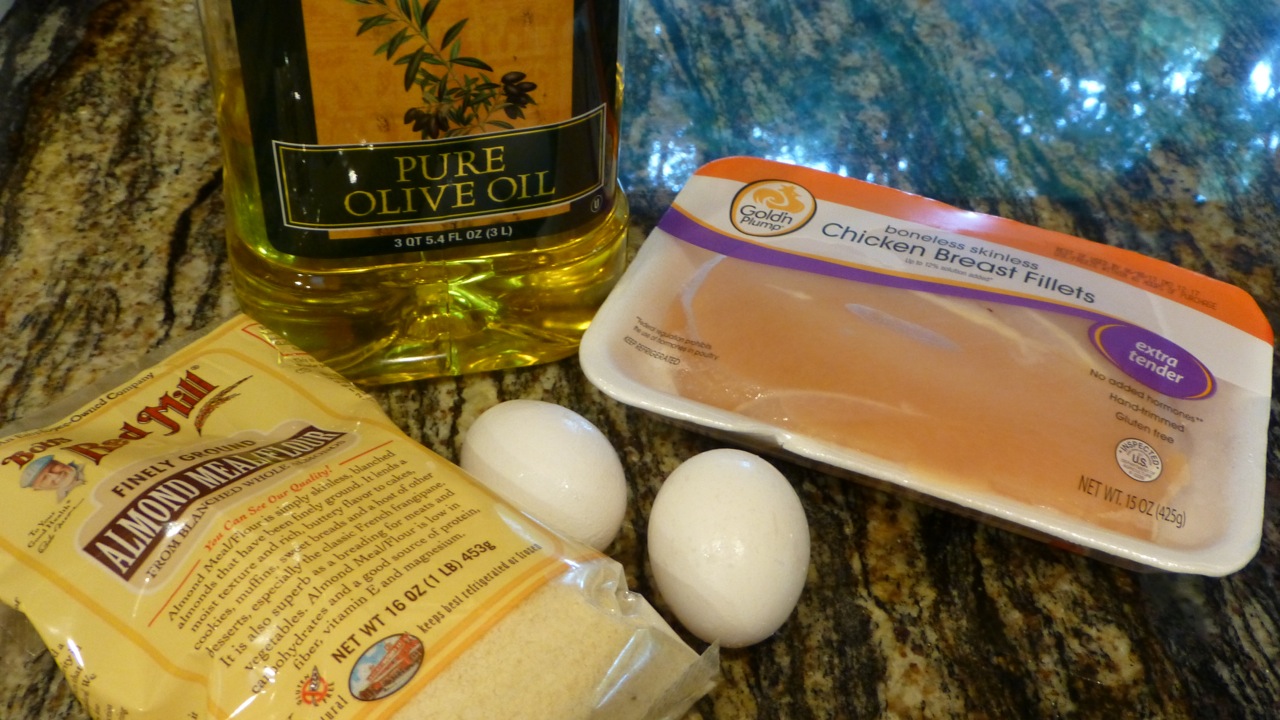
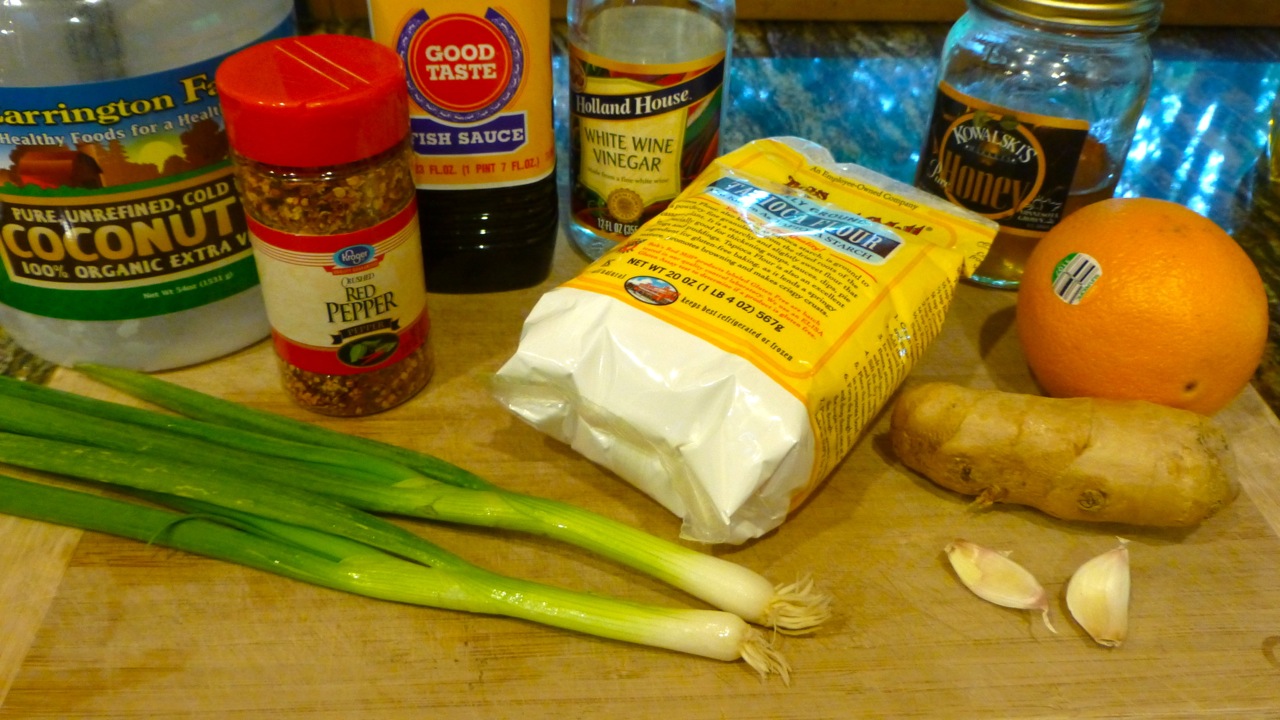
Orange Chicken Ingredients (1 of 2)Orange Chicken Ingredients (2 of 2)
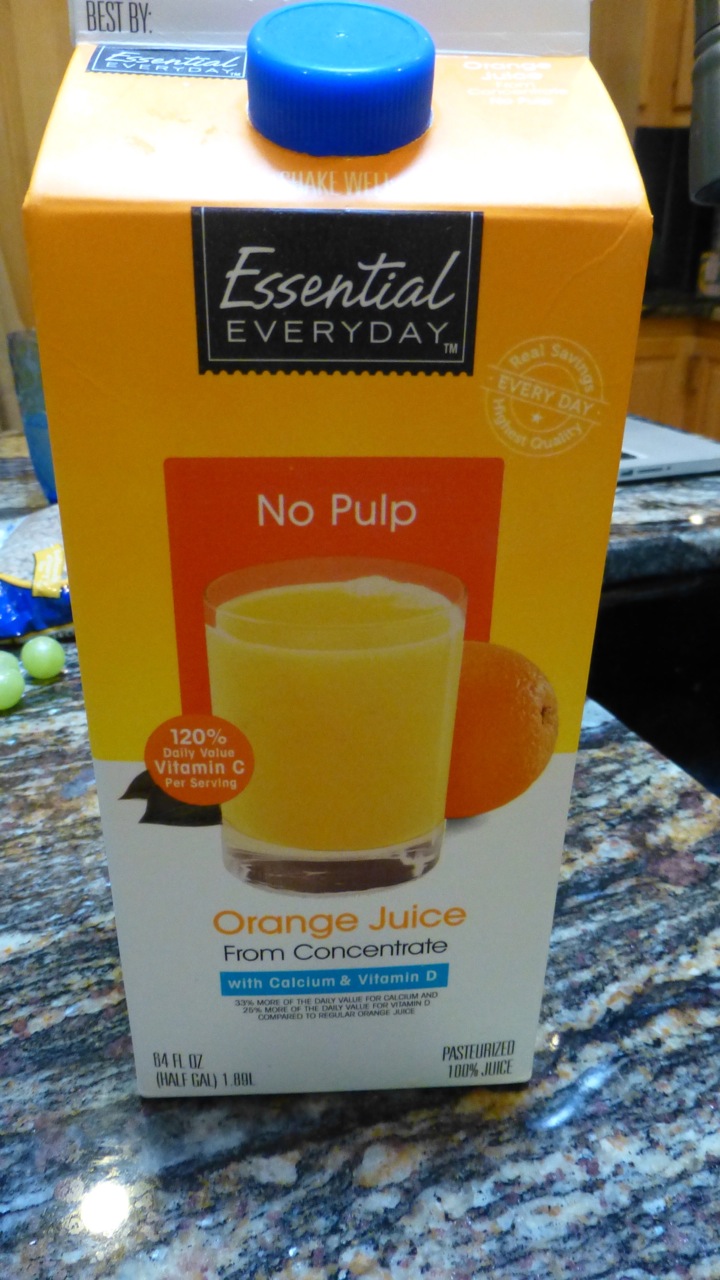
And of course, the orange juice (without pulp)
Orange Juice (no pulp)
Ingredients
1Â lb. chicken breast cut into bite size pieces
2Â eggs
1Â cup almond flour
Olive or coconut oil (I used olive)
For Orange Sauce
1/2Â cup freshly pressed orange juice
The zest of 1 orange
2Â tbsp. tapioca starch
1Â tbsp. coconut oil
2Â cloves garlic, minced
2Â tsp. fresh ginger, minced
1/8 tsp. crushed red peppers (more if you want it spicy)
1Â tbsp. fish sauce
1Â tsp. white wine vinegar
1Â tbsp. honey
2Â green onions, thinly sliced
Directions
In a small bowl, mix the orange juice with the tapioca starch and whisk until the starch is all dissolved. Set this aside.
To prepare the sauce, preheat 1 tbsp. coconut oil in a skillet over medium heat, add the garlic, ginger, crushed red peppers, and half of the orange zest. Cook until golden, about 1 minute.
Once the oil and spices are golden, add the fish sauce, the white wine vinegar, honey and cook about 10 seconds.
Add the orange juice/starch mixture to the skillet and bring to a boil, stirring constantly. Note: Be careful not to keep it on the burner too long or you’ll get a really thick consistency which is what you don’t want.
Reduce the heat and simmer for a minute or two. Remove the mixture from the heat, but leave it in the skillet.
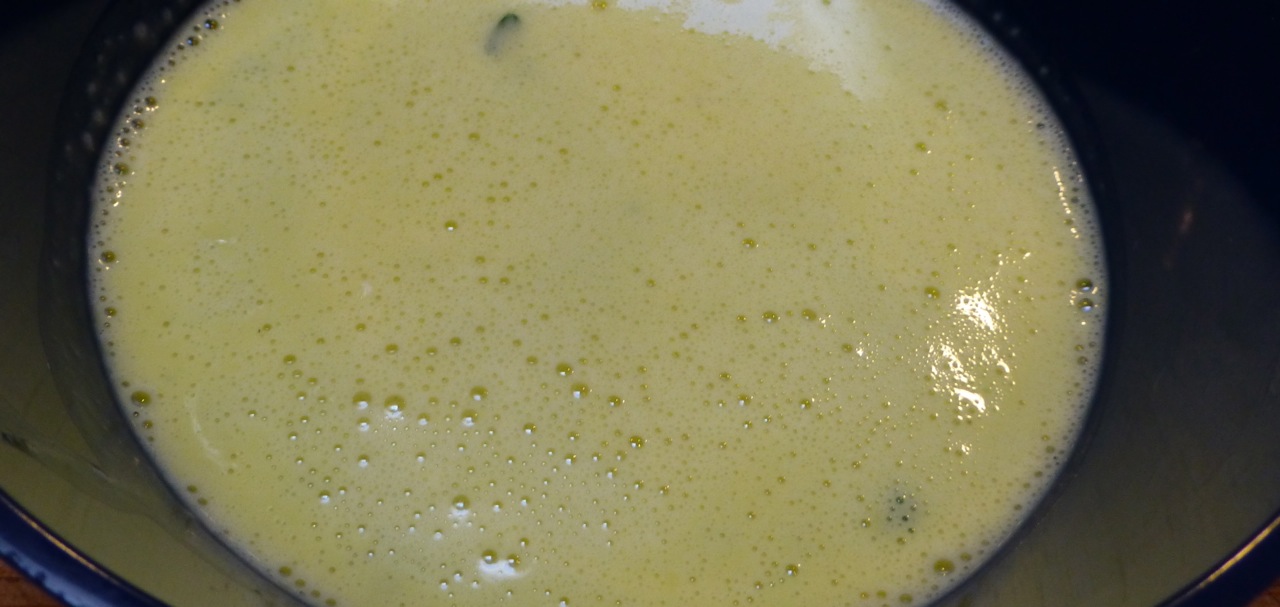
Break the two eggs into a bowl and whisk them together.
Dunk each piece of chicken in the raw eggs and coat them with the almond flour.
Pour olive oil (or coconut depending on your preference) into a big skillet until it’s about 1/2 an inch deep. Heat it to at least 365 F.
Add the pieces of chicken to the oil and cook until golden on each side, about 5 minutes.
Transfer the cooked chicken pieces to a paper towel for a few minutes then transfer them to a serving dish.
Once the chicken is fried, place the skillet containing the sauce back on medium heat and warm it up. When it’s warm, pour it over the chicken pieces and mix to get them nicely coated with the sauce.
Garnish with the remaining orange zest and the sliced green onions.
This was really delicious. As I mentioned in direction #4, I did have a problem with the sauce but it was easily corrected thanks to the advice from my friend Kathy.
Here are a few pictures for your perusal …
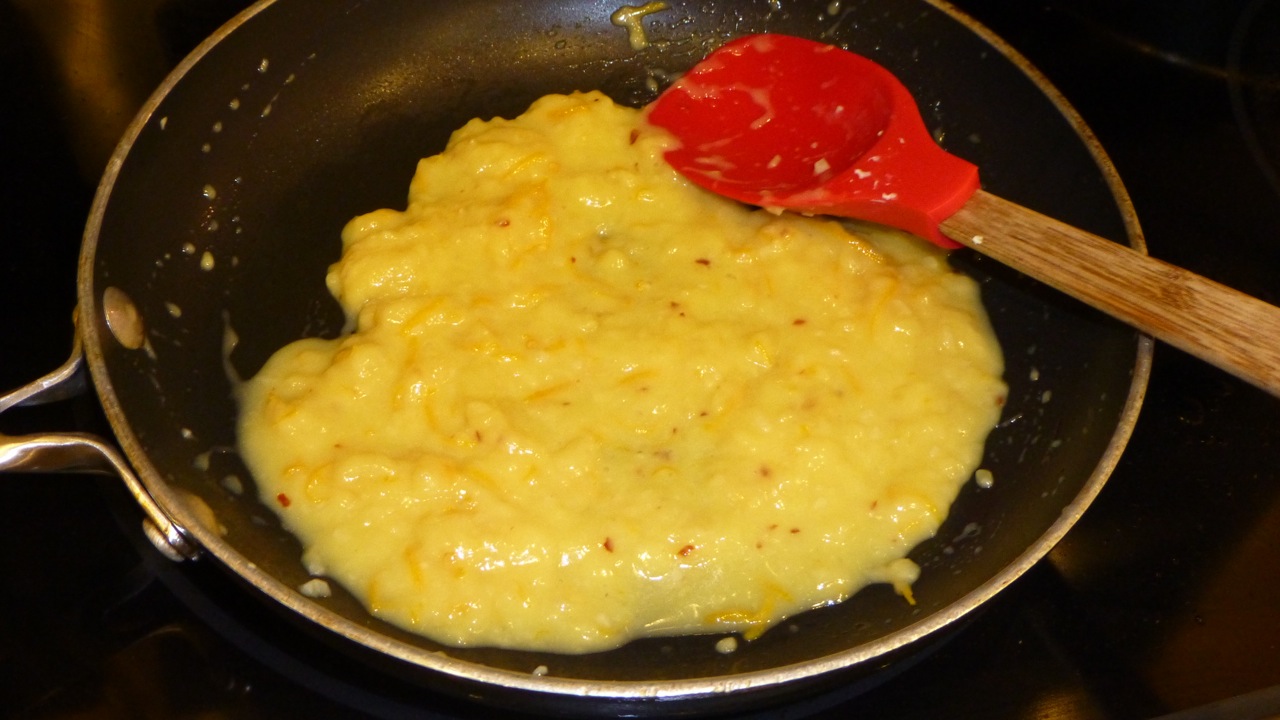
So — this is what happens if you cook the orange sauce too long … quite “gummy.”
Unusable Orange Sauce
I added a little bit of orange juice at a time to make the consistency pourable but still “thick.” Like this …
Orange Sauce
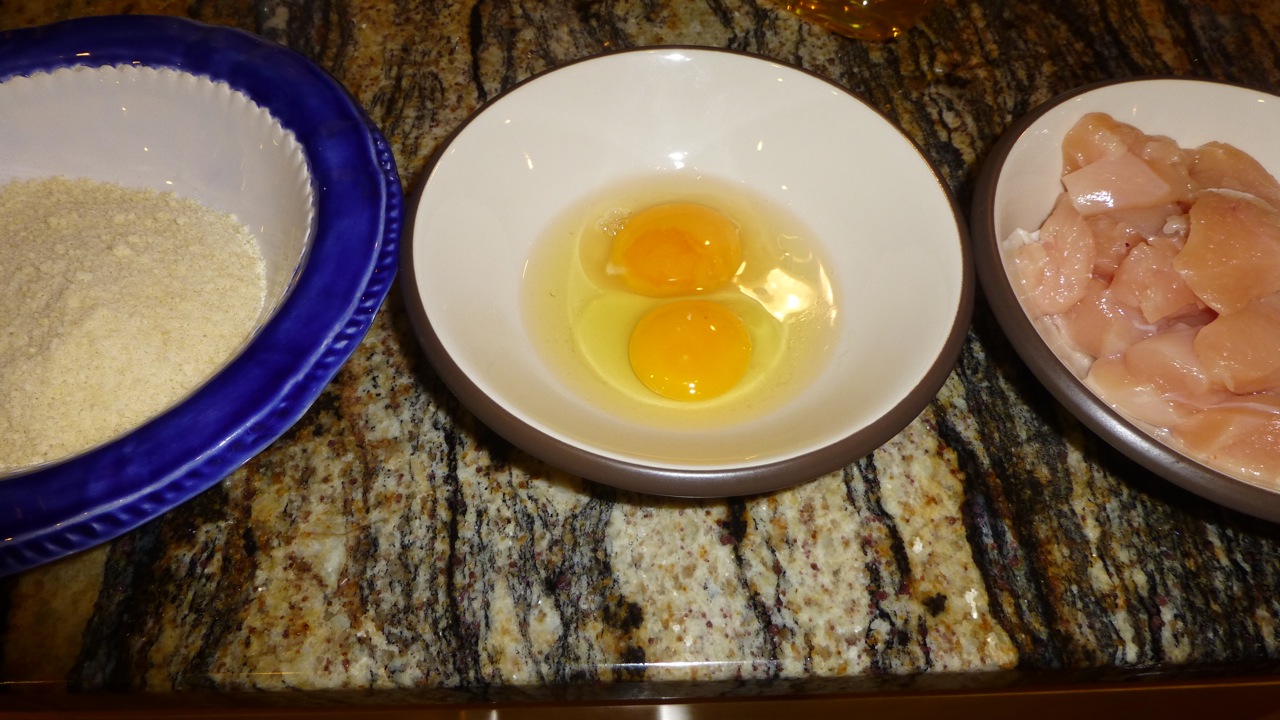
Here’s my “workstation.” I had it to the right of the stovetop so I could “dunk” the chicken in the egg and flour and straight into the hot oil. Those eggs should be whisked!
Workstation
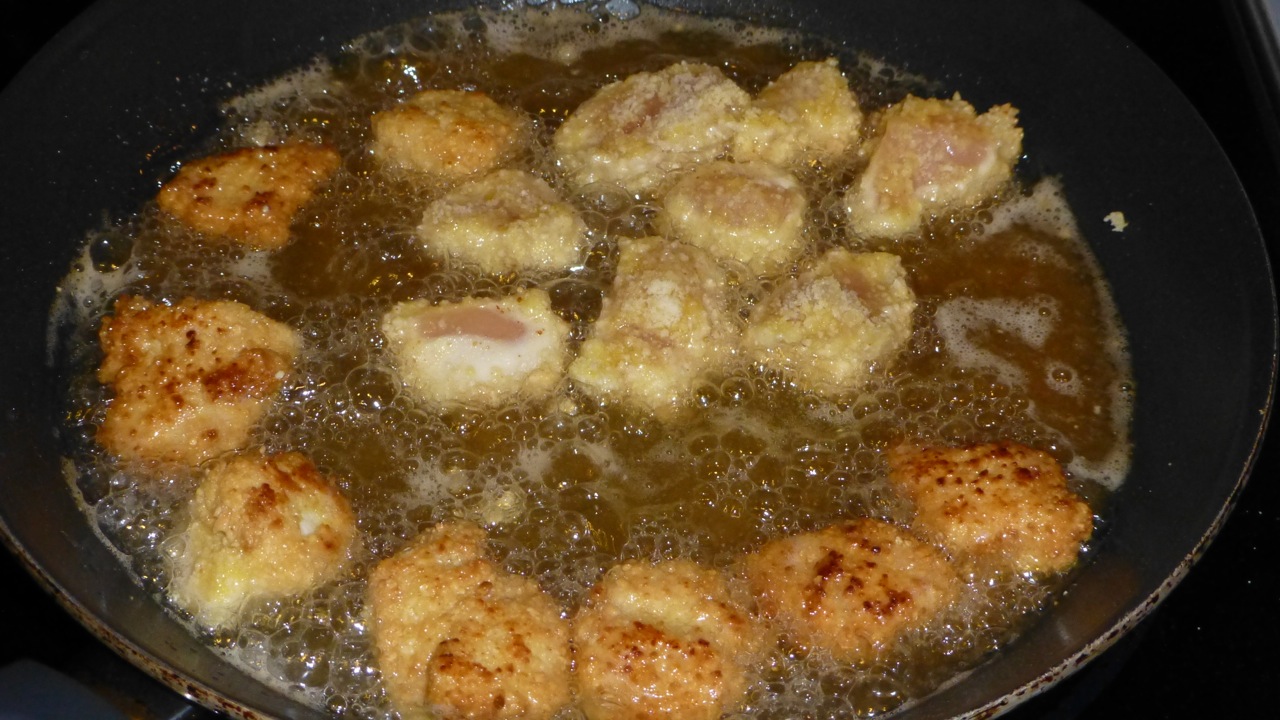
The frying went well. I “eyeballed” when the chicken was done by how crispy it looked. See the ones I turned already in the picture? They were nice and browned and ready for turning.
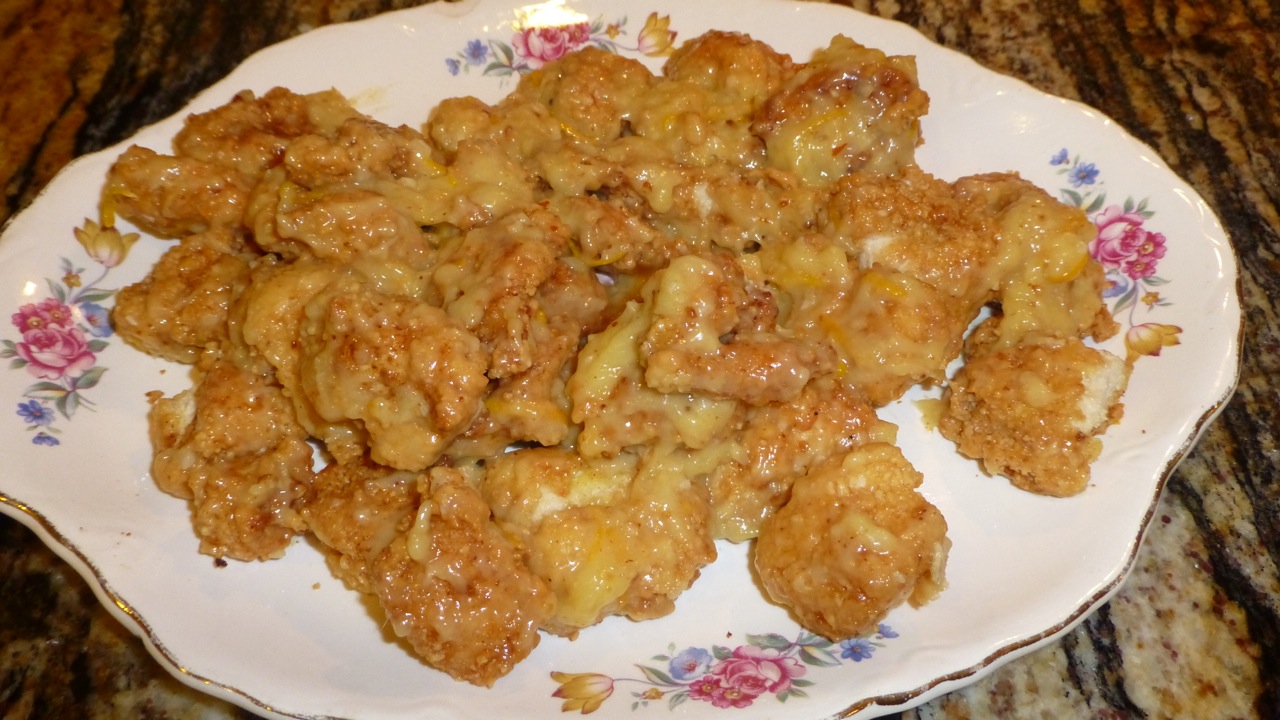
And of course, the finished product. Â Oh, did I already say how delicious they were?
Orange ChickenOrange Chicken with Cinnamon Fruit Salad


 [/amazon_link]


 [/amazon_link]


 [/amazon_link]